Search My Blog!

Use the Search box below to find keywords that you're looking for quickly and easily!

Search Feature

Thursday, April 15, 2021

Amazing April!

It's hard to believe that I'm working on my third dollhouse roof in 2021 - the one on Tasha's kitchen. And it's still only April!!! For someone who puts a good deal of effort into avoiding mini roofing, it's surprising! And because roofs tend to take me a long time (and because poor Russ hurt his back last week requiring lots of attention), I don't have anything interesting or substantive to share about Tasha's Kitchen this week. Instead, I thought we could all take a look back over the last six years of blogging to see what other projects have captivated me in Amazing April. 


It stirs up so much gratitude to reminisce about where all of the ideas and inspirations have taken me throughout the years. When I started this journey to chronicle my creativity, it was in March of 2015. I began by sharing the potting shed that I was building to give to my Aunt Jackie for her 70th birthday taking place in June that year. It was such a labor of love, and included so much creative fun! The best part was that she loved it, and was so touched to be thought of that way. I finished it about halfway through April, and posted 24 times that month! 

See Auntie Jackie's Potting Shed Posts Here They go in order from newest to oldest by clicking back through the Older Posts link at the end of the comments.


In the second half of that April, I was working on making a kitchen for the Real Good Toys Barn kitbash. I used the parts from a Realife Miniatures kitchen kit, reworking and customizing the cabinets and appliances. That was challenging, and a lot of fun!

See all of the April 2015 posts here.

And of course, the best thing that happened in April of 2015 was that my beloved, sweet, incredibly loving and heart stealing Rusty came into our lives! It was a total surprise! What an incredible blessing he is to me and Russ (and Woodson) every single day!


The following year, in April of 2016, I found myself working on a project that I called the Shabby Chic Soap Shop. It was a Greenleaf Sugarplum Cottage kit and I continued my education in bashing on it.


We were also working on creating a more functional craft room for me. Formerly known as the dining room, we actually only ate in there a couple times a year. Now, it gets used nearly every single day and being in there makes me so happy! In spite of painting it four times, I still haven't achieved the blue/green color I am longing for in my mind. Maybe I'll try again next April!


See all the April 2016 posts here.


April of 2017 had me building the Real Good Toys New Orleans dollhouse kit. I took my bashing to a whole new level with this kit, adding height to walls and having to figure out how to make angles for a mansard roof. I found myself way out of my comfort zone and skill level, and it took until July of 2019, with lots of mental breaks, to call it "finished".  I learned a lot, risked a lot, but absolutely love this dollhouse!


See all the April 2017 posts here.


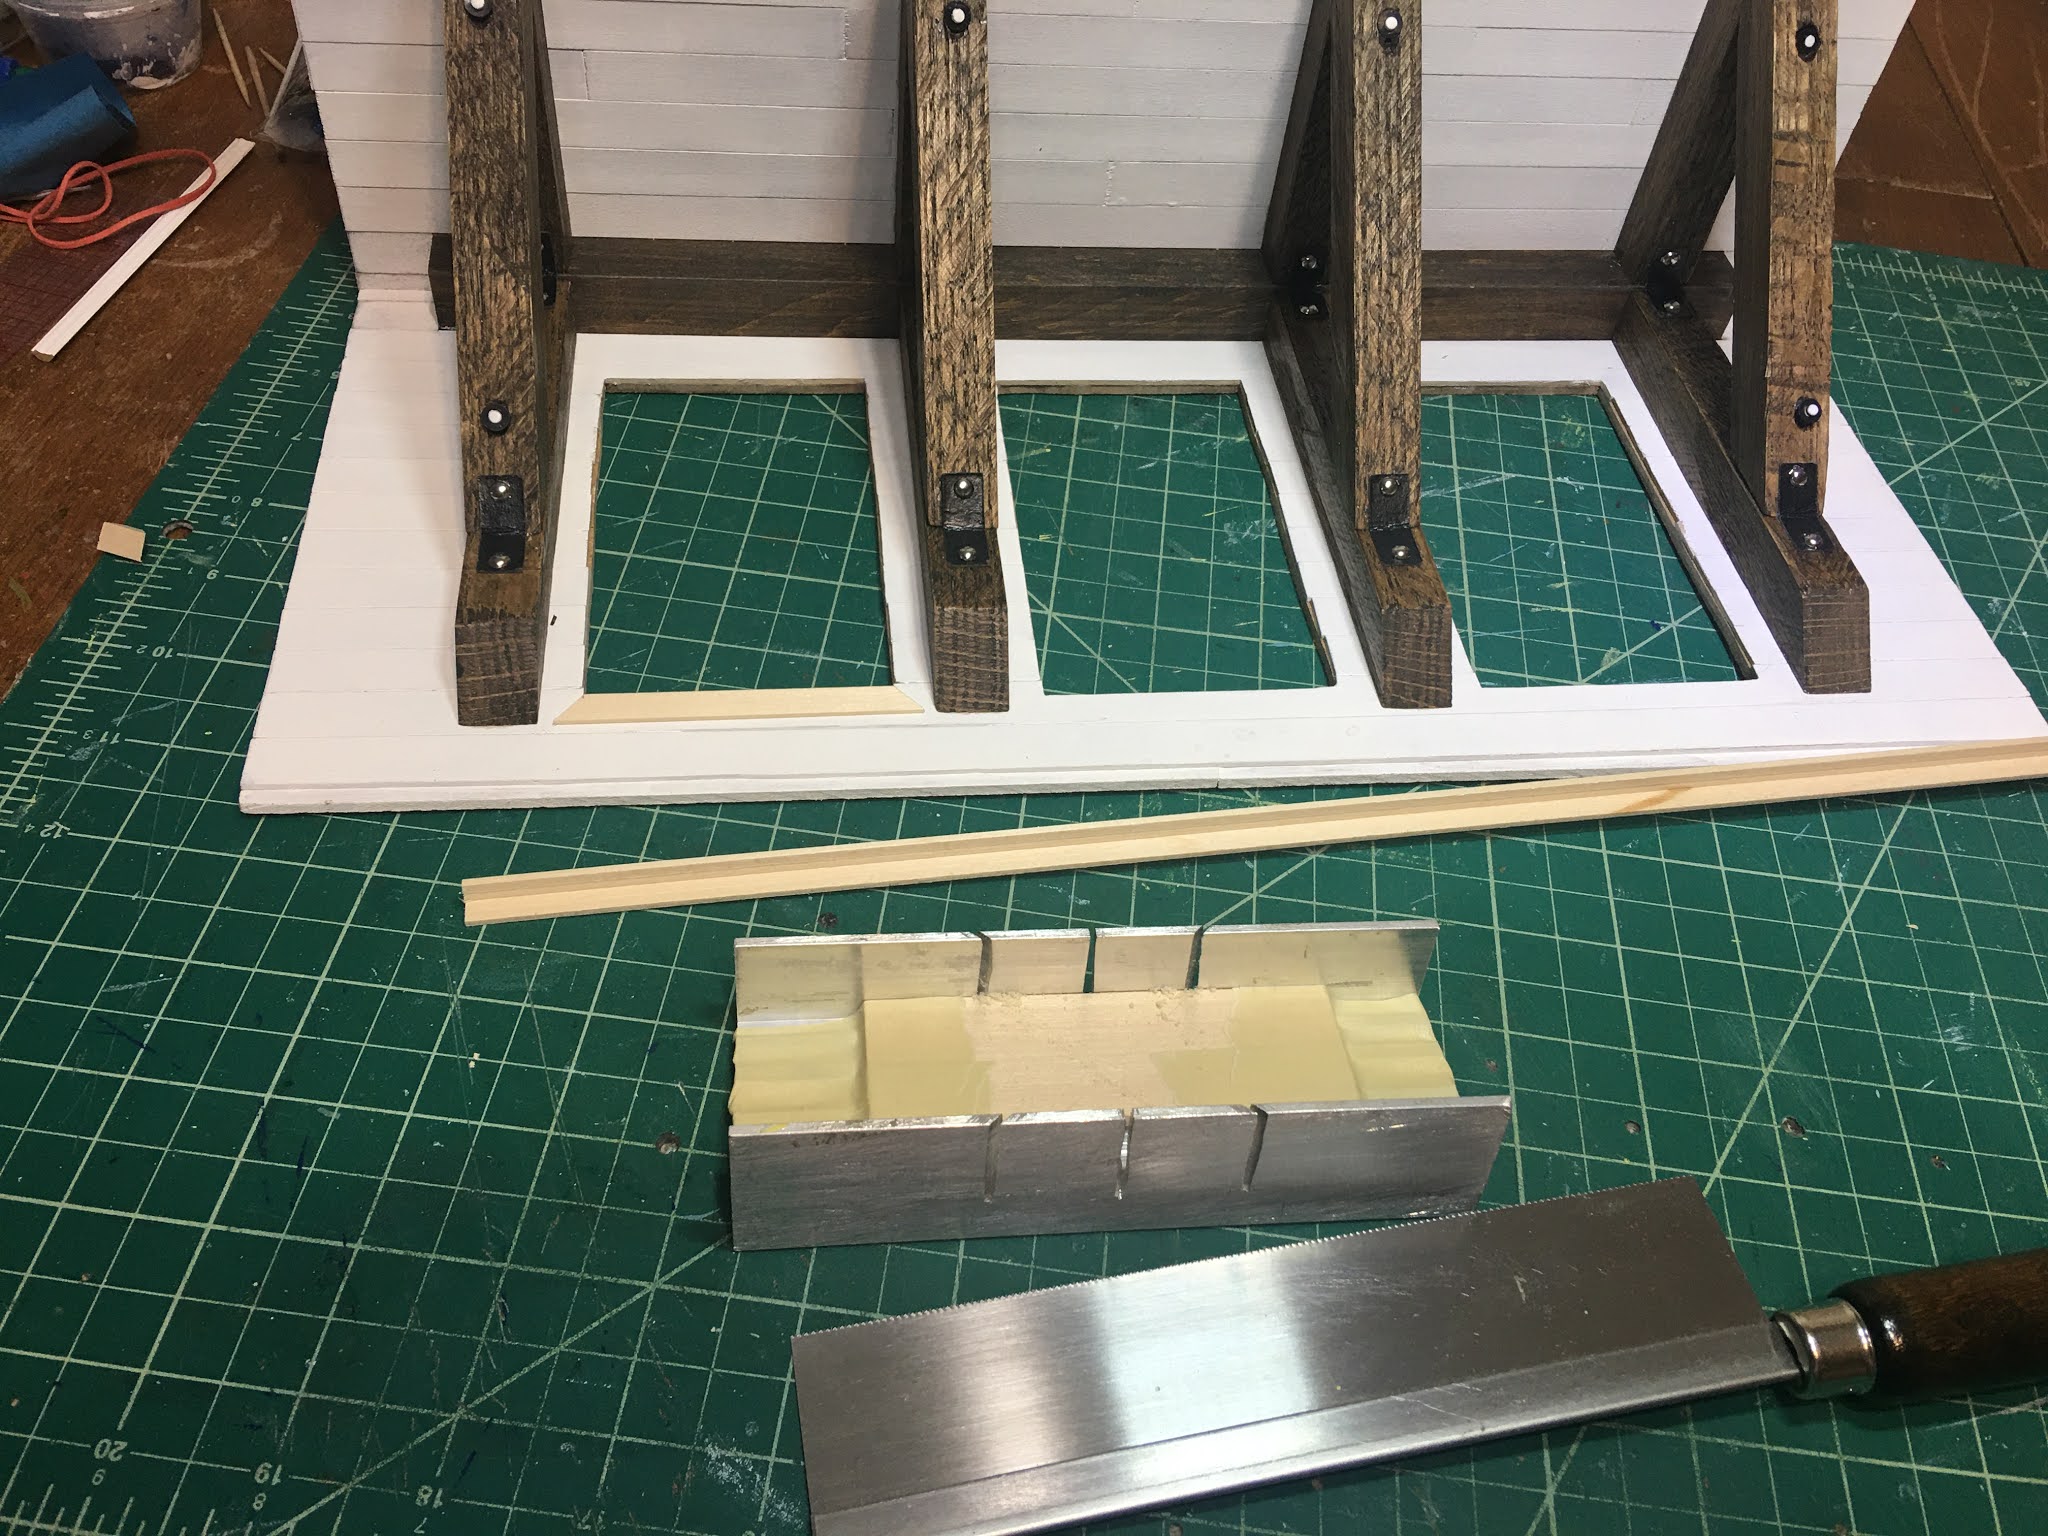
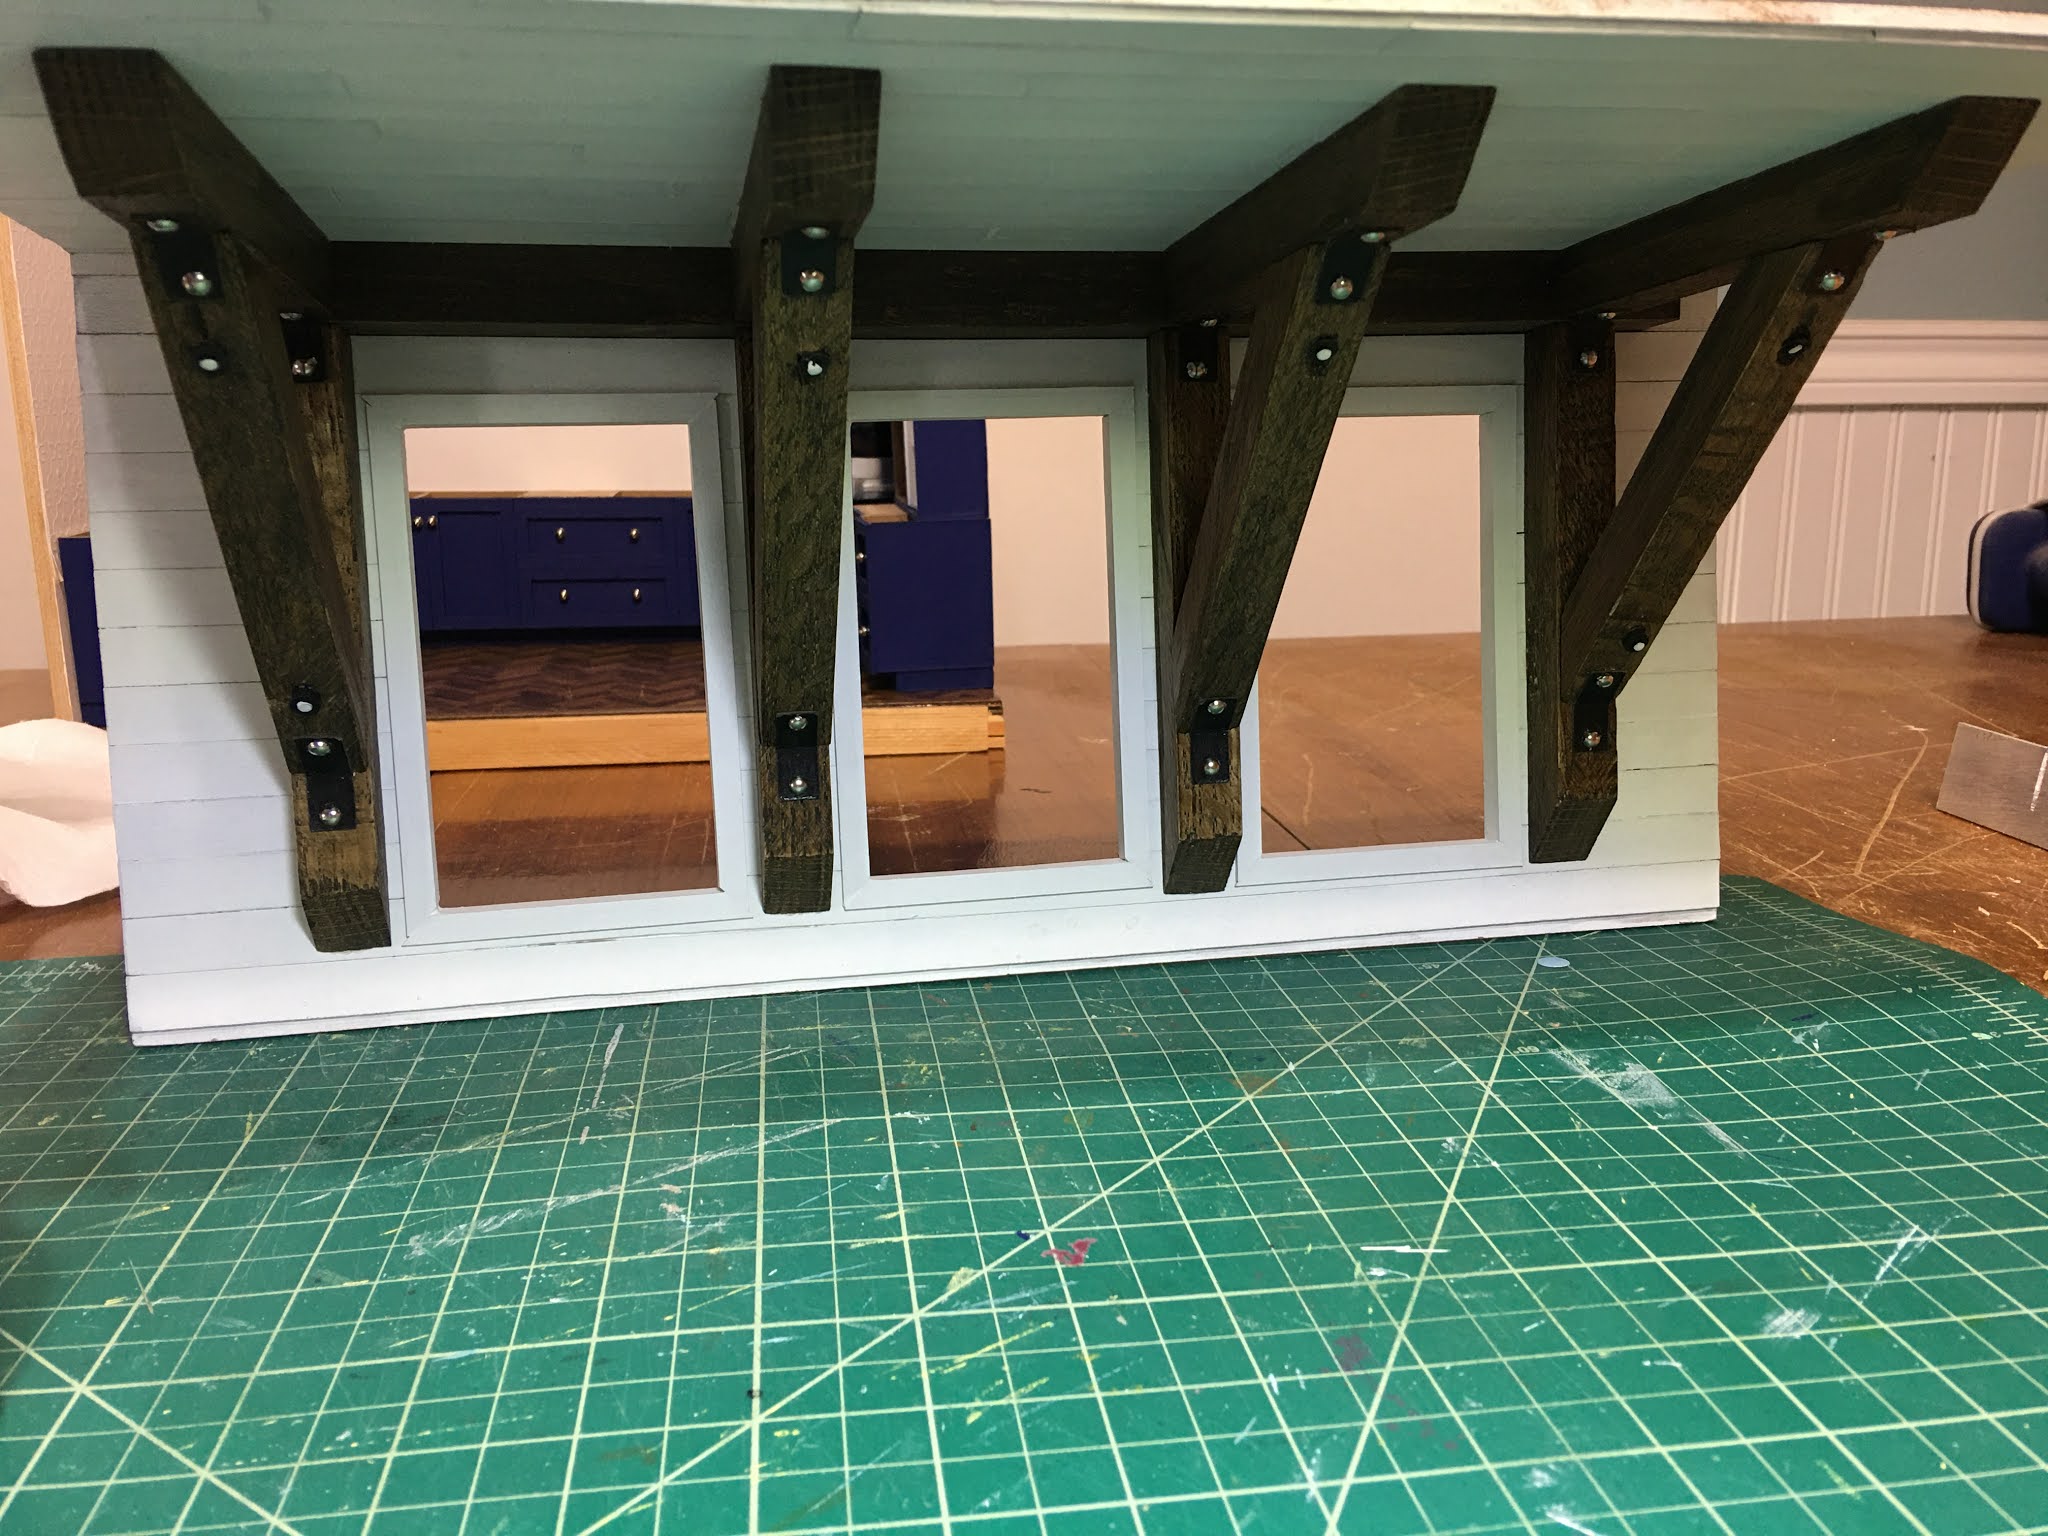
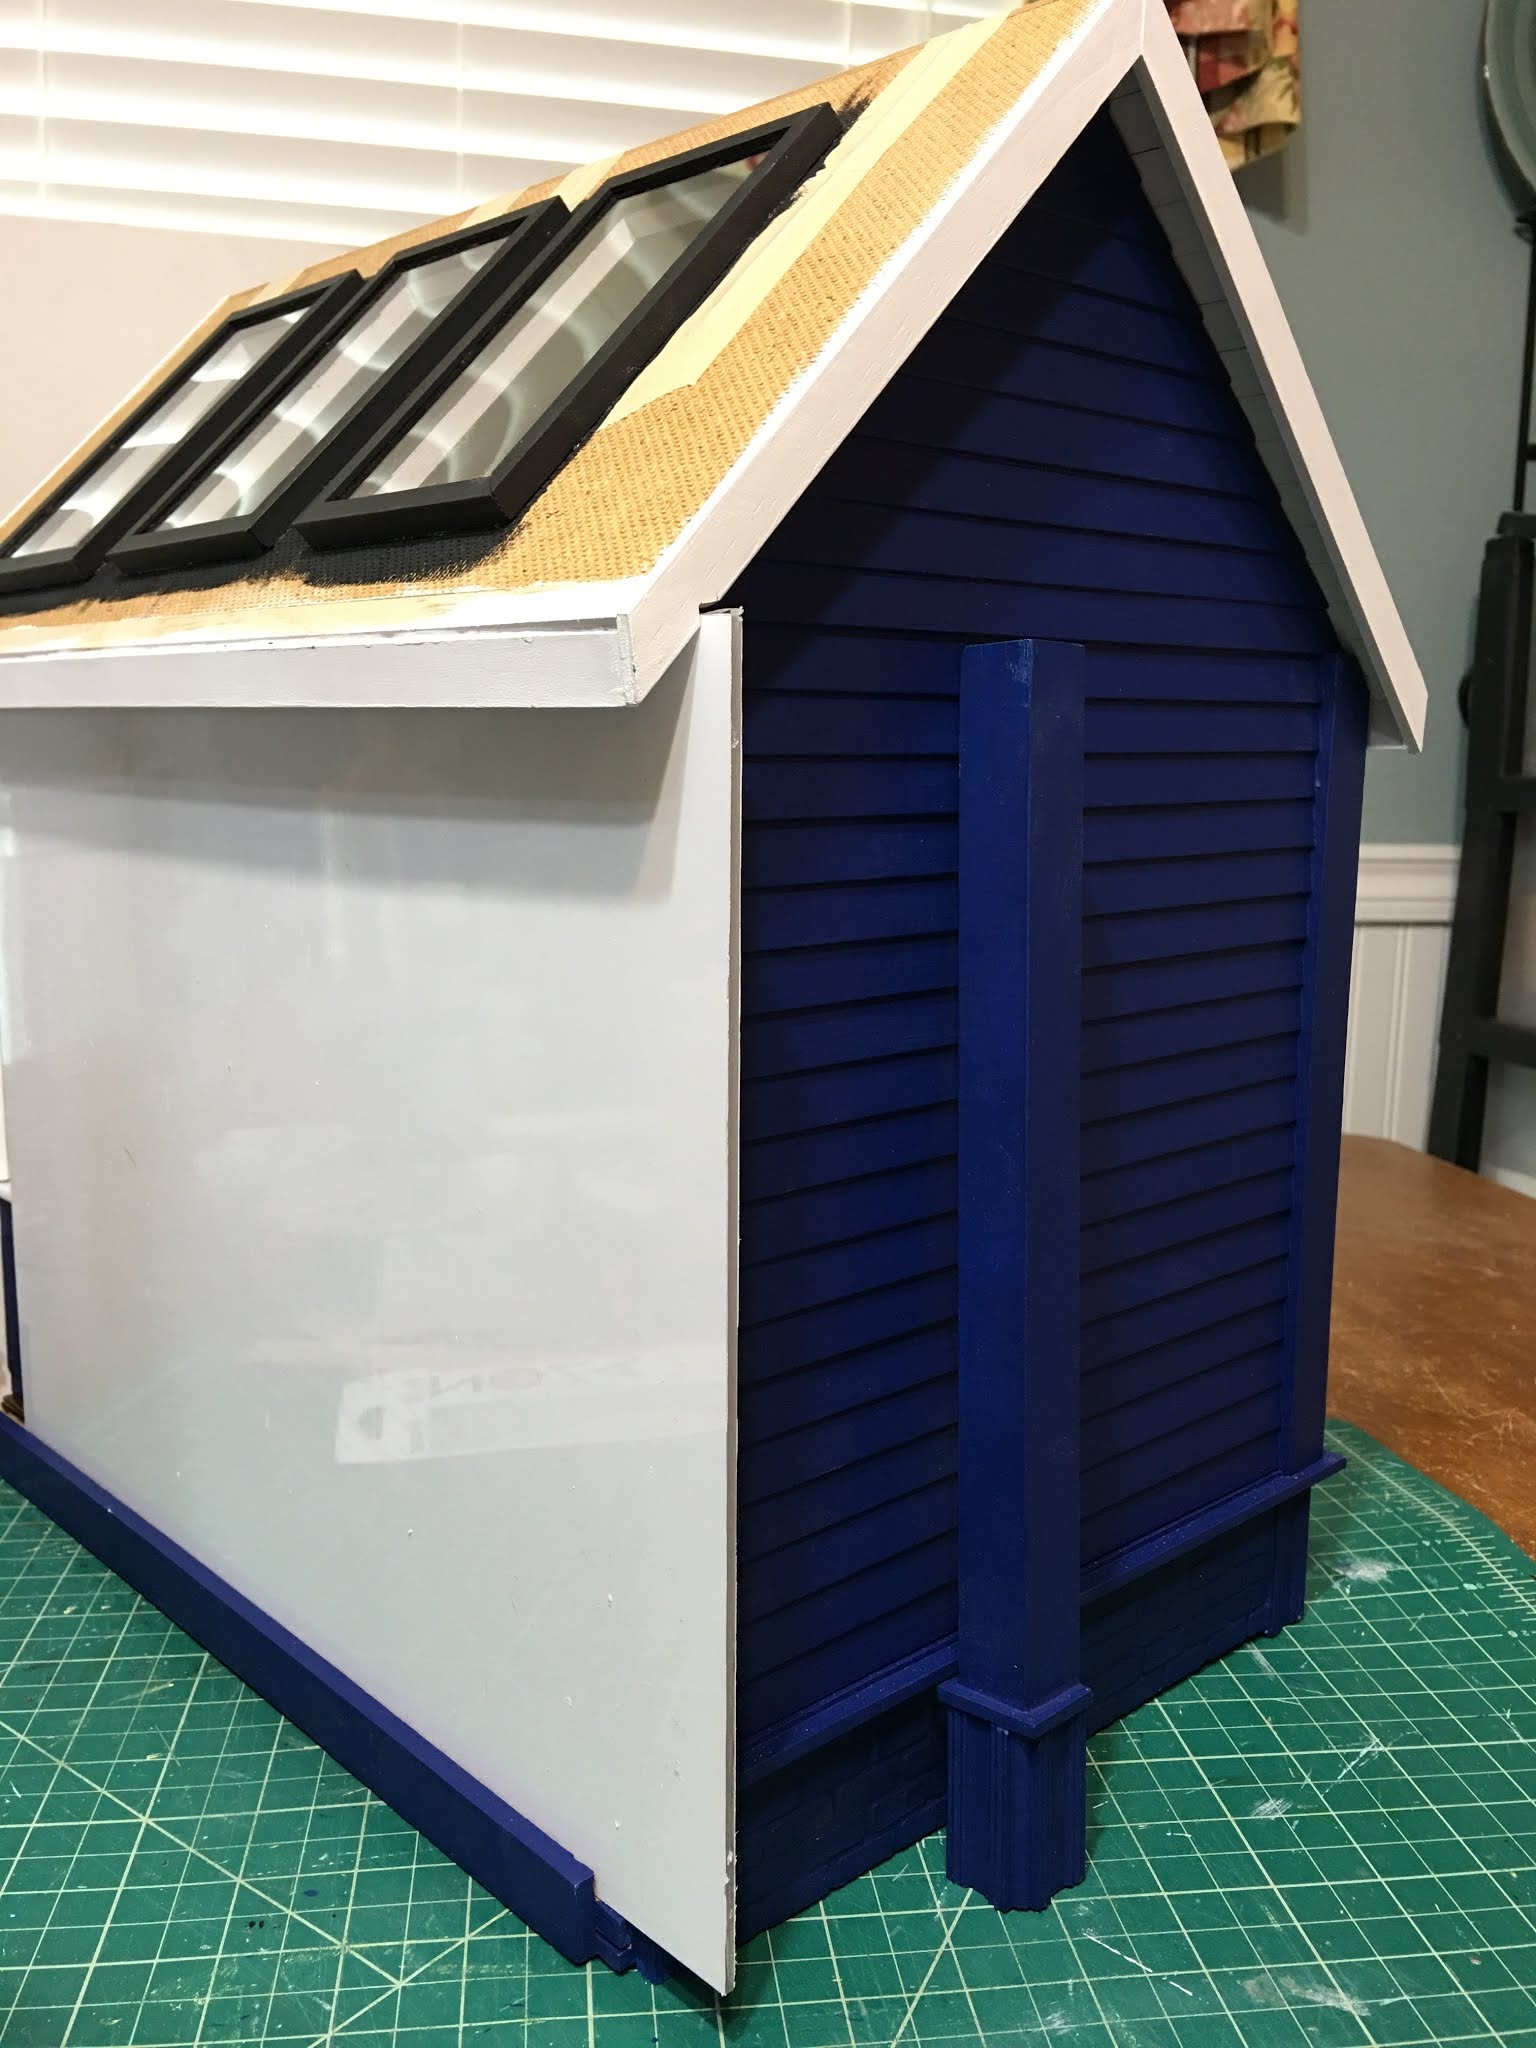
April of 2018 was such a creative time for me! I was just beginning to bash the Storybook Cottage dollhouse, my favorite build, so far. The ideas for creating more space, quirky features and solving problems seemed to pour out of my veins! What a magical time!


I am honored to have had the Storybook Cottage project's potting bench chosen for the cover of American Miniaturist (AM215), and also to have had other exterior aspects featured in this month's issue. I hate to admit it, but this dollhouse still needs a couple rooms to be finished inside. Once Tasha's Kitchen project is done, I am leaning toward doing just that.

See all the April 2018 posts here.


In April of 2019 I had found my inspiration again to continue the work on the New Orleans dollhouse. This time, on the upstairs hallway, bathroom, closet and bedroom. It's so comforting to know that even after you've lost enthusiasm for a project for a time, you can find it again and finish it!


You can see all the posts from April 2019 here.


April 2020 was a challenging time for so many of us. The idea that we had to stop doing so many of the things we'd always taken for granted was a huge adjustment. For me, the hardest sacrifice was giving up time with family. I felt so fortunate that Tasha and I got to be with my mom in Arizona for her 70th birthday in February. Just two weeks after we got back home, the lockdown began. She was on my mind daily, and with Mother's Day approaching, I wanted to make her a little project that included some of the things she loves in her new retired life.

You can read about Mom's Mother's Day project starting here.


I was also working on Pound Cake, the bakery project's exterior. True to my usual M.O., my enthusiasm for this project has waned and I await it's return. Someday, it's going to be awesome, and I have faith that I'll become enamored with it once again!!!

I used to fear April's arrival, standing by the narrative that only bad stuff happened in this month. I pointed to things like the historical births of many of the world's monsters, anniversaries of many disasters and massacres, the assassinations and deaths of some of the world's most incredible leaders, and of course, our dreaded tax returns were due. But now, in my broader wisdom, I see that was just a story I told myself. April, like any other month., is full of life, whatever label we assign to it. Looking back at the incredible blessings that occur in this month gives me a new perspective. April is Amazing, and our stories are just what we choose to believe about them. Thoughts really do become things... Now I'm choosing the good ones.

Thanks for walking down memory lane with me!

xo xo,

Jodi

Thursday, April 8, 2021

Tasha's Kitchen - The Creative Itch

The tasks that I was just itching to do this week on Tasha's Kitchen were: Skylights, Exterior Cladding, Front Sliding Panel and Lighting Fixtures. Some nights, at bed time, I was just sad that I had to stop working and that I needed to sleep at all! I love being so excited and motivated to work on minis!


I'll start with the skylights since those have actually been completed and waiting to be installed for a few weeks. I don't know if I have ever seen mass produced skylights in miniature, but knew from the conception of the idea that I would need to make them myself. I pondered the best way to go about this for a couple weeks, looked at photos online and then ultimately decided to make both the interior and exterior frames out of 1/4" corner molding. On the interior, the molding covered the inside of the window opening and wrapped around to form the interior frame. I painted them white like the ceiling so they'd blend in.


For the exterior, I also used the corner molding but built the frames as separate pieces. I made the outer frames, cut 1/16" Lexan to fit into them, then cut an interior frame from 1/8" x 1/8" basswood to sandwich the "glass" in. These frames were then attached to the exterior of the roof, sitting proud of the surface like many skylights do.


Next was the exterior. This kit was really neat in that it provided pre-cut clapboard siding for the right and left exterior walls, and thick corner molding for all four corners. The siding even had the 45 degree angle pieces pre-cut for the gables! Because I had added the extra 1-1/2" of height to make the walls higher, I needed to make up that difference on the exterior walls and on the corner molding pieces. I decided to create a foundation for the room box out of some nifty old white bricks I have. For the corner molding, I used a combination of ridge cap and plinth molding stacked up to make fancy corners.


The kit did not include any material for the back, but I have something special in mind.


Since the right front corner molding piece will need to be removed to slide the plexiglass front in and out, I used ten 3mm magnets imbedded into the molding and on the room box to hold it in place. These are tiny magnets, but are very strong! Just holding the piece close allows you to feel the power of attraction! By drilling 3mm holes about 1mm deep, I was able to countersink the magnets so they sit flush to each surface.


I decided to go with the same navy blue that I used on the cabinets for the exterior. Once the painting was nearly finished, I applied the bricks, grouted them with spackle, painted them white and did not like the contrast. I tried them with the navy and liked them much better. This way, they are a textural feature rather than a competitor for everything else. Also, the navy will show less wear and dirt so will be less of a maintenance issue for Tasha. I installed the window and a small but elegant detail with the black shutters.


I added fascia boards all the way around the roof - boy what a difference a little detail can make!


I cut the front sliding panel from a large sheet of 1/8" thick Lexan - I'm so glad I purchased it when I did because it is 2-1/2 times more expensive now! I needed a 14" x 10-3/16" piece. Anything larger than 12" can get expensive, especially if you have a plastics company do it for you. Using the plastic cutter and some patience, it is easy enough to DIY. I won't risk removing the protective plastic until I take final photos before wrapping it for Tasha's birthday in July.


Remove the corner piece and slide the dust cover out.

The last task I was itching to accomplish for the week was creating the pendant lights. I had three of these plastic containers in my stash and thought they would make a good basis for some lanterns.


Utilizing the 3D printer again, I made some decorative tops with holes through the center for the wires, then drilled a hole through the tops of the containers. I also created a cap piece to attach to the ceiling that you'll see in a later photo.

I strung Evan Designs 5mm bulbs up through the bottom of them, painted the tops a unifying black with a Posca marker, sealed them with matte Mod Podge, made the bulbs opaque with white paint and yellow label Mod Podge, encased the wires in a series of shrink tubing and then glued on the clear shades.


Ceiling caps have been added.


I am thinking the same type of lanterns can be made in the future with glass jars of all kinds and shapes. How exciting! I love them in the kitchen and can't wait to light them up!


Speaking of lighting... I know what my task list will include starting this weekend... Look at this labyrinth of wires! 


I've also got a fun idea for the back of the room box, which will include some handy storage for all of the items that Tasha will have to play with. Hopefully, next week, I'll have some fun progress to show after scratching more creative itches!

One last word to encourage any of you that are finding yourself stuck or uninspired to create...

Perfectionists are often that way because of a fear of failure. If you are seeking perfection, you probably tend toward getting in your own creative way. Just do your best. If you want to do better, try again. Share with someone who won't judge you but will celebrate the spirit of creativity with you. Us fellow miniaturists are great for that! Whatever you do, do not let fear, for any reason, stop you from scratching that creative itch. You must give your own unique masterpiece the opportunity to materialize. Who cares if it's not perfect? The point is to be joyful and to have fun!

xo xo,

Jodi