
Phew! That was a mouthful and a plateful, lol! But I am so happy to say that all the photos of the kitchen 3D printed minis have been taken, edited and are as "ready" as I know how get them! I am not sure of the best way to share the photos with you, other than to divvy them up into the groups that I will sell them in (should I decide on that endeavor).
I have divided them into 7 groups...
Group one includes:
- Spice Rack w/Opening Drawer and Removable Spice Tins
- Honey Pot w/Dipper and Removable Lid
- Garlic Keeper w/Removable Lid
- Salt Pig w/Removable Lid
- Pear Cookie Jar w/Removable Lid
- Utensil Crock
- Utensils: Spoon, Slotted Spoon, Spatula
- Dish/Hand Soap Pump
- Paper Towel Holder


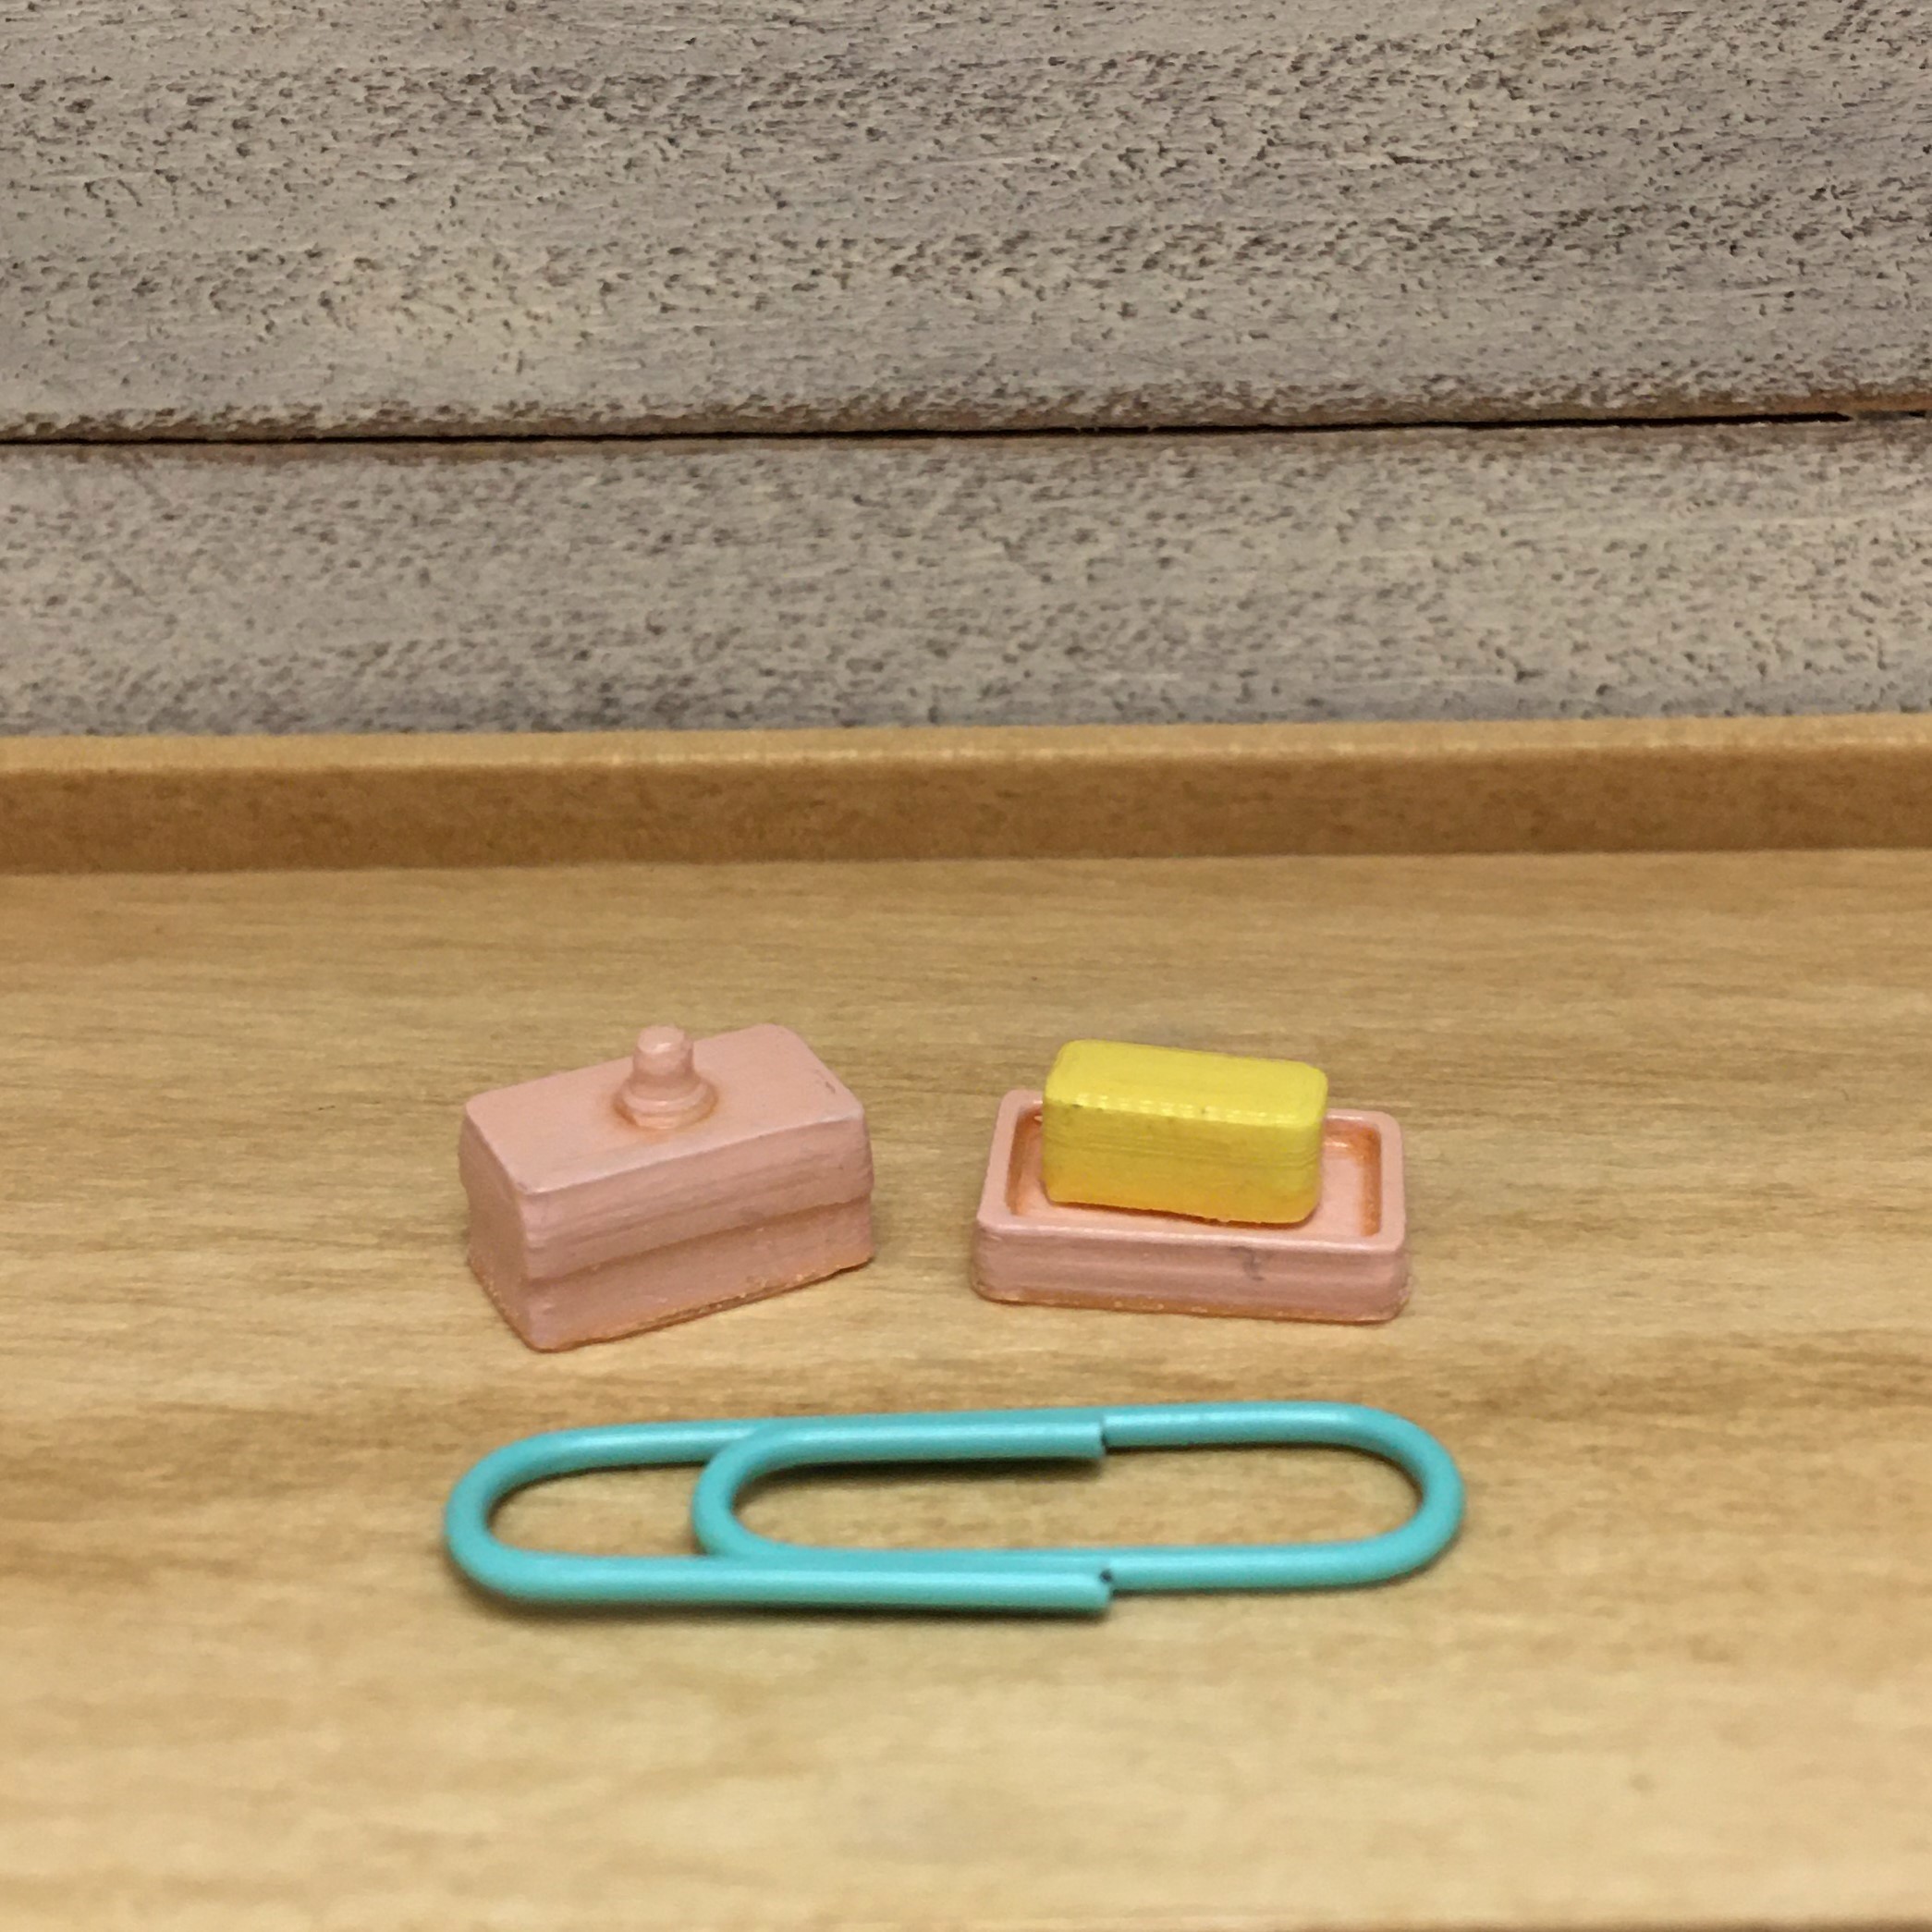
Group Two Includes:
- Vintage Toaster Kit w/ Plug/Cord
- Butter Crock w/Cube of Butter
- Vintage Canister Set of Three w/Removable Lids
- Bread Box w/Removable Lid
- Cookbook Holder


Group Three Includes:
- Cookie Sheet
- Bread Pan
- Muffin Pan
- Scalloped Cake Plate on Pedestal
- Bundt Pan
- Pie Plate
- Rolling Pin Kit
- Optional Bakeware Rack


Group Four Includes:
- Vintage Mixer Kit w/Plug & Cord, Hinge
- Two Liquid Measuring Cups
- Three Dry Measuring Cups
- Three Measuring Spoons
- Stacking Mixing Bowls Set of Three
- Sifter Kit


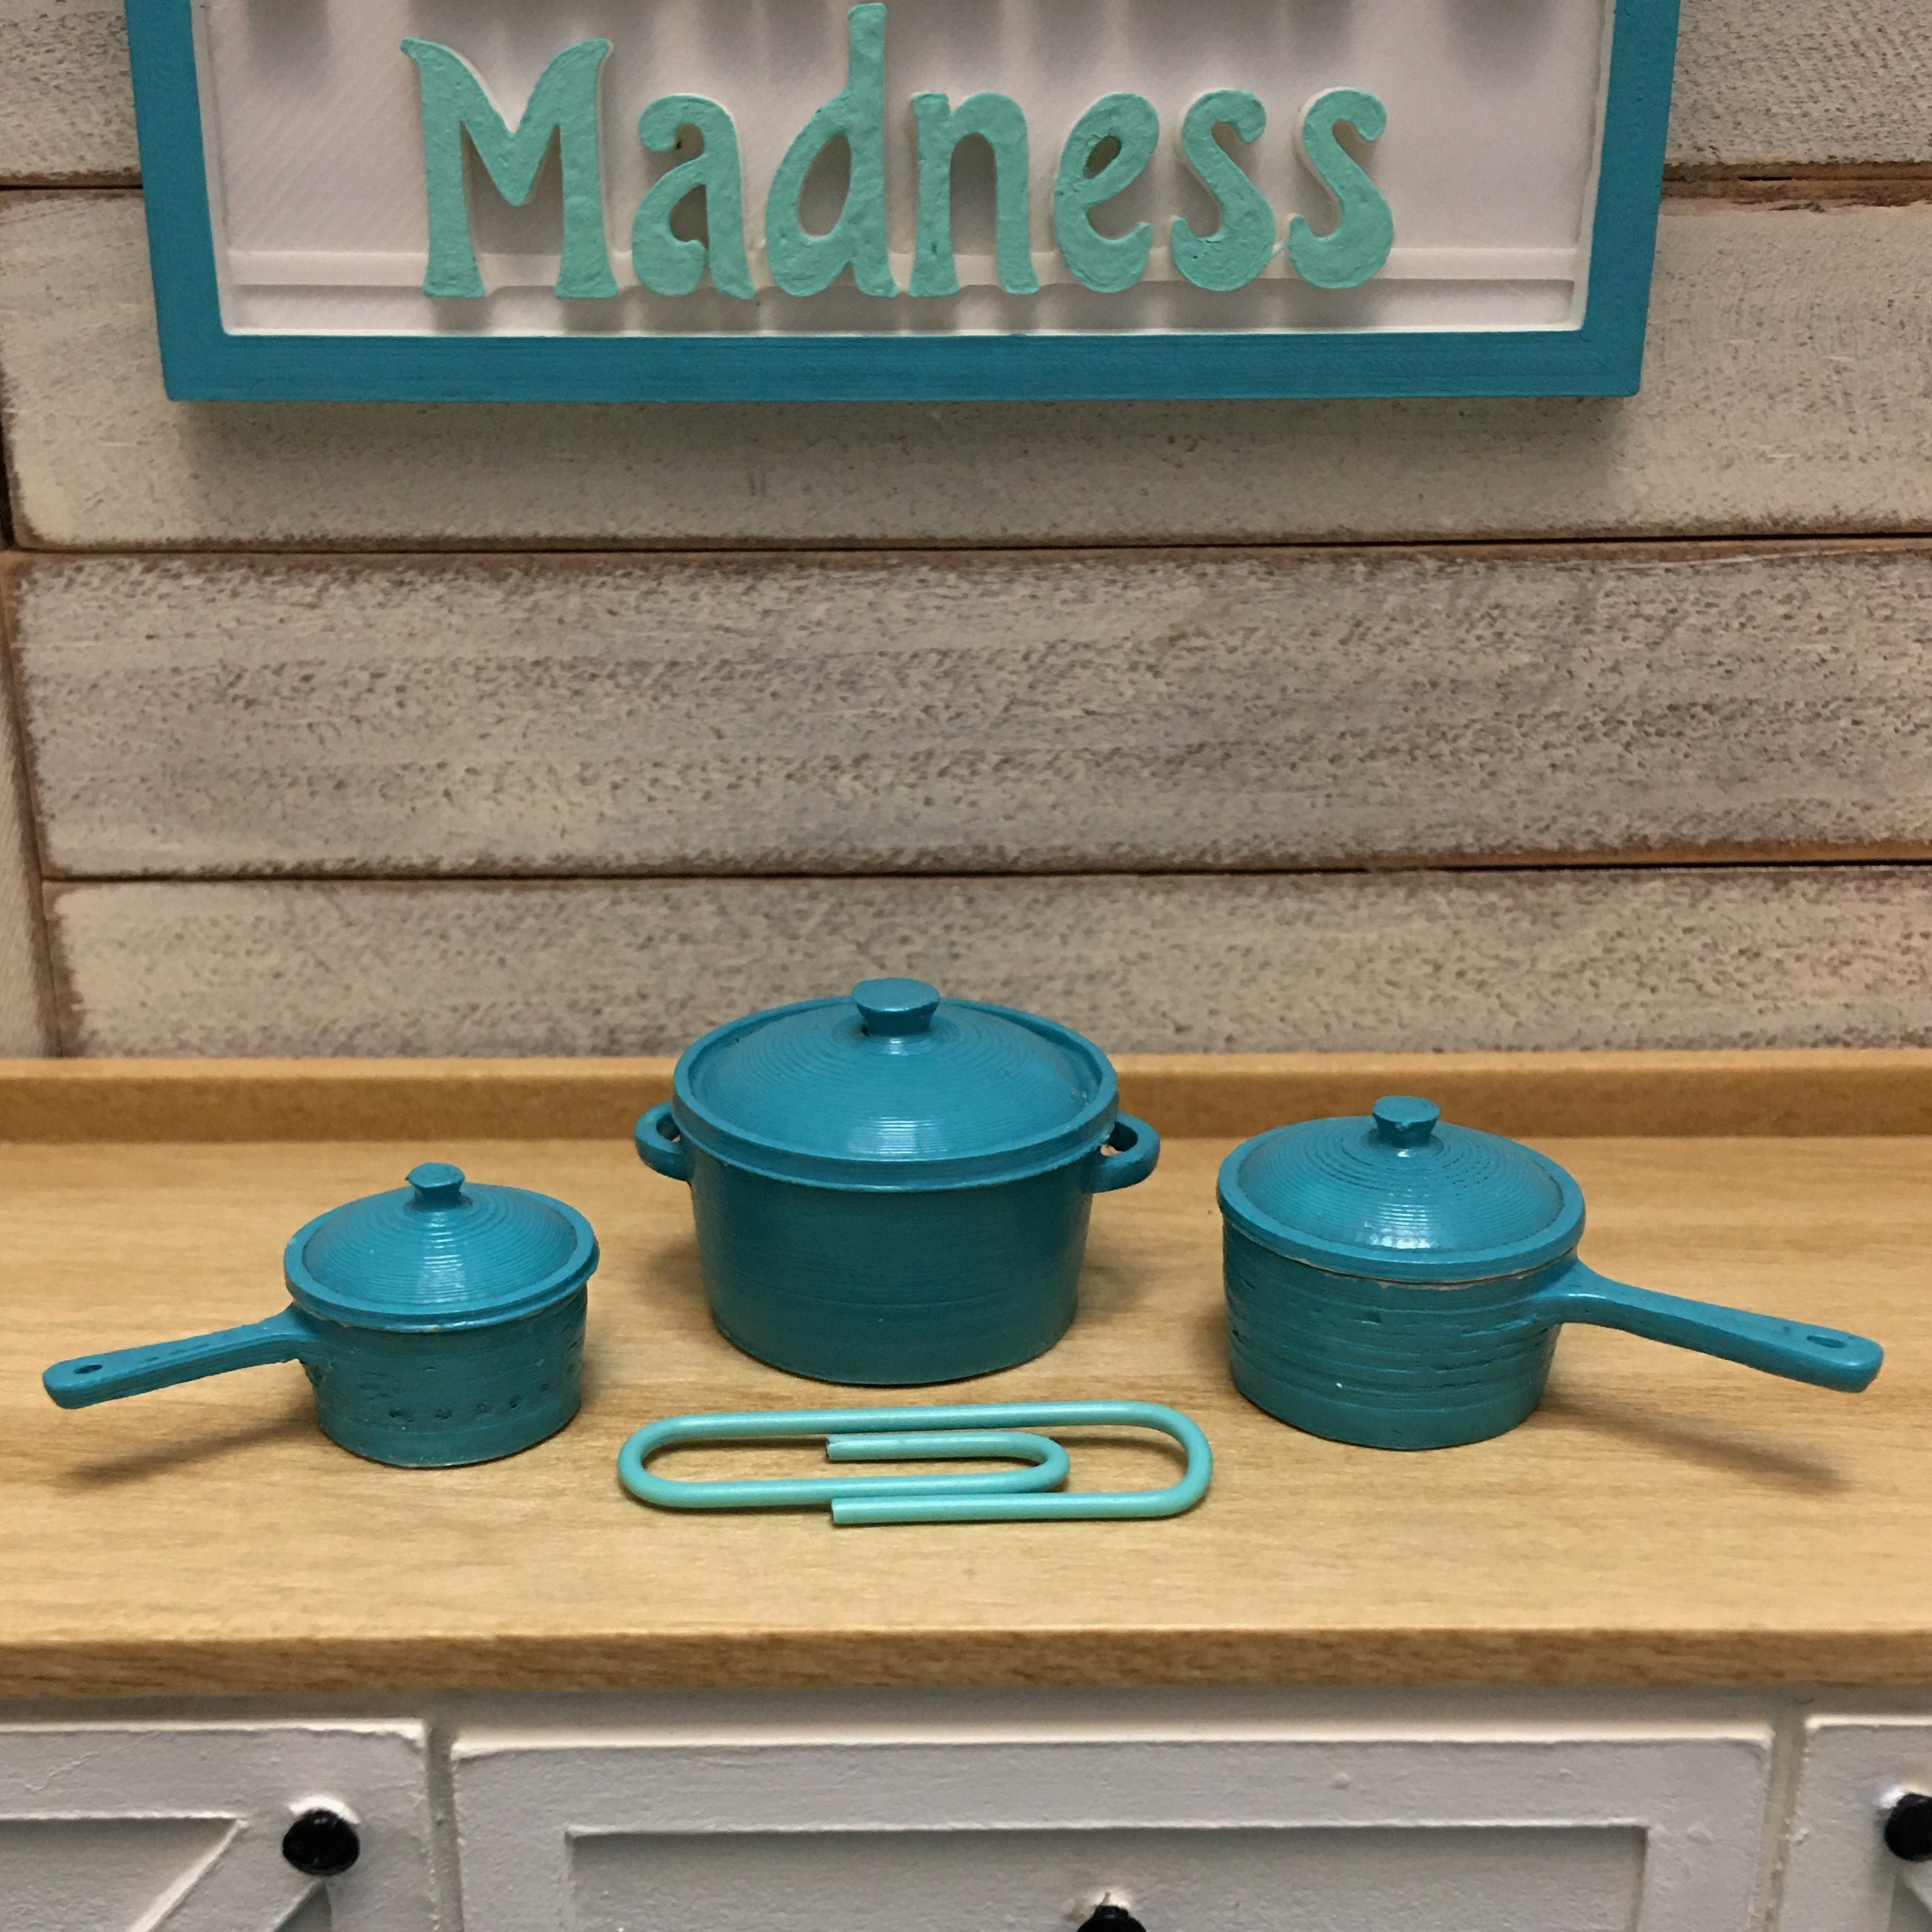
Group Five Includes:
- Dutch Oven w/Lid
- Medium Pot w/Lid
- Small Pot w/Lid
- Small, Medium and Large Covered Casseroles w/Lids
- Small, Medium and Large Frying Pans
- Optional Casserole Storage Rack
- Optional Frying Pan Storage Rack
- Optional Lid Racks


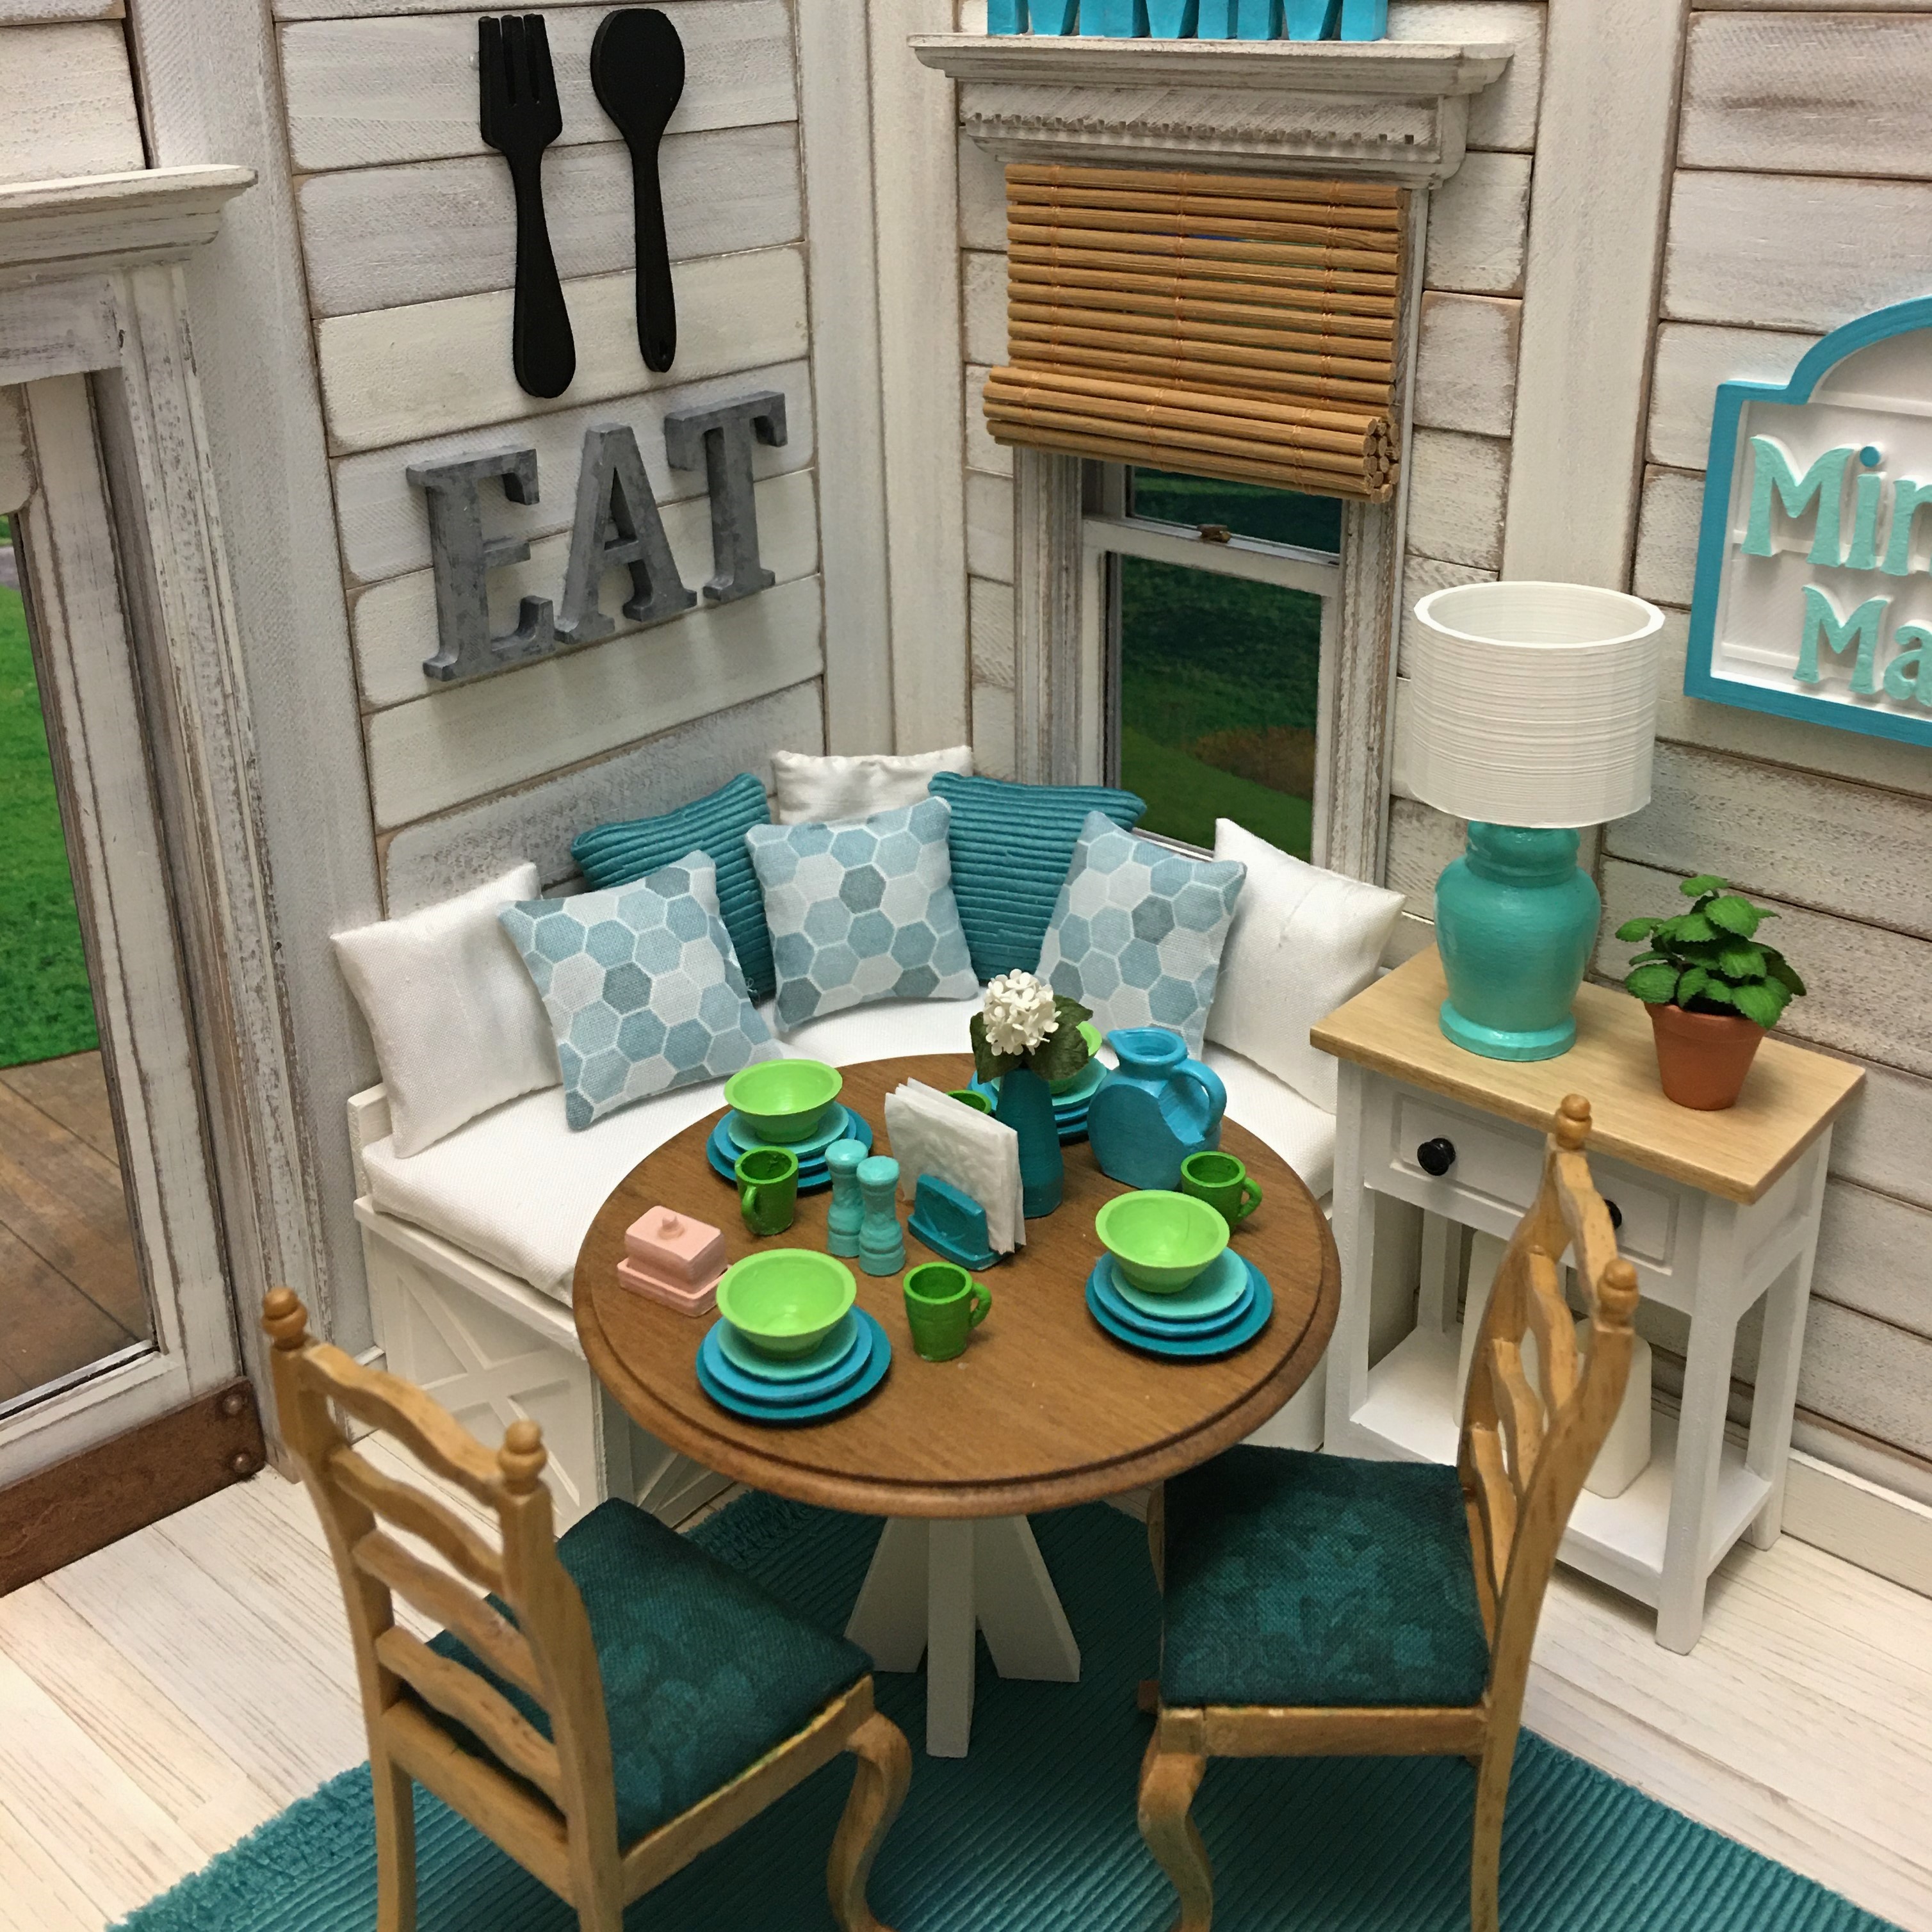
Group Six Includes:
- Bud Vase
- Napkin Holder
- Salt & Pepper Shakers
- Retro Pitcher
- Covered Butter Dish w/Cube of Butter
- Four Dinner Plates
- Four Salad Plates
- Four Dessert Plates
- Four Bowls
- Four Coffee Cups


Group Seven Includes:
- Teapot w/Lid
- Coffee Pot w/Lid
- Two Teacups
- Two Saucers
- Sugar Bowl w/Lid
- Creamer Pitcher
- Tiered Dessert Stand


At this point I do not know what the pricing will be. I have yet to compile the questionnaires that have been returned to me and see the suggestions. I also need to do a little market research to see what similar items sell for. I do know that I'd like to offer free shipping. There is nothing like the nasty surprise of getting to checkout only to see your total way up once taxes and shipping have been added! I need to see if Etsy accommodates a shipping credit for international buyers, too. Still so much to learn!!!


Now it's time to dismantle the photo shops, put the mini kitchen minis away for safe keeping and figure out the next logical step. Would it be helpful to list the kitchen minis on eBay? Say one group of the painted minis and one group of the unfinished minis just to measure interest and pricing? What do you guys think? All honest feedback and suggestions are most welcome! 💗
I hope to be back soon to share the reviews and photos from all of the testers, plus all the finishing tips, products and techniques folks used on these 3D minis. I am so inspired by the creativity and ingenuity in our community of miniaturists! You guys are amazing!!!
xo xo,
Jodi


