Search My Blog!

Use the Search box below to find keywords that you're looking for quickly and easily!

Search Feature

Showing posts with label Beachside Bungalow. Show all posts

Thursday, May 19, 2022

This Ship Has Sailed...

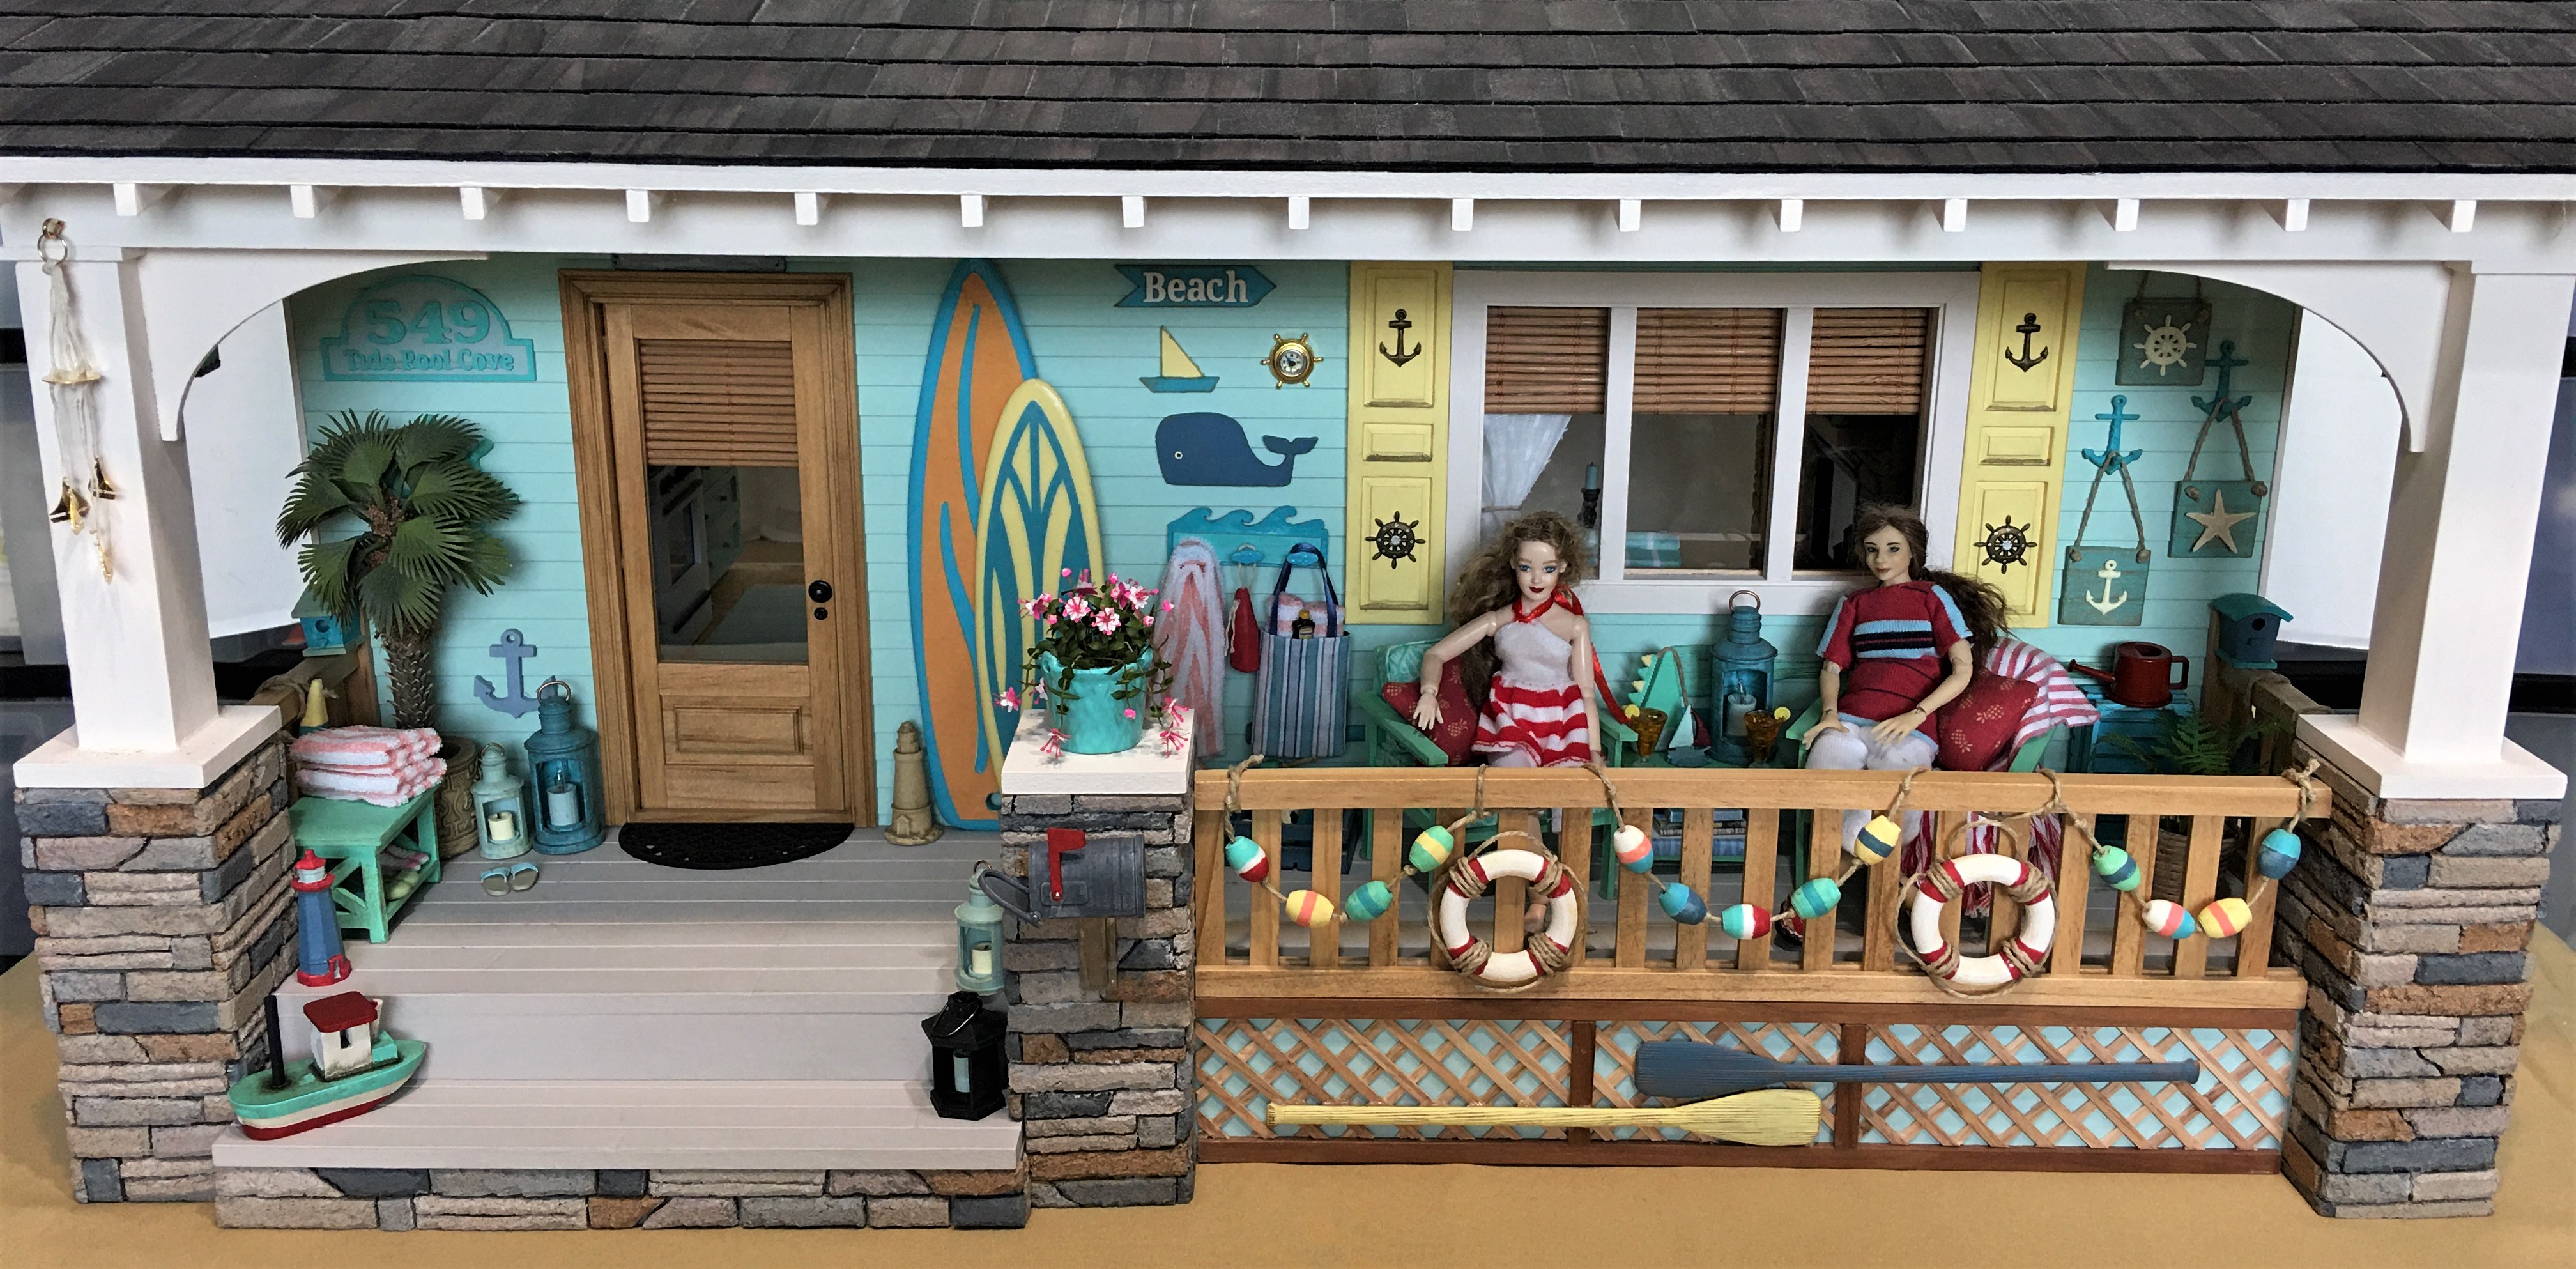
The Beachside Bungalow is officially finished! And as you can see, it didn't take the girls long after I placed the last item to get the celebration started!


There was a surprising amount to do for such a tiny area, but I decided to start with the seating. I looked around online to find outdoor chair styles that I liked and ended up on the Ikea website where I found their Bondholmen chairs. Since Ikea provides detailed measurements and diagrams, converting the measurements from metric to Imperial and then scaling them down to 1/12th was simple. I made a few design changes just to keep them similar to the bungalow's other furnishings. I had the Cricut Maker cut the chipboard. 


Unfortunately, once I'd assembled them, they seemed a bit too short for the occupants to see over the porch railing. They are meant to be low and are very stylish, but aren't good for placement behind porch railings. I finished them anyway, just to have fun, practice with the upholstery and possibly use them in a future build.


A pair.

And a spare.

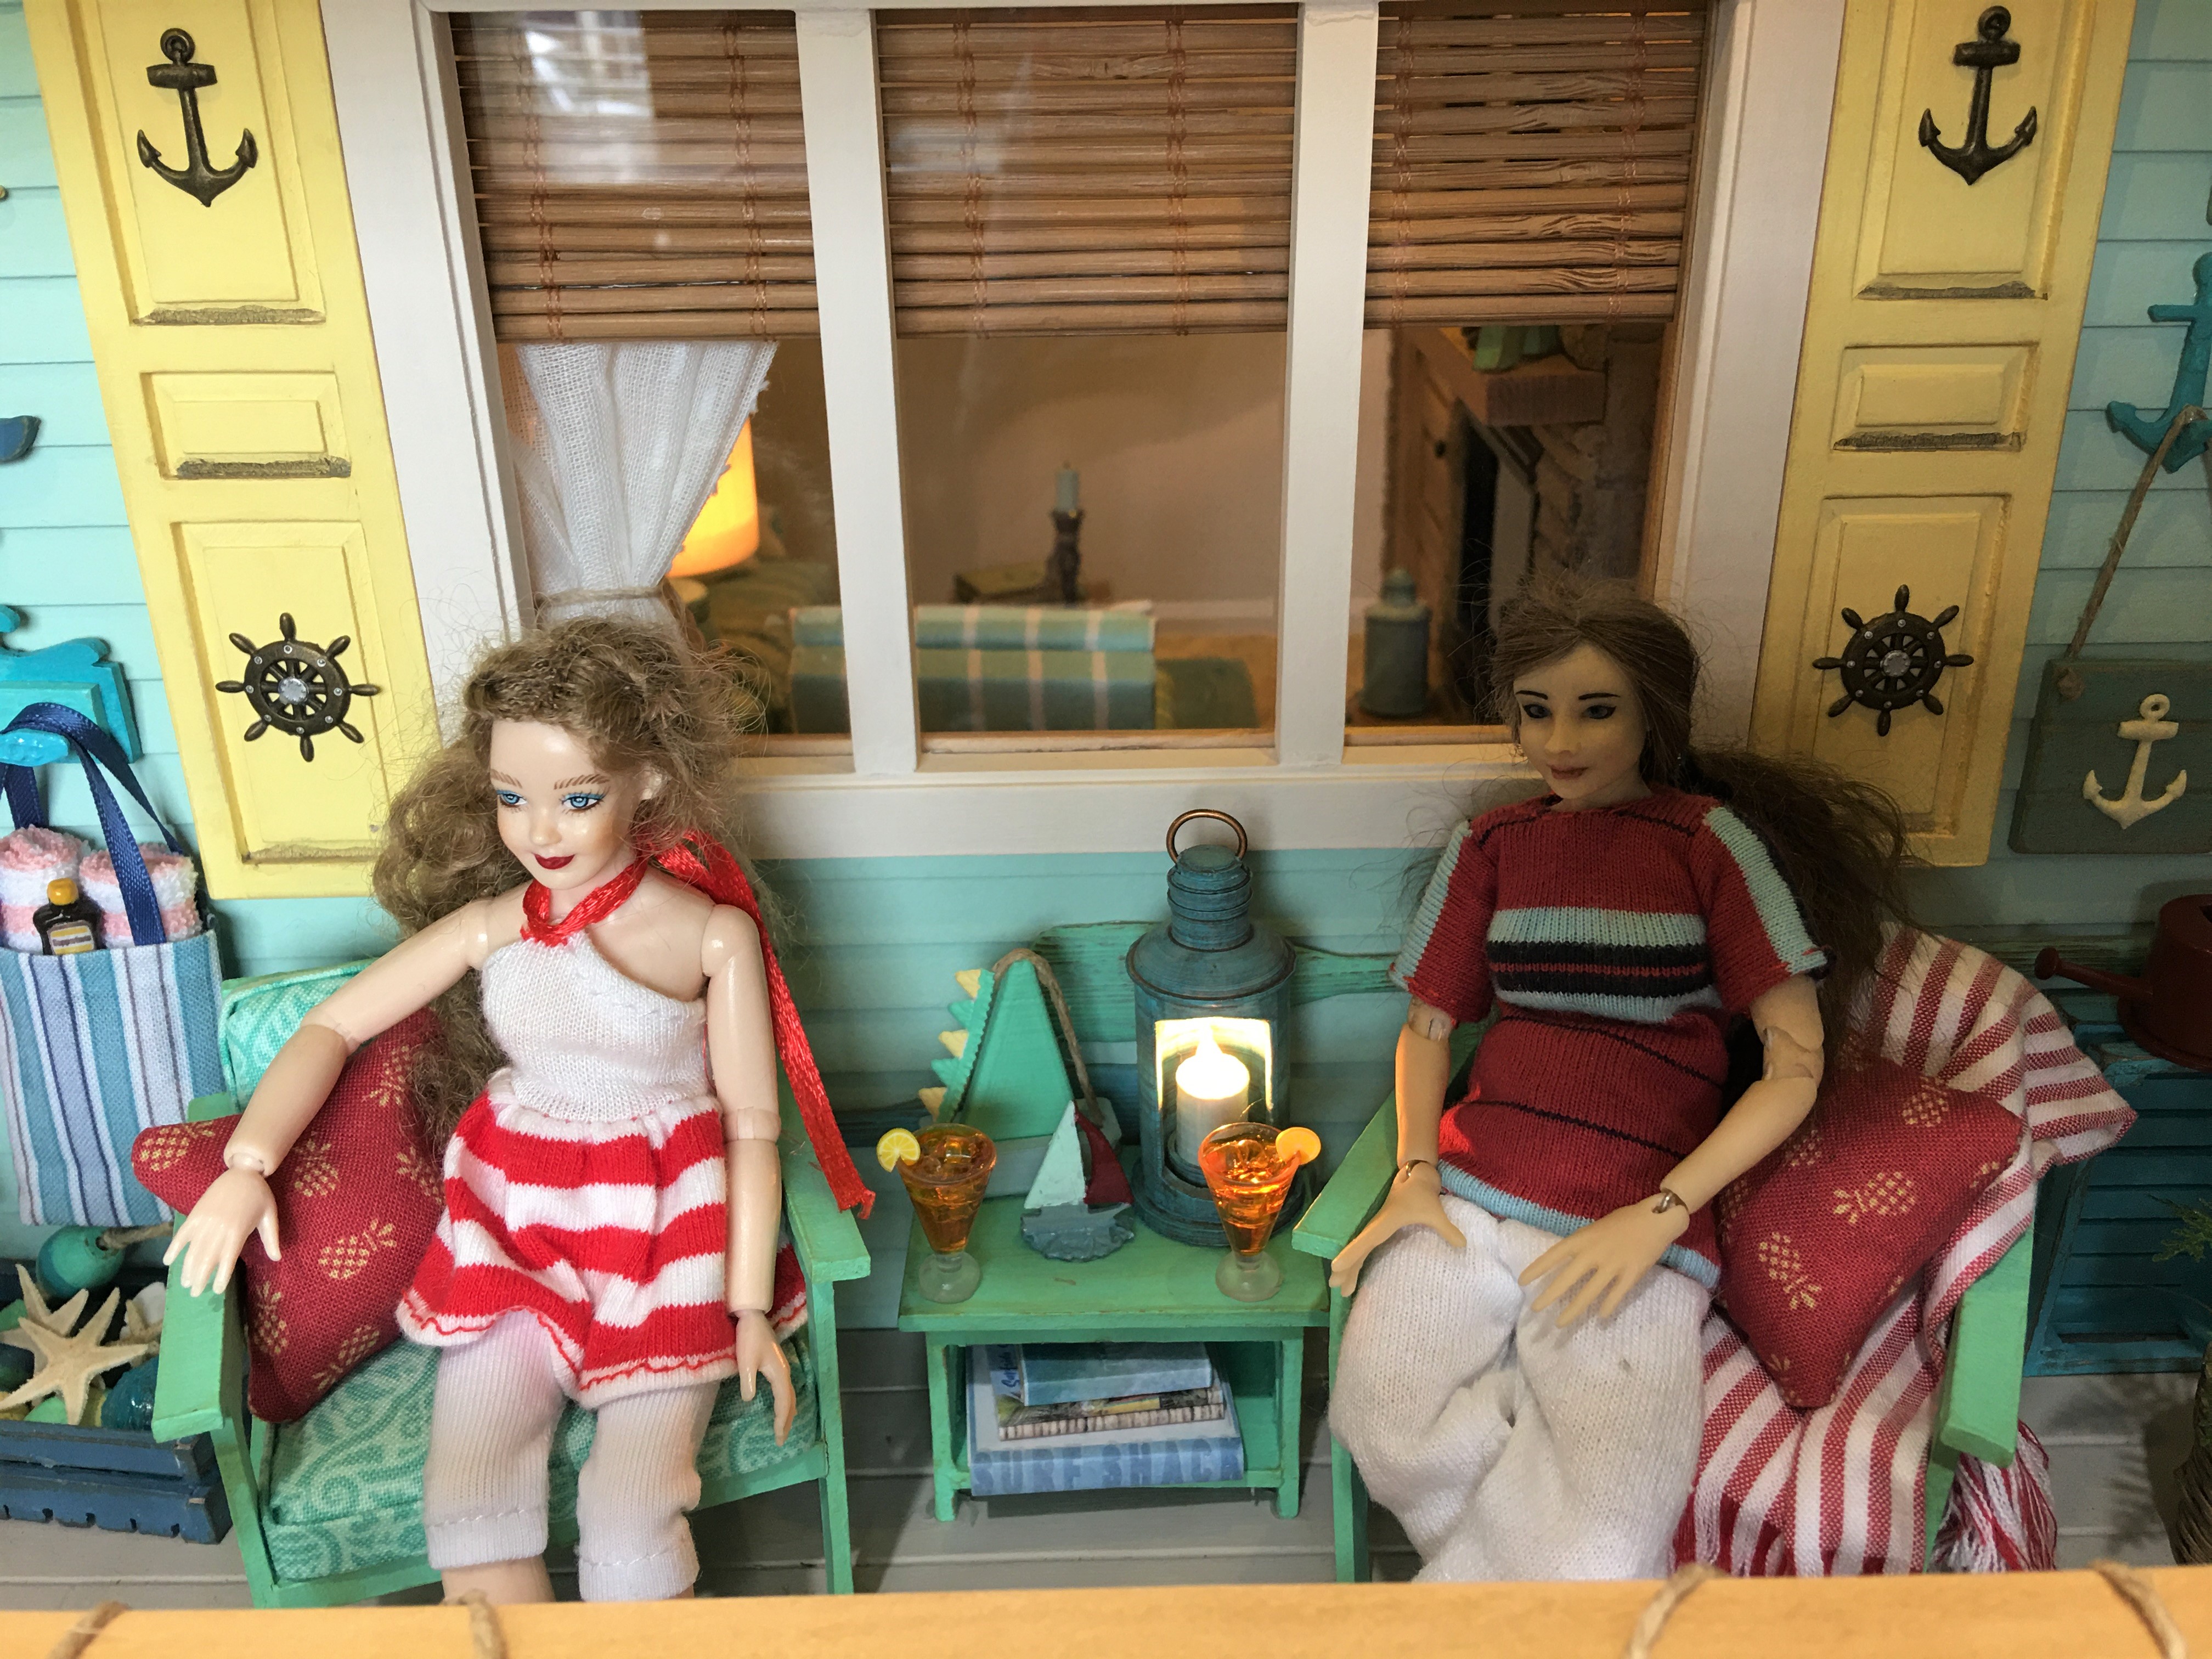
Back to the drawing board for the bungalow's chairs. I added 3/8" to each of the legs, and then they were perfect to sit and watch beachgoers pass by. When I first dreamed up this project in 2016, I ordered several of Brae's pillows. I am so happy to finally display them - they are perfection!


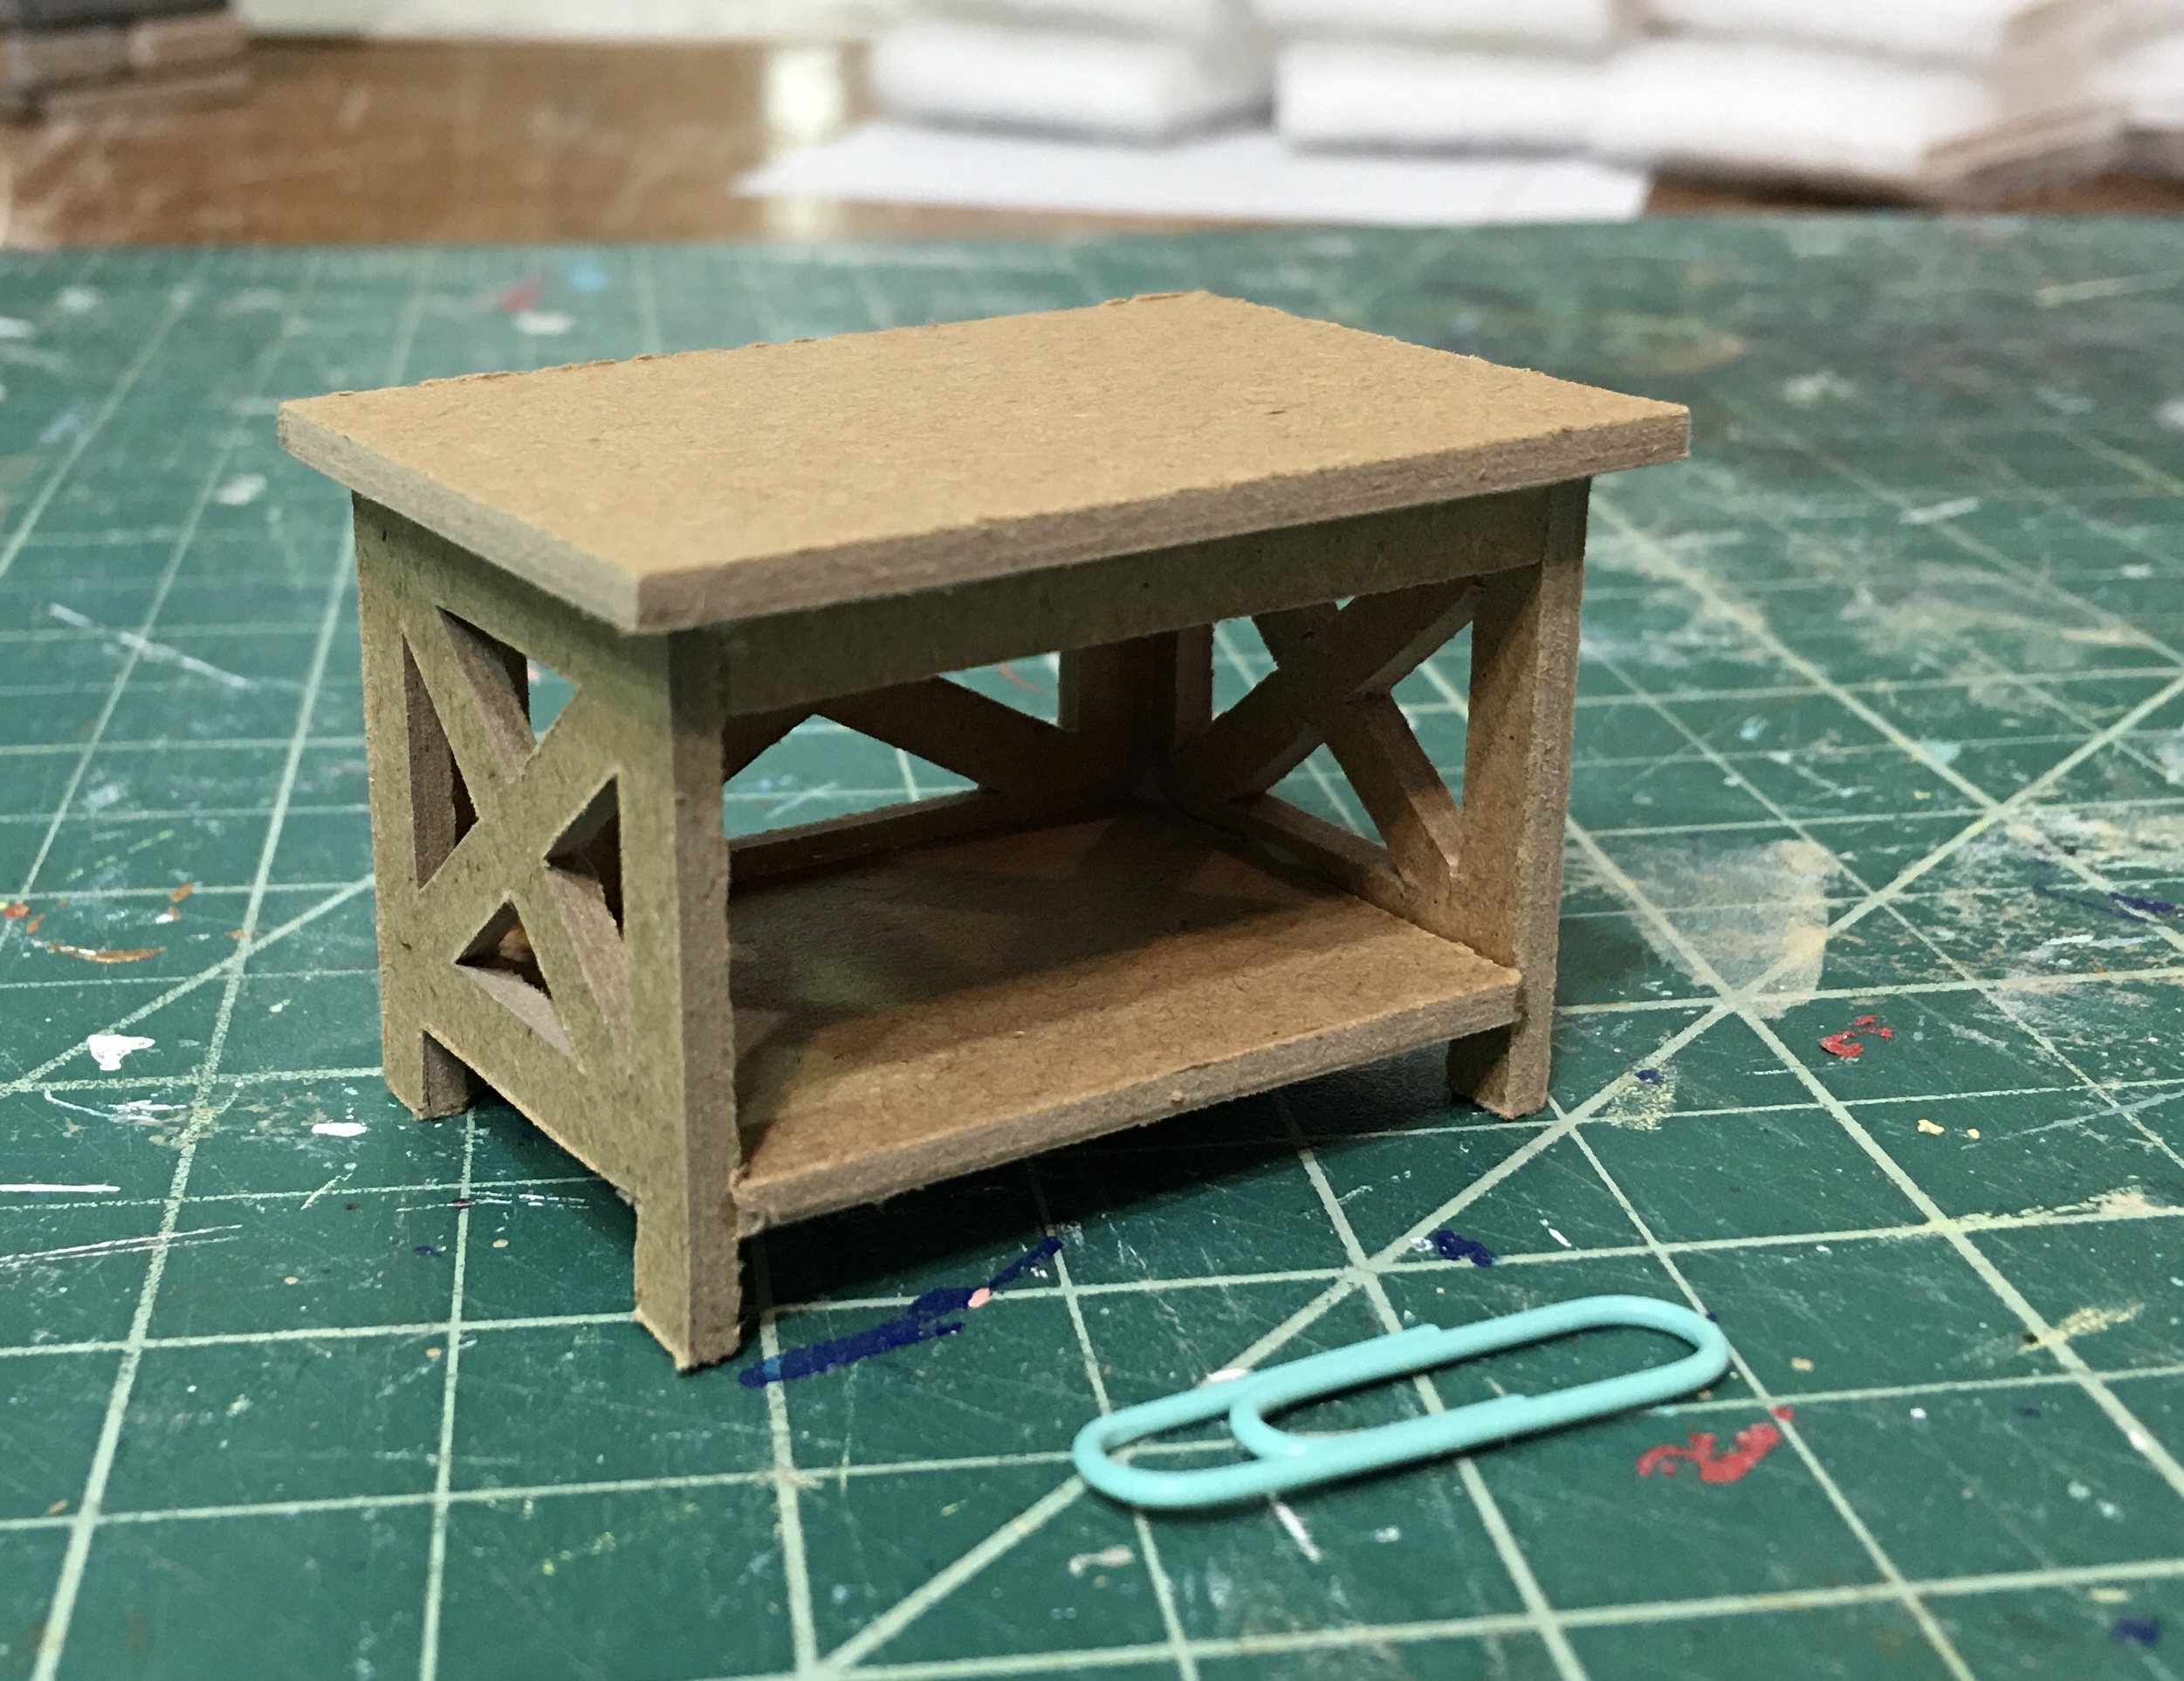
I made some other furniture pieces out of chipboard, too. The shoe bench and the table between the deck chairs are the same interchangeable design. I made a shelf, as well, but the porch seemed a bit too crowded with it. Another piece to save for later!


I made a couple crates out of chipboard, some wall art and and the wave coat rack, too. The boat cleats I 3D printed last week are used as the hooks. I debated with myself about the shutters for a long time but in the end decided I could not pass up a chance for more detail.


Here is the result of the address plaque I made on the 3D printer. There's just no end to the accessories that you can come up with!


I'm really proud of myself for sticking to my commitment about not buying anything new for this project. But I was sweating it a bit when it came time to provide the girls with party snacks and beverages. I'm just about tapped out of spare glassware, but I did manage to find a plastic pitcher stashed away, as well as some plastic pilsner glasses. To create Arnold Palmers (half iced tea, half lemonade) for the girls, I mixed UV resin with a few drops of Honeycomb alcohol ink, I added it by toothpick drops into the pitcher and glasses, layering in "ice cubes" and lemon slices. I had a little bit of a lemon cane left, so I also added sliced lemons to the rims of the glasses. Looks refreshing!


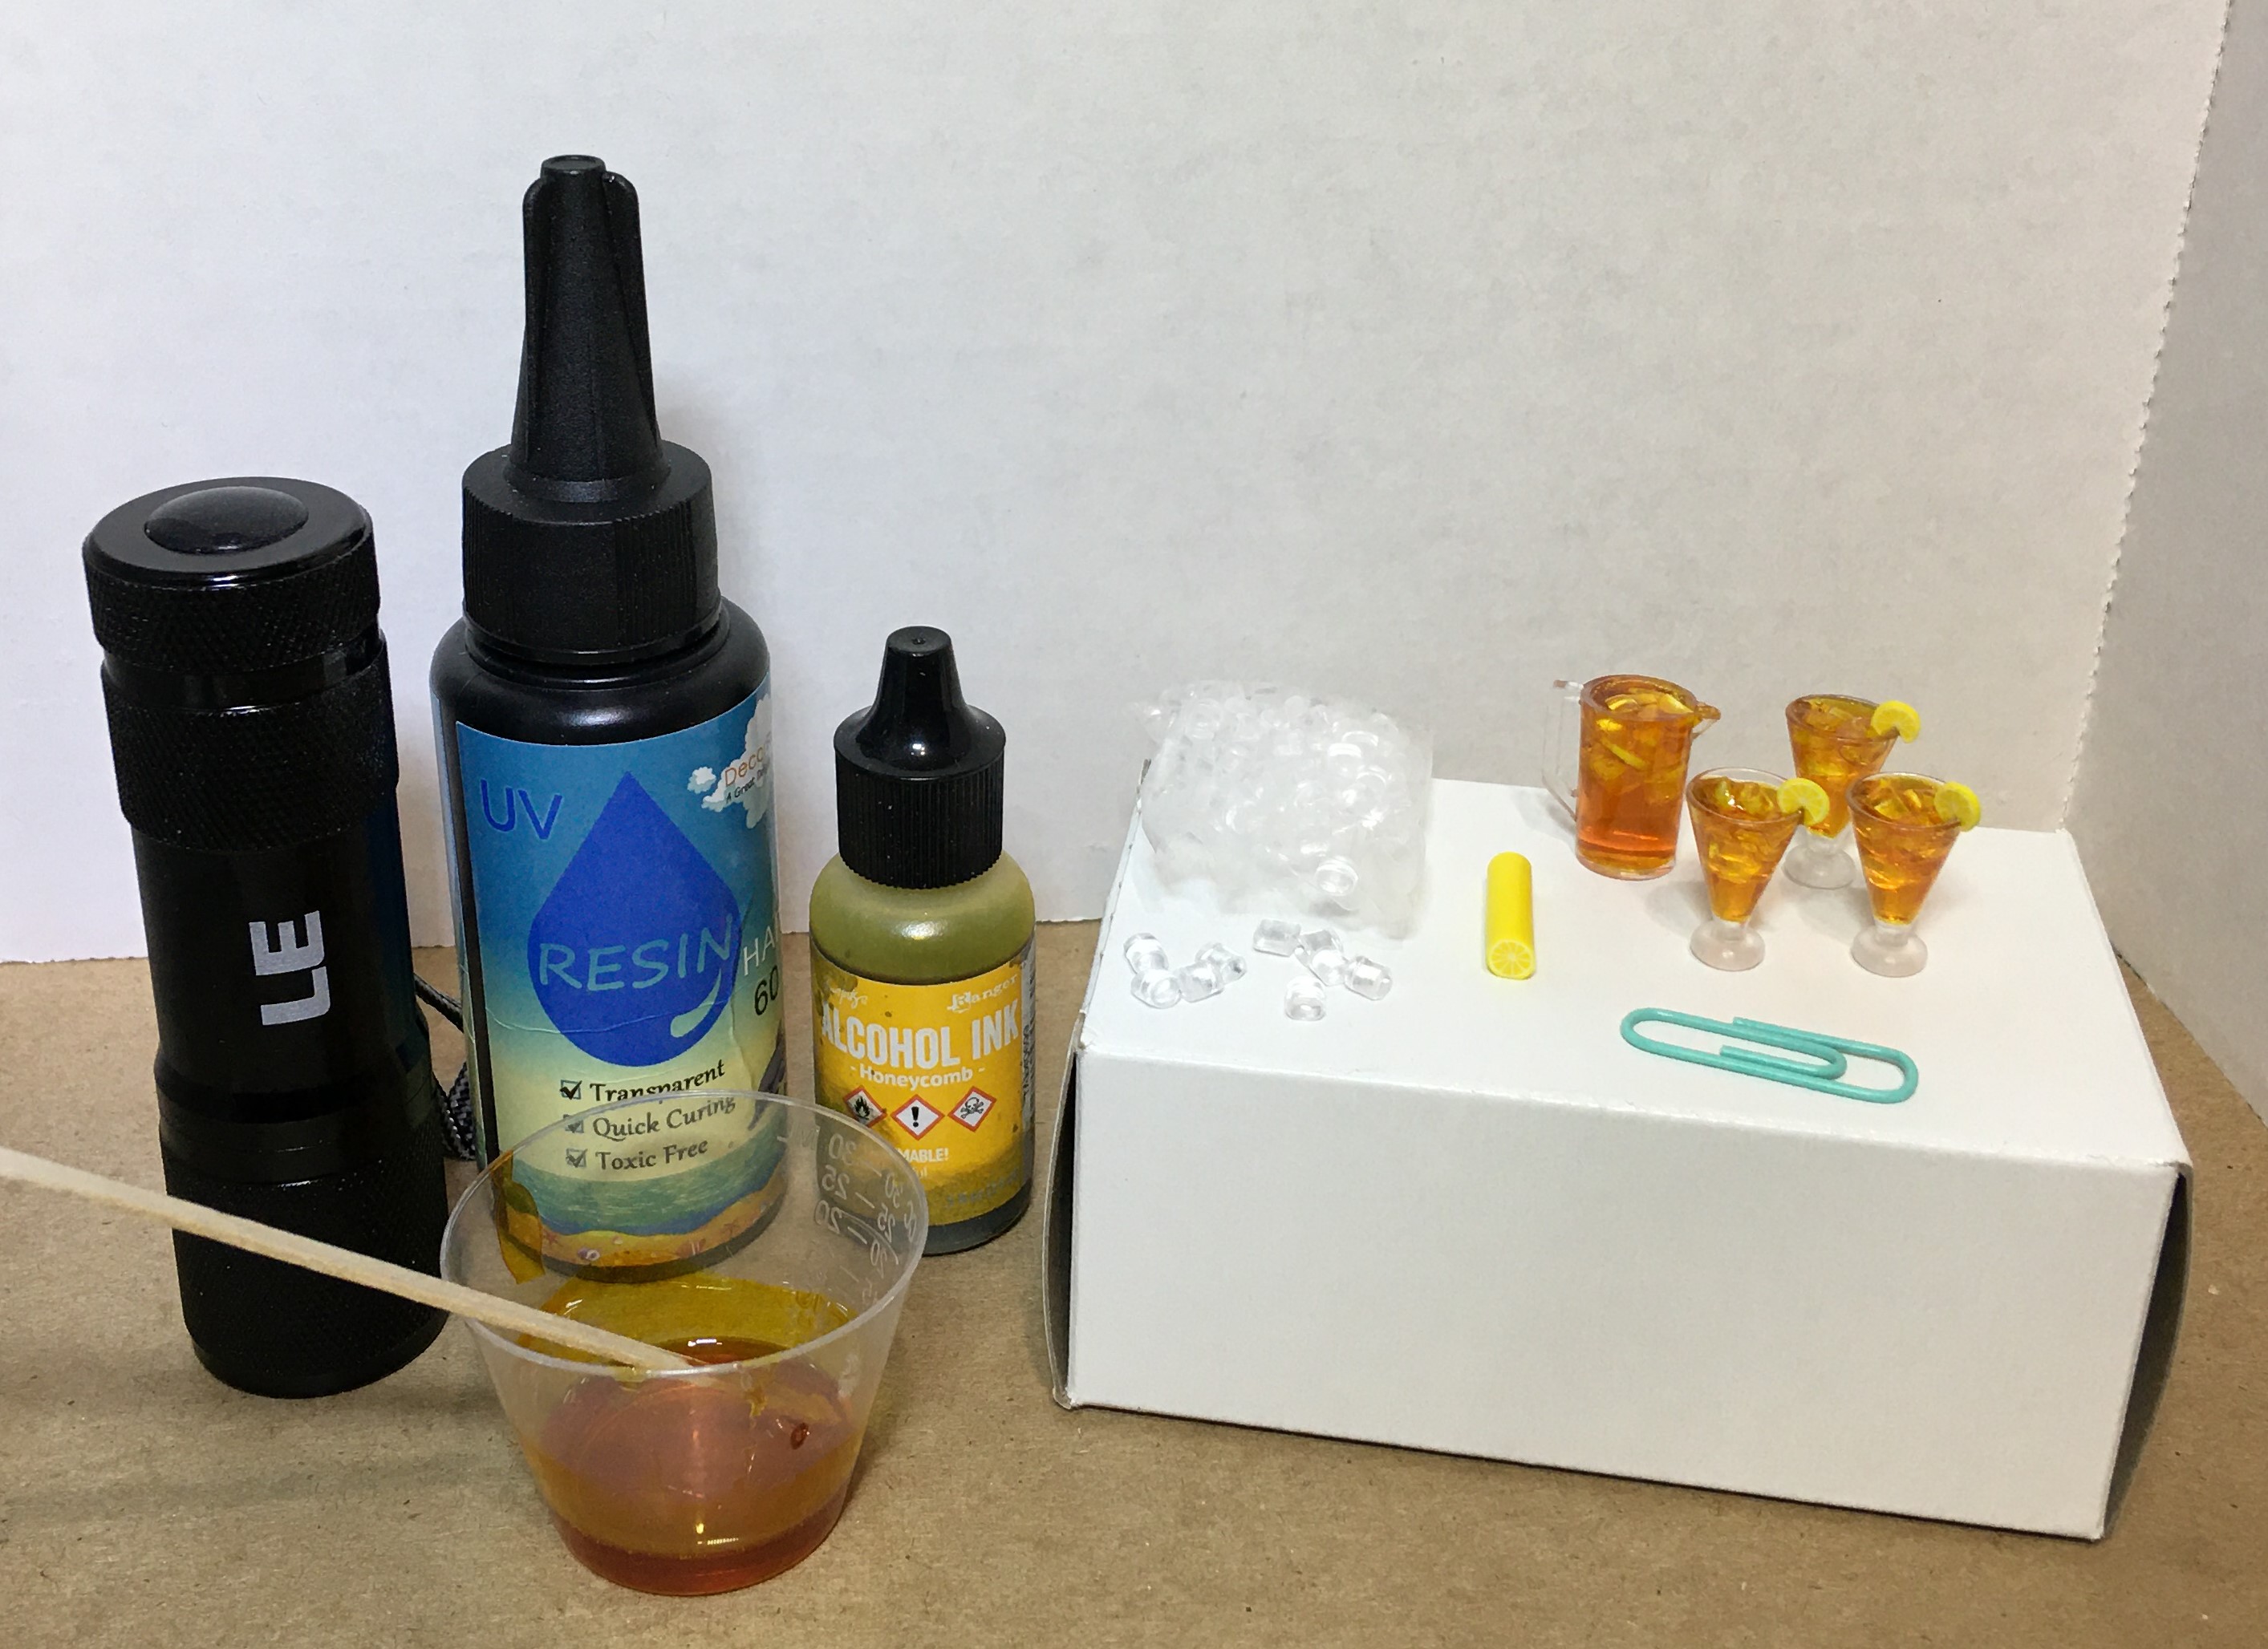
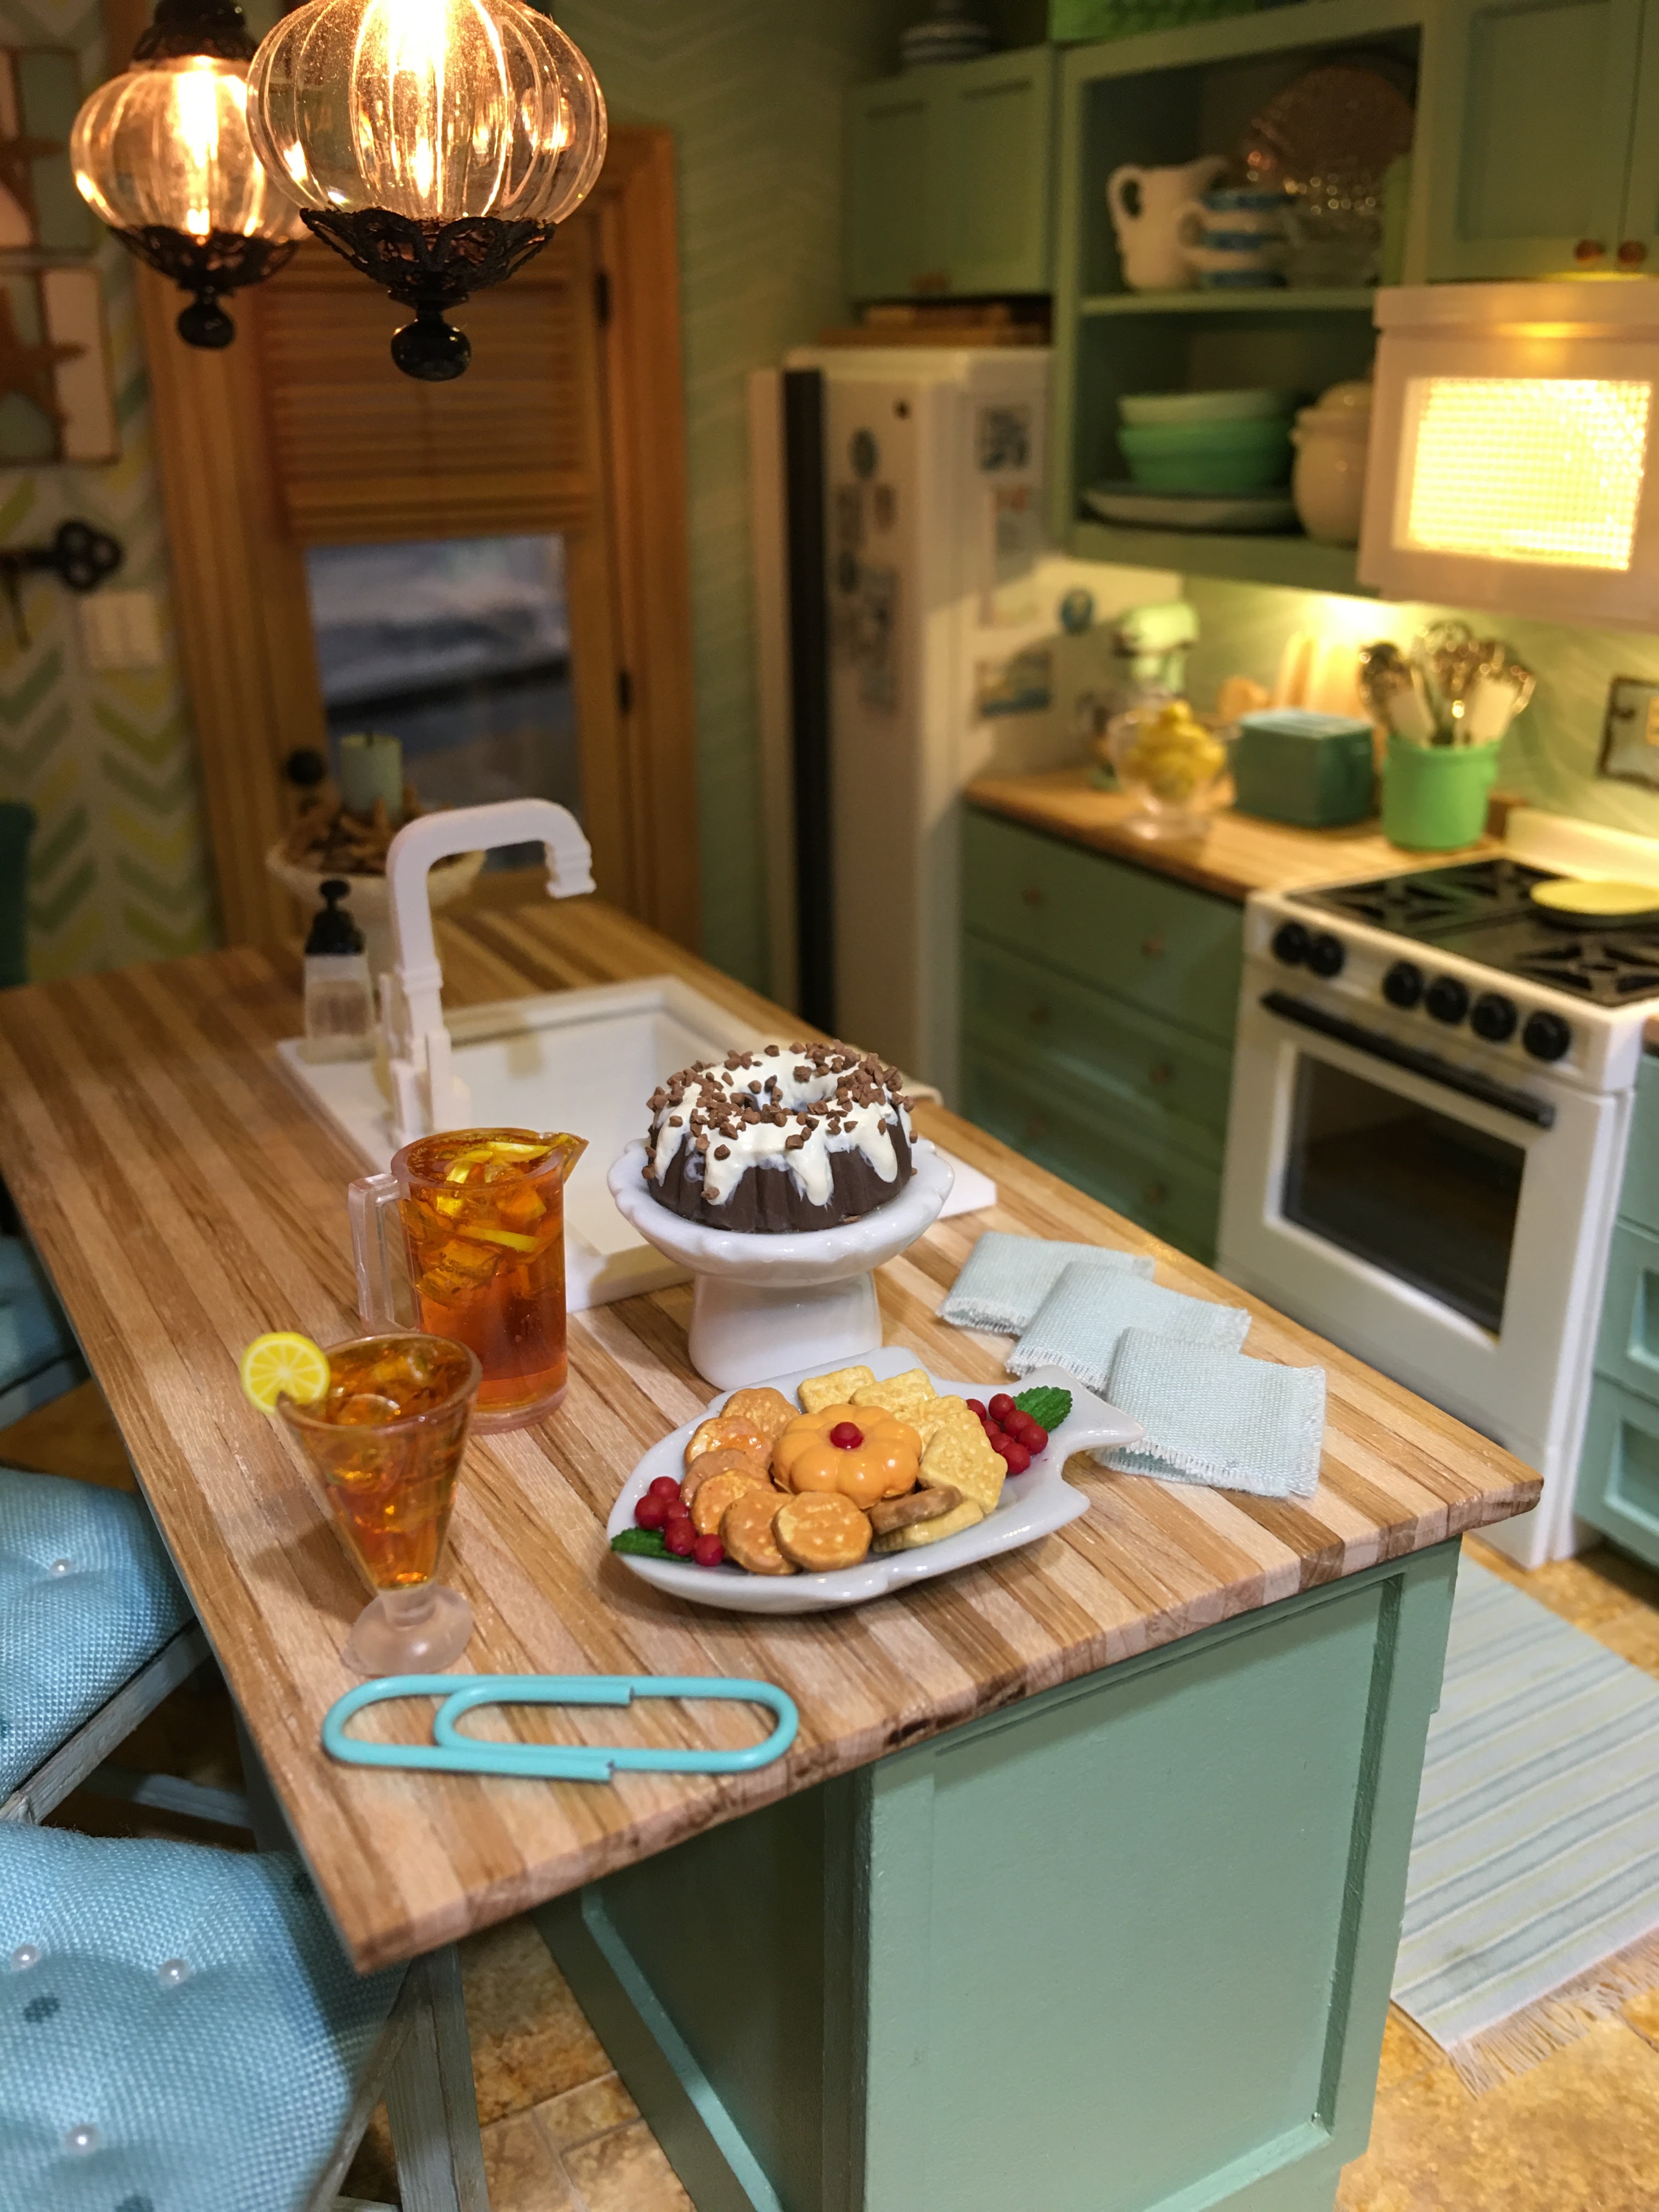
For the crackers, cheese and Bundt cake, I had push molds which I filled with Paperclay. Chalk dust colored the crackers, and the cheese was painted with orange paint and Mod Podge. The cake was painted brown, then topped with puff paint frosting. I'm not a very experienced or proficient mini food maker, but Rose seems happy enough.


Kairi wanted to be sure to send out new house announcements to her friends right away. You all know Fiona and Enoch from past projects, but Alice and Goldie haven't had a proper introduction on the blog yet. They are both the inhabitants of a future project which I hope to begin someday. I used the Maker to score and cut the envelopes for me, then just printed these teeny labels to be applied to the tops. The font size is 2, so they are very tough to read.


Here they are in the mail box just waiting to be picked up by the mail person.


This next section should be labeled "The Things We Do For Lights". Deciding to add in the two lighted ship's lanterns to the front porch was going to be a challenge since I'd already "finalized" the wiring by heat shrinking everything together and to the power plug. But sometimes, ideas seem like good ones. Until you're sitting under a table, trying to tuck your head under metal bracing and a dollhouse. All while carefully removing previously shrunken heat shrink tubing so as not to cut any wires. Then adding in two more wires and re-finalizing. Sweat was literally running down my nose by the time I'd finished. But, it was worth it.

By removing the table leaf, I was able to span the dollhouse across the opening to get access to the underside where the wiring can be accessed.

This was my view from below. I stopped counting how many times I hit my head (and glasses) on the metal bar which is part of the support from the table.


All buttoned back up again!

And here was the payoff...


At "night"...


And here are some exterior shots of the Beachside Bungalow from different angles...


The right side of the porch is decorated with some wall plaques on anchor hooks, a crate and a watering can for the tropical fern plant.


Betsy mentioned in her comment last week that she heard the faint sound of a windchime. It must have been this sailboat windchime kit that I made. My string was not a very good kind to use, so it wants to stick to itself. This task might get a do-over. Want it nice? Do it twice!


Kairi and Roxanne look happy and relaxed, just like you should be when you're spending time on a beachside porch!


Remember how I still needed to trim out the back opening? Well, that task is completed, too! I had a few random pieces of lattice left over so I had to get creative with how to use it. Since the last piece I had left was a shortened piece, I decided to make an "access door" to the crawlspace.


And just to put the dot at the end of this very fun project and this post, I leave you with more interior photos...


And now that this ship has sailed, what's next? I have a little work room reorganization planned and also want to keep the momentum going with unfinished projects. There are several to choose from, so we'll see which one is pleading with me the loudest!

Thanks so much for being here with me on this joyful journey!

xo xo,
Jodi