Someone mentioned in the comments before about the brave use of color and pattern in my projects. I can't take credit for that with the trailer project because all I really did was to pick a scrapbook paper pad. It's the Flower Garden paper pad by Carta Bella. I ordered both the 12" x 12" paper pad and the 6" x 6" paper pad so I'd have various scales of patterns to use.
I've done that many times over the years with various projects and the hardest part is always finding fabrics to coordinate with the wallpapers. But because I replaced my horrible entry level Canon printer with an Epson Eco Tank last October, I was able to scan in the papers and print them onto inkjet printable cotton fabric sheets. I used these to make all the material I needed for the project. The only hard part was figuring out what fabric pattern to use where! Oh, and my opinion... The printer is fabulous after nearly a year of use and, like the name suggests, I have hardly even touched the maiden ink! Eco yes!
I made simple no sew blinds for the bedroom and bathroom windows (I'd already made them for the kitchen when I made the pop out).


I made a fabric privacy curtain for the bedroom. It is all Tacky glue and jump rings. Simple but effective.


And the bed looks so inviting and comfortable with its coordinating sheets and comforter.

To finish off the furnishings in the bedroom I enlisted my trusty Cricut Maker and Design Space to create the frame for a 70's inspired cane chair. I stained the frame with the same oak gel stain as all the other "wood" in the project, then sandwiched Penelope Canvas between the seat and chair back frames. It gives the chair a nice looking mini cane effect. We had similar chairs for our oak and glass hexagonal dining table growing up. Who knew they'd ever come back into style??? Now Roxanne will have someplace to throw her clothes at the end of a long day.


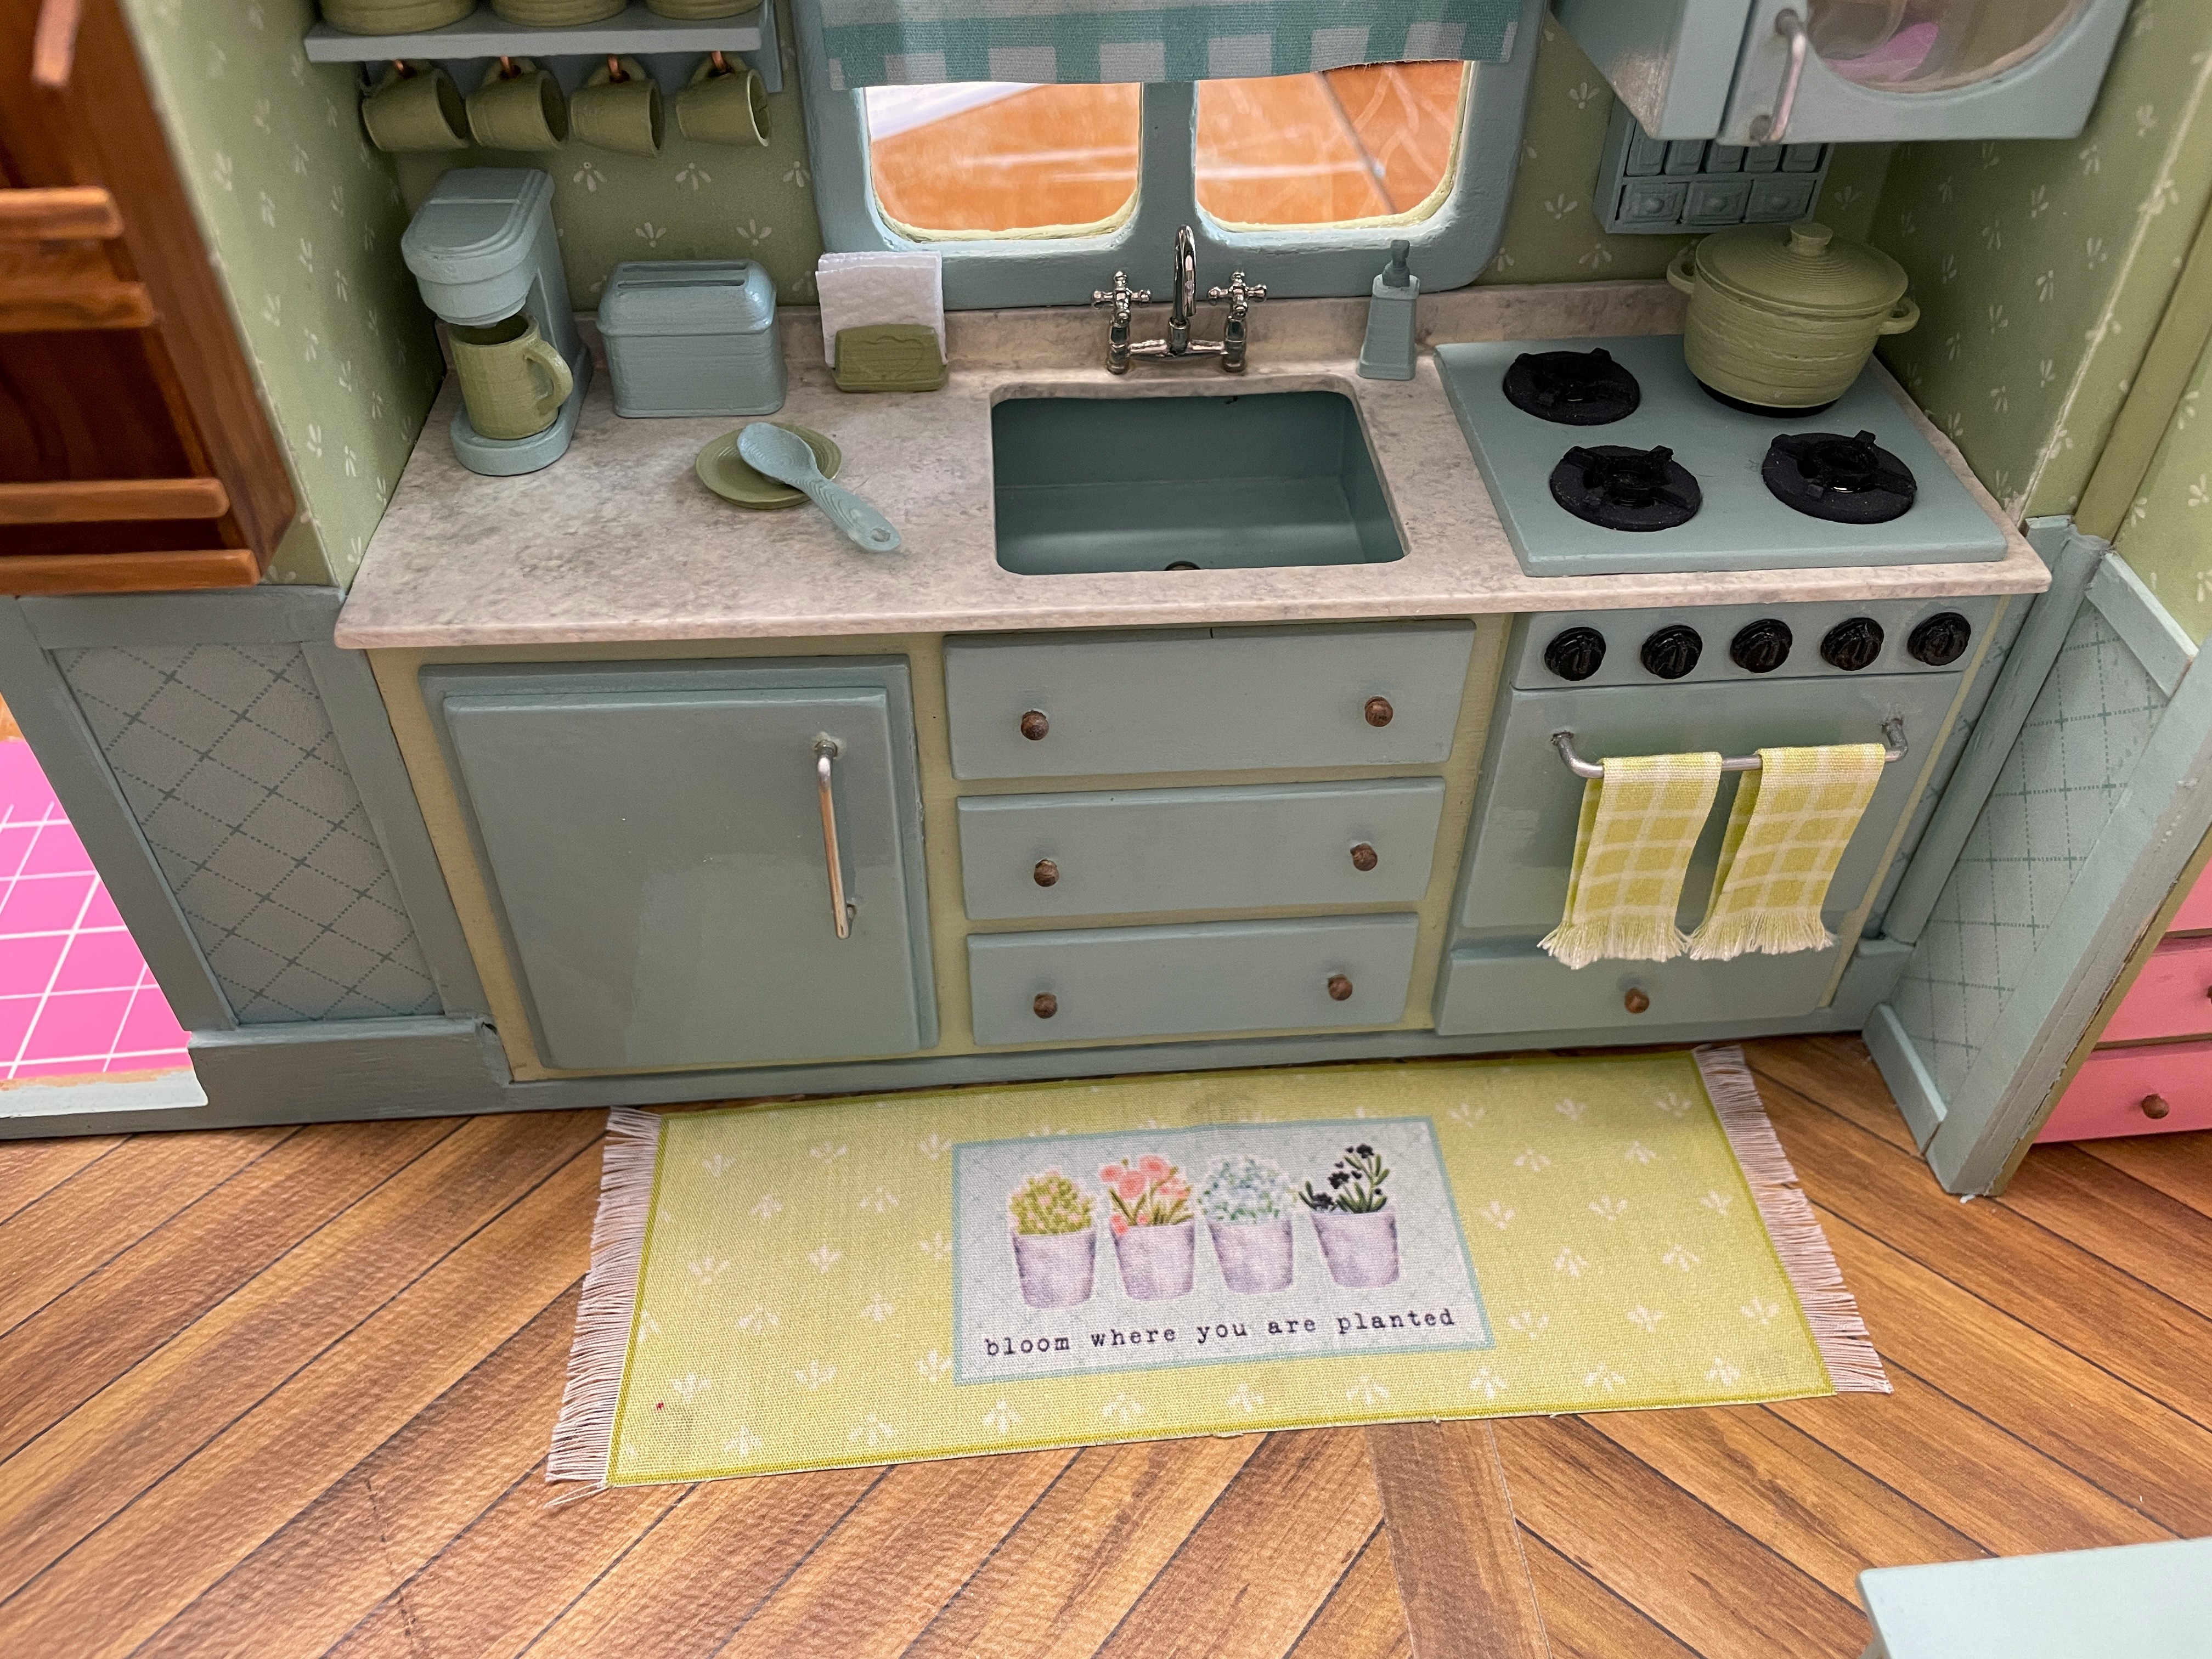
The kitchen got a few essentials that I had leftover from all my 3D printing experimentation. Shelf, canisters, coffee mugs, coffee maker, toaster, napkin holder, hand soap pump, spice rack, dutch oven, spoon and saucer. Another victory for hoarders everywhere! And it is so much fun to paint things to go perfectly with my color palette.
Just a shameless reminder that all of these stl files and more can be found in my Etsy shop. 😊

The kitchen needed a rug, of course, and the Flower Garden paper pad came with some great artwork to use!
And the banquet needed comfy covered seat cushions...

And coordinating throw cushions...

Looks like a great spot for good meals with great friends! Or is it great meals with good friends?


I hope Roxanne and her friends don't sit all the way back just yet... I have some bracing to add once I decide if there will be a removable fourth trailer wall or not.

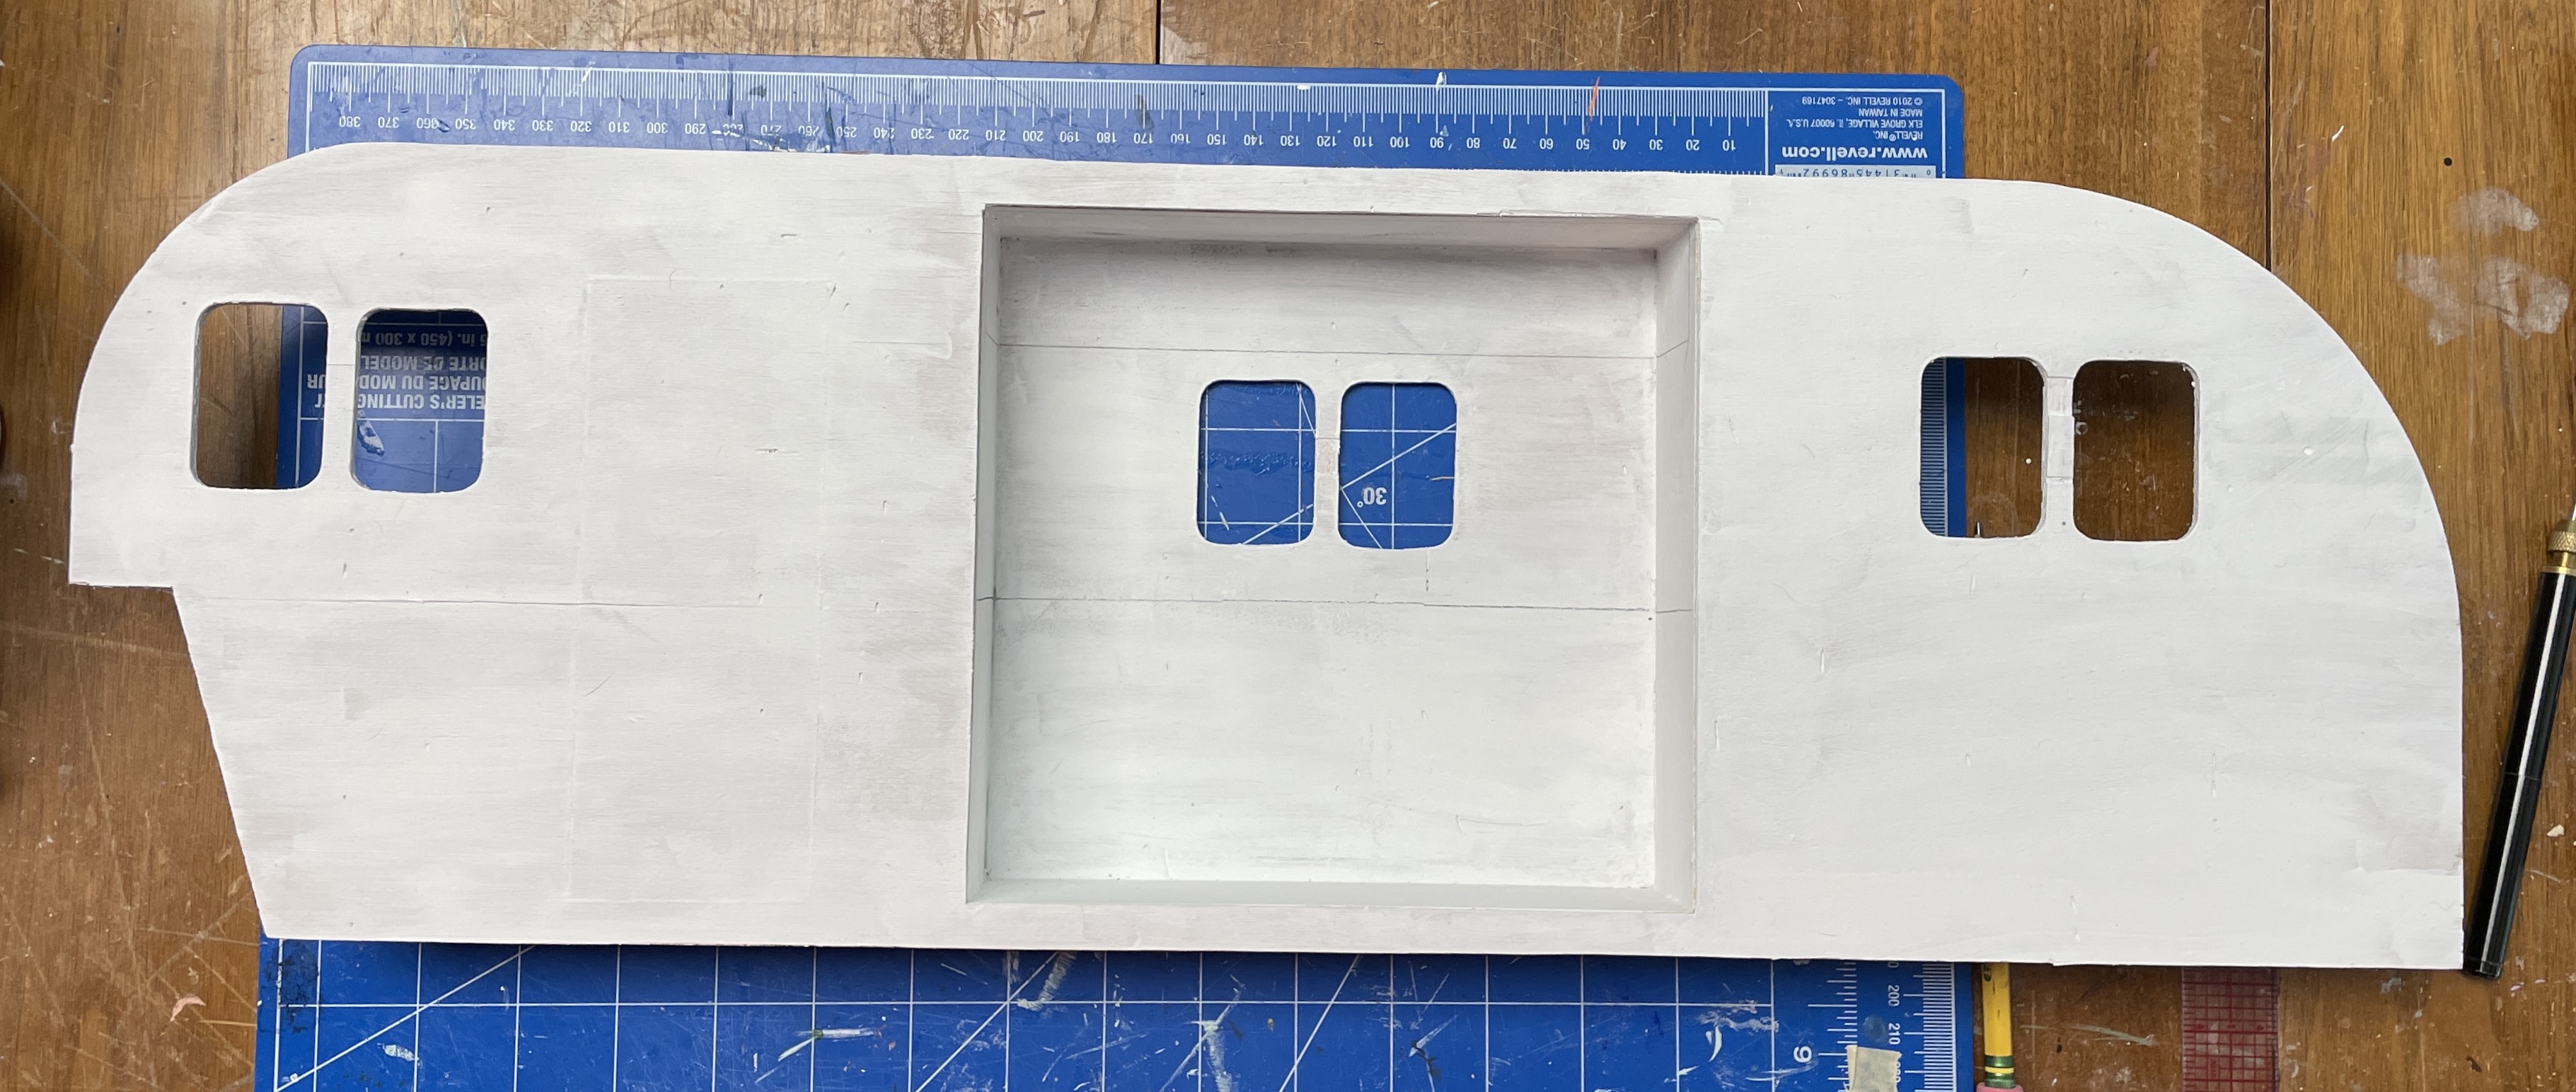
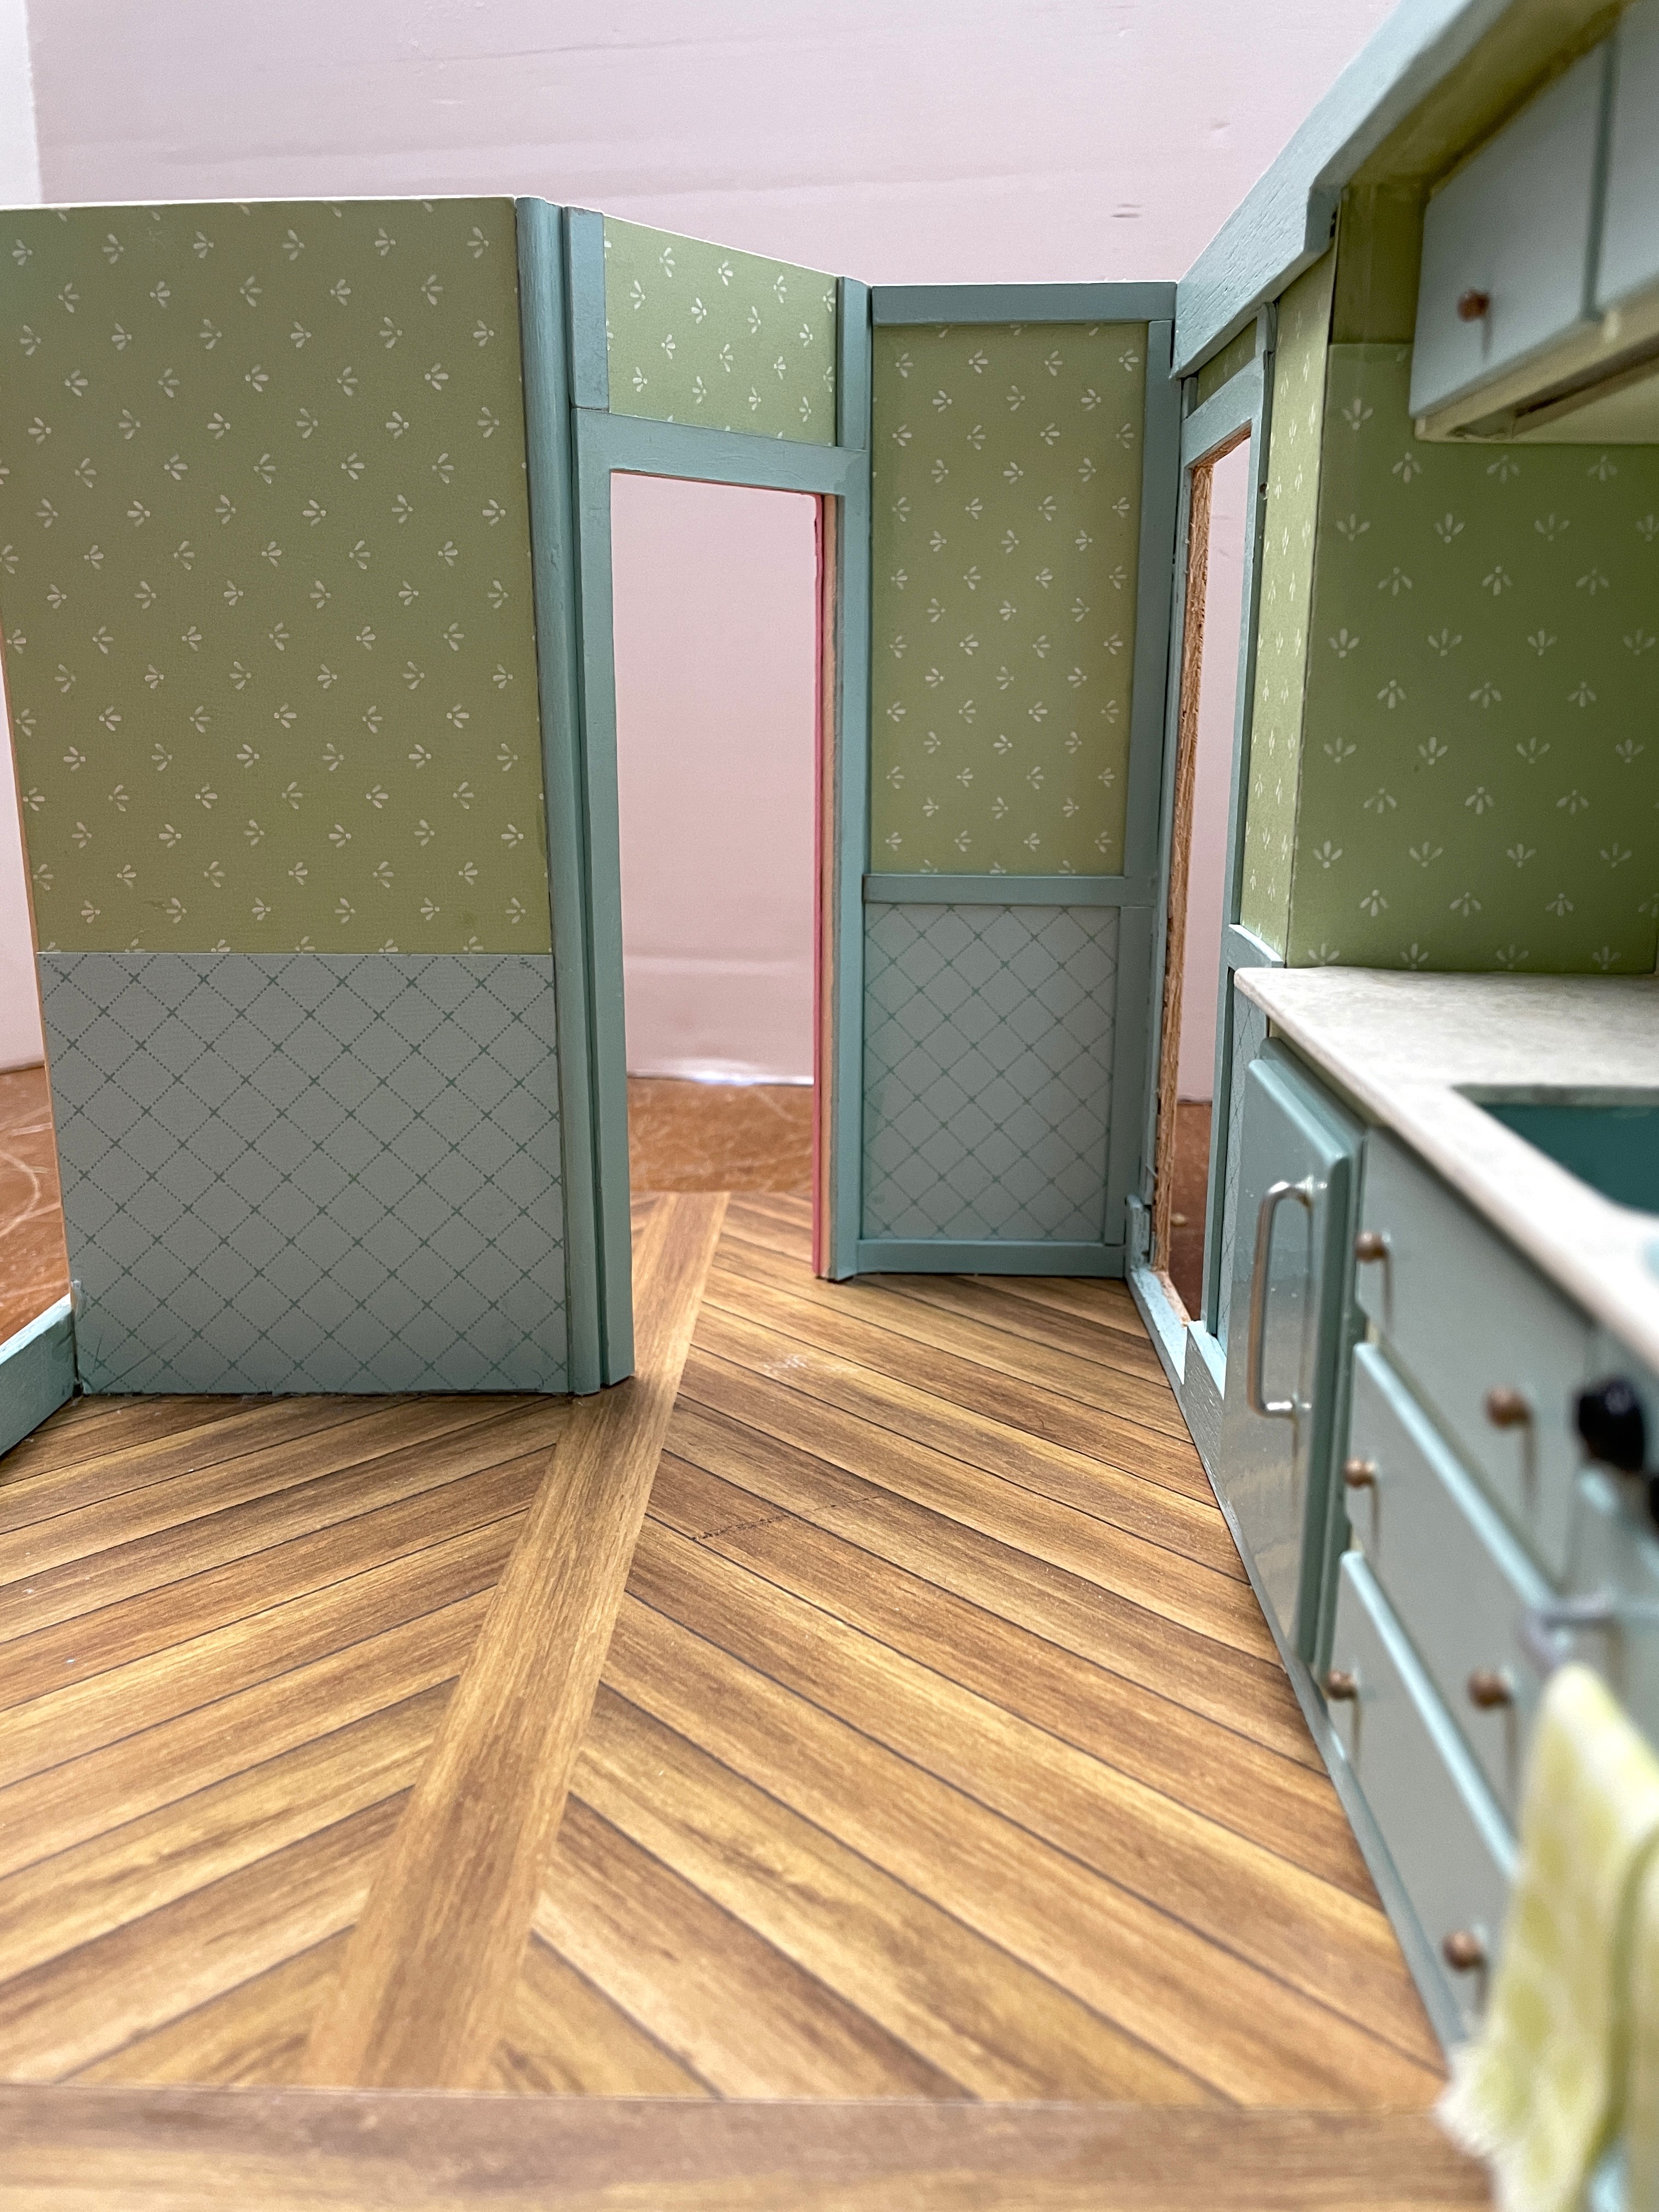
I heard someone ask how the progress goes on the bathroom? It's nearly done! Just a few essential accessories to make and install. And to everyone's delight the 70's diagonal siding style door (also courtesy of the Cricut) has been installed. No more embarrassing moments!
 |
| From inside the bathroom. |
 |
| From the trailer's future front door. |
 |
| Looking from the "main cabin". |

In spite of it taking me three times as long as usual, Roxanne is delighted with the progress! She also asked me to share her excitement about a new set of clothing that is being made for her by Ola at Rainbow Daisies! She wants to model for you as soon as they arrive.

I am just grateful to be finding any mini (or me) time at all. My next opportunity will be all about making some of the details that will give Roxanne a lovely life in 1/12th scale. There's also the small matter of a roof but that's still several steps away.
One last thing before I go. I am always just amazed and inspired at the folks I have met and become friends with on this mini journey. You have all enriched my life in ways I will never be able to express or show sufficient gratitude for. You fill my heart and set my creativity on fire!
One such talented and wonderful friend is Aina in British Columbia, Canada. She has made and sent me the most incredible gifts for Roz, Goldie and Alice. I am gobstopped at her tiny, perfect crochet, and even more touched by the amazing friendship (and patience) that she has shown to me. Roz, the girls and I just love these darling jointed bears! We are so happy to have them be a part of the treehouse project!!!


Thank you, Aina! Your gift came just when I needed to remember that the world and most of the people in it are still good!
xo xo,
Jodi