
Hi Guys! February already? Seems like 2024 is going to go by just as fast as 2023 did! Yikes!
In spite of the calendar, I have been able to make a little progress on the treehouse over the last couple weeks. And I got a task completed that had me a little anxious: The Roof!

When I build out of sequence (Who? Me?), adding things on and rearranging components, I never know what kinds of issues I might be creating for myself later. Miraculously, this time, it wasn't too bad. I started by finding all the roof pieces, removing them from the kit's sheets and sanding. Oh the sanding! The fancy gable deco pieces took a lot of sanding and a good bit of assembly. Listening to Steven King's Fairytale audiobook through the process made it very enjoyable!
 |
| Gable Deco Components |
Then paint. Does everyone struggle with what paint color to put where like I do? The final weathered look I have in my mind is not so bold, but it has to start out that way. Once the gable deco was painted and assembled, the rest of the roof pieces could be assembled.
I had a 1/4" gap on the left side of the right front gable and couldn't account for why. I had Russ, the handy construction consultant, look at it with me, too. Neither of us could figure out why, so maybe it was just a factory kit piece cutting issue? We'll probably never know. But, luckily, a little filler strip of art board took care of the issue.
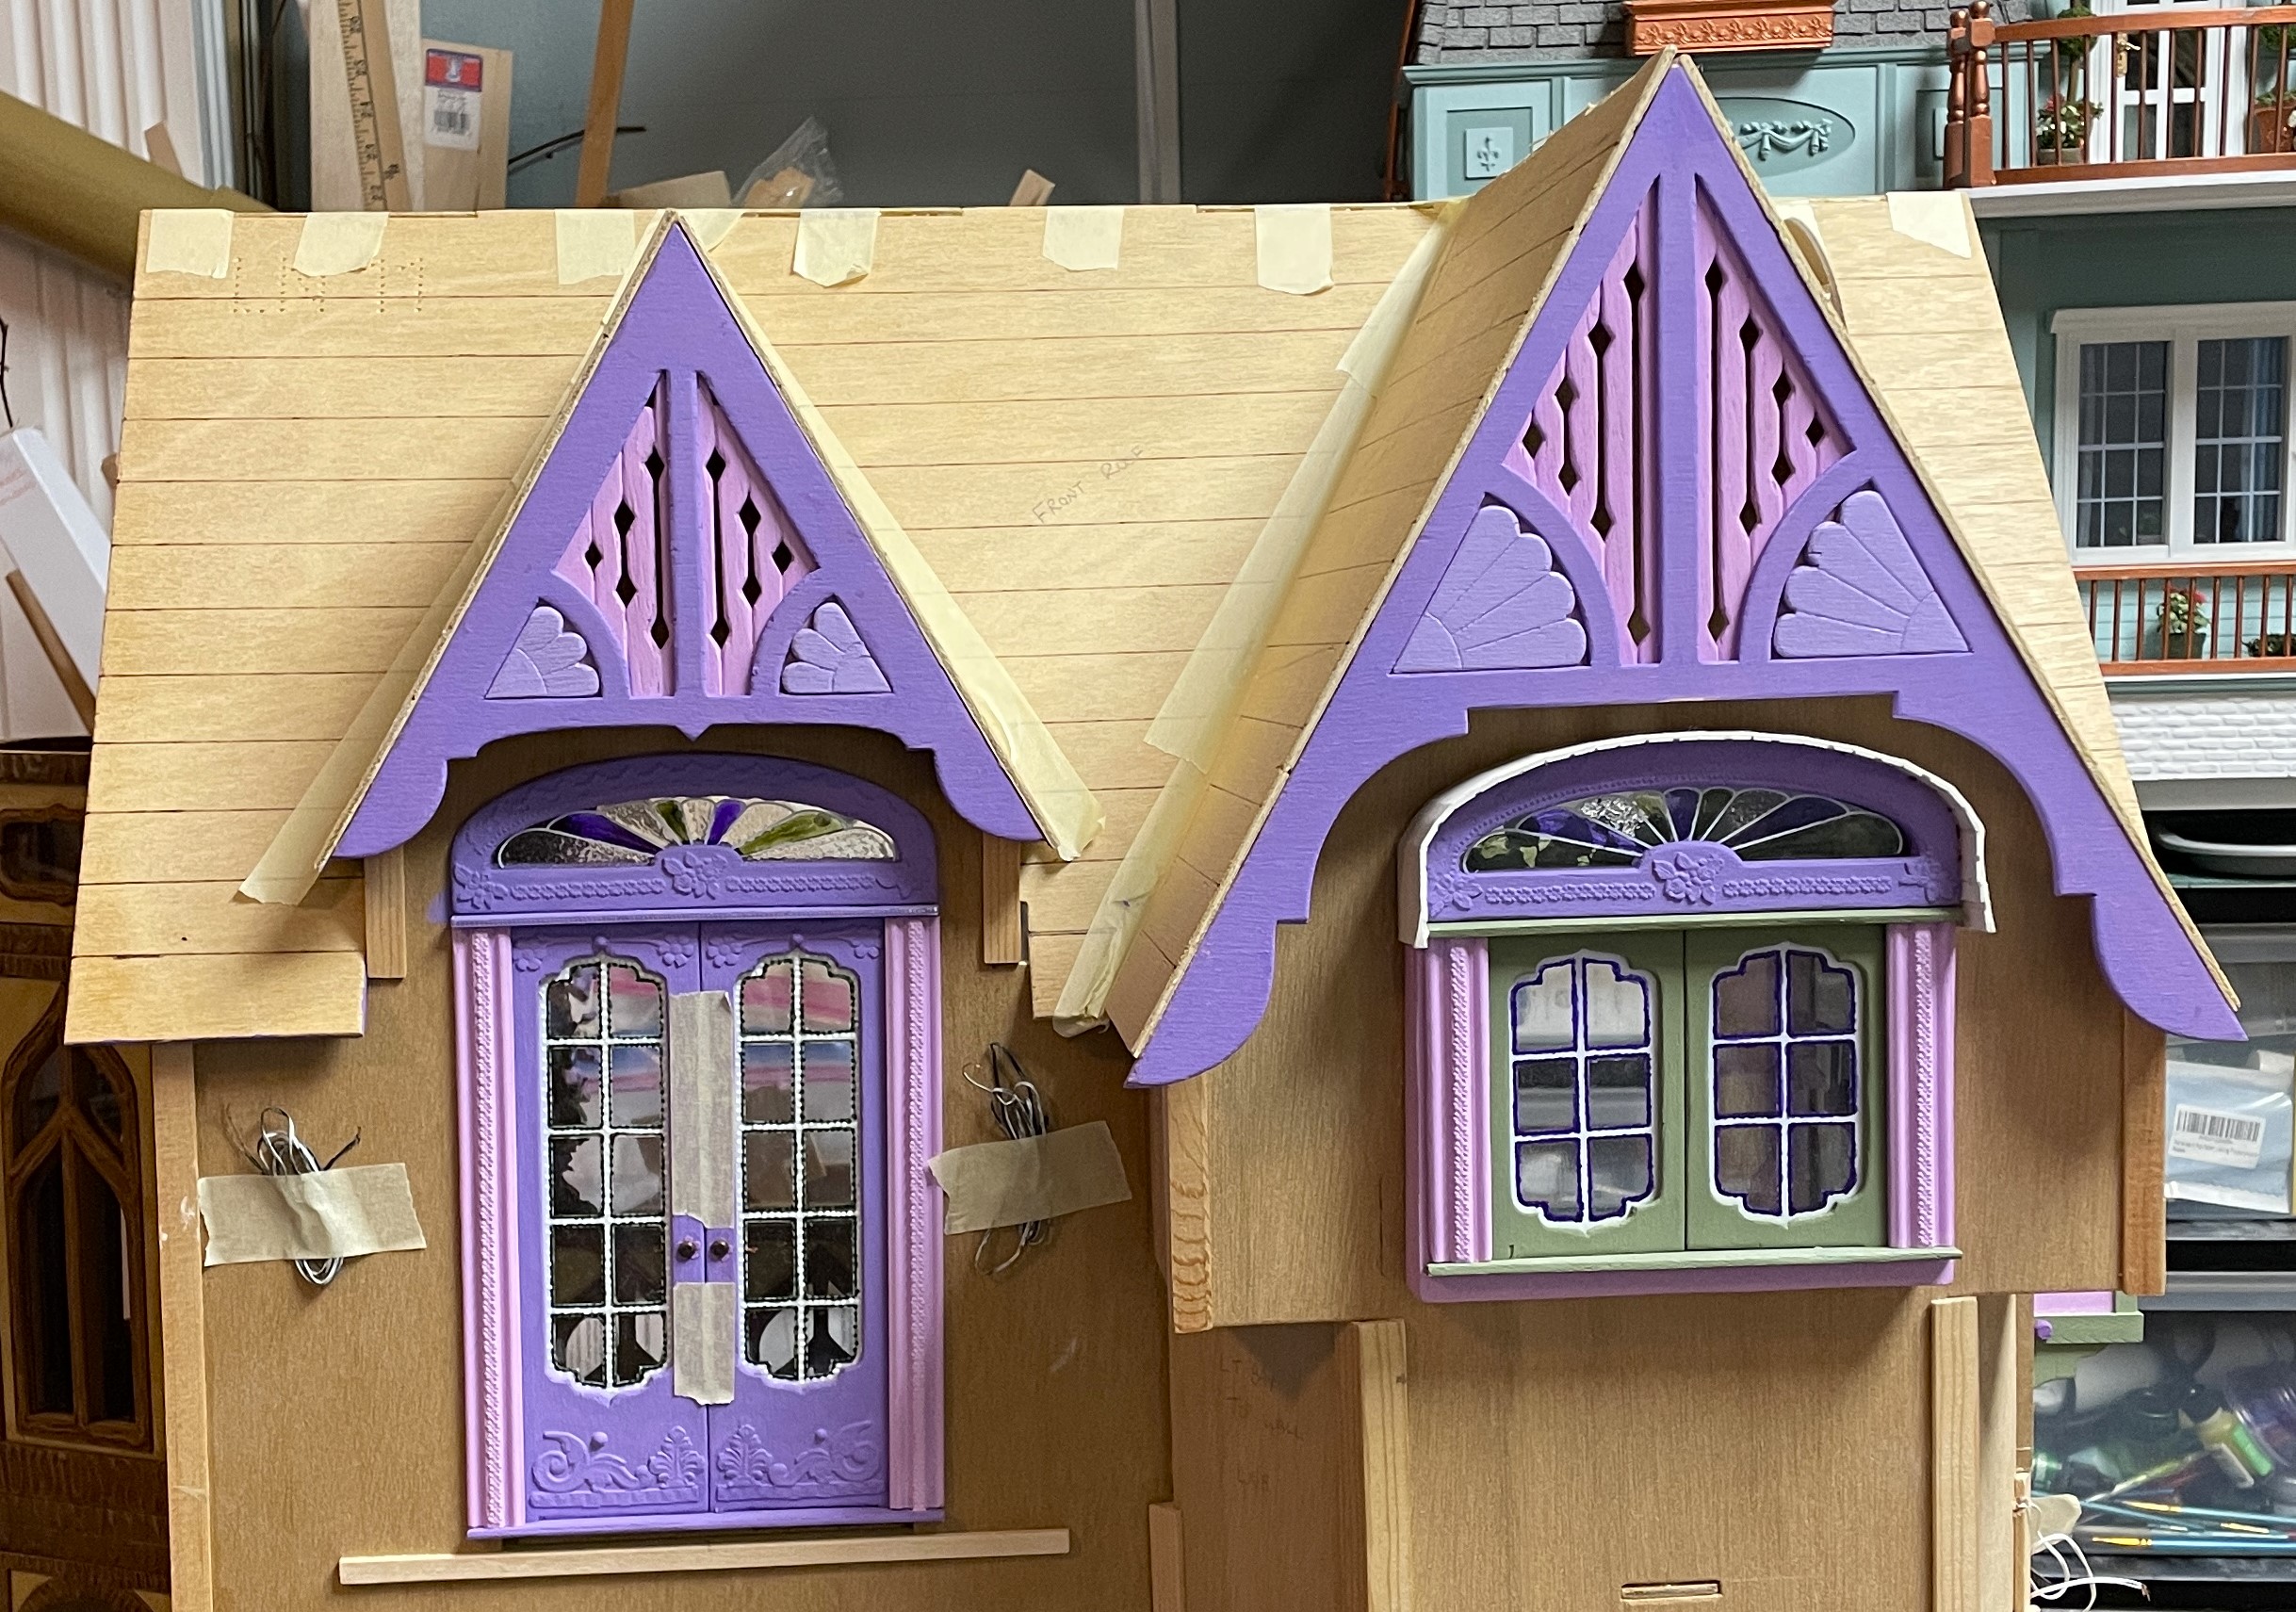
I wanted to bring a little natural light into the dark recesses of the gables. So, each of them got a window designed and cut with the Cricut Maker. Wayne's apartment gable will have an arched dormer window and the girls' bathtub gable a round skylight,
 |
| Wayne's Dormer Window |
 |
| Pointed at the stars for nighttime viewing from bed. |
 |
| Bathtub alcove skylight. |
Other than the gap, the roof fit pretty good. I marked where the walls and floors met the roof and then...
 |
| First look with the roof on... finally! |
 |
| Wayne's Apartment |
 |
| Bathtub Alcove |
Left it removable for now so that it would be a lot easier to do the wall treatments.
 |
| Removable Lid |
 |
| Easy To Work On |
After priming the walls and painting the gable trim color, I added the timbers using 1/16" x 1/4" basswood strips. The dividing wall between Wayne's apartment and the great room got thicker basswood, 1/8", to give the appearance of thickness since it'll be viewed from the side profile. I made it from art board.
 |
| Wayne's Timbers |

I painted the timbers to match the majority of the rest of the house (except the girls' room which has purple timbers).

And then I spent some lovely hours applying the Paperclay. It took just under 8 ounces for the attic walls. I'm pretty messy with the Paperclay, so it requires I sand off some timbers then touch up the paint. Followed by age washes.


 |
| Almost Ready For Move-In! |
Once I permanently affix the roof piece on to the treehouse, I'll have to install baseboard trim where the front roof and floors meet. And Wayne's apartment needs steps and trims, too. But before I install the roof, I have lighting to add.


And there are so many half scale furnishings and fixtures to make for Wayne's apartment. It's going to be interesting to work in that scale!
With a little luck and maybe a few miracles I'll be back next week with more progress. Until then, I hope you're finding time for creative joy, as well!
xo xo,
Jodi
Wonderful news about mom! She had her post surgery consultation this morning. The doctor says the mass was not cancerous!!! I can't even express how amazing that news is! We are all just so relieved and grateful! She still has some underlying health issues to resolve, but with this news, she is ready to face the next problem head on! I can't thank you all enough for your thoughts, prayers and condolences! I told mom, just maybe, it's a miracle!!!


