Setbacks, difficulties, impediments, obstacles or failures. It doesn't matter which term you attach to any outcome that is other than the one you wanted. What's important is that you never give up. I believe if you learn anything it's still progress. I got many chances to practice that principle working on Wayne's furniture this week. At times I had to battle frustration and disappointment, but by reframing how I thought about each setback, I was able to revamp things and keep enjoying my mini time.
Things started off well with Wayne's kitchen table and chairs. I designed the pieces in Design Space and cut them from 2 mm chipboard. The table is a simple round table with the top in two pieces, one slightly smaller than the other, to create a step down effect. The base started out as a half circle and a bowling pin with some aspects sliced away. Can you see it? This gave it a unique shape. Opposing notches are cut into each piece so that they can slide together. The set went together great the first time and, most importantly, Wayne liked them. They'll need a bit of aging to give them character, but I'll wait and do that with the rest of the chipboard furnishings at the same time.
 |
| A perfect fit for Wayne! |
 |
| For size perspective, Wayne is 2" tall and about an inch wide. |
The next pieces I worked on, Wayne's leather club chairs, were a lot more complicated. I made it as easy on myself as possible by using the chair pattern I'd previously created for the Beachside Bungalow's bedroom. All I had to do was resize the pattern down to Wayne size. To give them club chair characteristics, I revamped the shape of the back of the chair.
You can see below a good demonstration of the difference in scale from 1/12th to Wayne's scale, which I believe is close to 1/36th (G scale in model railroading).
Beachside Bungalow's bedroom |
| Wayne's chair back looks like a slice of toast, lol! The brown pieces are cut from chipboard, the white from cardstock. |
I finished the chair using the upholstery process from One Inch Minis and used tiny patterned/thin upholstery fabric.
 |
| Some might call this good enough with fabric on, but Wayne requested leather. |
Then came the challenging part: faux leather. While I've seen several YouTube Tutorials on how to achieve a faux leather look on upholstery and fabric, I didn't adhere strictly to any one method. Rather, I took aspects I thought made sense from some of them. All included applying a good coat of Mod Podge first to essentially seal and smooth the surface. I let that cure overnight before giving the chairs a light base coat of nutmeg brown. I wanted some of the yellow tones to show through.
Once dried I sponged on a darker brown mixed with satin glazing medium. It looked like we were getting somewhere!
But when I took photos, I noticed that when magnified by the camera close up, the fabric looked as though it had "pilled" up. Yikes!
Apparently, they needed a thicker coat of Mod Podge. That helped, but they still looked pretty flat and one dimensional. I was beginning to worry that all my time invested into these would result in one big failure. Ugh.
Finally, after adding highlighting and aging with a dark wash and dry brushing, I can live with them. The final sheen was achieved with a 50/50 mix of satin varnish and matte varnish. One was too shiny and one was too flat. Mixed in equal parts seems to have been the sweet spot. The yellow label Mod Podge was great as a pre-sealer, but made them look a little more like vinyl and less like leather. Which could work to your advantage on some pieces... say, pool inflatables? Thankfully, after I kept at them, Wayne is thrilled! He said he can't wait until he has a lamp that he can read by. I can't wait to catch him snoozing in one some afternoon!
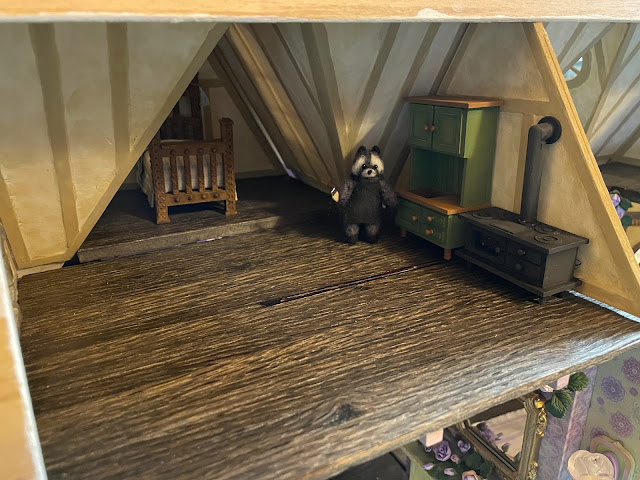
The next revamp began when I had all of Wayne's furniture sitting together on my work table. The bed I had made for him last fall (when I made Roz and Rosario's beds) looked huge! And it kind of was. Not in its width or length, but definitely in height. And since the bed is going to be in a room with gabled roofs, height surely matters.
 |
| The big bed is a good length and width, but Wayne needs a stool to climb in! |
Rather than lamenting about all the time it took to create the big bed (and to sew all the bedding), I decided to look at this as an opportunity to make another fun bed style perfectly sized for Wayne. I designed it from scratch in Design Space with layered head and foot boards and an inlay of carved tree branches. It took an entire day to design, cut, assemble, add bark to the branches, let dry and begin painting. I got nearly to the final phase of finishing before I found faults with my design. The footboard was a bit too tall, the legs were a bit too tall and any comfy looking mattress was going to block too much of the headboard inlay. It was hard to admit, but it just didn't work. Finally, I faced facts and realized that I liked the style of his big bed much, much better.
 |
| This design still needs work. |
Here are the big bed and the first revamp in the gabled bedroom...
 |
| Big bed |
 |
| First prototype of the revamped bed. It measures 2" tall, 2" wide, and 3" deep. |
Since I had resized the chair successfully I thought I could try resizing the big bed pattern into a more petit version. This meant reducing the height of the legs off the floor and the height of the head and foot boards. The width and length would remain the same and, hopefully, it would keep its character. I essentially just sliced off the legs, sliced out a section from all the head and foot board pieces and then welded them back together again. Et voila!
 |
| Wayne's big bed pieces in brown and the petit version in purple. |
The revised bed seems promising! It looks a lot like the big bed and will be a much better fit for both Wayne and the gabled bedroom. With a little perseverance, by next week, it'll be just right.
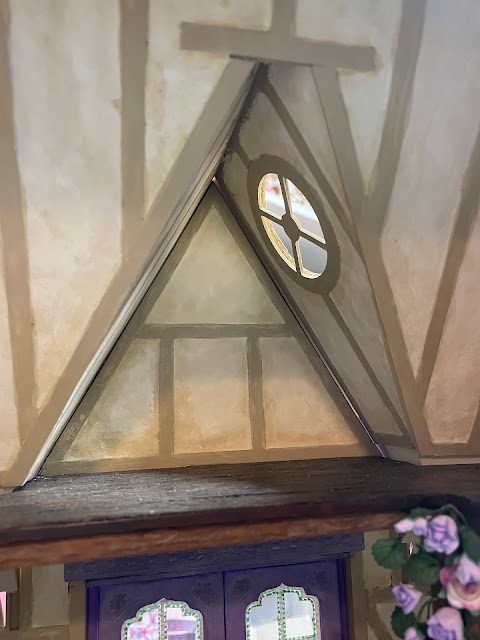
I'll leave you this week with a peek at the new entry step down and built in bookshelves that are a work in progress. Wayne is a bit of a pack rat so this space will fill up fast! I'm not set on the layout just yet, but I'm confident something will make sense, soon!
I hope you're revamping your "setbacks" and turning them into improvements, too!
xo xo,
Jodi


