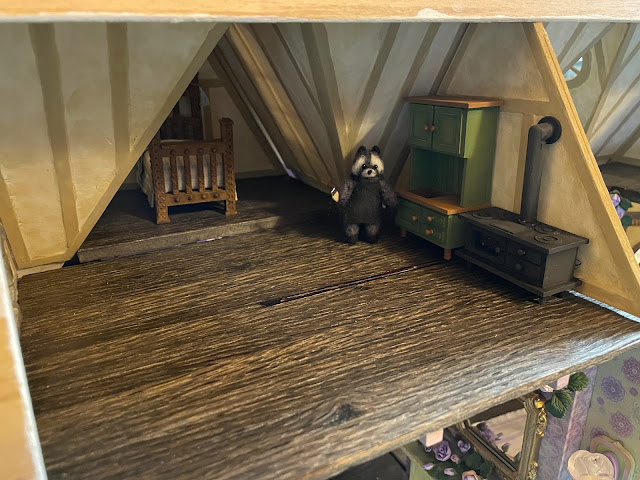
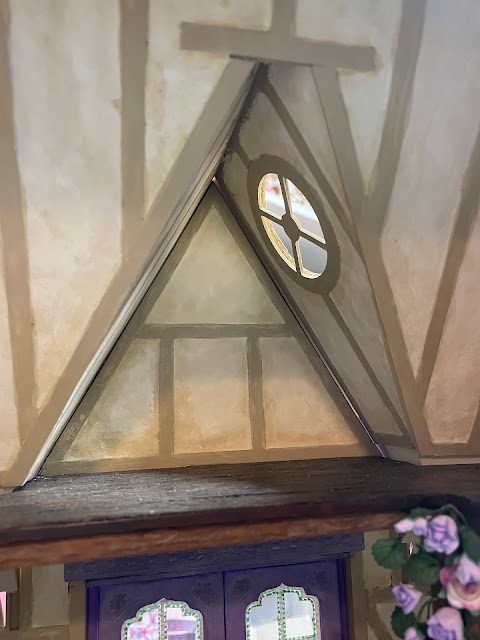
Sometimes I get working happily away and then suddenly realize, with shocking clarity, that I'm about to make a big problem for myself. I am so grateful for that little voice that screams inside my head! Here I was, totally engrossed, making furnishings and fillings for Wayne's apartment. Thanks to that little voice, I began pondering when I should glue his partition wall and where I would run the wiring for his lights. Then it hit me: you're going to have to attach the roof. That realization sent me into an existential crisis about what I had left to do, how those tasks would affect future tasks and exactly what order of operations was going to be the most beneficial/least problematic!
That's when I totally changed gears from Wayne's place to the great room. As a reminder, it became "great" when I cut big swaths out of the second and attic floors leaving behind only the balconies. A three story room is pretty great, right? God I LOVE dollhouses!!!
You see, I always wanted something really great and worthy of a great room. And that meant a fantastic fireplace. Last February (Valentines Day to be exact), while gathering ideas about what the treehouse wanted to look like, I came across this photo. OMG instant crush!!! Cupid's arrow hit me hard. I knew I had to try and achieve the vibe of this amazing fireplace, but how? I've spent the last year working out possibilities.
First, because a lot of the wiring had to run behind the fireplace down the center of the treehouse, I'd need a hollow wall. But not a thick wall because the floorspace in the great room, thanks to the balcony, was already pretty limited. So a wall thin enough to be passable to the eye and also allow for the wiring. Thank goodness I did not attach Wayne's wall because that provided my pattern for the gabled roof. And thank goodness I did not attach the roof because I might have had a dickens of a time getting this hulking fireplace installed afterwards. I created a gabled roof pattern on cardboard from Wayne's partition wall and with this, and a few more measurements, I created the great room fireplace wall.
As you can see I used art board for the wall and lined three sides with 1/4" x 1/4" basswood to create the hollow, also providing a nice gluing surface.
And then I had to come up with a substrate for the fireplace. The gnarled tree bark will get created from paperclay or paper mache but I needed something with the basic tree trunk shape to attach everything to and to lend stability. Hello Design Space. Hello chipboard.
I started off with a bottle shape then sliced and welded until I achieved roughly the shape and size I wanted. Because my Cricut Maker only cuts chipboard that is 10.5 x 10.5 inches, I had to make the substrate in two sections to achieve the 22 inch height. The front would have a cutout for the firebox and a niche high up the chimney. The back would be solid. I was able to replicate the shape of the openings in the balcony and staircase windows to tie the firebox opening/niche in with the fairytale theme of the treehouse.
I attached the bottom and top sections of the front and back fireplace pieces, gluing art board across the inside seams to lend strength. For the sides of the fireplace I used more art board scrap. It can easily be scored to make the gentle bends I needed but also makes for a sturdy substrate.
Once I had the sides securely glued it was time to make the firebox and the framing for the niche.
And that is where I'll stop for today, my friends. Today is mine and Russ' 37th wedding anniversary and he's playing hooky from work. 😉
A shotgun, Vegas wedding, no money for rings and no clue what was ahead. But here we are, 37 years later, still in love, still really liking each other and proving love truly does conquer all. 💘💗💘💗💘
 |
| February 22, 1987 |
One last thing before I go... I made a bunch of newspapers for Wayne's apartment and thought I'd share the printies. They are great for filler or to use as props under mini art projects, on attic walls or shop windows, crumpled in trash bins or stacked in messy rooms.
xo xo,
Jodi


