When you love something so much, when it's just an integral part of who you are, and nearly nothing else in life fulfills you as much or creates as much internal joy, it's really hard to give it up. Over the past couple months I felt my SELF shrinking somehow. Don't misunderstand - my heart has been FULL of family and plans for a future making incredible memories together, but still, something important was missing.
Last week, I found myself in between domestic projects and longing for something creative to do. Did I have a small kit or project I could do? It was then I looked across from my desk and saw the incomplete flower shops waiting patiently on my shelves. So patiently, as I haven't worked on them since February of 2017. When I did the math on that one I nearly fell out of my chair! Could it really be 5 years?!?!? That was when I started the chipboard storefront kits from Alpha Stamps that had the working title Botanique. One was planned for me to keep and one to give to a special person in my life.
When I left off on the projects I had only just scratched the surface - wallpapering and adorning the interior walls and ceiling with trim.


Then a panicked thought shot through me! Where had I put the kit's front pieces??? It had been five years, after all. And loads of other "stuff" has come into my possession in that time. I should learn to trust myself more. They were safely stored in the first drawer I went to. Phew!

They were blank canvases! Nothing holds more possibility than that! So, what could they become? My original ideas came flooding back into my mind. And in fact, I had started an idea folder for them on my computer way back then. Looking through the saved photos, my heart was still leaning in the same direction: A sort of old Paris type street shop that had seen a couple centuries, but was loaded with gorgeous fresh stems of all varieties and bouquets of every colorful combination. Herbs and plants, too!

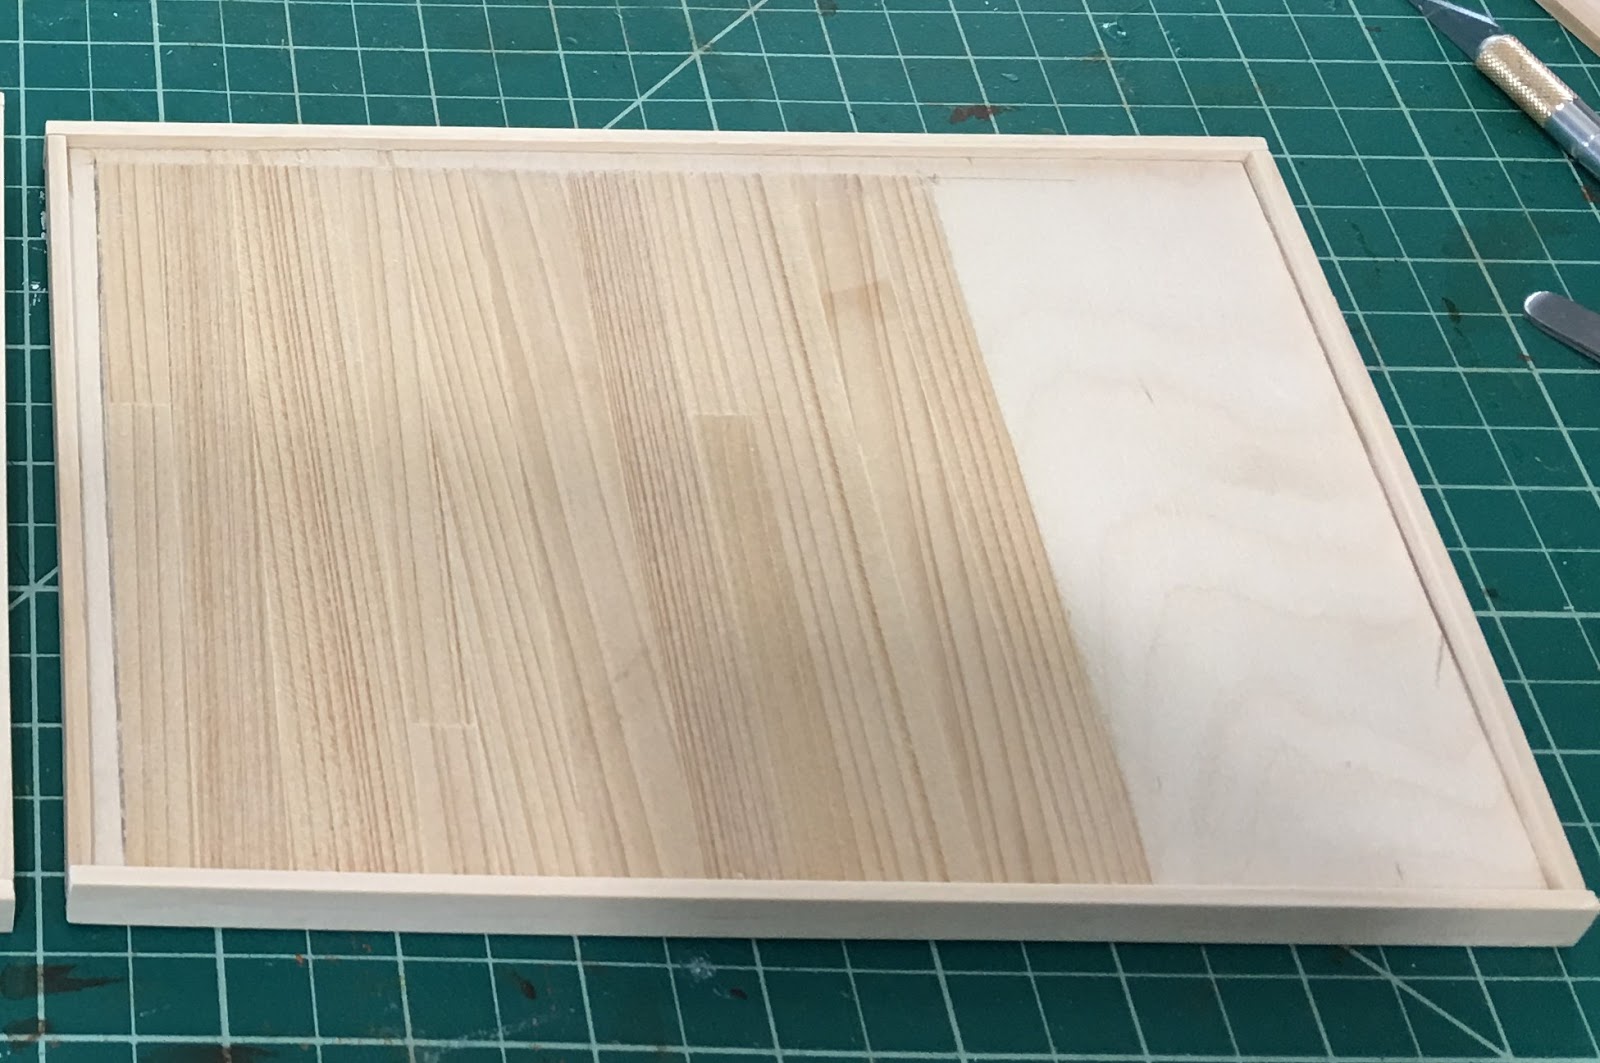
So to start, I added a little detail and it didn't hurt that adding the wood trims strengthened the chipboard storefront, too.


And then came the fun part: the details! I used Dresden trims, jewelry findings, laser cut fretwork trim pieces leftover from other projects and some chipboard lettering.


I was having so much fun, and my happy tank was once again overflowing! This project was exactly what I needed, and here they were waiting for their turn in my hands! Hallelujah!
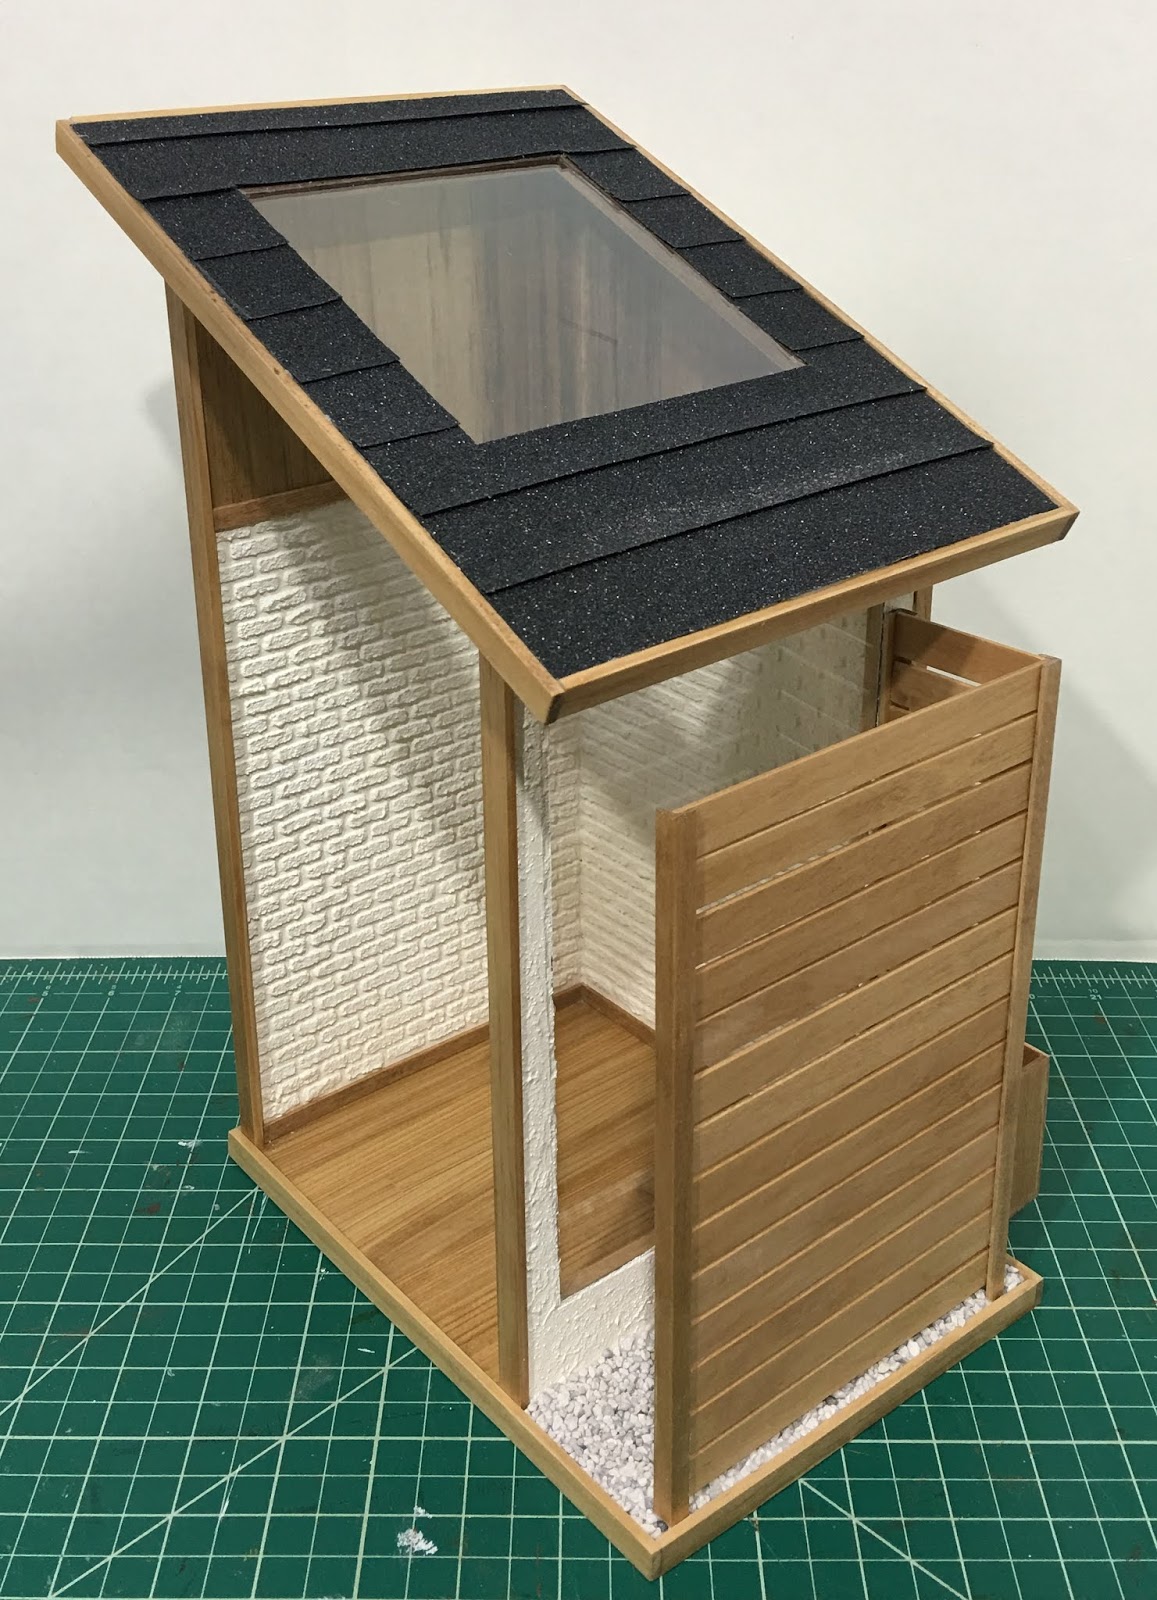
I forgot to mention that these shops come in two sizes: a standard depth and a deep version. I have one of each.

To finish the outside, I thought to keep them the way it might have been a couple centuries ago. A brick building encased in stucco. Of course, the shop has been through many things in it's lifetime, so some of the stucco has fallen away with time, exposing brick beneath. Luckily, I have some Magic Brik materials and Greenleaf Stucco mix in my stash from past projects.
The photos below are just after applying the Magic Brik around the foundation and in strategic areas on the walls.


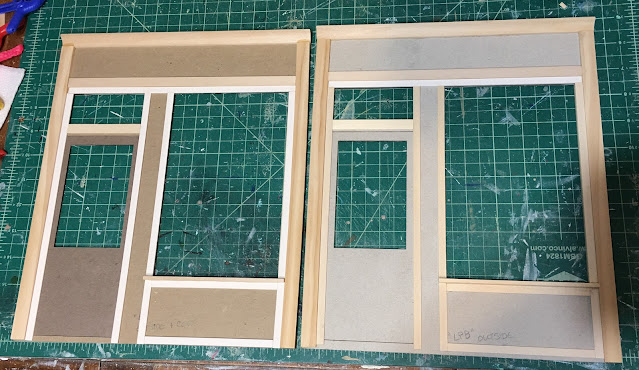
The shop owners over the years have opted for the inexpensive approach, painting the exposed brick and the stucco in a unifying color, and not spending the money to make restorative repairs. But time and grime have left their mark, lending character. This was achieved with many layers of color washes and sponging until I liked the look. Right before I had taken them into the garage to apply spray sealer, I realized that I could add another layer of character by going over some edges with an ink pad. I hope to get to that fun step later today!


Each of the shops will have a 12 volt chandelier hanging in the center of the shop, with a supplemental bulb on either side. Hopefully, this will be enough to light the shops well. If not, I may add candles with candleflame bulbs to the fireplace and lamps. The only issue there is concealing the wires. I would like them all to come out through the ceiling. That way, the battery pack or transformer can be hidden beneath a false lean to roof on the back behind the sign portion of the front cover. We'll see!
I can't say whether these shops will reach their conclusion this year or five years from now. I only know I am so grateful to have found the time and the enthusiasm to work on them again. It has been so good for the soul!
I miss my daily visits to everyone's blogs to see your progress, but hope to be able to roll that passion back into my routine soon. Until then, I hope each of you are filling your happy tanks and making progress on all your mini dreams!
xo xo,
Jodi