Without intentionally planning it, 2022 is shaping up to be a year of finishing undone things. It's apropos because the motto that I have adopted this year is:
How can I embrace the future if my arms are still wrapped around the past?
To continue this liberating trend, the next project on my list of things to finish was Starbucks. It is housed in the bay window shop of the Houseworks Street Of Shops set. At one time, I'd envisioned having an entire street of downtown Seattle landmark shops housed in them. That was the plan in 2013 when I bought the kits, but as you know, ideas evolve, time changes us and I lost interest in that idea.
 |
| Bay Window Shop |
Nonetheless, here sat my little Starbucks shop nearly finished and collecting dust. It was a shame, really, because I had worked so hard on it at the time. 2013 - 2014 was a time in which I was able to get over my fear and lack of experience with building furnishings/fixtures from scratch and working with things like FIMO and resin casting. By the time I'd finished the Starbucks shop interior, I was pretty proud of my efforts. What I took away from the project encouraged me to never stop dreaming, trying new crafts or pushing the boundaries of my mini skills. It's a kind of time capsule now, so though it needed some minor interior repairs, I wanted to leave the interior pretty much as it was in 2014. The exterior was totally unfinished with the exception of a little trim paint and a remodeled front door.
 |
| Shop photo from 2014 |
I pulled the room box off the shelf and I think I actually heard it gasp in shocked surprise! Taking it over to the work table, I began to assess it's condition after being so long forgotten. Surprisingly, it wasn't too bad, though it really needed a good cleaning! The front wall, left, having never been attached, is leaning against the store. You can see where at some point in it's history I had applied Magic Brik tape in order to create the faux brick front. On the right is the tiny, separate restroom box that I'd originally constructed to attach to the outside, just on the other side of the restroom door in the store. It's front wall had not been installed, either.

Once I relocated all the dust colonies, I was amazed to see that almost all of the wee items had stayed in their places. You see, this shop was done diorama style, and everything was glued into place. Some of the clear resin pieces have yellowed over the years, but I decided to leave them as is, too.

Now was the big question: Do The Lights Still Work??? I had big doubts because:
1. This structure is made of MDF.
2. The lighting system is powered by tape wire.
3. My long term success rate with MDF + Tape Wire is 0/4 (the brads and eyelets always seem to wriggle themselves lose).
4. It was installed 9 years ago.
Make that success rate 0/5 because only 2 out of 5 LED light strips still worked. It wasn't all bad news, though! The LED light strips themselves still worked. And, I had just enough strip light connectors left to hard wire them in. I could remove all of the tape wire and go with a totally hard wired set up.
 |
| LED light strip still works. |
 |
| Display case light still works. |
 |
| The plug had to be jiggled to get a good connection or the LED strip lights and display light would go out. Definitely time to move on from tape wire. |
These are the LED strip lights once they'd been removed from the walls and their connections to the tape wire strips had been removed. The strip light connectors I installed on the ends will now allow me to hard wire them into the transformer wire. One of them was broken, where the two plastic pieces connect to hold it onto the light strip, but I repaired it as best I could and crossed my fingers.

I kept checking the lights and connections at every step since I didn't quite trust them. Phew! Still working!

With the tape wire removed from the shop, I installed the light strips again in the same place, just not on top of tape wire. I had to drill holes for the new wires to exit to the exterior of the room box.


I also added a strip of two rows of clear plastic tiles to the bottom of the original corner molding "shades". I painted them with Mod Podge and a drop of white paint to make them opaque. This gave me a little extra depth to prevent seeing the strip lights underneath.


I had to replace the strip lights in the food display, too, because the wires ran under the flooring where they connected to tape wire. Instead of adding another strip light, I opted for LED bulbs, one under each of the top two shelves. I ran the wiring under the floor, through a channel I cut, and then out the back to meet up with the rest of the wires.
 |
| 5-12 volt, 3mm LED bulbs to light up the top two shelves. |
 |
| New wires run down through the floor. |
 |
| Wiring channel chiseled out. |
By this point, as you can see in the photo above, I had finished and attached the restroom box to the shop. This is a good time to talk about the restroom here because I don't think I have ever mentioned much about it on any previous post. It's constructed out of 1/8" plywood, made to be the same height as the shop and made to attach as a pop out to the side of the shop. Drinking coffee = having to pee, so I thought it was important to have a restroom.


The front fits into a channel created by installing corner molding with enough clearance for the wall to slide in and out. I made it like this in case the inside of the restroom ever needs to be accessed in the future. The paper towel dispenser s made from a clear plastic Chrysnbon box, painted on the inside, and then a brown paper towel is glued to the bottom.


With it attached and connected to the main shop, it was time to check the lights...


Phew! Now how about the rest of the lighting...
 |
| This side works... |
 |
| The display unit works... |
So far, so good... WAIT!!! What's this??? The left wall light strip is not working! ARGH! Wouldn't you know, my "repair" to the connector didn't hold. I can either pull the shade off and try to re-repair (but the result would probably, eventually be the same), or, I can live with it. Guess which option I chose...

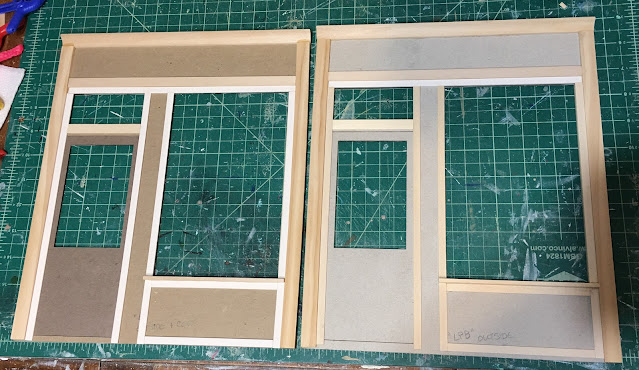
At this point, I decided to attach the front wall of the shop and just move on. There is plenty of light without the left strip.
This is the last chance to see the window display unencumbered. Here's where all the coffee fixins are located.


Next week, I hope to be back with the plexi tops made and installed, decisions made and implemented for the exterior finishing, and with a little luck, just maybe another abandoned project will be done! It is June, already, and that means 2022 is halfway through! Better keep crackin'!
xo xo,
Jodi