

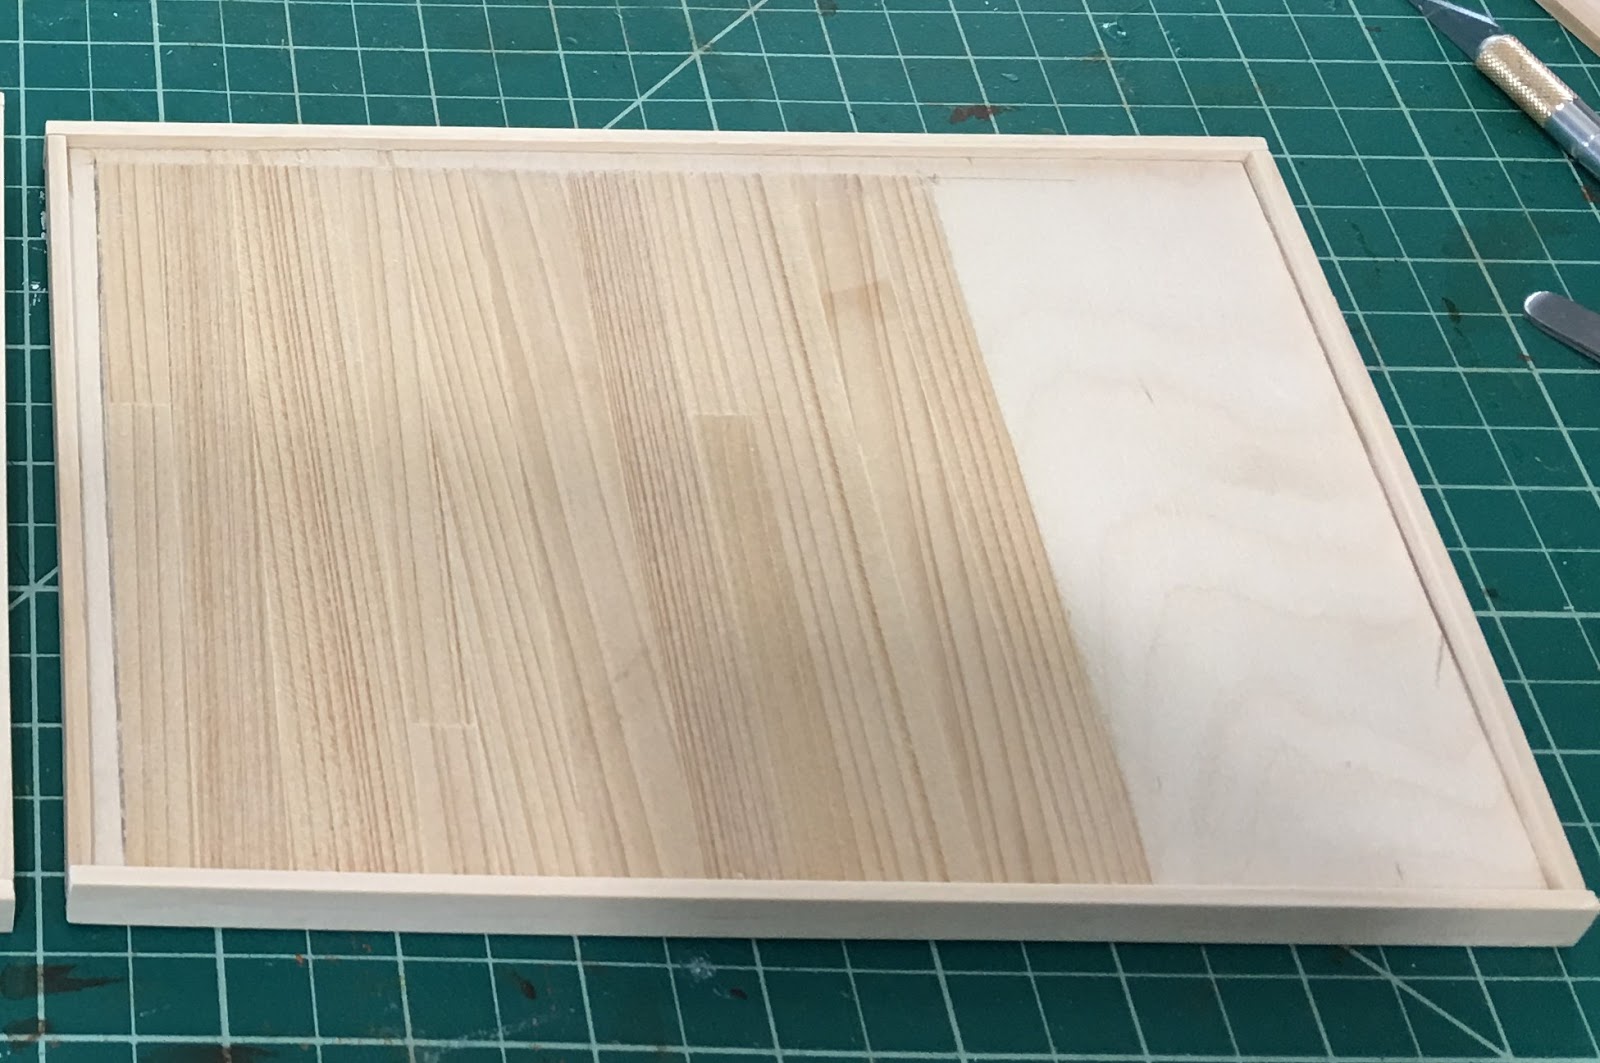
This box began the same as the Mid Mod with scrap 1/4" plywood cut down to 8-3/8" x 6-3/8" for the base. Luckily, I had one more scrap of leftover random plank flooring that would work. I just needed to lay it in the opposite direction.
The walls were constructed the same way, as well, using 3/16" foam core scraps. I had to glue a couple pieces together to gain the wall height I needed as I did not have a piece that was 12" high. I have a lot of Magic Brik tape and mortar in my supplies, so I decided on that finish for the main section of the interior walls.

Once the mortar was dry, I painted the wall with warm white acrylic paint.

For the stain in this roombox, I wanted to go lighter. Luckily, I had a leftover Cherry Minwax Stain Marker to use on all the trim and floor. I also had some really pretty veneer, and the cherry stain gave it just a touch more depth.

I added the veneer to the tops of the interior walls and clad the window wall entirely.

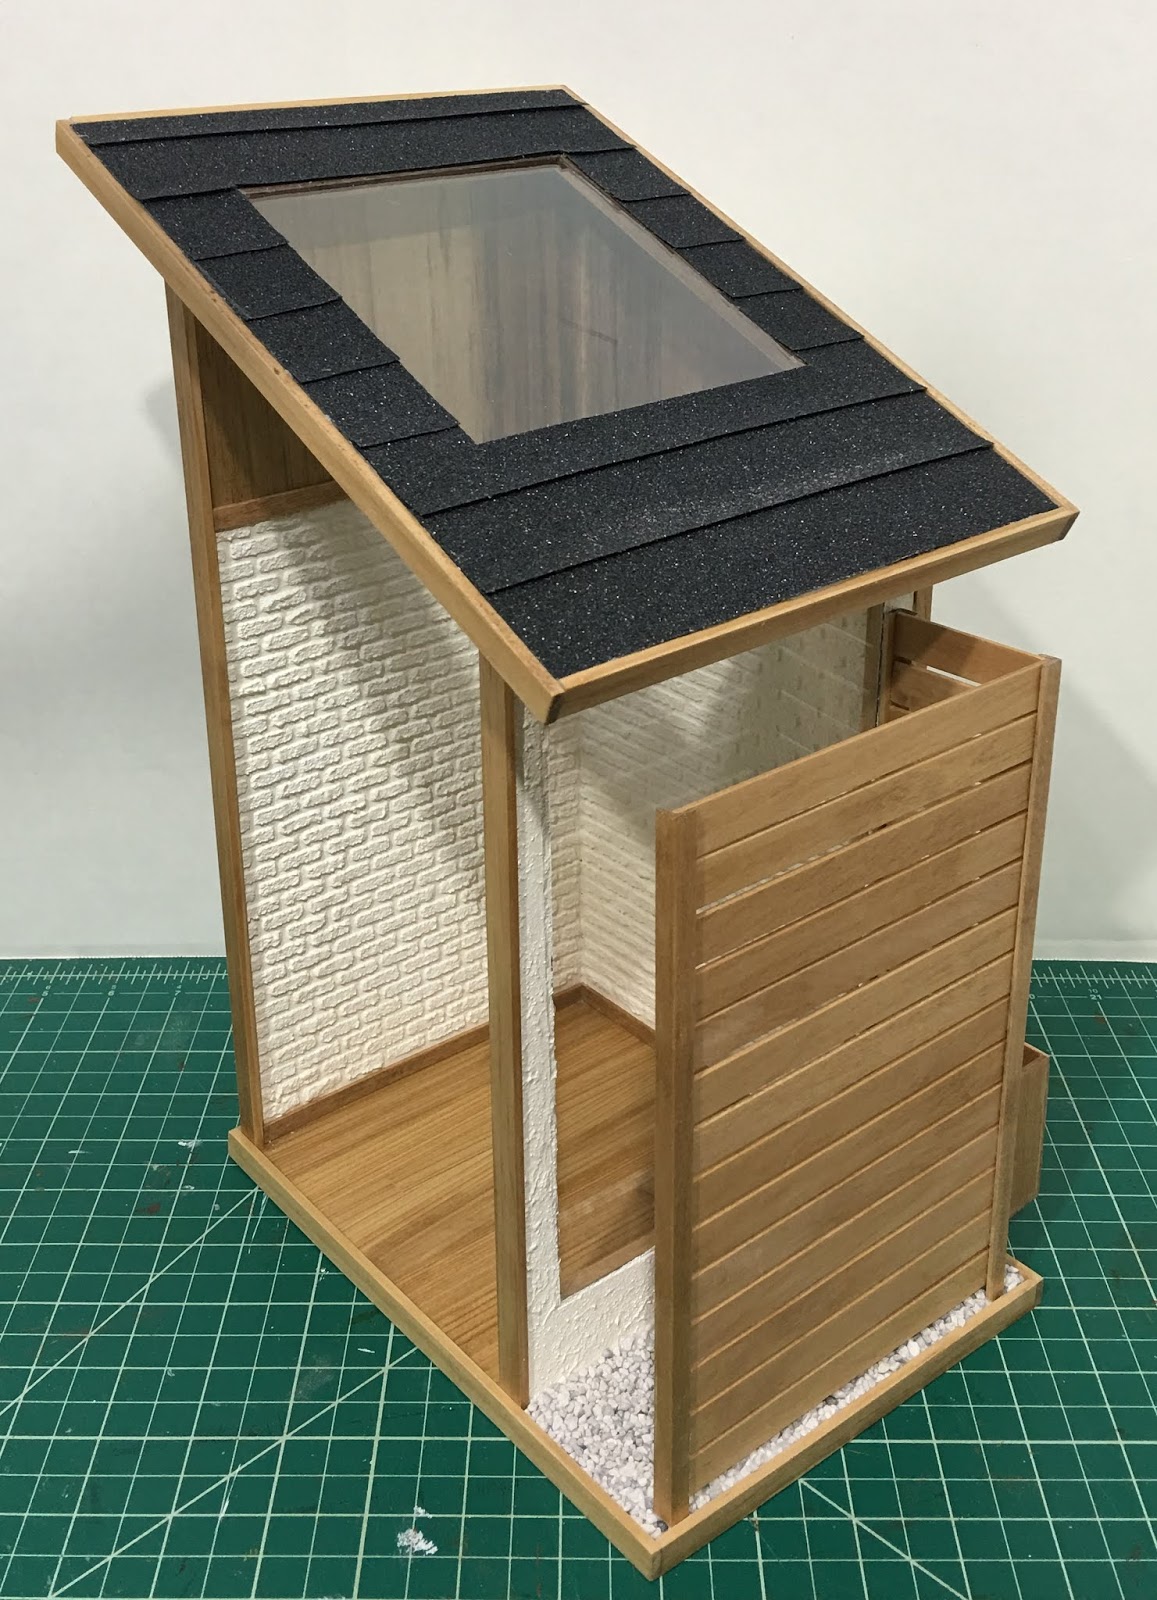
I stuccoed the exterior walls using more of the Magic Brik mortar mix pounced on with a paintbrush. It's painted in warm white, too.


Main structure installed onto the base.


For a modern looking exterior feature, I laminated more of the veneer to scrap strips of wood. They came as packaging to protect speed shingles and are awesome because they are perfectly square and exactly the same size. I glued them onto the veneer, using a board and heavy weights to keep them from curling, and then cut them away from the veneer sheet. I used 1/2" square and 1/16" high Woodsies, one mounted on each end of the strip, to raise them up from the surface of the wall.


The window atrium fence was constructed the same way as the Mid Mod version. This time, I had to use 3 new pieces of 1/2" x 1/16" basswood stripwood because I had used up all my scraps. I also had to use one new piece of 1/4" corner molding.

The roof was constructed in the same manner, as well. Foam core base, leftover Lexan for a skylight, leftover grip tape for the roofing, but because I didn't have enough of the veneer left, I used a scrap piece of textured ceiling paper for the ceiling.


I filled in the atrium ground area with railroad gravel, because the plants and flowers will be in pots. There is also a basket for the battery pack.


Here are the Modern Modern and Mid-Century Modern roomboxes side by side. The differences are subtle, so hopefully the decor will help tell the story.


And because having a little person in the structure always helps to visualize the scale, the ladies have agreed to assist me in a demonstration.


Just large enough for a detailed little scene, but small enough to enjoy when space is at a premium in the real life house.
During the next batch of mini time, I hope to begin looking through my plant making supplies and raiding my kit and accessory drawers to see what I can come up with to create some fun little modern scenes. I hope you are all finding batches of fun mini time, too!
xo xo,
Jodi
These are very cute. I have only seen you create scenes with layers of beautiful detail. I look forward to seeing how you develop a modern scene.
ReplyDeleteThanks Sherrill! I am so much more comfortable with grunge, rust and rustic so this genre will be such a challenge for me! Minimal and simple are not my natural state of being, so I am waiting with intense interest, too, to see what they'll become! Wish me luck! :O)
DeleteI love these. Gorgeous little rooms!
ReplyDeleteThanks Sheila! I am trying really hard to maintain enthusiasm for them, but because I am so far outside my "norm" here, the fear of failure is intense!
DeleteHow wonderful! They both look very nice, with just subtle differences between the two. I can't wait to see you decorate them!!
ReplyDeleteVery beautiful. Anything you display in them will look great.
ReplyDeleteHugs, Drora
Thanks Drora! My confidence level in this genre is very poor so I hope I do not get stuck!
DeleteYour innovative use of the scrap materials, have produced two lovely 'Just Big Enough" roomboxes which are certain to provide you oodles of Creative Playtime: ESPECIALLY once you raid your flower kits and accessories drawers! :D
ReplyDeleteThanks Elizabeth! It has been harder than I thought to work out these rooms with not much of a plan and really limited supplies! I only hope I can find inspiration in the details because so far, I am flat!
DeletePreciosos ambos modelos.
ReplyDeleteGracias isabel ¡Espero que al final se vean interesantes y valgan la pena!
DeleteThese are brilliant Jodi! Such a cute little project and just the kind of challenge needed to get the creative juices flowing... amazing that you’ve been able to turn your mini scraps into treasure.. I think my favourite feature is the little fenced atrium areas.. I’m looking forward to watching you fill those areas with your fabulous plants.☺️
ReplyDeleteThanks Sam! It's been a great in between projects project, and I am hoping that inspiration strikes to finish off the Storybook Cottage very soon!
DeleteIf I can keep the atrium simple and modern, it will be a great feature. But my natural M.O. is overcrowded and wild so I am really going to have to control myself!!! :O)
I love the style and such cool little spaces!
ReplyDeleteThanks Brandy! I hope both spaces come together in a stylish way in the end!
DeleteRealmente estás inspirada! me gustan mucho los dos escenarios,aún más sabiendo que son del cajón de deshechos,me encanta tu estilo!!!
ReplyDeleteBesos.
Gracias pilar! ¡Usar estas cosas es muy satisfactorio, y los cajones que he limpiado en los últimos dos proyectos me han dado una nueva esperanza!
DeleteWhat a wonderful post! ;O) I'm already looking forward to see how you're going to decorate these stunning two roomboxes. Although it's not your usual style I have no doubt that a) your amazing, incredible stash supplies will offer you fascinating items to play with and b) your talent for decoration and your inner eye for beauty will take you by the hand and lead you to stunning results.
ReplyDeleteI've especially enjoyed to see both projects together. As you said the differences are subtle but in my opinion it's just the right balance between being a perfect match when placed in a shelf etc. and having an own personality… and not being boring. Enjoy your playtime!
Hugs
Birgit
Thanks Birgit! I am soooooo not confident in this style, and am having to learn a lot before I can just go. But hopefully, in the end it will prove a worthwhile project and my drawers will have space to add new leftovers!
DeleteHi Jodi! I envy your "stash" and scrap materials, I am sure is any miniaturist paradise, it´s mine for sure!! The idea of the bookshelf roomboxes is genius! You have done a terrific job on both of them. I am sure you will blow my mind away again when they are filled :).
ReplyDeleteThanks Alex! It tends to build up when you build from scratch and experiment a lot, and that seems to be my M.O. the past couple years! I am feeling justified in keeping the scraps because I have been able to put so many of them to us here! I hope you are not too disappointed in the end - I am going to have to make practically everything and I am definitely not experienced or comfortable in this genre! Wish me luck!
DeleteOriginal idea. I'm sure that the scene in these little boxes will be amazing. I'm curious to see more.
ReplyDeleteThanks Faby! With no real plans for them, I curious to see how they come out, too!
DeleteHi, Jodi - Oops! I somehow completely overlooked this post! I'm so glad that I finally discovered it, though, because I like what you're doing with both the Mid-Mod and the Mod-Mod room boxes. This is such a clever idea, and knowing that you've done it all with scraps and leftovers just adds to the interest. I'm really looking forward to seeing these little beauties completed!
ReplyDeleteMarjorie
Thanks Marjorie! This little project has been fun and ticked a lot off my goal list: use leftovers, do something different, do something challenging, and do something small. I am not confident if I'll actually like the end results, but the journey is a worthwhile one no matter what!
Delete