Search My Blog!

Use the Search box below to find keywords that you're looking for quickly and easily!

Search Feature

Showing posts with label Fairytale Treehouse. Show all posts

Thursday, January 18, 2024

Thank Heaven For Little Girls

Hi Guys! Hope the New Year is being kind to everyone! For me and my family it has been a strange time of waiting. Waiting to find out exactly what we're dealing with with mom's illness and how we can help her through it. Thankfully, when my mind gets stuck in worry about things I can't change, I have minis to help pull my hands and mind into something productive. And thank Heaven, I have two little girls that I get to make things for.


During my last visit to mom's, my new bottles of Fred's Weathering Stuff came in so I had all I needed to finish the treehouse's wood flooring. Like the first floor, I used the veneer strips that came with the Linfield kit to cover the second and third floors. Just to refresh your memory, that included the girls' bedroom, Wayne's attic apartment and the second and third floor balconies that frame two sides of the great room.

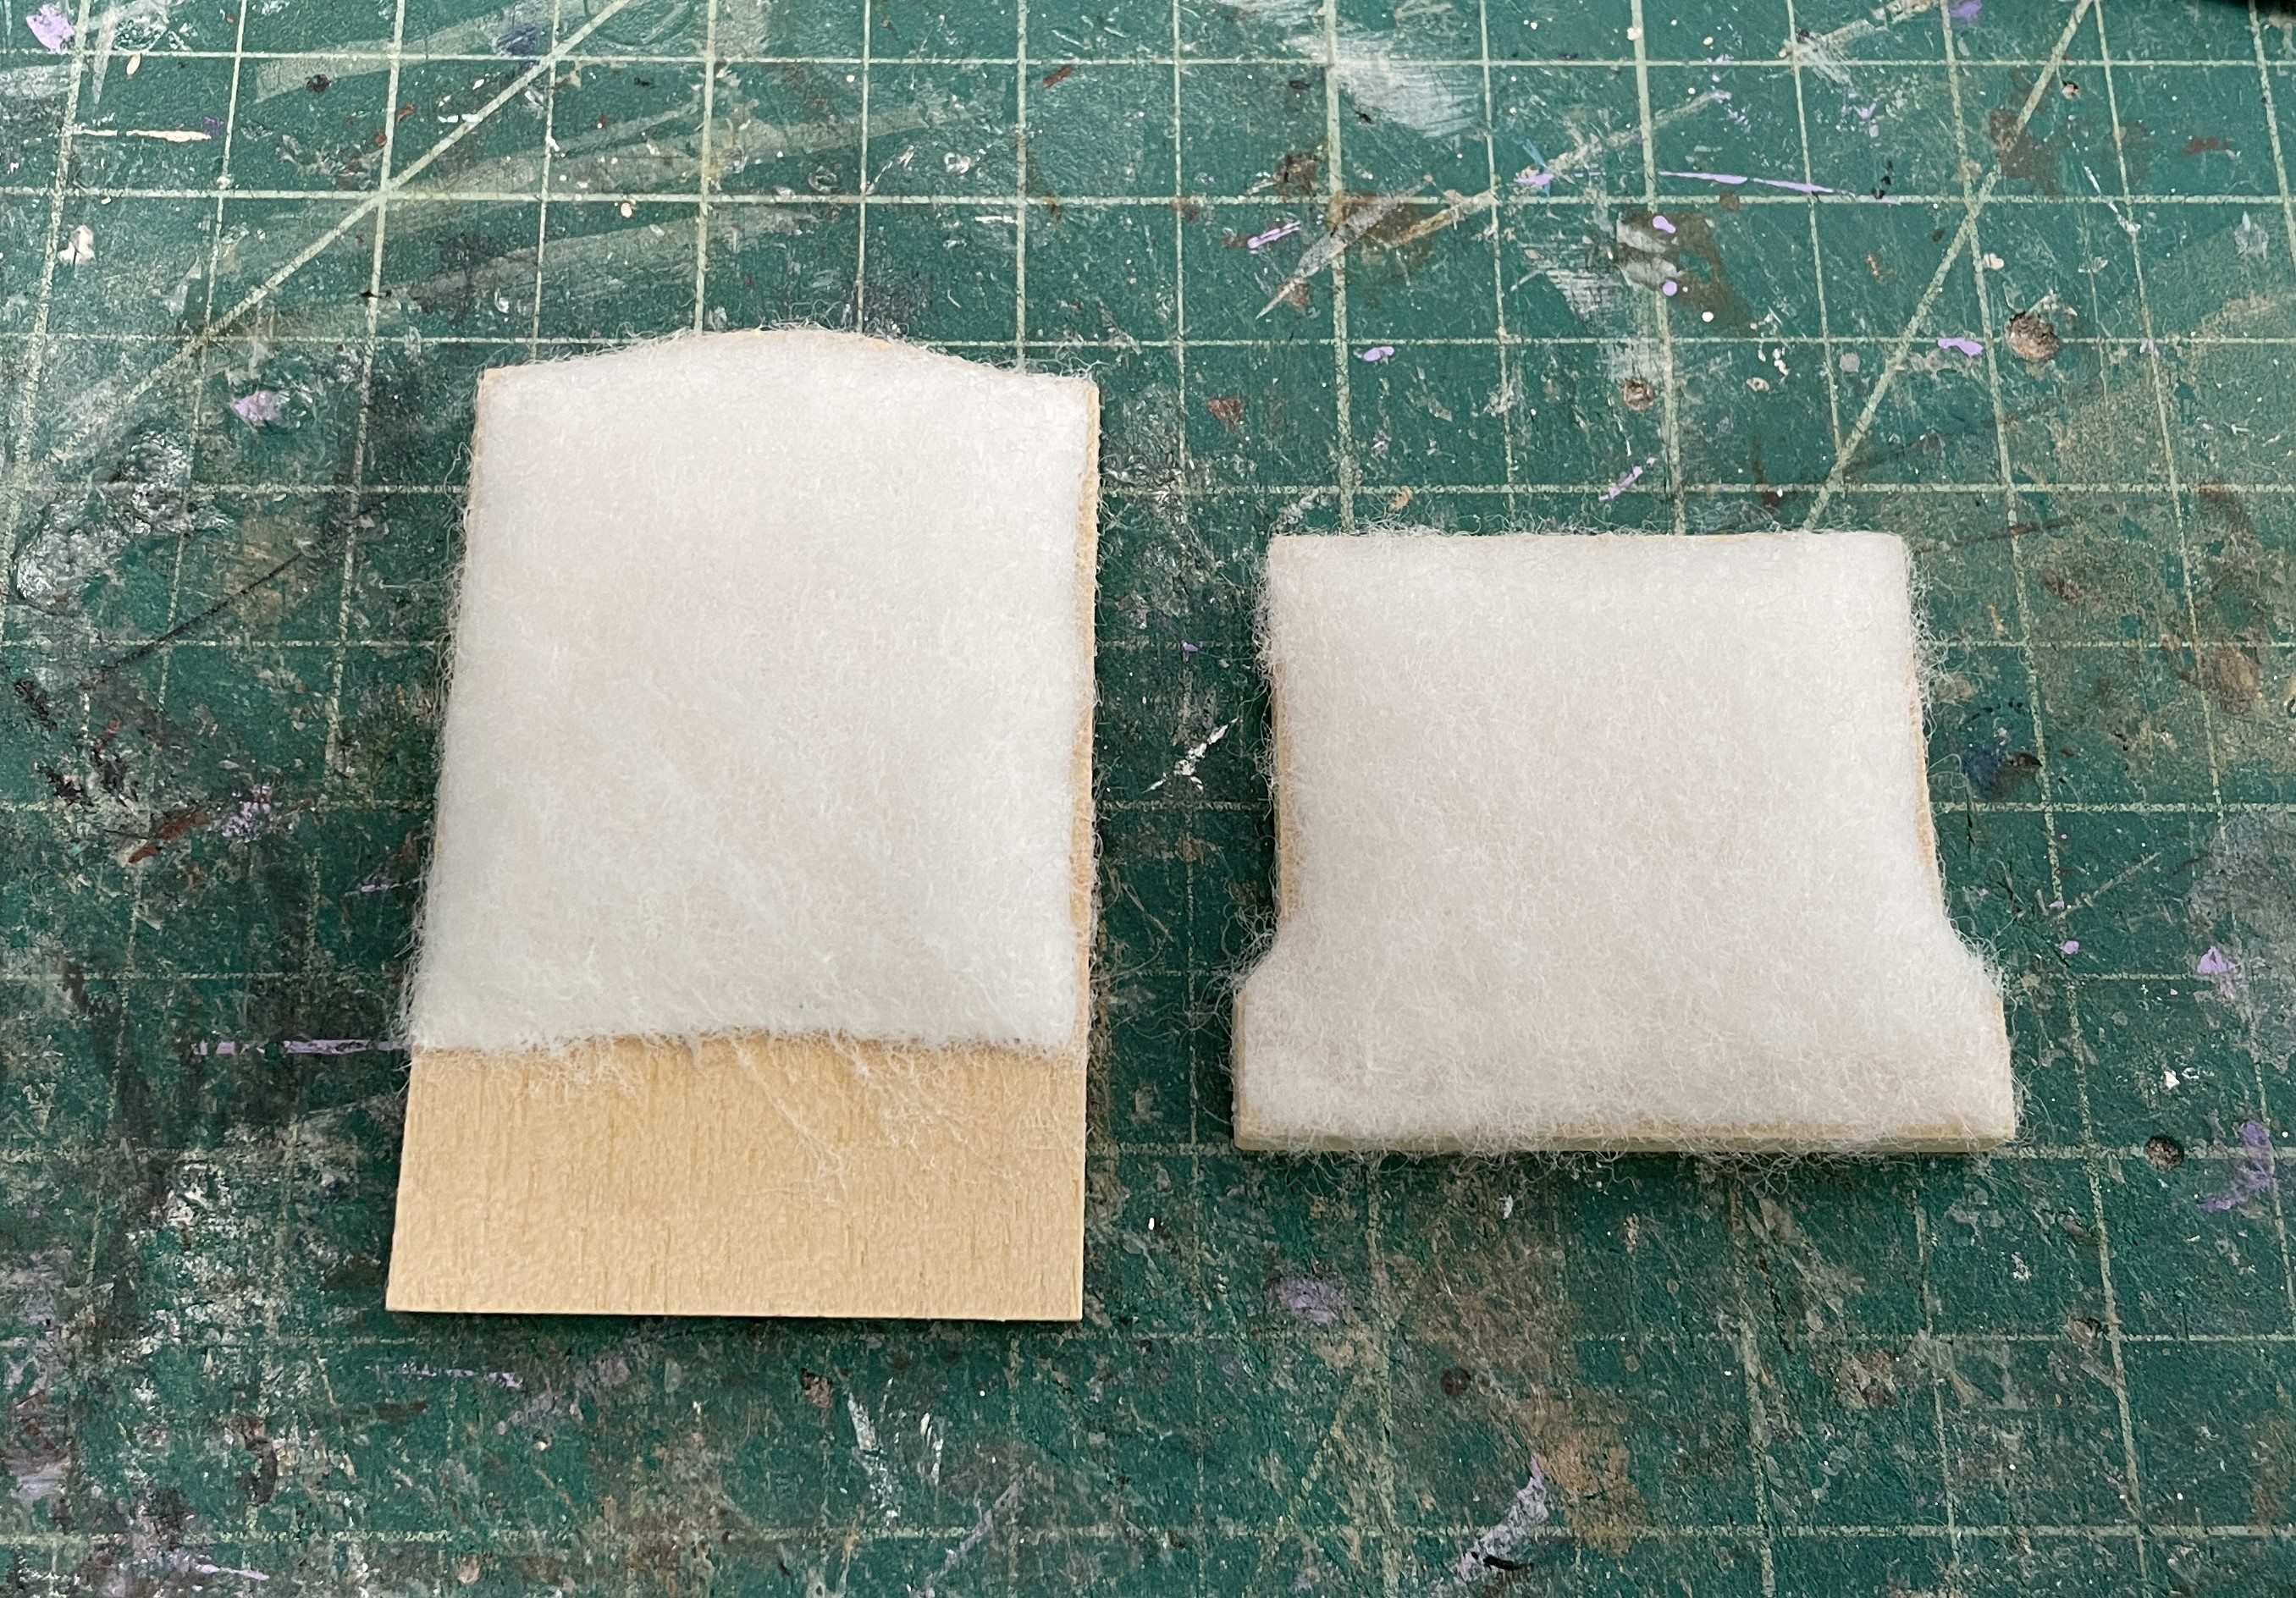
Goldie and Alice's bedroom floors pre-staining.

Wayne's attic apartment floors pre-staining.

One of the dangers in bouncing around the processes of a project for me is forgetting the important things I need to remember. Such as running ceiling light wiring before I install the flooring on the floor above. đŸ€Š‍♀️ Oh well. At least the masking tape and sharpie help "mask" the wires, and they'll be almost totally under an area rug.

Kitchen's ceiling lantern.

Wiring from the ceiling lantern coming up through the floor.
covered with masking tape.

Sharpie camouflage.

Once the floors were finished with stain and sealer, I could finally install them into the treehouse. Like a layer cake I positioned the kitchen's stove wall with glue and clamps, then applied the glue to the girls' bedroom floor and let everything cure overnight. The next day I did the balcony and Wayne's floors.

The Paperclay stones I applied to the oven wall had caused the chipboard beneath
it to warp a little as it dried. I had to weigh it and clamp it while the
glue set to flatten it back out. Luckily, it worked!

Girls' fireplace wall permanently installed.

Unfortunately, the stain from the new bottle and the stain from the older bottle weren't a perfect match. The new floors got a little darker. Fortunately, the only place where the new and old meet is the transition from the balcony into the girls' room. You have to really crane your neck or peep through windows to see it. The transition strip makes it look clean, at least.


Here is a photo of the treehouse interior with all of the floors finally installed! The only structural pieces left of the kit are the roof pieces, and with all those gables, it's going to be challenging!

I also made the wiring mistake on Wayne's floor/girls ceiling fixture.
I "fixed" it the same way. He will also have a fireplace wall and a rug.

All the floors are installed! Yippee!

You may have noticed some furnishing in the girls' room. Back when I made Roz's bedroom chair I also made a couple chairs for Alice and Goldie. They are a little larger, true 1/12th scale, and are covered in a more youthful and jovial butterfly fabric. I also used my graphics program to combine aspects of three different Pottery Barn Kids rugs to print the perfect rug for the girls. I am delighted with my new printer and will share about it in an upcoming post.

It is wonderful to finally see the ceiling and flooring in the girls' room!

I bet you also spied the dollhouse bookshelf and a dollhouse. I designed those in Design Space and cut them with the Cricut Maker. I hope to figure out how to make the projects available to everyone sometime this year. The dollhouse is 1/144th scale.

Dollhouse bookshelf with secret cubby.


I'm making board games, paper dolls and lots of other things the girls will love to play with when the weather forces them inside. Currently, I've got a big batch of real opening books for the bookshelf in progress on my craft table. Through The Looking Glass and The Three Bears will be included, of course, along with many other children's favorites and fairytales. 

Trixie Potter lives just down the holler across the creek.
She generously gifted the girls with every volume of her works.

My own love of reading bloomed with my first library book, a pop up dollhouse.
I can't wait to introduce them to Beverly Cleary, too.
They both share so many personality traits with Ramona!

I'll share more about all of that fun stuff in my next post. If you want the mom update, scroll past my signature. Otherwise, I hope you're all finding loads of things to be grateful for in the new year, and I hope it includes minis!

xo xo,

Jodi


Mom's surgery is Friday and hopefully, shortly thereafter, we will have more answers, a thorough diagnosis of her cancer, and a treatment plan. To our delight she continues to feel much, much better than before her hospital stay last month. Her blood analysis looks better and so far, no need for another transfusion. She's even insisting on cleaning her own house!!! I hope to start posting more regularly again and will, of course, keep you updated. I can't thank you enough for your kind thoughts, well wishes, prayers and love!

 xo xo

Thursday, November 30, 2023

Step Into My Parlor...

Hi Guys! I am so happy to post today and share with you the final room in Roz's trunkhouse... The Parlor! At just 9-1/4" in circumference, it's a bit on the cozy side, but by using almost all the available space, Roz should have all she needs to warm up, relax, read and provide her Wish Granting services to the forest community!


Roz loves books and loves to send her favorites home with clients to read. You see, in addition to offering Wish Granting services, Roz is also a bit of a Life Coach. She wants to educate her clients about how to not only Wish for their Dreams, but to Work toward them, as well! To suit her need for lots of self-help books, I've created two bookshelves and built them to contour the room's curved walls. They are comprised of Sonotube backs, chipboard inner curved shelving, then nice, stainable wood for the top, bottom and shelf front trim. The tops and bottoms were trimmed after assembly so they could be scribed perfectly to the curved walls.


I needed to make lots of books for Roz but only had to provide the covers and wood dummies with gold edging. Her magic will make them real in her world.


I also provided various paper plants to give life to the room. Her magic will take care of the "alive" part, too.


Lucky for me Birgit sent some really neat décor items and parts to make more pieces in her Christmas packages over the years! Including the neat Moonflower Miniatures Palm kit shown above! She included this gift in her package with Roz and Rozario. I just knew it had to go in the parlor. You can see below that I was able to make two palm plants from one kit! They were so much fun to make! Thanks Birgit! Goldie and Alice will get to have one in the treehouse, too!


Here's the first shelf loaded up. Birgit sent the adorable froggy, the wooden heart (I painted it purple then applied a coat of UV resin to make it shiny), the wooden bead and metal bead cap, acorn cap bowl painted gold inside, the succulent (which I removed from a coffee cup and put into a clay pot)  and the adorable glass bead made into a jar. The rest of the stuff came from my rapidly dwindling supply of mini accessories. I was happy that Birgit's wonderful gifts finally had a proper home!


The second shelf looks similar with just a few different décor pieces. Some things, like the turned vase and geode, were survivors of the old dismantled Bigfoot gift shop.


The philodendron plant is made from leaf sheets sold by Mary Kinloch. I used varying shades of alcohol ink to color the leaves. I had a great time making it because it brought back nostalgic memories from when I was a kid in the 70's. They were a really popular plant to grow back then and every home seemed to have one. Kind of like pet rocks. They are a vining plant so you'll often see them with moss covered poles in their pots to climb on. Mary's instructions give great detail!


Funny story abut the "R's"... You may see a few visible dents in them, even after I sanded them, a lot. The dents are from puppy teeth and serve as a good reminder to myself that when I am puppy-sitting my son's dog Rosie, I need to make sure to close my craft drawers, lol! She likes to "help" by bringing me things from my drawers. She doesn't have opposable thumbs to grasp things, so her teeth have to do the carrying job! Unfortunately, they leave marks! She's a good girl... with sharp teeth!😊


I altered a House Of Miniatures Queen Anne Tilt Top Table kit by removing the tilting piece from the assembly. I also shortened the center leg. It is now the perfect coffee table height and makes it easy for Roz to access her Crystal Ball during Wish Granting services. Don't tell anyone, but it doesn't really show Roz a client's future. It's important to Roz to put on a good show, and because the clients believe it's predestined, it actually does help them to leave the session feeling much more confident in their own ability to Reach Their Dreams.

The crystal ball was made from a clear glass globe with a single hole. I squirted alcohol ink inside and rolled it around periodically as it dried. It is adhered with Gem Tack on top of a metal "crown" finding and then adhered on top of two spacer beads that Birgit gave me. I just had to repaint them in purple.


I also made a HOM candle stand kit to use as a side table for an extra lamp. 


With most of the accessories made I could begin to load Roz's parlor. I added 1/2" legs to the fronts of the shelves before gluing them into the trunkhouse. This allowed me to rest the back of the shelves on the 1/2" baseboards. They tuck right under the window sills so my measurements were perfect!. I like the way they flank the parlor stove but don't dominate the room.


And for a homey, warm feeling, and area rug. I am so happy that I did the annoying research and bought a new printer! Seems like I picked a good one, finally! It prints the color I see on my PC screen and I look forward to no more rug printing trouble! Though I still have yet to test it on my velvet paper. I'll let you know how that goes and then share the printer I purchased.


There is even a doormat for Roz in her favorite color!


Before I loaded in the rest of the room's furnishings, I needed to get the lights hooked up. Between the parlor stove, sconces and table lamp, there were six lights for this room. I consolidated the wires for this floor and got them ready for the much bigger job of consolidating the rest of the trunkhouse's wiring. I performed this final wiring test with the actual Evan Designs transformer and am super happy with the amount of light these 12 volt bulbs give off. I can't wait to see the rest of the trunkhouse all lit up!


At long last, I invited Roz in for a look at her parlor. She was so delighted with everything, and that makes it all worthwhile! I have a few more things to load in, like art for the walls, some baskets and a vase of fresh flowers, but I'll let Roz live in the space a few days so she can tell me how things are functioning first.


Roz invited Goldie over right away so that she could help Goldie map out the steps to making her Cookbook Dream Come True. Goldie loved Roz's parlor and asked me. very politely, when I thought maybe her treehouse would be finished. Oh sweet girl, I promise to get moving on the treehouse again just as soon as possible. Gulp!

I Wish there were more hours in every day and that they passed by more slowly! Got any Magic for that, Roz???

xo xo,

Jodi

Thursday, November 23, 2023

Tweaking A Chair Kit

Hello Friends and Happy Thanksgiving! Those of us who live in the US celebrate all the things we have to be grateful for on this day every year, though it is good to keep gratitude in our hearts at all times, wherever in the world we are. I am grateful to have had a fabulous visit with my amazingly wonderful folks in Arizona.  Since I've been home I have done my best to pick up where I left off with the trunkhouse, and that was in the parlor.


In this post I'll share a few details about the chairs I made.  While it is not a real tutorial, hopefully it helps you to imagine ways to think beyond the instructions for some of the old favorite mini kits you have lying around. It can be so much fun to make something unique and totally your own, even when it's not totally from scratch.

I started with a couple House Of Miniatures Chippendale Wing Chair kits. Then I looked online for wing chair styles that I liked and could adapt the kits to. Here's the chair I wanted to mimic...


My inspiration chair had a much slighter profile, so I needed to cut the kit's winged side pieces in depth and height.


I also rounded the detail at the top.


The kit's cardstock pieces also needed to be reshaped. The most important step here was to keep dry fitting to see how everything was fitting together.


My inspiration chair was also different in that it had rolled arm rests, where the kit had rolled front/sides and flat arm rests. I moved those rolled kit pieces to the tops of my arm rests, after I trimmed the little lip pieces away. They were intended to secure the cardstock sides in the original kit configuration so I no longer needed them.


I altered the cardstock further to accommodate the rolled arm rests once they were glued on.


The next few steps pretty much followed the kit's instructions, applying a strip of fabric to the edge of the sides, applying it to the cardstock, then applying those pieces to the side pieces.


I encountered my first real challenge when it was time to upholster the chair cushions. One of my kits was fairly new and one of them was really old. The chair cushion pieces from the older kit (which are made from some type of foam) were shriveled, brittle and crumbled in my fingers. My solution was to eliminate them from both kits and use batting, instead.

Left, newer kit foam. Right, older it foam.

Two layers of quilt batting.


Time for fabric...


And cardstock...


All the components are ready for assembly per the kit instructions.


The kit's leg assemblies have always looked a bit clunky to me. Plus, given Roz's petite stature, they are a little tall. Instead, I cut down some short spindles to make more height appropriate chair legs.


And I even hand sewed a couple accent pillows! I think my sewing skills are improving... a little. 😊


Roz loves her new custom wingback chairs and can't wait to see them in the parlor! I'm saving that for the big reveal, but there's so much more to do before then. More progress, hopefully, next week, my friends! 

Hope this post has inspired you to rework some of your favorite mini kits to make them your own! Thanks for stopping by!

xo xo,

Jodi