A little play on words to express my gratitude for generous bloggers who share their techniques and files, and also to the angels who helped to make sure that I had (nearly) enough flowers made for both shops!

Let's start where I started in the bouquet making process... Figuring out how many vases and pots and décor things I'd need to fill out each shop. I got out my pot and vase organizers and spread out various place holders in each shop just to get a rough idea of how many vases/pots I was potentially looking at having to make up. I was pretty much convinced after this exercise that I would be terribly short of flower stems! And that I would nearly wipe out my supply of vases and pots!


I determined that in order to have enough containers, I was going to have to make some. That's where some luck and gratitude came in! After a Google search for galvanized flower pots, I came across the We Love Miniatures tutorial on how to make galvanized flower buckets. Annie even provided a pattern for the buckets on her web site! We Love Miniatures Pattern Downloads Thanks so much, Annie!
I was able to bring the pattern into my graphics program, then isolate and clean up the pattern for import into Cricut Design Space. For those of you with a Cricut, here's a link to the file. It has 28 buckets and bottoms and fits on one piece of Cricut Kraft Board.

My first cut didn't include the bottoms - that was an improvement I added after I realized it would be much easier to have my Maker cut the bottoms for me.

Following (almost) the tutorial in the video, I made up many buckets.


Annie provides another great video on how to give things a zinc effect. I used it as a guideline for painting mine, though I included glazing medium in my silver and white layers and then finished them off with a satin varnish. I love how they turned out! Thanks again, Annie!


And here they are with the loose flower stems arranged inside. I arranged them as best as I could in the empty buckets, then grabbed the bunch and held them together, hoping not to disturb the arrangement too badly, while I filled the bucket with hot glue. Then I carefully popped the bunch in the bucket and wrangled any rebels back into submission. Once the hot glue had set, I was able to turn, bend, spread and arrange them until I liked the presentation.

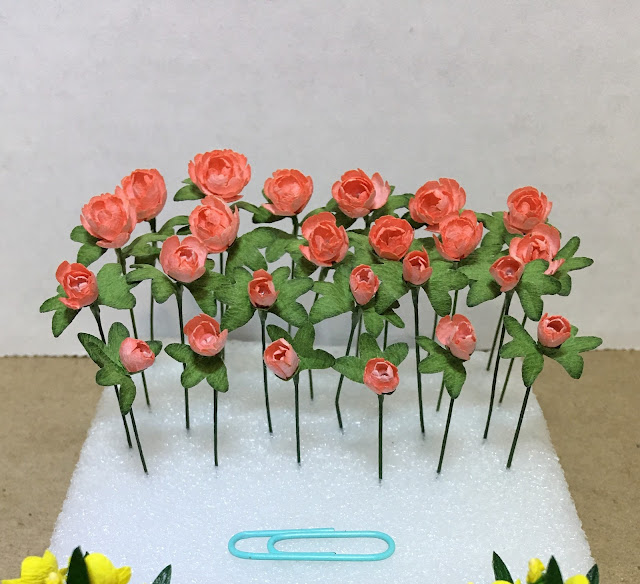
I bet you're wondering if I really did have enough flower stems to fill both shops. The great news is - I did! And here is what I have left.

I still need to add flowers to the hanging basket for the peach shop, but I have leftover leaves, a few fuchsia stems and a whole new Bonnie Lavish fuchsia kit to use. I can do that close to the end, though. I also had to make up five different sets of herb leaves, but they went pretty fast.
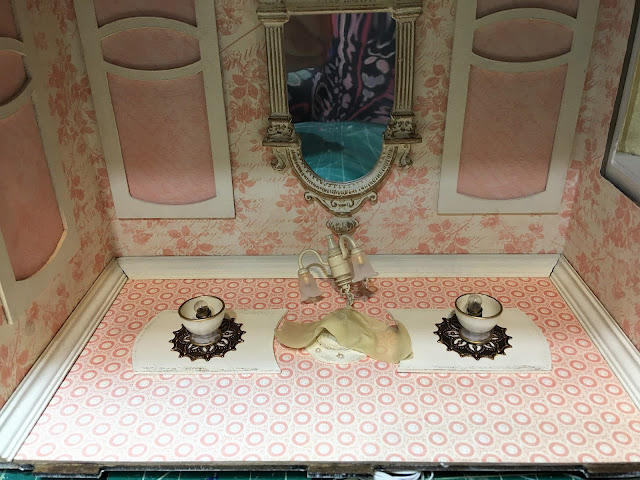
Here are the vases I made up for the peach shop. In the clear glass and plastic vases, to hold the stems in and give them the look of resting in water, I used UV Resin And a UV Flashlight. For the non clear vases I used hot glue.


I'll save the big reveal photos with everything loaded into the shops for next time. I want to hold back the blue shop's vases, pots and décor, too, in case the recipient stalks me, lol! She can't help but spy on me from time to time! I want her to enjoy a surprise!
Merci beaucoup for stopping by! See you next time!
xo xo,
Jodi