Search My Blog!

Use the Search box below to find keywords that you're looking for quickly and easily!

Search Feature

Saturday, December 30, 2023

The LEGO UP! House

Hello my friends! It has been much too long since my last post and I have missed connecting and being inspired by all the creative things you've been up to. I am going to keep this post positive so we'll move right on in to my newest creative pursuit. For the 'why' of the absence, I'll leave that at the end. If you don't like sad news, just ignore it.

My son Ande and I have always enjoyed seeing Disney and Pixar films together. Since the first Toy Story movie, it has kind of been our thing. Since he is a fully grown up thirty-something-man, our opportunities to see new movies together face significant challenges. But we still try to fold watching them into our family gatherings. We both hope that one day he will have a little one to share them with.

This year for Christmas, knowing that I had limited time, Ande and his fiancé Alexis (Lex) bought me the LEGO UP! movie house. It is absolutely adorable, so I couldn't resist getting started on it right away! What a joy it was to assemble! It kept my mind occupied and when it did wander, it wandered to happy times.


Russ has assembled many LEGO sets in the last few years, mostly Star Wars space ships. Each time I dust them I worry that they will fall to the ground, pieces exploding everywhere. Yikes! So I decided to glue mine together as I assembled. I read so many differing and conflicting recommendations for adhesives, but finally decided on Testors Liquid Plastic Cement. I would not recommend it as after letting the first pieces sit for a day or so, they came right apart. Next time, when I have more time, I will order Le Glue and give that a try. Luckily, my kit only included four bags and roughly 500 pieces. One of Russ' had 8000!!!


First came Russell, the boy scout who was working on his last badge: Helping the Elderly. His figure is adorable and so detailed - right down to his backpack loaded with camping equipment.


The rest of bag 1 consisted of mostly the first floor of the house. It was great to see so many of the references from the movie included in the details. Like the compass, the front door with all the locks Carl installed to keep the changing world away and the giant painting of Paradise Falls above the fireplace. I wish they'd had a way to incorporate Ellie's chair alongside Carl's like in the movie. Seeing her empty seat next to Carl's in the movie conveyed his loneliness for her in such an impactful way.


Bag 2 started off with Carl. One side of his LEGO face is smiling, and the other sports his all too familiar frown. I chose to display the smile, of course! I love that LEGO included his walker. And what a great head of hair he has for an old guy! I think this may all be 1/4" scale, as Carl and Russell are both about 1-1/2" tall.


By the end of bag 2 we see the bay windows and the second story taking shape.


Bag 3 starts off with Doug the faithful dog. The kit also includes his irresistible distraction, Squirrel (you'll see him later).


By the end of bag 3 we have a roof, the chimney, Carl's bed and TV and even Ellie and Carl's Adventure Book stored in an old crate!


The final bag was all about the balloons and display details. The kit provided a wedge for two fence pieces, a helium tank, the mailbox and Squirrel. 


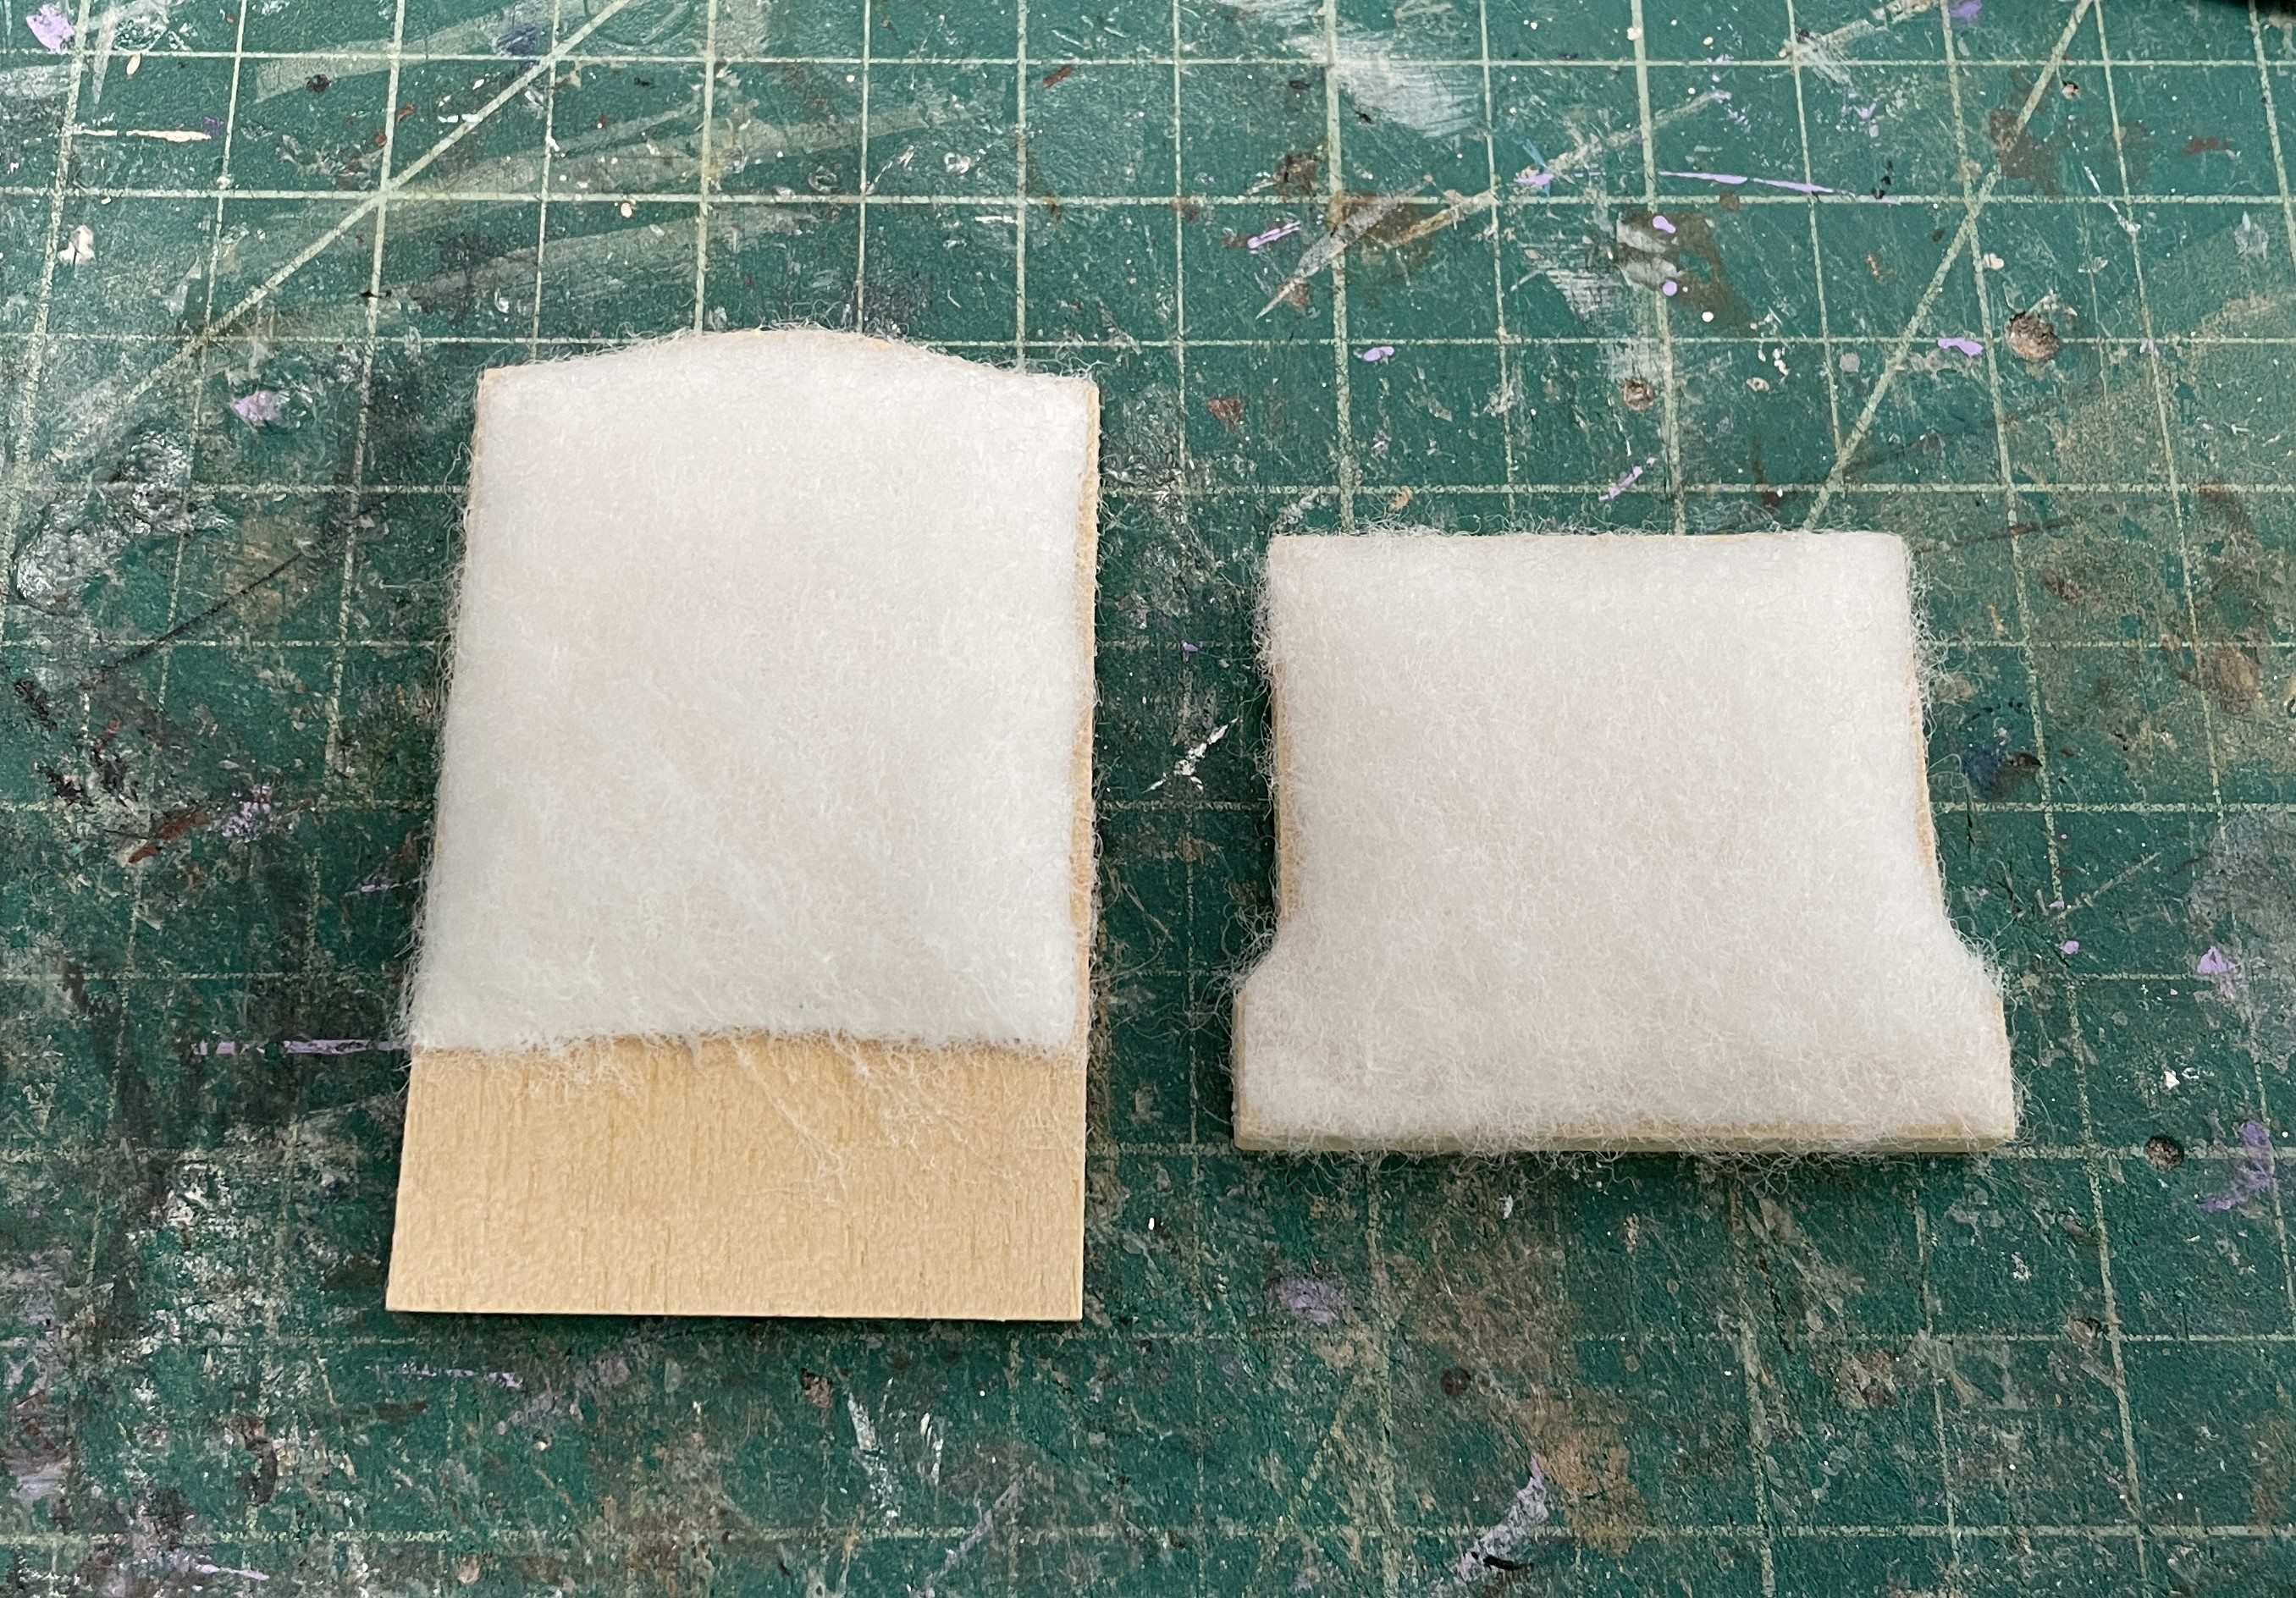
It was cute but I thought the house deserved an actual display base so I set to work making one. I created the base using two pieces of 4-3/4" x 7" art board laminated together. I added a piece of model railroad grass to the top and lined the edges of the board with 1/8" x 1/4" basswood painted green to match the grass.


I wanted to keep the integrity of the LEGO set while honoring the original house and yard in the movie. So in Design Space I replicated the LEGO fence in the kit but also kept the gate design from the movie animation. 

Movie Screenshot


Lego fence, my fence and gate pieces.


I used Kraft cardboard for the fences and gate so I made several layers to laminate together. I made the gate wide so that I could trim to fit once the fences were in place.


The LEGO fences had bottom boards that lifted them off the ground, so I made basswood frames to tuck my fence board pieces into.


The movie house had decorative round finials on each gate post. I had some in my stash and made them sturdy by using a toothpick "biscuit" to join all the pieces.


Here are the fence sections installed on the display base. The gate functions with three kraft card hinges, glue welded, painted then Mod Podged for a secure bond.


Of course I had to take the opportunity to add some fun detail. I deconstructed the LEGO fence display piece and included some of the pieces on the display board. The helium tank will now sit next to the house. The mailbox has been installed (with toothpick) next to the gate (like in the movie house) and has a few blades of long grass, missed by the mower, protruding from the base. I installed two Squeeze Me bushes to the front corners of the yard. They are mounted on kraft card circles dusted with potting soil and secured with hairspray. And a couple art board pavers have been added. Squirrel has a permanent place on the fence post, affixed with a toothpick, and will drive Doug to distraction whenever he goes out for "business", lol!


And here's the display complete with the LEGO UP! house and all the characters that come with it. I hope to add a dust cover, one day.


And here's another peek inside...


What a fun distraction and a beautiful reminder of life's wonderful things! Thanks Ande and Lex! 💗

I hope to be back as soon as I can and to catch up on everyone's blog posts as I find the time.

Give all your loved ones some extra love today.

xo xo,

Jodi

Last July my mom began to experience significant back pain. She really dislikes going to doctors so decided to try and manage it on her own. I sent CBDs, some with THC and some without to try and give her some relief until the pain subsided or she agreed to see a doctor. The THC ones were great because she could finally get some sleep. Fast forward to November and her back pain still shadowed her days. I flew down with my daughter and mom finally saw a doctor. That doctor referred her to a urologist and a couple weeks later she got an explanation for her symptoms: cancer. Since then my family and I have moved into a new and sobering reality. Since then Mom has had more challenges, no real answers, no real plan and an unexpected hospital stay after an alarming complication. Back and forth my brother and I go to Arizona, to support, spend time, encourage and love my parents through this process. We are all praying for a better picture and a plan after her surgery on January 19th. The first surgery was postponed for a month in the hope of getting mom strong enough to have it. A blood transfusion helped her to feel much stronger so she may have one more before the surgery. If there is a bit of good news it is that her back pain has mysteriously disappeared. Minis, though an invaluable source of calm and joy for me, have obviously taken a back seat. I'll do what I can when I can and post as it is possible. Small and portable projects might be the answer in the near future. Your prayers and good thoughts for our family are so appreciated!

Thursday, November 30, 2023

Step Into My Parlor...

Hi Guys! I am so happy to post today and share with you the final room in Roz's trunkhouse... The Parlor! At just 9-1/4" in circumference, it's a bit on the cozy side, but by using almost all the available space, Roz should have all she needs to warm up, relax, read and provide her Wish Granting services to the forest community!


Roz loves books and loves to send her favorites home with clients to read. You see, in addition to offering Wish Granting services, Roz is also a bit of a Life Coach. She wants to educate her clients about how to not only Wish for their Dreams, but to Work toward them, as well! To suit her need for lots of self-help books, I've created two bookshelves and built them to contour the room's curved walls. They are comprised of Sonotube backs, chipboard inner curved shelving, then nice, stainable wood for the top, bottom and shelf front trim. The tops and bottoms were trimmed after assembly so they could be scribed perfectly to the curved walls.


I needed to make lots of books for Roz but only had to provide the covers and wood dummies with gold edging. Her magic will make them real in her world.


I also provided various paper plants to give life to the room. Her magic will take care of the "alive" part, too.


Lucky for me Birgit sent some really neat décor items and parts to make more pieces in her Christmas packages over the years! Including the neat Moonflower Miniatures Palm kit shown above! She included this gift in her package with Roz and Rozario. I just knew it had to go in the parlor. You can see below that I was able to make two palm plants from one kit! They were so much fun to make! Thanks Birgit! Goldie and Alice will get to have one in the treehouse, too!


Here's the first shelf loaded up. Birgit sent the adorable froggy, the wooden heart (I painted it purple then applied a coat of UV resin to make it shiny), the wooden bead and metal bead cap, acorn cap bowl painted gold inside, the succulent (which I removed from a coffee cup and put into a clay pot)  and the adorable glass bead made into a jar. The rest of the stuff came from my rapidly dwindling supply of mini accessories. I was happy that Birgit's wonderful gifts finally had a proper home!


The second shelf looks similar with just a few different décor pieces. Some things, like the turned vase and geode, were survivors of the old dismantled Bigfoot gift shop.


The philodendron plant is made from leaf sheets sold by Mary Kinloch. I used varying shades of alcohol ink to color the leaves. I had a great time making it because it brought back nostalgic memories from when I was a kid in the 70's. They were a really popular plant to grow back then and every home seemed to have one. Kind of like pet rocks. They are a vining plant so you'll often see them with moss covered poles in their pots to climb on. Mary's instructions give great detail!


Funny story abut the "R's"... You may see a few visible dents in them, even after I sanded them, a lot. The dents are from puppy teeth and serve as a good reminder to myself that when I am puppy-sitting my son's dog Rosie, I need to make sure to close my craft drawers, lol! She likes to "help" by bringing me things from my drawers. She doesn't have opposable thumbs to grasp things, so her teeth have to do the carrying job! Unfortunately, they leave marks! She's a good girl... with sharp teeth!😊


I altered a House Of Miniatures Queen Anne Tilt Top Table kit by removing the tilting piece from the assembly. I also shortened the center leg. It is now the perfect coffee table height and makes it easy for Roz to access her Crystal Ball during Wish Granting services. Don't tell anyone, but it doesn't really show Roz a client's future. It's important to Roz to put on a good show, and because the clients believe it's predestined, it actually does help them to leave the session feeling much more confident in their own ability to Reach Their Dreams.

The crystal ball was made from a clear glass globe with a single hole. I squirted alcohol ink inside and rolled it around periodically as it dried. It is adhered with Gem Tack on top of a metal "crown" finding and then adhered on top of two spacer beads that Birgit gave me. I just had to repaint them in purple.


I also made a HOM candle stand kit to use as a side table for an extra lamp. 


With most of the accessories made I could begin to load Roz's parlor. I added 1/2" legs to the fronts of the shelves before gluing them into the trunkhouse. This allowed me to rest the back of the shelves on the 1/2" baseboards. They tuck right under the window sills so my measurements were perfect!. I like the way they flank the parlor stove but don't dominate the room.


And for a homey, warm feeling, and area rug. I am so happy that I did the annoying research and bought a new printer! Seems like I picked a good one, finally! It prints the color I see on my PC screen and I look forward to no more rug printing trouble! Though I still have yet to test it on my velvet paper. I'll let you know how that goes and then share the printer I purchased.


There is even a doormat for Roz in her favorite color!


Before I loaded in the rest of the room's furnishings, I needed to get the lights hooked up. Between the parlor stove, sconces and table lamp, there were six lights for this room. I consolidated the wires for this floor and got them ready for the much bigger job of consolidating the rest of the trunkhouse's wiring. I performed this final wiring test with the actual Evan Designs transformer and am super happy with the amount of light these 12 volt bulbs give off. I can't wait to see the rest of the trunkhouse all lit up!


At long last, I invited Roz in for a look at her parlor. She was so delighted with everything, and that makes it all worthwhile! I have a few more things to load in, like art for the walls, some baskets and a vase of fresh flowers, but I'll let Roz live in the space a few days so she can tell me how things are functioning first.


Roz invited Goldie over right away so that she could help Goldie map out the steps to making her Cookbook Dream Come True. Goldie loved Roz's parlor and asked me. very politely, when I thought maybe her treehouse would be finished. Oh sweet girl, I promise to get moving on the treehouse again just as soon as possible. Gulp!

I Wish there were more hours in every day and that they passed by more slowly! Got any Magic for that, Roz???

xo xo,

Jodi

Thursday, November 23, 2023

Tweaking A Chair Kit

Hello Friends and Happy Thanksgiving! Those of us who live in the US celebrate all the things we have to be grateful for on this day every year, though it is good to keep gratitude in our hearts at all times, wherever in the world we are. I am grateful to have had a fabulous visit with my amazingly wonderful folks in Arizona.  Since I've been home I have done my best to pick up where I left off with the trunkhouse, and that was in the parlor.


In this post I'll share a few details about the chairs I made.  While it is not a real tutorial, hopefully it helps you to imagine ways to think beyond the instructions for some of the old favorite mini kits you have lying around. It can be so much fun to make something unique and totally your own, even when it's not totally from scratch.

I started with a couple House Of Miniatures Chippendale Wing Chair kits. Then I looked online for wing chair styles that I liked and could adapt the kits to. Here's the chair I wanted to mimic...


My inspiration chair had a much slighter profile, so I needed to cut the kit's winged side pieces in depth and height.


I also rounded the detail at the top.


The kit's cardstock pieces also needed to be reshaped. The most important step here was to keep dry fitting to see how everything was fitting together.


My inspiration chair was also different in that it had rolled arm rests, where the kit had rolled front/sides and flat arm rests. I moved those rolled kit pieces to the tops of my arm rests, after I trimmed the little lip pieces away. They were intended to secure the cardstock sides in the original kit configuration so I no longer needed them.


I altered the cardstock further to accommodate the rolled arm rests once they were glued on.


The next few steps pretty much followed the kit's instructions, applying a strip of fabric to the edge of the sides, applying it to the cardstock, then applying those pieces to the side pieces.


I encountered my first real challenge when it was time to upholster the chair cushions. One of my kits was fairly new and one of them was really old. The chair cushion pieces from the older kit (which are made from some type of foam) were shriveled, brittle and crumbled in my fingers. My solution was to eliminate them from both kits and use batting, instead.

Left, newer kit foam. Right, older it foam.

Two layers of quilt batting.


Time for fabric...


And cardstock...


All the components are ready for assembly per the kit instructions.


The kit's leg assemblies have always looked a bit clunky to me. Plus, given Roz's petite stature, they are a little tall. Instead, I cut down some short spindles to make more height appropriate chair legs.


And I even hand sewed a couple accent pillows! I think my sewing skills are improving... a little. 😊


Roz loves her new custom wingback chairs and can't wait to see them in the parlor! I'm saving that for the big reveal, but there's so much more to do before then. More progress, hopefully, next week, my friends! 

Hope this post has inspired you to rework some of your favorite mini kits to make them your own! Thanks for stopping by!

xo xo,

Jodi