In my continuing effort to pursue a bit of realism in the Beachside Bungalow build, I have endeavored to design and 3D print the kitchen appliances. Maybe a better and more truthful title for this post would be "The Tries And Retries Of 3D printing At Home". In any case, I thought I would share the process and the outcome.
 |
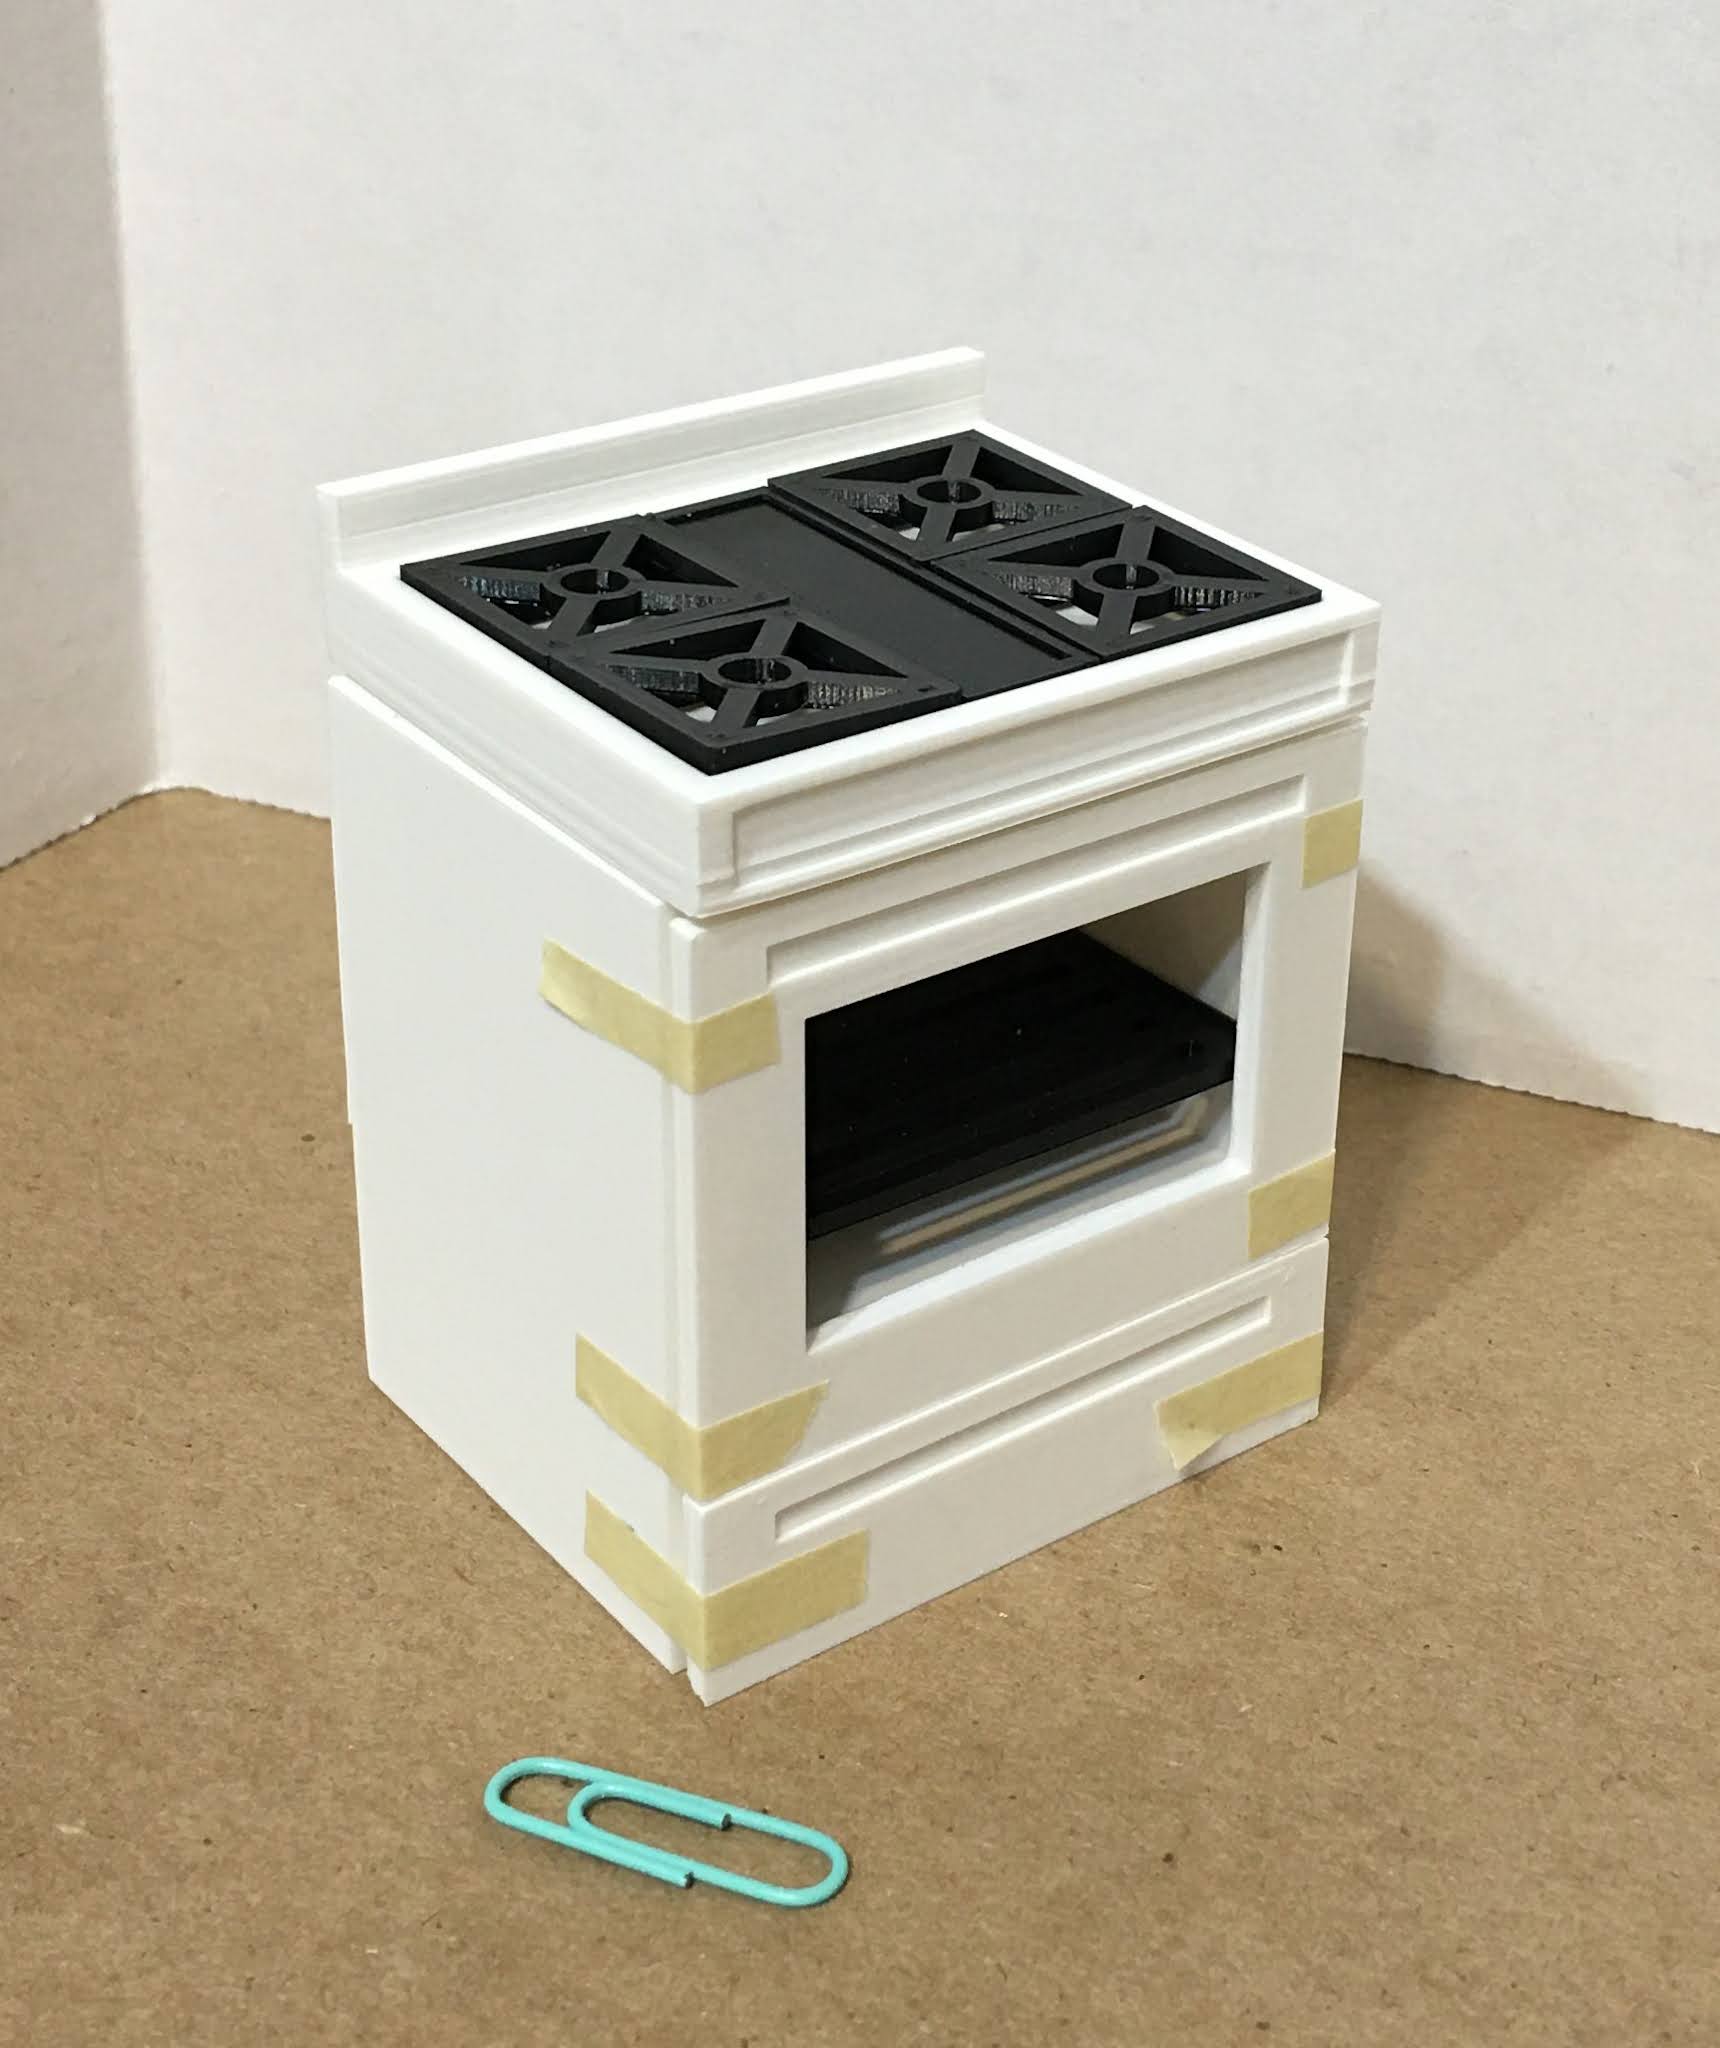
| Oven/Stove Unit Before Finishing. |
It all started with an idea (those tend to get me into trouble), and then I tried to draw it out on paper. This helped me to get measurements and see what it would look like.
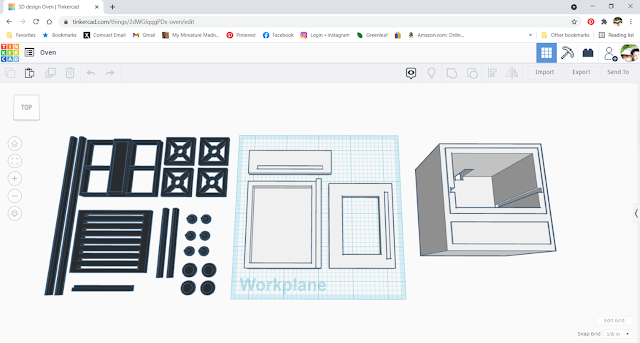
Then I headed on over to Tinkercad to see if I could come up with a design for the appliances. I played with the shapes that they have available. By combining them and cutting away from them, I created the parts and pieces. I have to keep in mind my printer's limitations and, from past experience, what orientation will work best for the end product. Some things I have to consider are: What sides of it are going to show, are there any overhanging parts that will need support (and ultimately more finishing) and which surface do I want to be the smoothest. These answers effected the orientation of the pieces.
 |
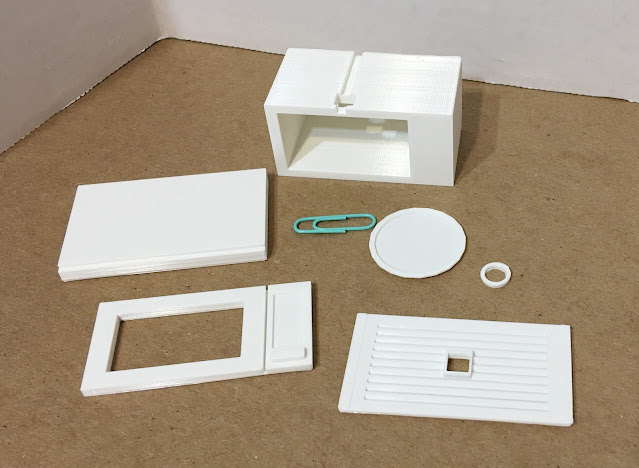
| The Parts and Pieces for the Oven |
Because I am limited to about 5" x 5" x 5" on the print bed of my printer, I had to split some of the appliances into several files, especially because some of the parts needed to be printed in different colors. I saved each "Tinker" as a separate file and then export it.
 |
| Black parts: rack, burners, frame, knobs, gas hobs and handles for assorted appliances. |
 |
| Main oven unit. |
 |
| Oven top, drawer and door. |
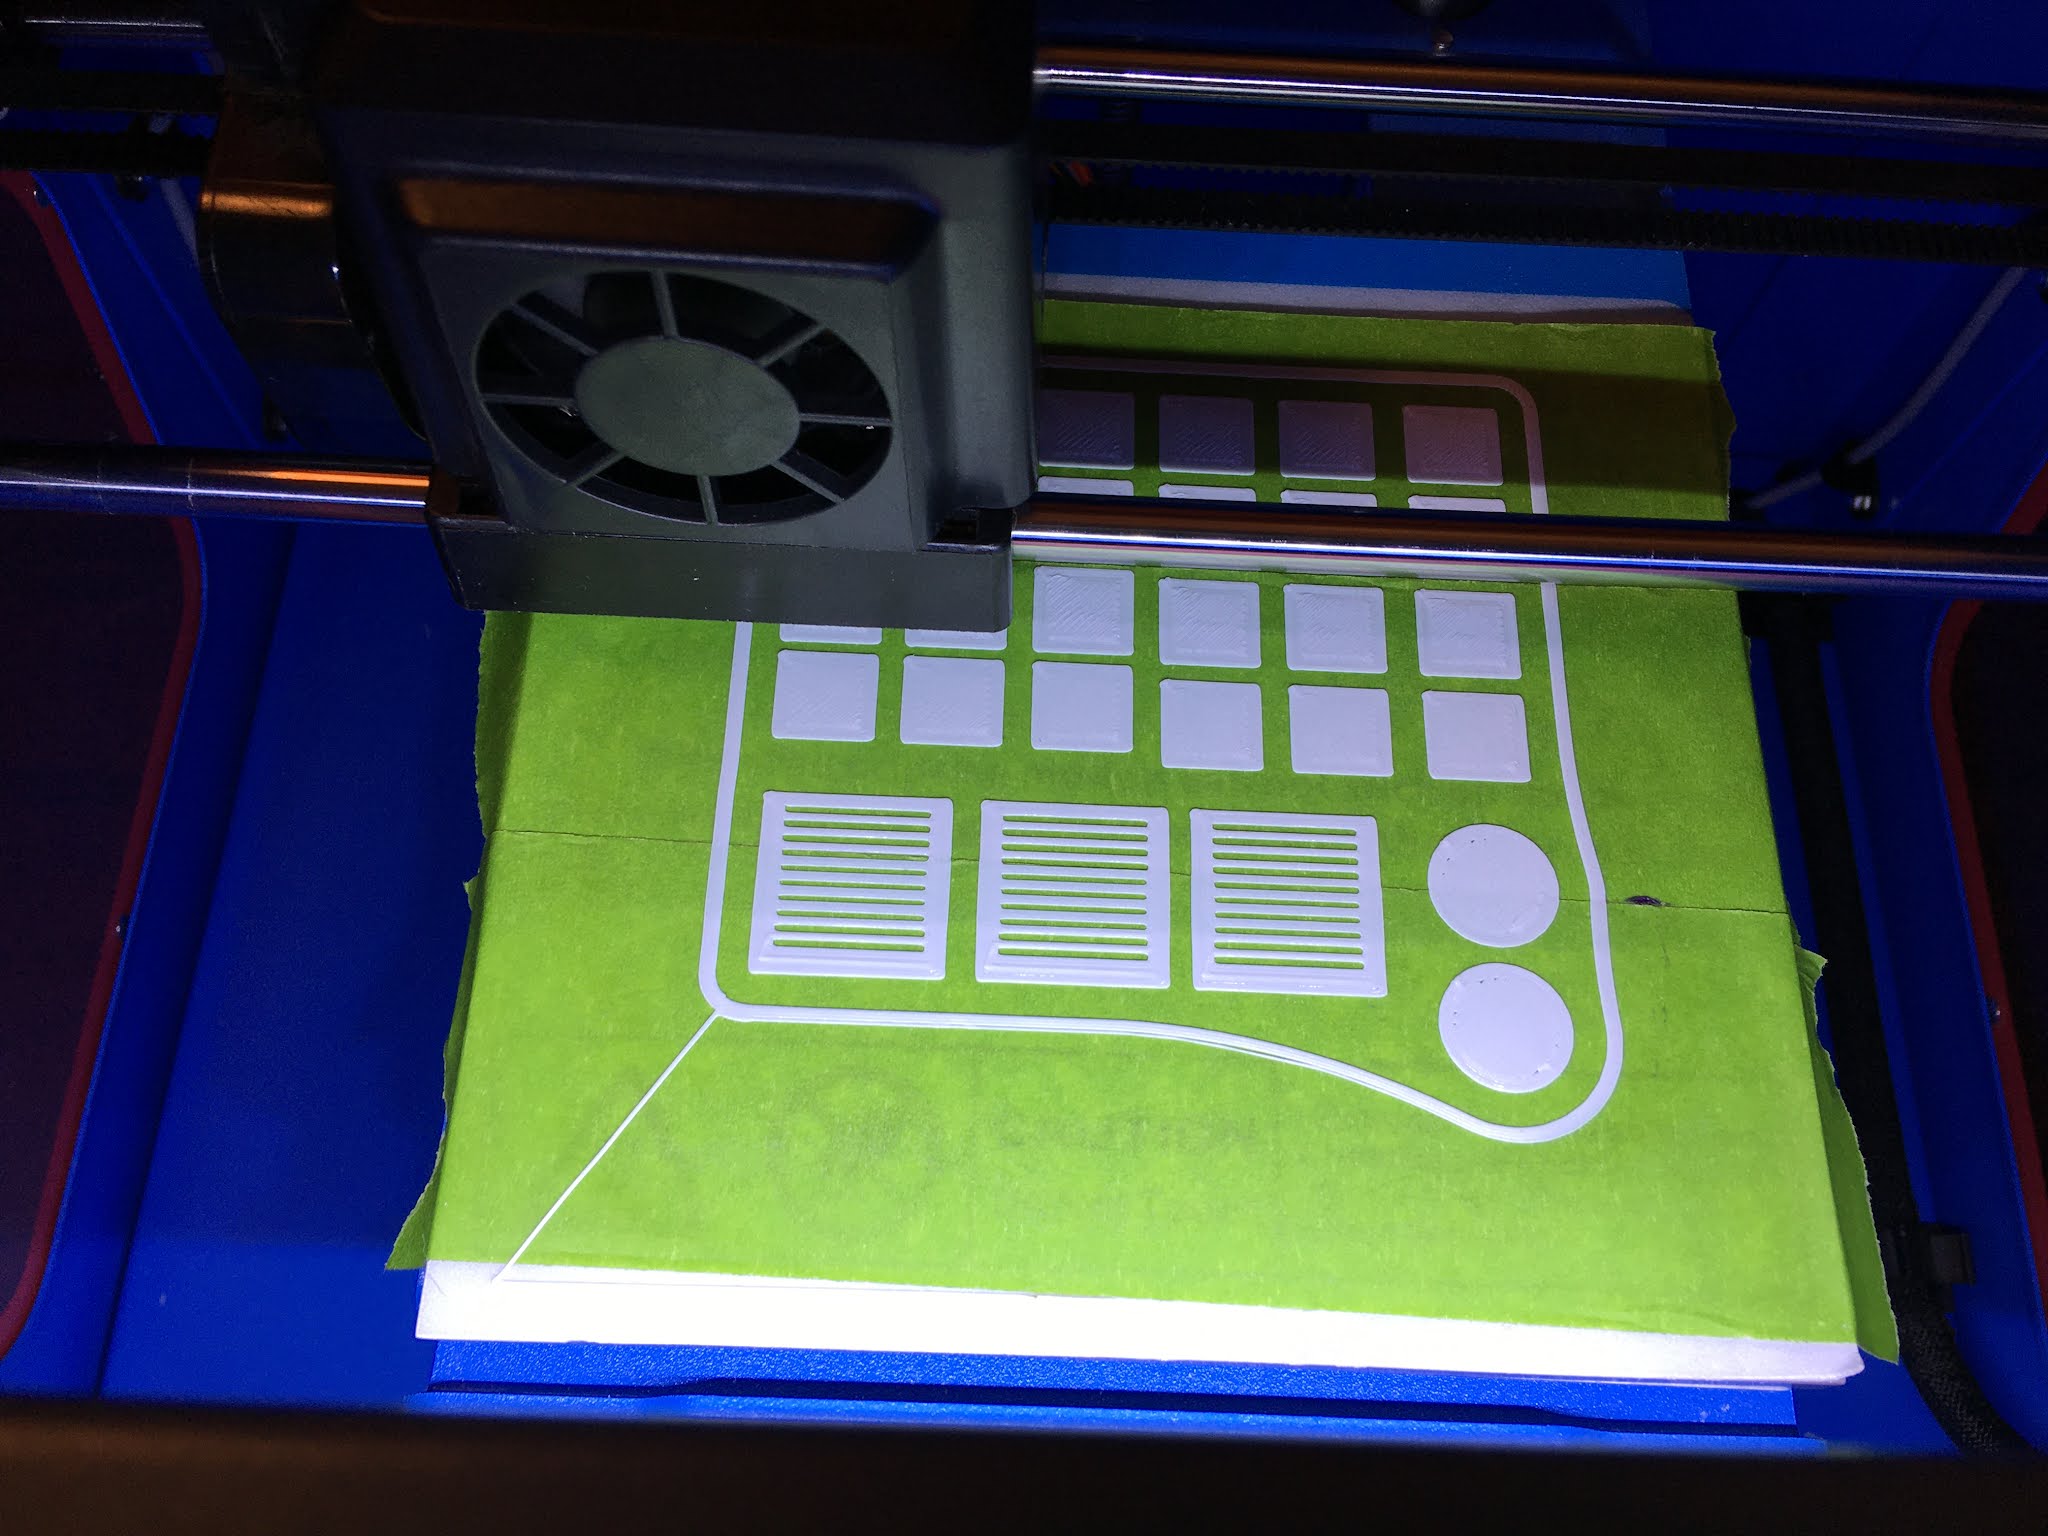
Once exported, I opened the file in my slicer program to select the settings. There is a BIG learning curve here (ask me how I know), so I won't even begin to try to scratch the surface in this post. I'll just say this is where the trial and error begins, where I have experimented a good deal, and how I've begun to build my foundation of knowledge. I still have a long way to go! Once I was happy with the settings, I saved the file to a thumb drive.
Finally, it was time to start the adventure that is printing itself. At the 3D printer, I leveled the print bed, loaded the print material (PLA, changing colors if necessary), added adhesive to the print bed, plugged in the thumb drive, selected the file, started the print and HOPED! Sometimes, all is well and I end up with nice things like fans, light switches and wall outlets.
 |
| Light switches, paper towel holders, fart fans and outlets. |
 |
| All is well after the first few layers. |
 |
| After the print is finished - a success! |
 |
| Wee switches and outlets. Nearly perfect and this is REALLY Magnified! |
 |
| Fart fans for the bathroom need a little sanding. |
Sometimes, for a vast array of reasons, I come back to check on things and see an unwelcomed problem like this. In this particular case, things started off well, then a layer did not stick to the previous layer. That became stuck to the nozzle, caught and dragged all the other pieces and made a mess of everything. Nothing for it but to start over. If I can identify the issue (temperature of nozzle or bed, layer height, speed, enough adhesive on the bed etc...), I can adjust the settings and begin again. Sometimes, it's just my unlucky day. :O(
Often the problem arises from a total brain fart that is all my own fault. This oven top is obviously way too deep for the oven. Where was my head when I wrote down these measurements?!?
And the burners and frame were not long or wide enough, either! But I didn't discover this until the piece was finished printing and in the test fit. Hours and material wasted, but it's just a part of the process. It's humbling, but I dust myself off and try again.
Waiting is often the hard part. It generally takes anywhere from 3-1/2 hours to over 12 hours for a design to print.
The best medicine is to use the opportunities to improve your designs.
 |
| Adjusted top tray and all new burner design. |
And if I'm willing to spend the time, I may end up with something better. Once finished and detailed, this oven will light up, though the door and drawer will not open in this first prototype.
 |
| With gas burners and frame. |
 |
| With oven rack. |
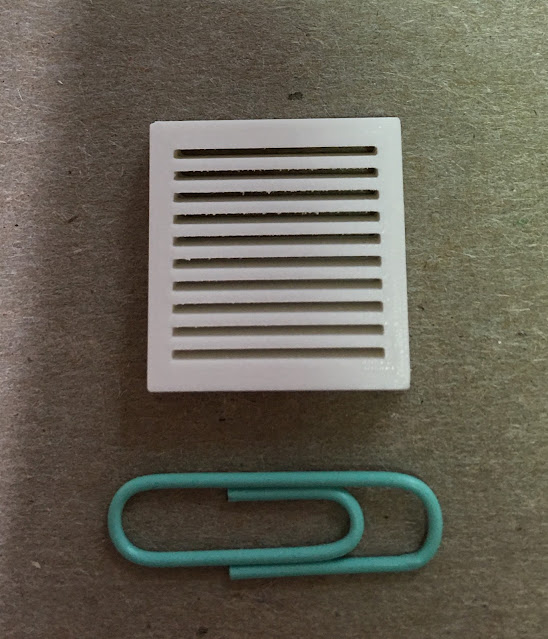
There is generally some finish work to be done, such as jagged edges which require a little sanding.
 |
| Drop in sink and lip before sanding. |
 |
| After sanding. |
Some creators go all out with their post production finish work. This piece has been dry sanded with several ascending grits, then wet sanded, and finally had an epoxy coating applied over it.
But I'm not there yet. I think I'll be content with a little sanding and detail work just to make the appliances and fixtures look a little more authentic.
 |
| Microwave parts and pieces. |
 |
Microwave printed. This version will not open - maybe someday.
But it will be lighted inside and have an above stove light in it's fan housing. |
 |
Dishwasher dummy front and cabinet spacer.
Maybe one day I'll try an opening model with pull out racks. |
 |
| Recesses for handle and control panel. |
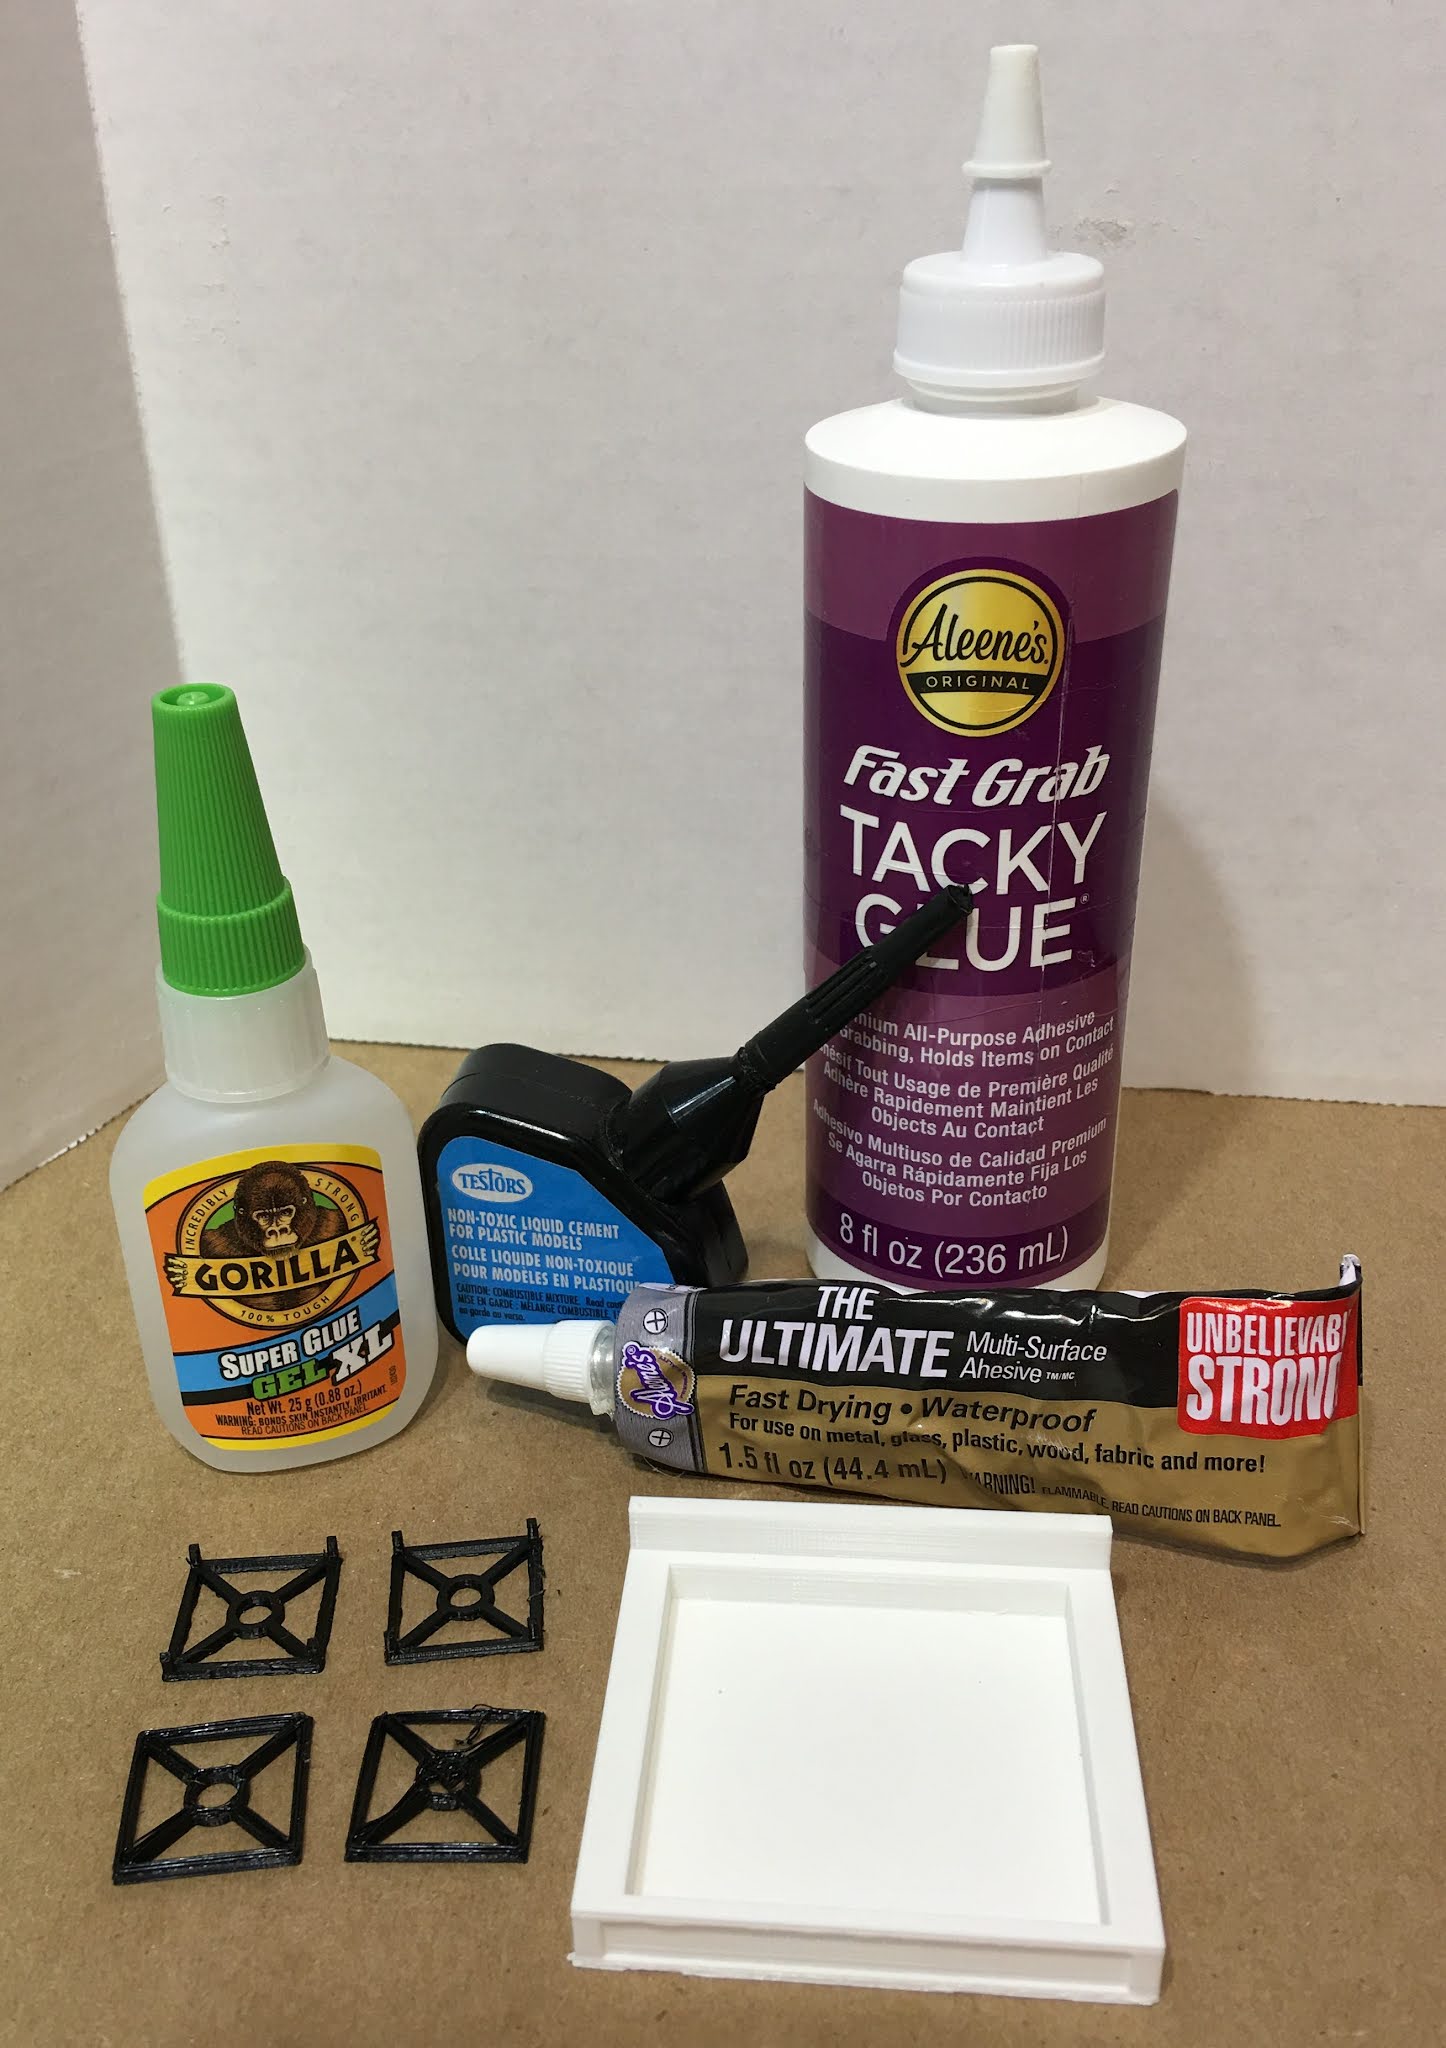
Just when you think you have all the printing figured out, you realize that a lot of these pieces will need to be glued together. Oh, no! Is there an additional learning curve to negotiate when it comes to gluing PLA together? Yep. Yes, there is. And like so many topics that you research on the internet, there is loads of information, much of it conflicting, to sort through. So, I took what seemed like the best four suggestions and tested them myself.
Super Glue Gel,
Testors Plastic Cement,
Fast Grab Tacky Glue and
Aleene's The Ultimate contact cement.
I used the faulty oven top and burners as my guinea pigs. I applied a liberal amount of each adhesive to the burner, then pressed it firmly to the surface of the stove top. I let them sit for 48 hours with no interference.
 |
Super glue gel top left, The Ultimate top right.
Testors bottom left, Tacky bottom right. |
I used my tweezers to try to pry the surfaces apart. As you can see, there were two clear winners.
The Gorilla Super Glue Gel was hard to pry up. Even when I did finally get hold of a corner, the rest of the piece stayed attached and fought me while trying to remove it.
The Ultimate Glue was much the same - strong hold and one that did not break when one section was finally pried up.
The Testors, while it is specifically indicated for ABS 3D prints, does not perform well at all with PLA. There was absolutely no resistance against force.
In fact, I had tested it on the microwave prototype at the same time. The pieces easily pulled apart, and in spite of sitting undisturbed for two days, the adhesive was actually still wet. This type of adhesive is supposed to partially melt plastic, causing each of the surfaces being glued together to become one. Apparently, it does not cause PLA to melt. It's a definite no on this adhesive for PLA.
The Tacky glue was just as disappointing. No resistance, and I suspect that over time, even if no force or pressure was applied to the piece, it would spontaneously fail. It just peeled away from both surfaces.
So the good news is: 1. Now we know! And 2. There are two contenders in my arsenal! Super Glue Gel and Contact Cement. I'll let you know how they perform as I assemble all these pieces in the coming days.
 |
| Winners! |
When I pull back the curtain you can see that 3D printing isn't glamourous or easy. Like every other skill I acquire in dollhousing, there is a learning curve. Practice, practice, practice makes nearly perfect, and if I am willing to spend the time to learn, it can be very rewarding. Just keepin' it real!
Hopefully, back next week with kitchen progress on both the appliances and cabinets! To all the US residents - Happy Labor Day! Enjoy your long weekend!
xo xo,
Jodi