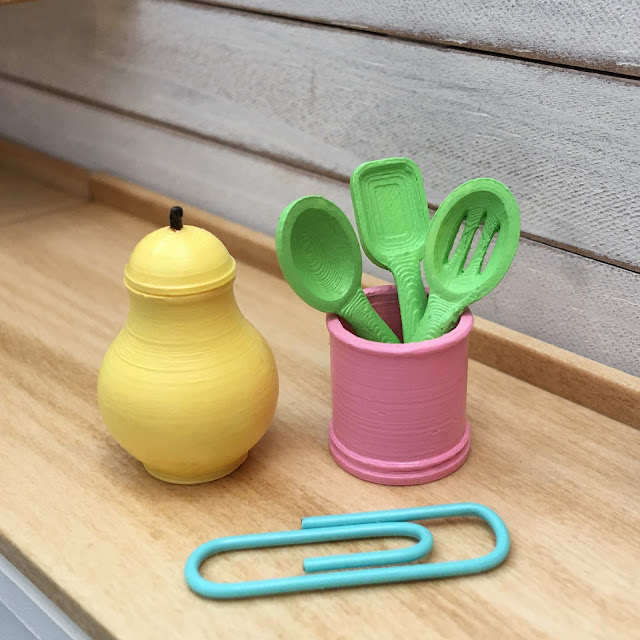
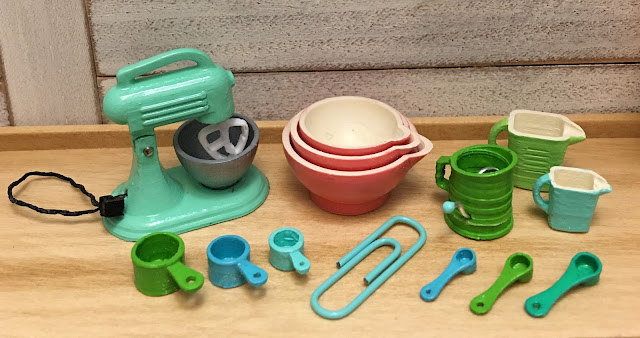
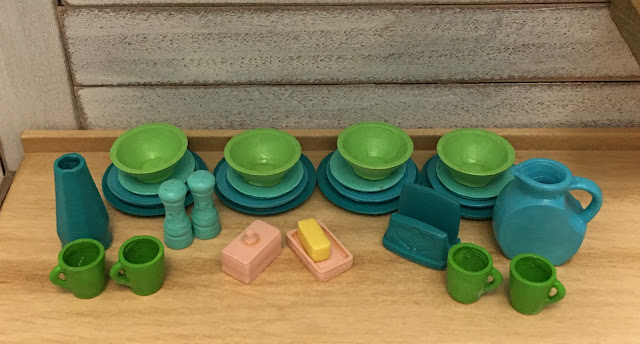
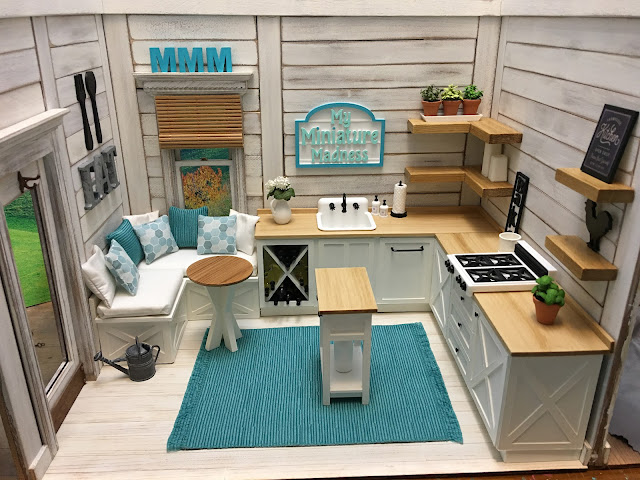
Hi guys! I'm back with an update on the 3D Printed Vintage Kitchen Minis progress. What an epic and time consuming journey this has been! Today I looked back and was surprised to see my first post asking for volunteer testers was September 1st. And it was a good month of designing and test printing the items before that! It just goes to show you that you never know what surprise adventures life will pull you into. But I am happy to report that I am almost at the point where I can take the product photos.
 |
| Prop Kitchen Almost Ready! |
In my last post I had shared how I needed to create a photo studio where I could take photos of all the items I may sell. I already had the structure, so I just needed to outfit it with a "prop" kitchen to photograph the minis in. That has been a major undertaking - creating all the fixtures, furnishings and accessories. But it is pretty close to being ready so I thought I'd share some photos. I ended up making two sets of countertops. I used 1/8" basswood for both, applying a faux marble to one set and a butcherblock type top to the other. The marble may work okay in future photo shoots, but for the vintage kitchen items, I thought they would be better viewed with no distracting veining.
 |
| Faux Marble Counters |
 |
| Butcher Block Type Counters |
Because I have cookware items to photograph, I thought I should install a gas cooktop, too. I didn't want to go to all the trouble of making and installing a hood, so I made a compact downdraft type version. This leaves the wall space above the stovetop open so that I can add my shop plaque to the photographs. I also left it white/black instead of adding the "stainless steel" to have it be more of a backdrop than a feature. Like all the props, it just sits on the countertop, held in place by Aileen's Tack It Over And Over for removal if I need the counterspace for a different shot. The open shelving is repositionable, too, so I can move them around as needed.
In terms of props, I made quite a few. I tried to leave them as neutral as possible so that they would not compete with the actual products in the photos. I made up some pots of herbs and a tray to place them on, a pitcher with hydrangeas, paper towel holder, hand and dish soap pump bottles, some kitchen signs and wall art.
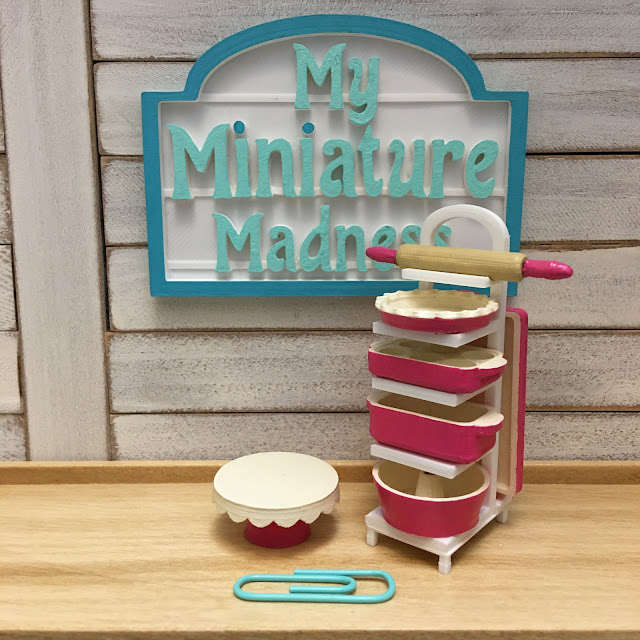
I made a plaque and some letters to include in the product photographs because all the people said to clearly define your brand. I'm adopting the blog colors for easy recognition, too. Oh there is so much to learn!
Some décor items didn't make the cut. The first utility island I made and painted in black didn't photograph well. I also found the big industrial lighting shade was a distraction, as well, but I may offer it at some future point with all the other lamps and fixtures I have designed.
I made many things, some of which are still having their finishes applied, like the cutting boards. The Java cup holder is still getting some kinks worked out, too.
Luckily, I had wine bottles left over from doing Tasha's Kitchen. That saved me a couple days worth of time.
For the banquet area, I made the bottom cushions out of 3/16" foam core, wrapped in quilt batting then covered with a "snow" colored cotton fabric. I borrowed the pillows from the Beachside Bungalow, with the exception of three that I purchased on Etsy. They turned out to be a perfect compliment!
The table is a design that I used to offer back when I had my Shapeways shop. I just topped it with a piece of scrap plywood stained in the counter color. I designed it to use on the deck of my Alki Point project, and there it is barstool rather than tabletop height and has a "glass" top.
I'm learning some things about photography, like black things often lose their detail when photographed with my phone camera and lighting. Better to use a dark gray to paint things like the spoon and fork in the future.
Also, I am discovering that by diffusing the bright LED bulbs in my work room fixture, I get better results. I just place a sheet of waxed paper over the Lexan top of the photo box and it removes the glare but keeps the brightness.
So now that the prop kitchen is nearly done, I can begin the product photo shoot process. But first, I need to clear the decks, clean my work room and ready my mind for another learning curve. With a little luck and some dedicated mini time, I'll be back soon with my photos, the volunteers' photos, finishing products and tips and information to share about their reviews.
Thanks for coming along on this epic side journey! I hope you are learning some good and useful things throughout the process, too!
xo xo,
Jodi


