

For those of you who still enjoy the traditional method of making minis, I have created a couple pdf files with patterns and measurements that you can cut by hand with wood, illustration art board or mat board. You can access them here:
Once you have all of the pieces cut and labeled, by whatever method is right for you, here's how to assemble them.

 |
| There are 15 pieces in each fireplace. |
 |
| This pattern may be tricky to cut by hand. Virgil's design will be easier. |
1. Glue two Mantle Tops together, flush on all sides, weighting down until dry. Then glue Sub Mantle to Mantle Top assembly, flush at the back and centered. It is slightly smaller and will leave a nice molding looking reveal on the finished fireplace. Weight down to dry.

2. Glue two Hearths together, flush on all sides, weighting down until dry. Then glue the Sub Hearth to the Hearth assembly, flush at the back and centered. It, too, is slightly smaller, leaving a stepped detail in the final fireplace. Weight down to dry.

3. Paint Front and Side Panel Overlays. Paint Front Panel and Side Panels in a different color, if desired. Let dry.


4. Paint Hearth assembly in the finish of your choice. I used my tried and true paint and glaze pouncing method, but if you search the blog you can find my methods for marble, too, using charcoal pencil and glazing medium.


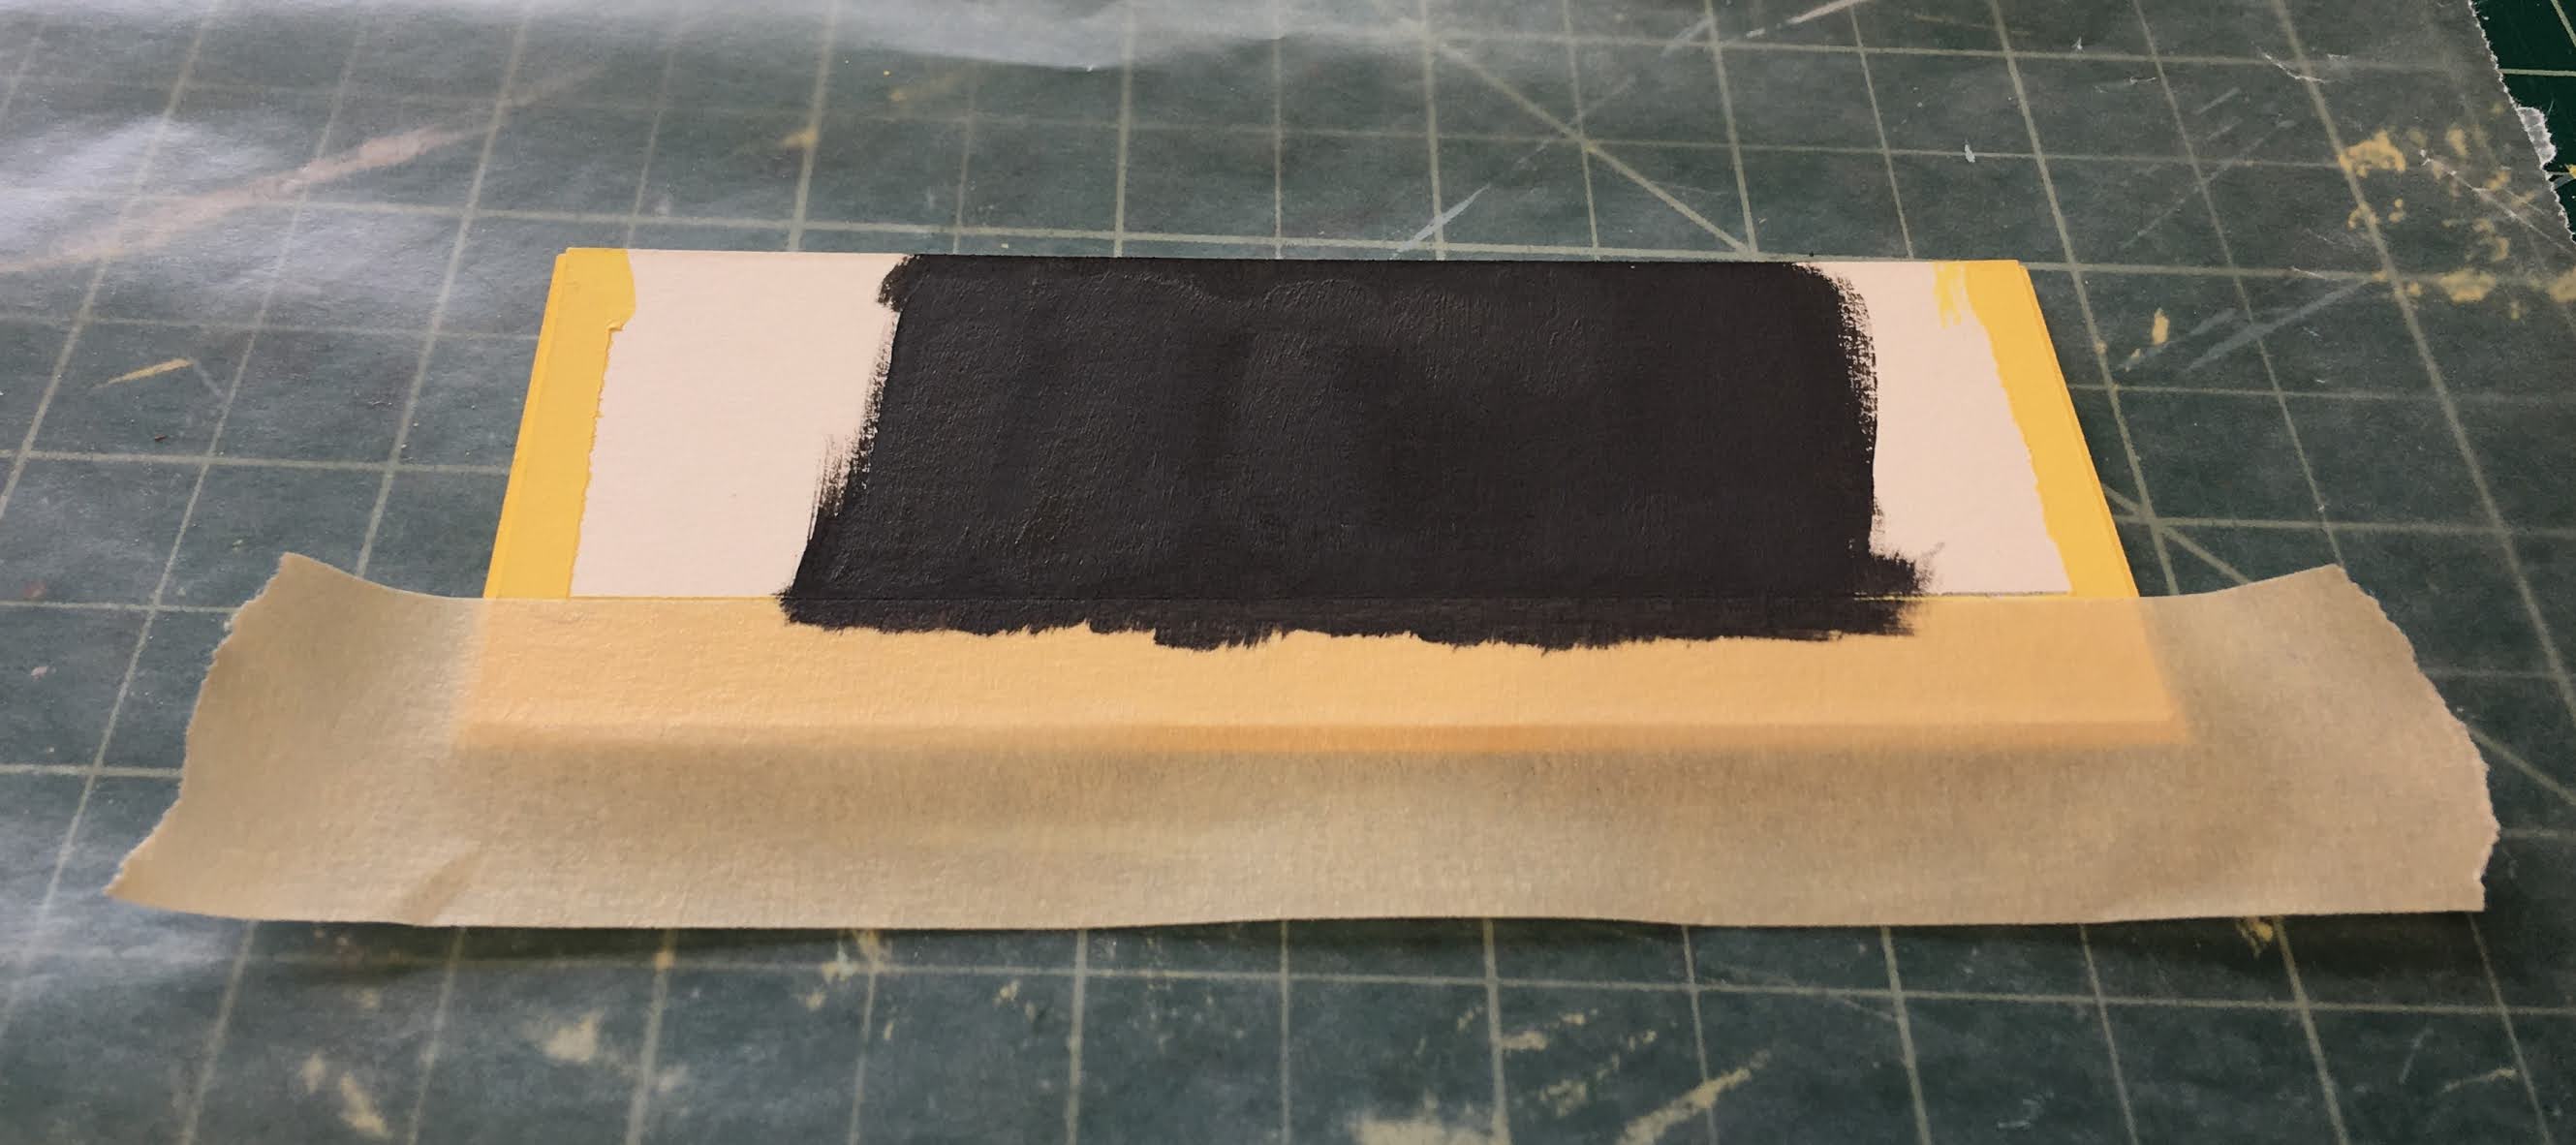
5. On the Hearth Assembly, mask off the area that will be inside the fire box. Then apply the finish to the hearth that will show outside of the fire box. Paint the floor of the fire box in your desired color. I used dark gray and masked off the Hearth assembly area once it had dried.

6. Paint the inside of the Back Panel and both Interior Side Panels in the color of your choice. These pieces make up the fire box and should match the paint color on the floor of your fire box. You may also wish to brick these with textured brick wallpaper or make egg carton bricks.

NOTE: I used the Debossing tool on the Maker to deboss (then cut) a brick pattern onto my firebox pieces (Back Panel and Interior Side Panels).

7. Glue dried Front Panel Overlay to Front Panel and Side Panel Overlays to Side Panels. Weight down to dry.


8. Glue one Side Panel assembly to the inside edge of Front Panel assembly. Let dry, then glue the second Side Panel assembly to the opposite inside edge of the Front Panel assembly. Let dry.


TIP: To add strength to my glue joins, I like to run a bead of glue down the seam. Roughly apply and then just smooth by running your pinky in one smooth motion up the bead of glue.


9. Glue Interior Side Panels (fire box pieces) to the interior of the Front Panel assembly. Draw a line 1/4” away from opening to use as a guide for gluing. Let dry.


TIP: If you use chalk paint for your bricked firebox, you can sand them to slightly dull the top layer, leaving more definition in the detail. This looks more authentic (if you look at real fireplace fireboxes) and saves you from a great mess grouting. I used Maui Sand, a dark gray chalk paint.

10. Glue Back Panel to the back of the assembly taking care to ensure all edges are flush. Weight down until dry. Once dry, you will have to paint your edges.


11. Glue Hearth assembly to bottom of fireplace assembly, flush with the back and centered on the sides. Weight down to dry.
12. Glue Mantle Top assembly to fireplace assembly, flush with the back and centered on the sides. Weight down to dry.
13. Spray or brush completed fireplace with the varnish and in the sheen of your choice.
Ta-Da! Adorable little fireplaces that you made!


But how do they look in the cottages?


And when they're lit?


And most importantly, how do Vera and Virgil feel about them???

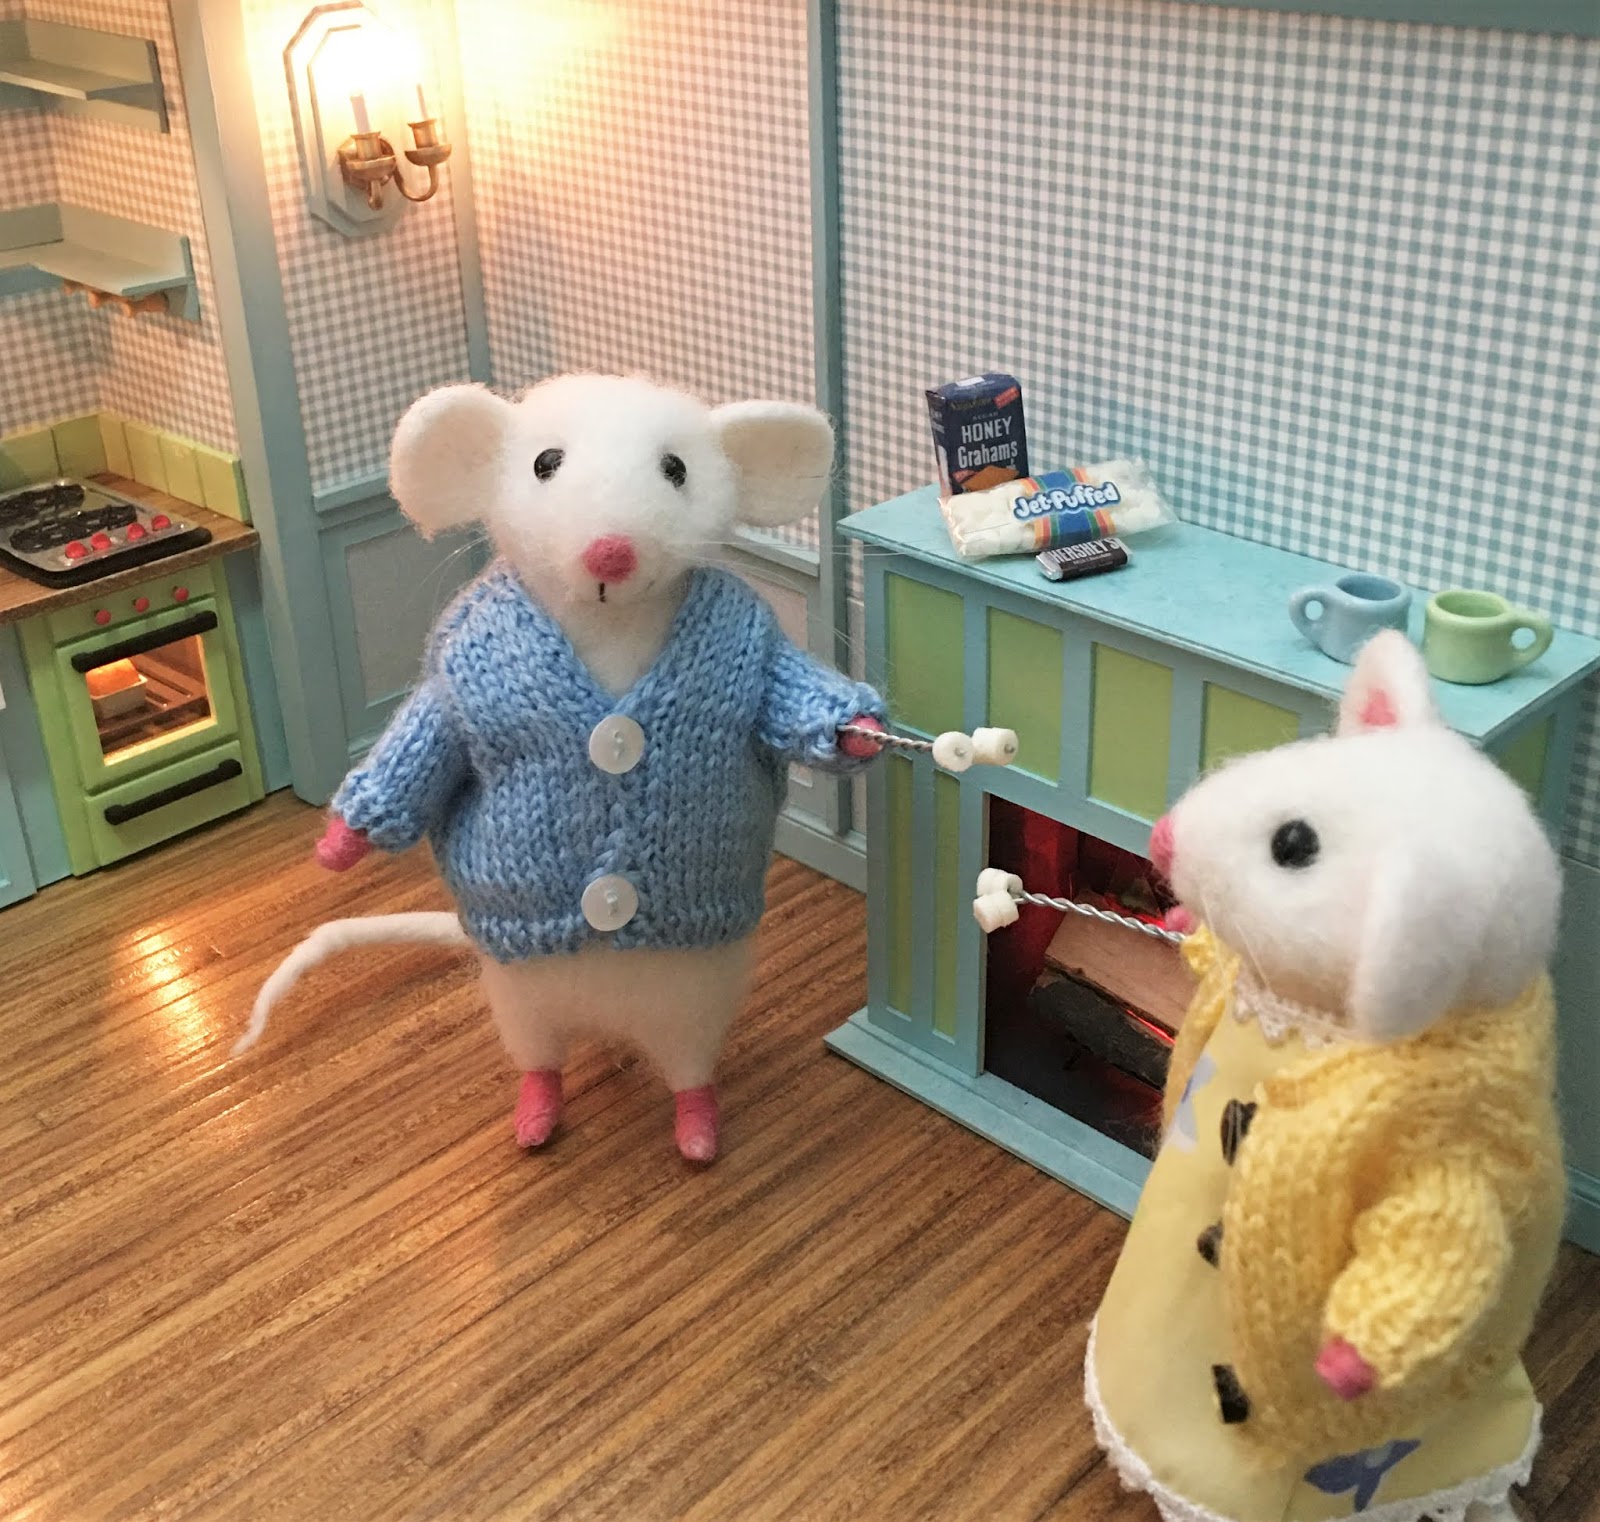


They broke out the S'mores! and are celebrating being one important step closer to move in day!
Hope you found the fireplace tutorials useful, helpful and if nothing else inspiring! Have a great week everyone!
xo xo,
Jodi
They are fantastic Jodi, and Vera and Virgil look most satisfied with progress. Years ago I bought a cutting machine like yours but different brand, which I have hardly used (and now don’t need at all) and your post made me realise my machine embosses too, which could be very very useful. Have a great week! X
ReplyDeleteWhat pretty, pretty fireplaces! I can't even decide which I like better. You really are a wiz at designing and cutting things! And of course you lit them. But even better--s'mores!! With little marshmallows and toasting forks! Vera and Virgil are the luckiest mice ever! 😊
ReplyDeleteOooohhh... Oh this is so cool. I'll have to look into Inkscape. I've been using Paint to make images.
ReplyDeleteI love how the fireplaces look all lit up. No wonder Virgil and Vera broke out the marshmallows!
This fireplace tutorial comes at a good time for I have four to build for the Fairfield. Currently I am bothered by creating a unique and different house from the other two farmhouses that I continue to work on. Their decor and theme reflect me and my lifestyle with a bit of wishful thinking added. That you have built this project around two adorable mice solves that problem for you, so it fun to watch their little world come alive. Now that I have taken a look at the Inkspace tutorial, I have my work cut out for me. We do appreciate all the time that you put into the tutorial It will be very helpful.
ReplyDeleteI love how the fireplaces turned out, dear Jodi, thank you for this clear tutorial (for me no Cricut, but the one for manual ;) )!! I love seeing Vera and Virgil in front of the fireplace, roasting the marshmallows, so cute!
ReplyDeleteStay safe, take care, dear Jodi!
Hugs, Ilona
Just adorable. I love your posts.
ReplyDeletegreat tutorial and photos. Thank you for sharing your talents.
ReplyDeleteOh yes! I found the tutorials both helpful and inspiring. I must put away my old school ways of doing things and give my Cricut some attention! I always enjoy your crisp details and colors. Also thanks for letting us take a peek at Vera and Virgil behind the scenes toasting marshmallows for s’mores 🤗.
ReplyDeleteFantastic! Thanks for the in depth tutorial using the the Inkscape program and the SVG files. I have yet to unleash my Cricut's full potential. The fire places are perfect for each house. I think you should consider turning Virgil and Vera into a children's book. They could have so many adventures.
ReplyDelete¡Qué bonitas son las dos! El tutorial es fantástico. Muchas gracias.
ReplyDeleteJodi: I cannot decide which of the fireplaces I love more. They are both fantastic. Also - I want to thank you for the encouragement and in-depth explanations for the Cricut. I have a Maker but so far have only used it a couple of times. I really do have to practice and try to get more use out of it. Thank you for your generosity! - Marilyn D.
ReplyDeleteWhat a wonderful post! ;O) Thank you for the very well explained and illustrated tutorial and of course also for offering the patterns. I think espeicially Virgil's piece is perfect for many purposes.
ReplyDeleteAnd how they turned out in the end, being so beautifully designed and painted; they match so well in these darling cottages. And they look gorgeous with the fire burning - it's so good to see Vera and Virgil being prepared for chillier days in autumn and winter... and for hanging stockings in a cheese design when "C" is coming nearer hoping for packages of Gouda, Emmentaler, Camembert and Tilsiter from Santa. Btw - I was surprised to see them putting out the marshmallows - I would have supposed them to toast a piece of cheese... ;O)
Hugs
Birgit
me encantan las dos, gran trabajo!
ReplyDeleteThank you all for your kind and encouraging comments! I am so sorry that I am not able to answer each one individually this week. 💗
ReplyDeleteOh Jodi,son preciosas las dos chimeneas!!! El tutorial,mejor explicado es imposible,millones de gracias por él y por los archivos,los guardaré como un tesoro!!!
ReplyDeleteBesos.
Me encanta como vas combinando el mismo elemento en cada una de las casas.
ReplyDeleteSe ven fantásticas.
Un saludo
I ADORE Vera and Virgil. They're new fireplaces are gorgeous, they look so chuffed as they toast their S'mores :-)
ReplyDeleteOooo am sure Vera and Virgil love their new fireplace. And it is bright and lively - even better. Great job!
ReplyDeleteThank you for the patterns.
Mini huggs,
Conny
Oh Jodi, Vera and Virgil are Soooooo Adorable with their S'mores!!! They clearly know how to celebrate the triumph of having their fabulous fireplaces installed! What's not to Love about these well made and stylish hearths? You have made such a wonderful tutorial as well... You are Amazing!!! I love the variation-on-a-theme you are doing with these cottages. Each one is so well suited to the owner... and clearly they are whispering instructions in your ear! Keep up the wonderful work!!! :)
ReplyDeleteYour fireplaces are wonderful! Thanks for the tutorial.
ReplyDeleteVirgil and Vera look happy while toasting marshmallows.
Son fantásticas Jodi, un trabajo impresionante.
ReplyDeleteMuchas gracias por facilitar el patrón en formato pdf.
Those fireplaces are amazing! And I love that the little mice are toasting marshmallows! I have some catching up to do but it looks like a beautiful cottage! I love all the colors. So cheerful!
ReplyDeleteBeautiful fireplaces, the mice are spoiled, even marshmallows! LOL
ReplyDeleteThey came out so great!
ReplyDeleteWow your patience and attention to detail astound me. I can tell you really enjoy this process! I also love how detailed your blog posts are - way more than mine!
ReplyDeleteAmazing fireplaces!! They are perfect for Virgil and Vera, I bet they are over the moon, I woul be 😁. Thank you again dear Jodi for an amazing and well explained tutorial!
ReplyDeleteJodi, the two V's fireplaces are phenomenal especially because you designed and built them! I'm loving the vibrant colors of the rooms and following the antics of Virgil and Vera. Everything is so sweet! Thanks for sharing!
ReplyDeleteYou did another great work, your fireplaces have a elegant and beautiful design, I love both! Hugs.
ReplyDeleteThank you for this tutorial and the files! I resized it to fit inside a memorial lantern. I with I could show you a photo of how absolutely perfect it looks! My Mum is going to love this so much!!!
ReplyDelete