Search My Blog!

Use the Search box below to find keywords that you're looking for quickly and easily!

Search Feature

Tuesday, July 5, 2022

Disorganized Progress

If I'm trying to describe my mini work atmosphere over the last week or so, I'd be using words like chaotic, scattered, disorganized, interrupted and uncharacteristically unsystematic. I mean, just as I would think I found my path and a direction to dedicate myself to, I'd remember some other important tasks that needed doing first. Trying to communicate my process and photos into a linear and understandable timeline will be challenging, but here goes...

The "progress" part.

I started off with the best intentions to get the staircases completely finished. I replicated the arch cutout in the stairway railings in Tinkercad, along with some fancy "carvings" so I could add a bit of dimensional detail. I got them printed and applied to the staircase railings.


3D printed details added to stair parts.

Second floor staircase railings.

I kept going with the stairs, adding trim and wallpaper, painting, aging, and dry fitting a bunch of times to help the fit or mark for ceiling paper and flooring. I also scanned one of the papers from the Grand Hotel paper pack, a stripe, printed it onto cotton, then made runners for the stairs. A stripe on turning staircases was probably a more challenging pattern than a floral would have been, but I think it came out fine. It has the same colors as the wallpaper, and I love it when florals/patterns/stripes/gingham match in a room.

Entry stairs.

Dry fitting to find and eliminate gaps.

Second floor staircase with embellishments and trim added,
painted, aged, carpeted and in place.

Both staircases in their places.

View of the landing.

It seemed like a good time to install the wallpaper to the entry/second floor hall. The sister paper to the stripe in the Grand Hotel pack was a floral that I really loved, but the scale was just way too large. I decided to scan it, reduce it, mirror it and print it onto matte photo paper.

Original papers in 12" x 12" dimensions.

Despite trying many settings and color adjustments on my printer, I just could not capture the worn/aged patina of the original. So, to make lemonade, I installed it, sealed it with Mod Podge Paper (which still blead the ink if I wasn't super gentle and tried not to go over the same spot twice) and then applied a brownish/yellow age wash. You can see in the photo below the paper between the window openings is not aged and the paper around it has been. I really liked the effect - it's totally in keeping with the time worn look I have envisioned for this project.

Wallpaper and wainscoting with age wash applied. Ageing always looks terrible
at first, but the trick is to keep going. Suddenly, it looks perfect and you look
like an expert instead of a really dumb crafter. 😊

To finish off the second floor staircase so that I could install it, I had to create the separation wall to the bedroom, paper it, add the stair stringer and trim and attach it. 


Bedroom wall attached, wallpapered and stair stringer/trim added to wall.

Then the bedroom side needed trims, painting and aging. I left room at the top and bottom for later baseboard and crown moldings.

Trims added to bedroom side of wall.

Painted and aged. Space left for baseboard and crown molding.

Russ lent me some long bar clamps so that I could get the staircase glued in and have the front wall and floor at perfect 90 degree angles. Sorry, there aren't any photos - I was pretty scattered!

Getting the staircase glued in was an essential step in creating the new walls and doorways to the bathroom/bedroom. I also had to install the wall separating the entry from the kitchen first. 

Front, first floor, center wall, foundations and entry/kitchen/bathroom
wall have been glued together. No more rickety-ness!

Second floor staircase has been glued to front wall and second floor.

Hooray for Russ' clamps! No gaps!

With the staircase installed, I could get accurate angles and measurements to create the new walls/doorways for the bathroom/bedroom. After looking at the kit's original plywood wall with tabs and doors cut into it, I decided it would be easier/cleaner to cut the new walls from illustration art boards. When doubled, they are just about exactly as thick as the kit's plywood.

Kit's original bedroom wall compared with doubled art board.

Once I knew what widths the doors would be, I cut the walls for the doorways. Once they were cut, and I knew how wide the doors and the frames had to be, I could create them in Tinkercad. But what style? I did some poking around to look at second empire interior doors. There were lots of styles to choose from, but I really liked this Divided Arch door from an This Old House article talking about choosing the right doors for your historical home. This door echoes the long, tall arched windows in the kit without having to be curved itself and therefore hard to hinge. Of course, I added extra details in keeping with the rest of the features in this house.


Divided arch door style typical of second empire homes.

My rendered interpretation of the double arched door.

I printed an inside and outside frame for each of the doorways. I also printed the doors in an inside and outside half so that the door is flat on the print bed. It is easier and cleaner to glue the sides together than to add support for the recesses and then clean it up after the print. I used the frames as the pattern to cut the door openings in the new walls.


You can see this was before the stairs were attached or trim added to the stairwell/bedroom wall.

Dry fit with exterior door frames attached to angled door walls.

When the exterior door frames were glued to the angled walls and the openings cut, I was able to glue them into the house. The bedroom's angled door wall was attached to the stairway wall, the bathroom's to the kit's entry/kitchen/bathroom dividing wall. This totally changed the angles the doors had to be placed at, so a new separating wall and dividing wall had to be cut. Once these were all tied together, they were stable and strong.

New configuration has less of an angle but leaves more room in the rooms.

Angled door walls attached, a coat of paint and trim added between.

View of second floor hallway through bedroom door.

View from both doorways. I won't install dividing wall until I have done the flooring.
More room for hands this way.

Here is what the doors look like printed and with a coat of paint. To hinge them, I will use pins: the top pin will be recessed into the door and into the wall, covered and secured by the interior door frame. The bottom hinge will be placed in a recess drilled into the floor. But I must complete the flooring first, so it might be a few steps down the road.

Door will swing in this way.

Door with doorframe.

My next steps will likely be to get all the wainscoting and trims installed in the entry and upstairs hall. Once that is finished, I can install the first floor's stairs and it's exterior wall. It's going to be a custom, piece by piece operation, and who knows what I'll remember that I forgot. I did get the entry's flooring, ceiling and ceiling rose installed. With a little luck, it might just be ornate enough for second empire in my next post.

Patterns from the paper pack created the ceiling paper collage.

3D printed ceiling rose. I don't think this ceiling will ever be seen
once the wall goes up. But we'll know it's there.

Lighting for this project is going to be another challenge. I will have to not only use up the 12 volt dollhouse lights that I have in my dwindling stash (and try to make them look second empire), but also come up with a few 3D printed fixtures to supplement. Test designs and prints to commence, soon. Looks like more disorganized progress is in my future, but what a fun adventure this is turning out to be!

Tally Ho!

xo xo,

Jodi

P.S. If anyone should need the Willowcrest instructions, just click the link for a .pdf which you can save to your computer.

Thursday, June 30, 2022

Good News/Bad News About Stairs

Our Willowcrest adventure continues, my friends, and this time it's all about stairs. Predominantly, the second floor stairs that lead to the third floor. Following the kit's instructions, the stairs are placed between the bathroom and the bedroom. Many folks who've blogged about the kit dislike the back wall of the stairs because it obstructs the view into the dollhouse and feels obtrusive. I could not agree more! So what to do about it? The solution, naturally, is to move the stairs. WHERE is the obvious conundrum. The hallway on the second floor is tiny, so it doesn't leave a lot of options. Unless you are willing to start moving walls around, which I totally am!


Okay, it feels like I need to set the scene here a little bit. Please indulge this wordy paragraph...

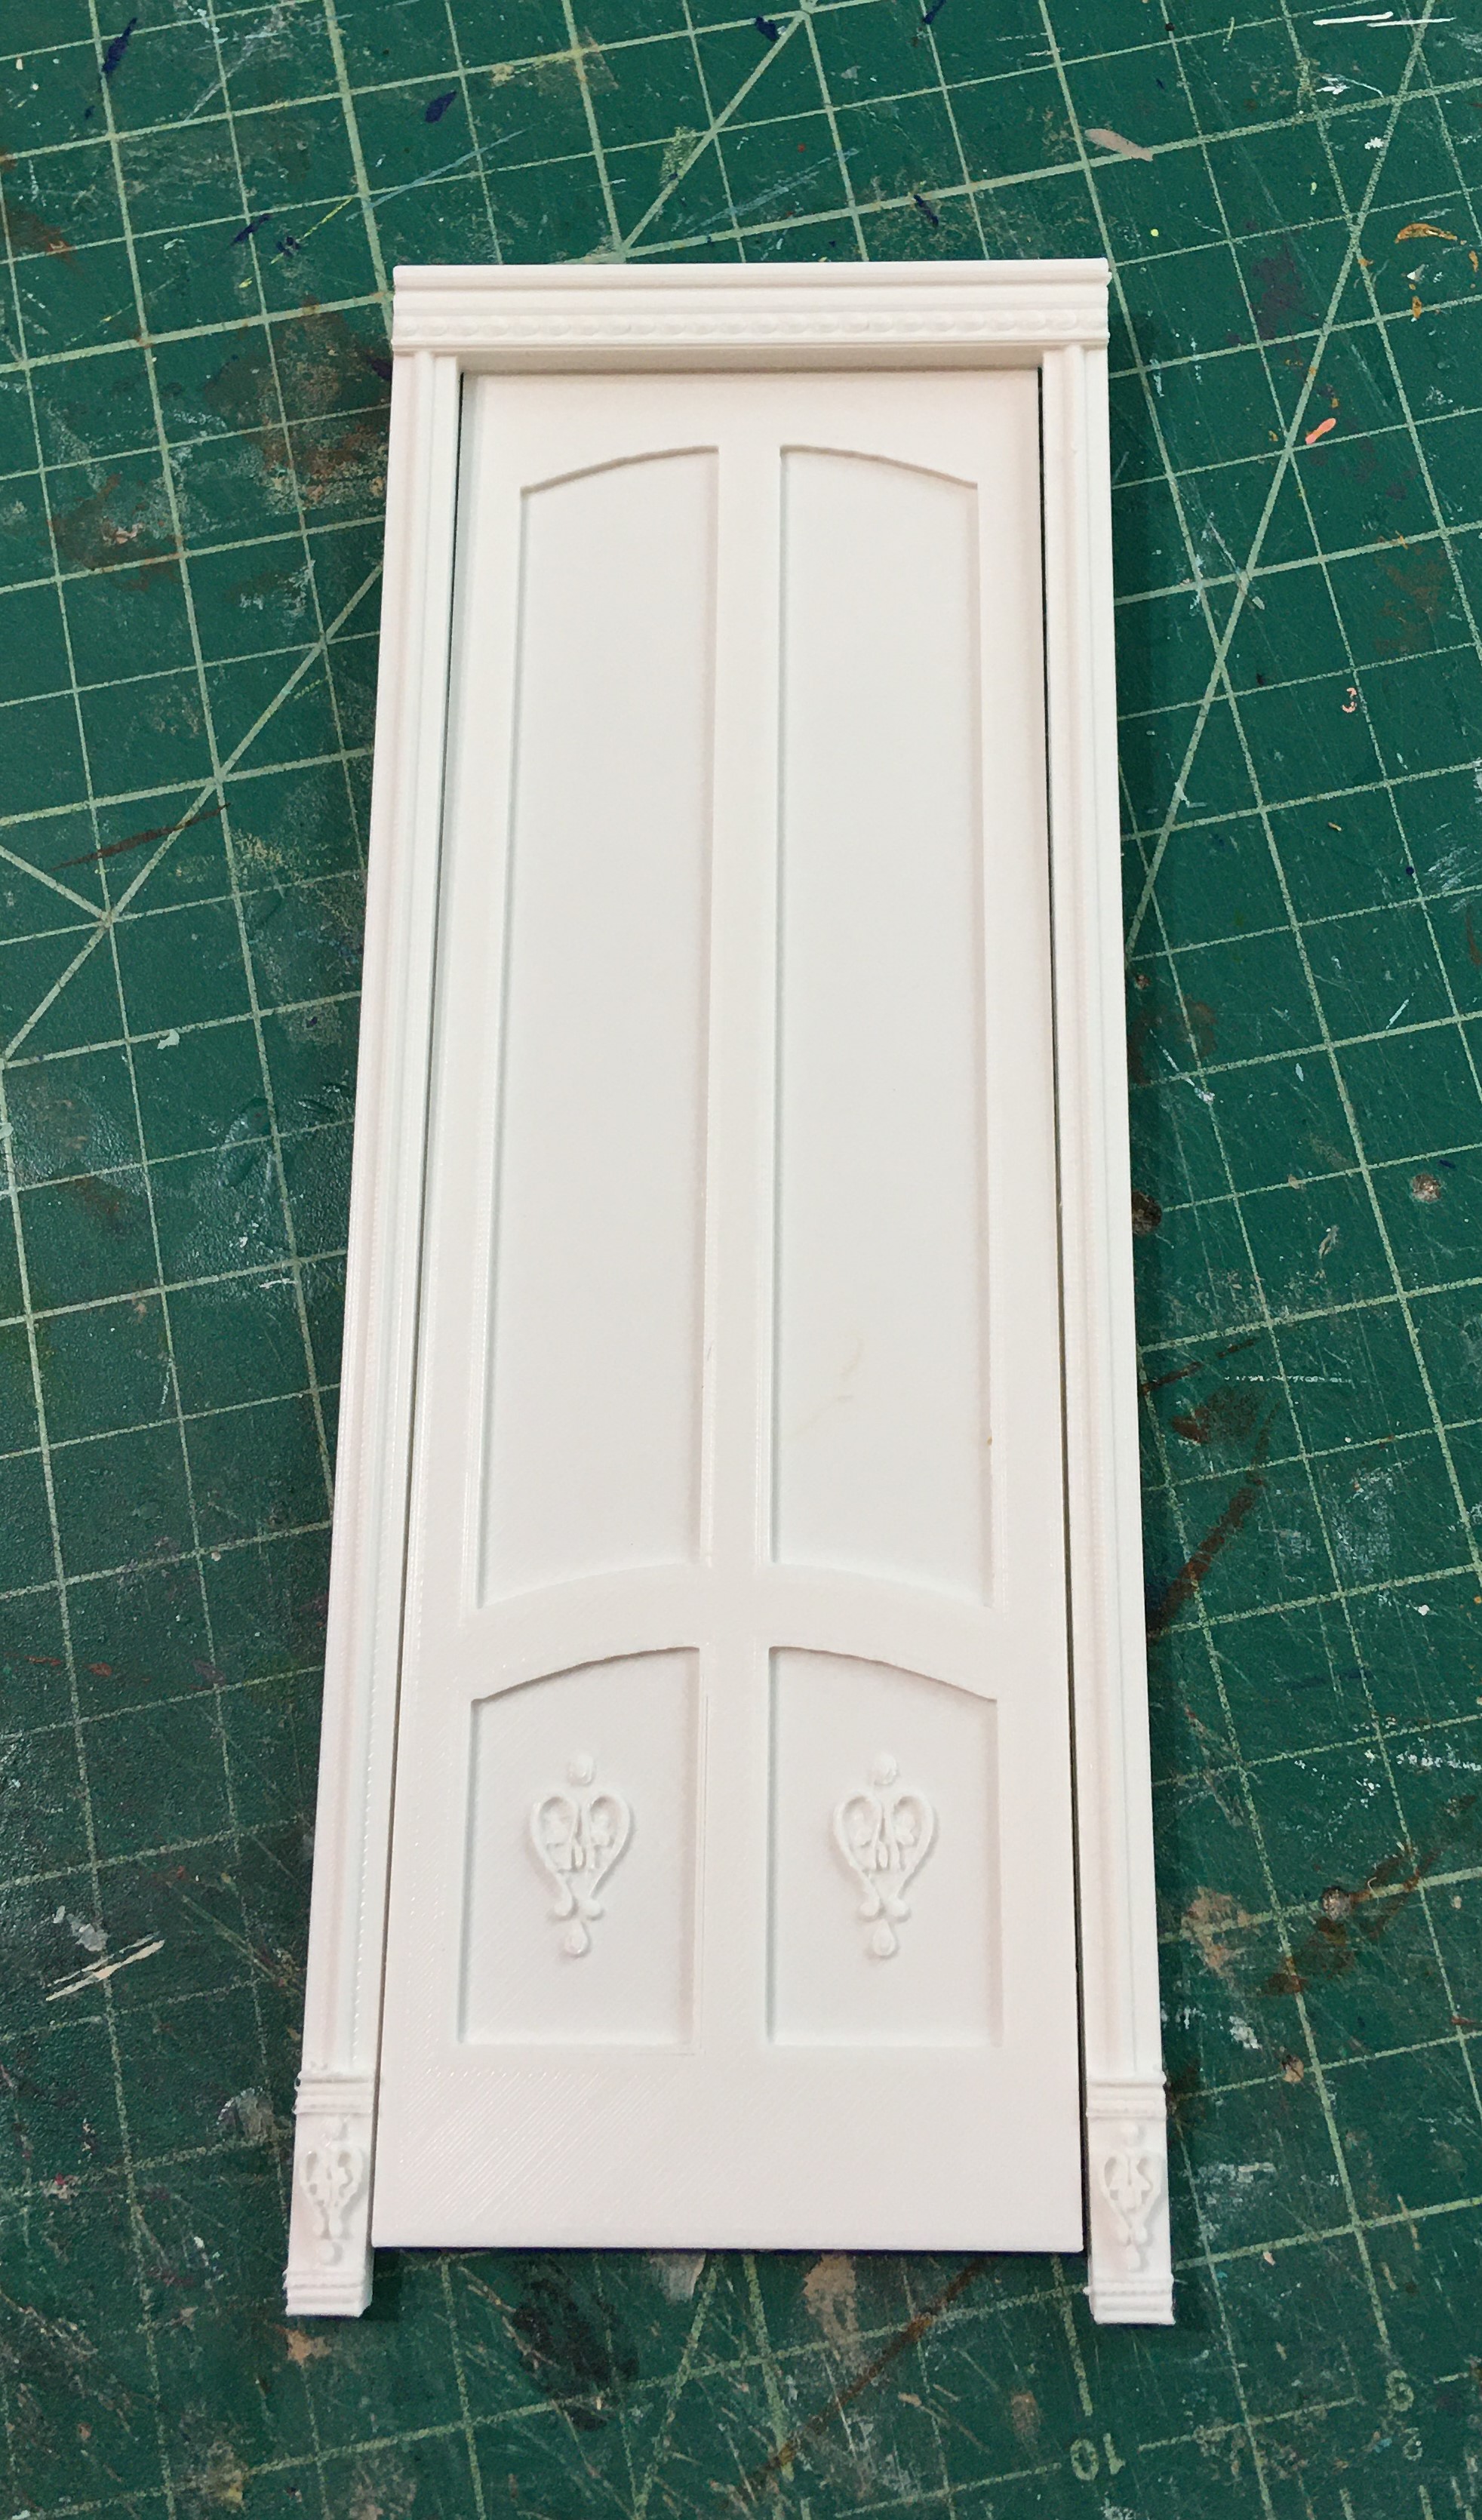
It might seem like there should be other priorities before I start thinking about stairs. Such as gluing the front wall to the center wall and to the foundation (like I said I would in my last post). And you are right. But... for the sake of efficiency, I thought I should have the 3D printer working while I was working. Teamwork, right?!? In that case, I had to figure out what 3D printed pieces I needed next: the upstairs bathroom/bedroom doors. But before I could make them I had to know their dimensions. And to know dimensions, I had to know where my walls were going to be. That meant I had to figure out exactly where the stairs would go. Chicken and egg conundrum every time! So, I sat and stared at the dollhouse, while still in dry fit, hoping it would pity me and just give up the answer. You know what?!? It did! Just for kicks, I stuck the first floor's stair assembly in the second floor hallway to see what would happen. Guess what? It was a perfect fit!!! I think my angels are feeding me ideas! And, not surprisingly, those ideas lead me down a rabbit hole...

First floor stair assembly placed in the second floor hallway

Closer view. They take up nearly all the space!

Since the stairs almost fit there, I had a solid plan to work with. I would reproduce the first floor stairs for the second floor with a minimal tweak: it would turn only once and then go straight up onto the third floor. Also, the ceiling height of the first floor is 9-3/8", the second floor is only 7-3/4. So this staircase needed less stairs. There was still one slight problem, though: Not enough floor space between the first floor landing to where the second floor stairs started.


I needed an additional 2-1/4" to make this plan functional. I decided to see if I could steal that space from the bedroom.

Goodbye double door bedroom entry.

How would it look? How much room would that still leave the bedroom? The only way to answer these questions was to put some eyes on them. I got out my red pencil and ruler and marked out an idea. The stair wall would jog into the bedroom 2-1/4" x 6-1/8", then jut back out for the doorway.


I kept going with the idea, drawing out the new walls in red pencil. The benefits of the configuration below are:

a) The original bathroom layout won't lose much space

b) the angled doorways will make a more interesting view into the hallway

c) it will still leave plenty of functional bedroom space

d) it opens up the back of the house

The stair opening on the third floor will be only slightly farther into the room and to the right. I'll just have to adjust the access hole. I will also have to cut new walls, but I might have just enough material if I use the original bedroom/bathroom wall and the offcut (you'll see this later) from the bathroom wall. If I'm short, I can use illustration art boards and double them up if need be.


I was so energized by this solution that I couldn't sleep! Instead, I got started replicating the staircase in Tinkercad. It took three hours to work out the design, but finally, at 1:00 AM, I had gotten this far and sent myself to bed.


Just when everything seemed to be falling into place, I was terribly shocked the next morning by bad news. The slicer program calculated that it would take 4 DAYS to 3D print the staircase!!! And that didn't include the railing. I would be risking a lot of time and material on a prototype that I had no guarantee would work.
Um, back to the drawing board... 😒

4 Days?!?


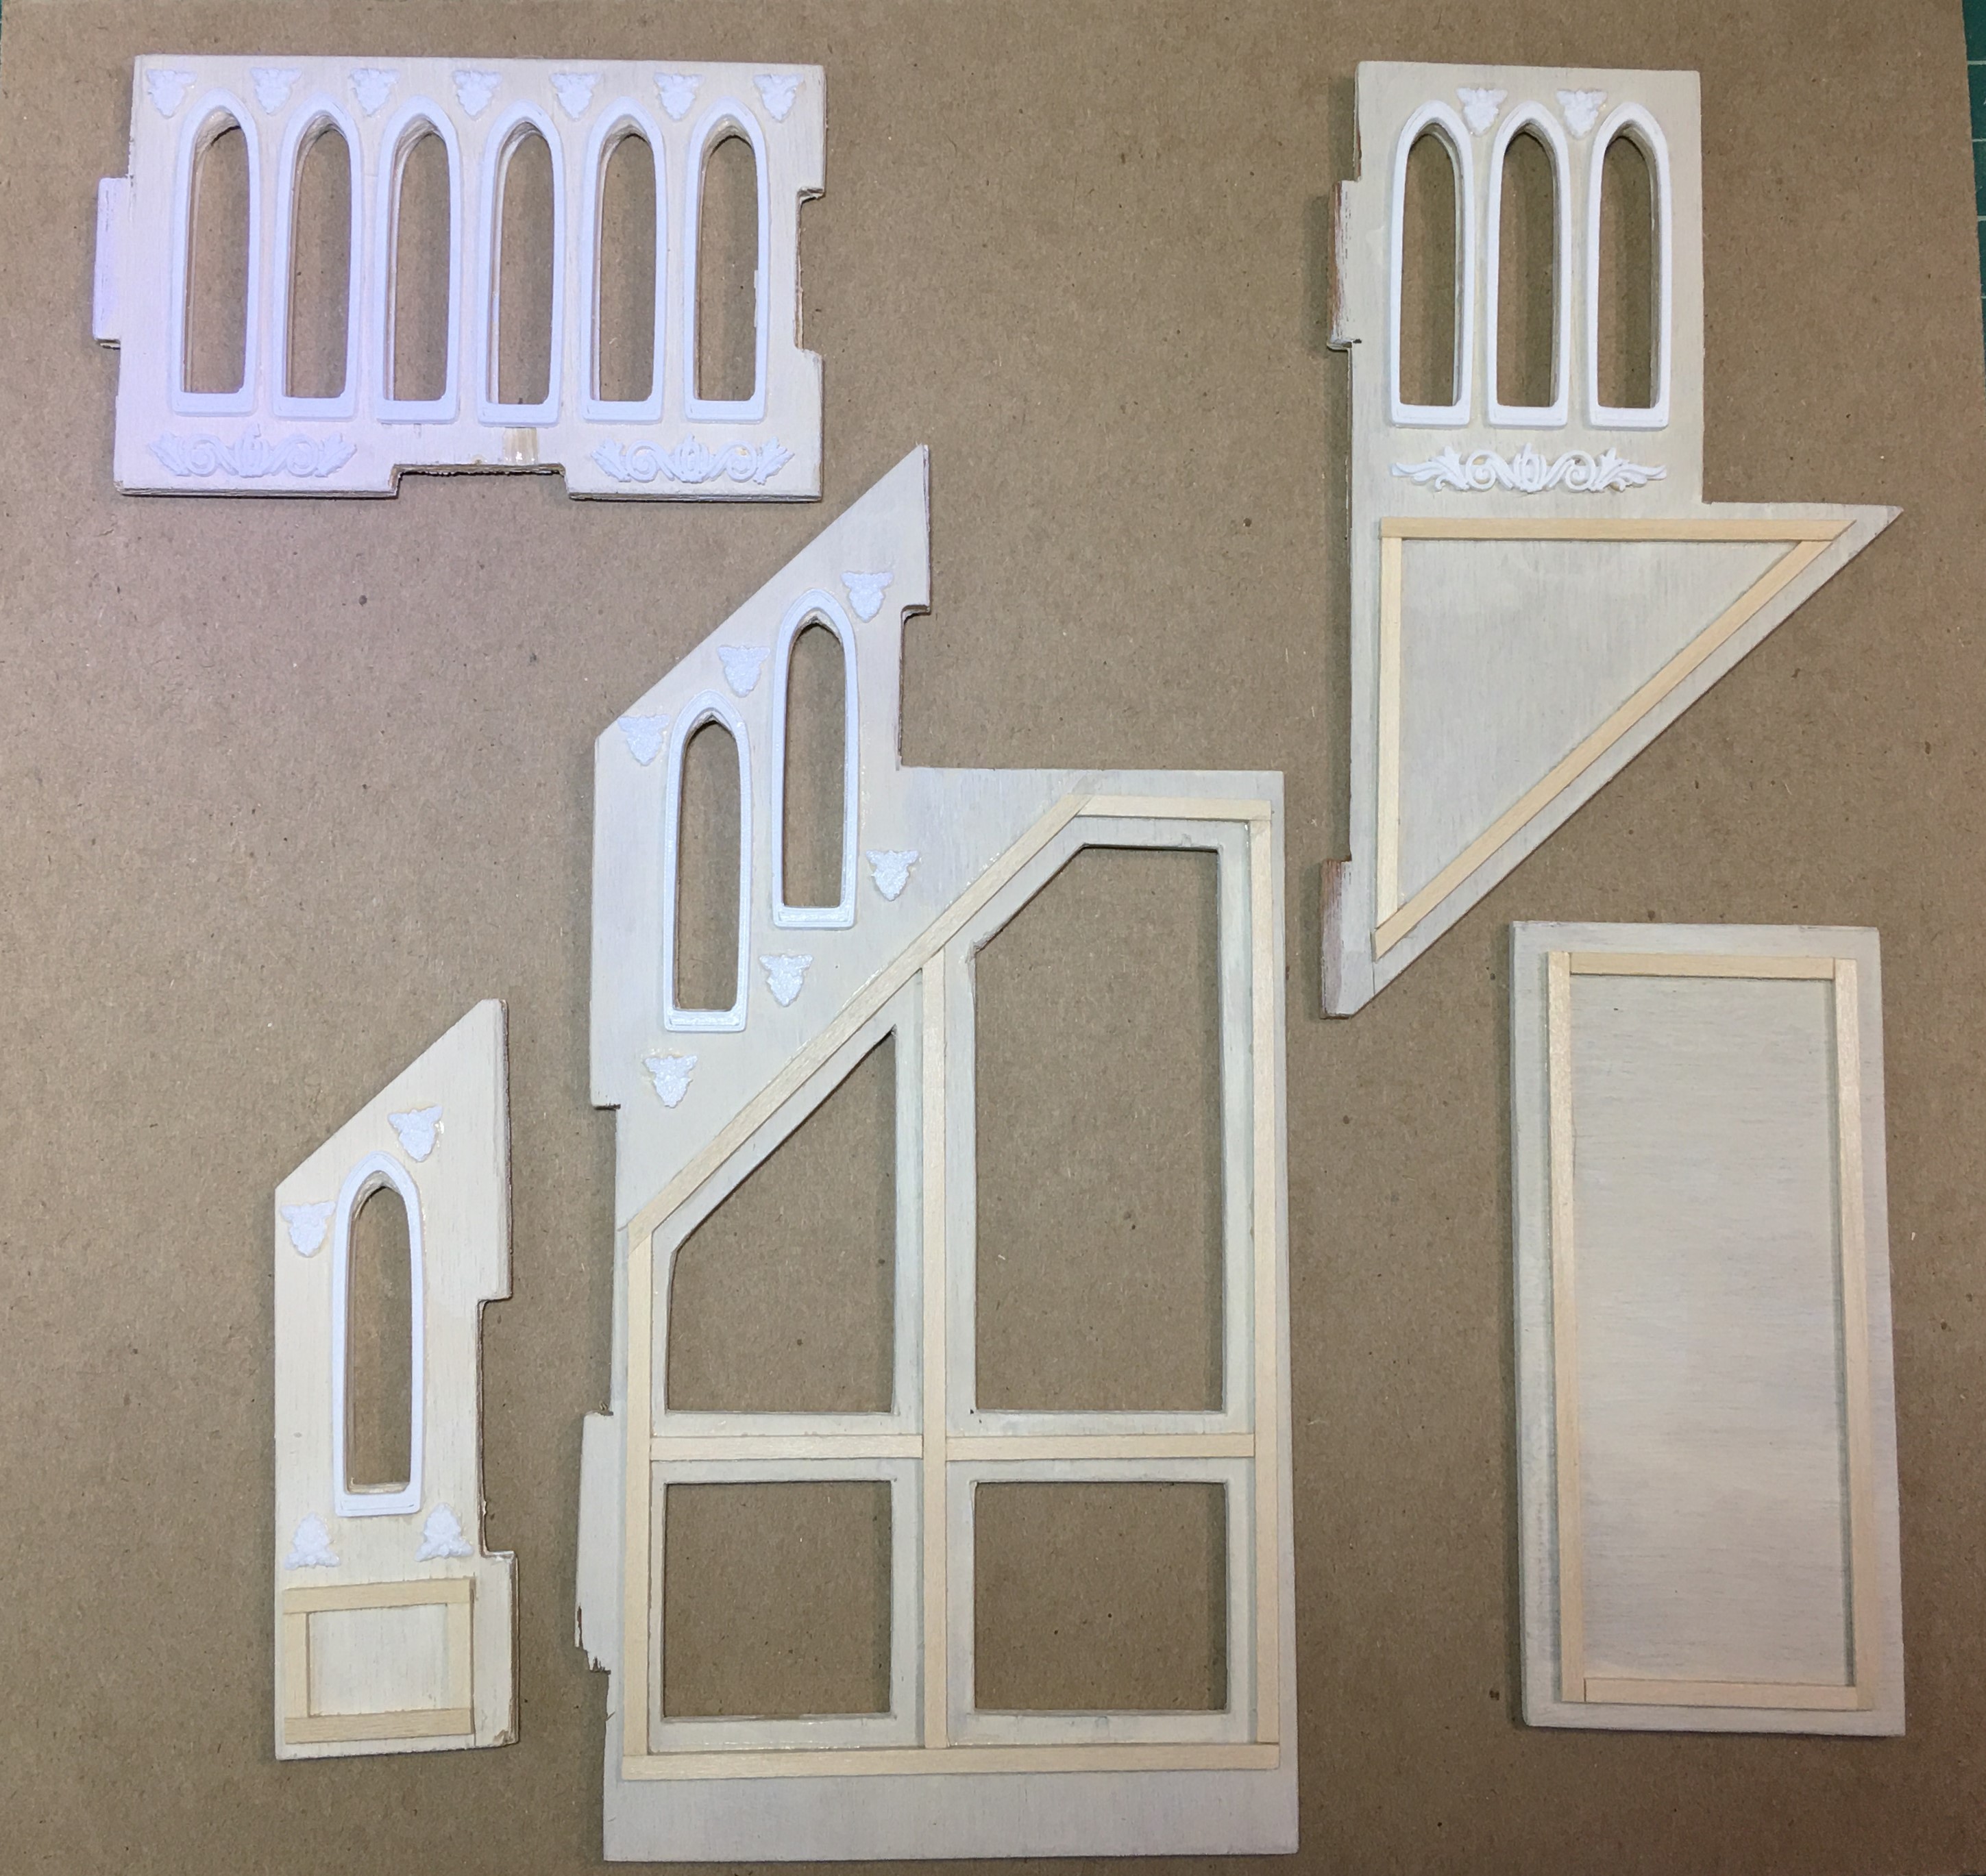
I don't give up easily, and that's when another solution came to mind. Since I already had all of the pieces designed and measured out in Tinkercad, I could export them as svg files for Design Space and cut them with the Maker. I would just have to pull the 3D pieces apart and flatten my model. So that's what I did. Chipboard? PLA? I don't really care, just give me my stairs!!! The chipboard option means I had to assemble the stairs myself, but luckily, I really enjoy that kind of "work". 😊

Staircase pieces flattened in Tinkercad

Staircase pieces after importing them into Design Space.
The purple rectangles are the risers, to be cut from cardstock
rather than chipboard, hence, the different color.

Assembly was accomplished in a very straightforward process: Glue back, sides, braces, front, risers and treads - the same order as the kit's stairs. The three steps that create the turn were a custom, piece by piece job, but it, too, was pleasantly simple thanks to chipboard being so much easier to cut than wood. 


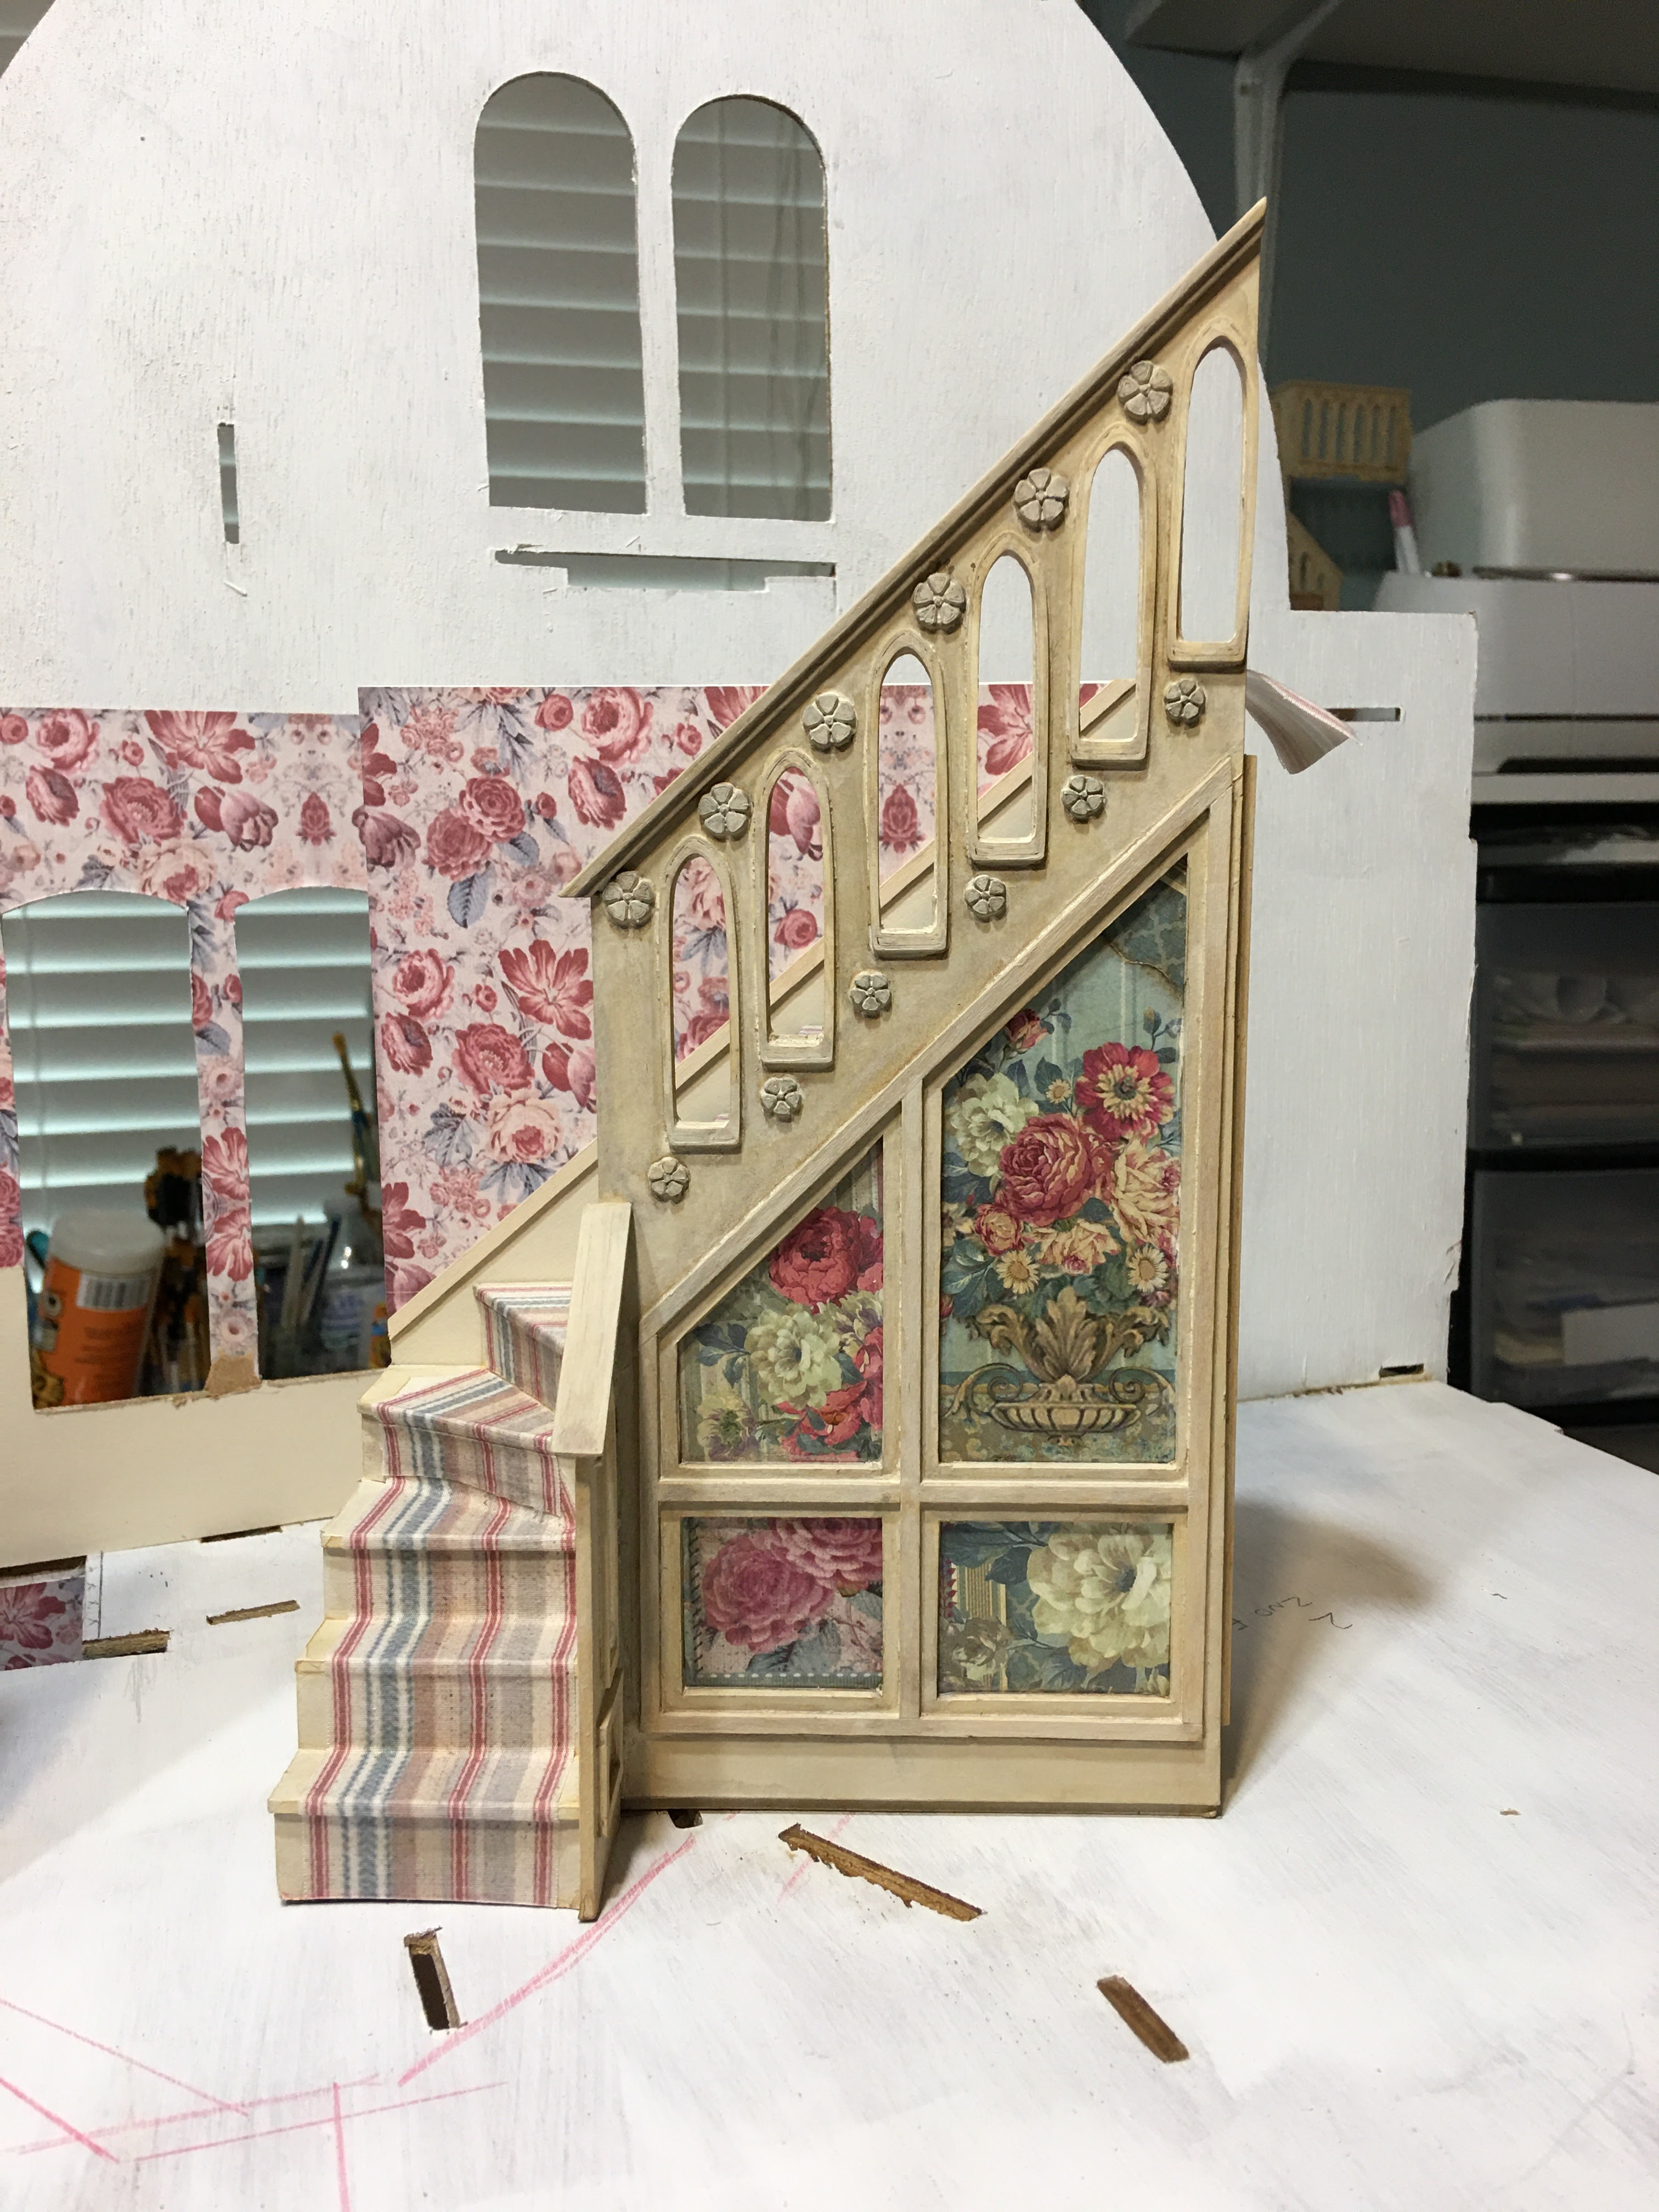
With rails temporarily attached. I had to recreate the longer rail
myself, cutting out and spacing the arches, so I did the best I could.

Side by side comparison with the kit's stairs.
The chipboard will take a lot less refining than the wood.

Before I could get an accurate visual on how the stairs would look in the hallway, I had to do a little remodeling. The kit's original bathroom wall had to get cut down. I used my Zona saw and made quick work of it.

Wall Before


Only a portion of the wall is left but it's an important piece for structural
support since it is part of the first floor's kitchen wall/foundation.


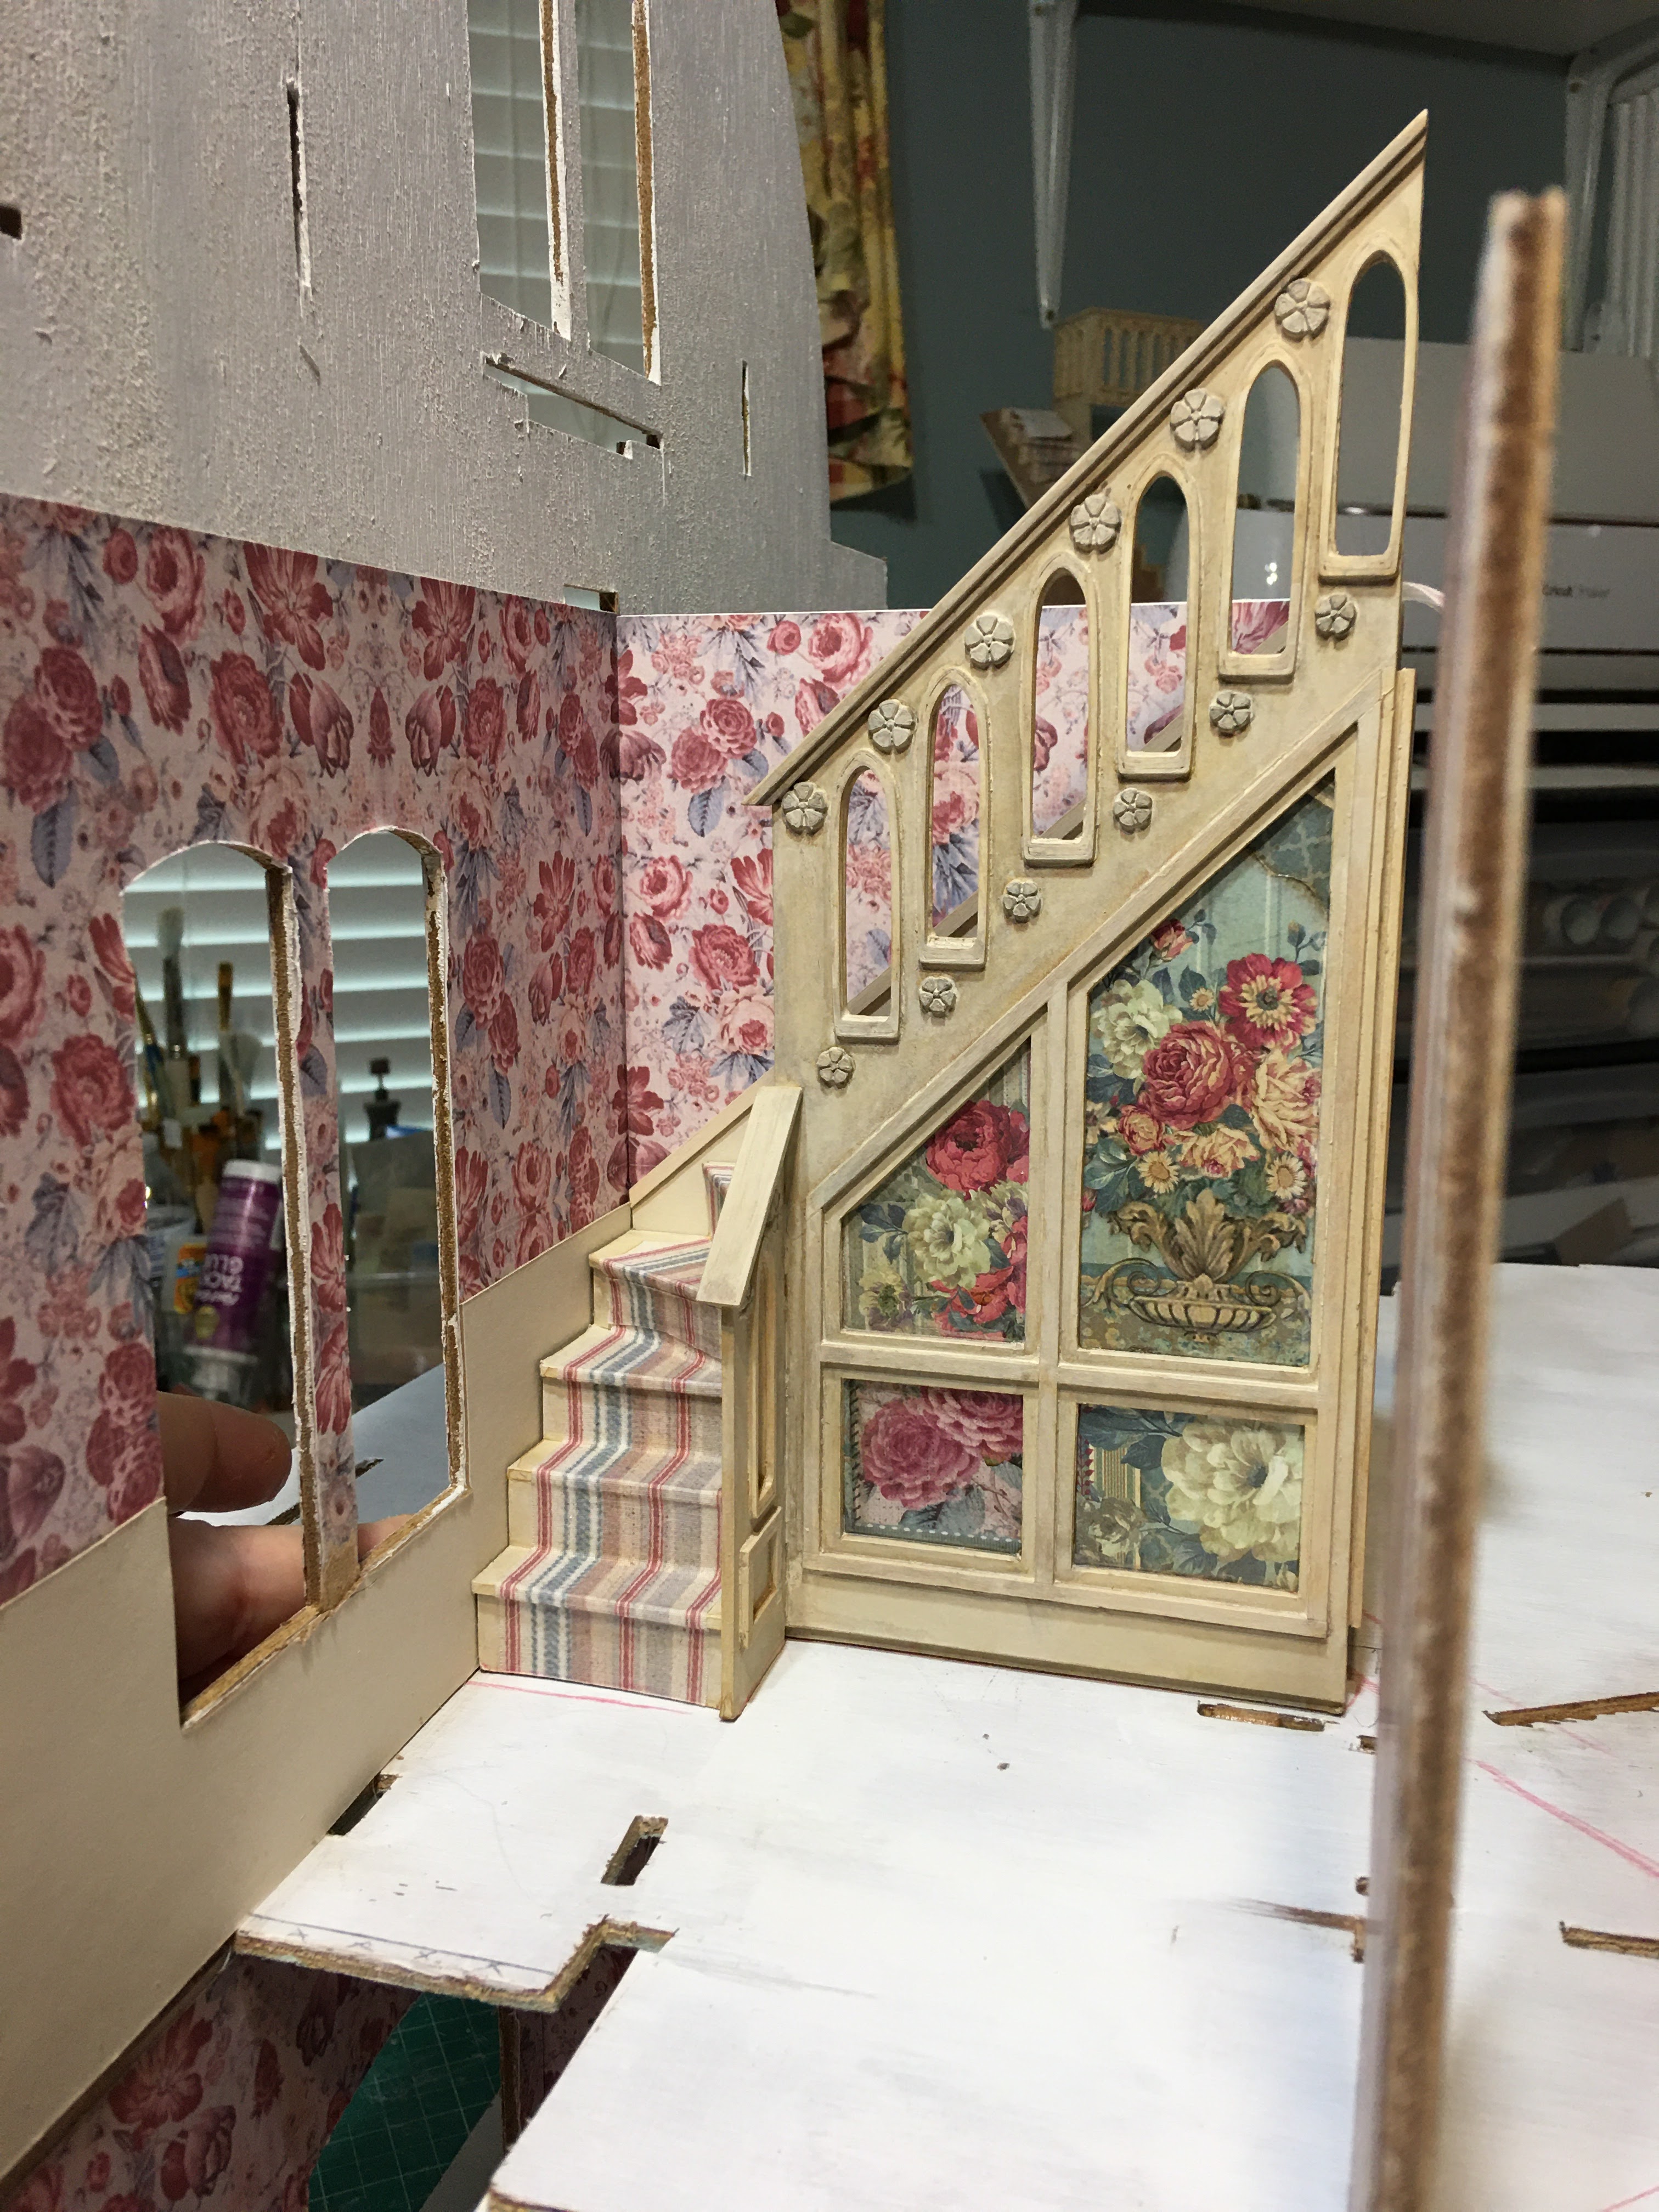
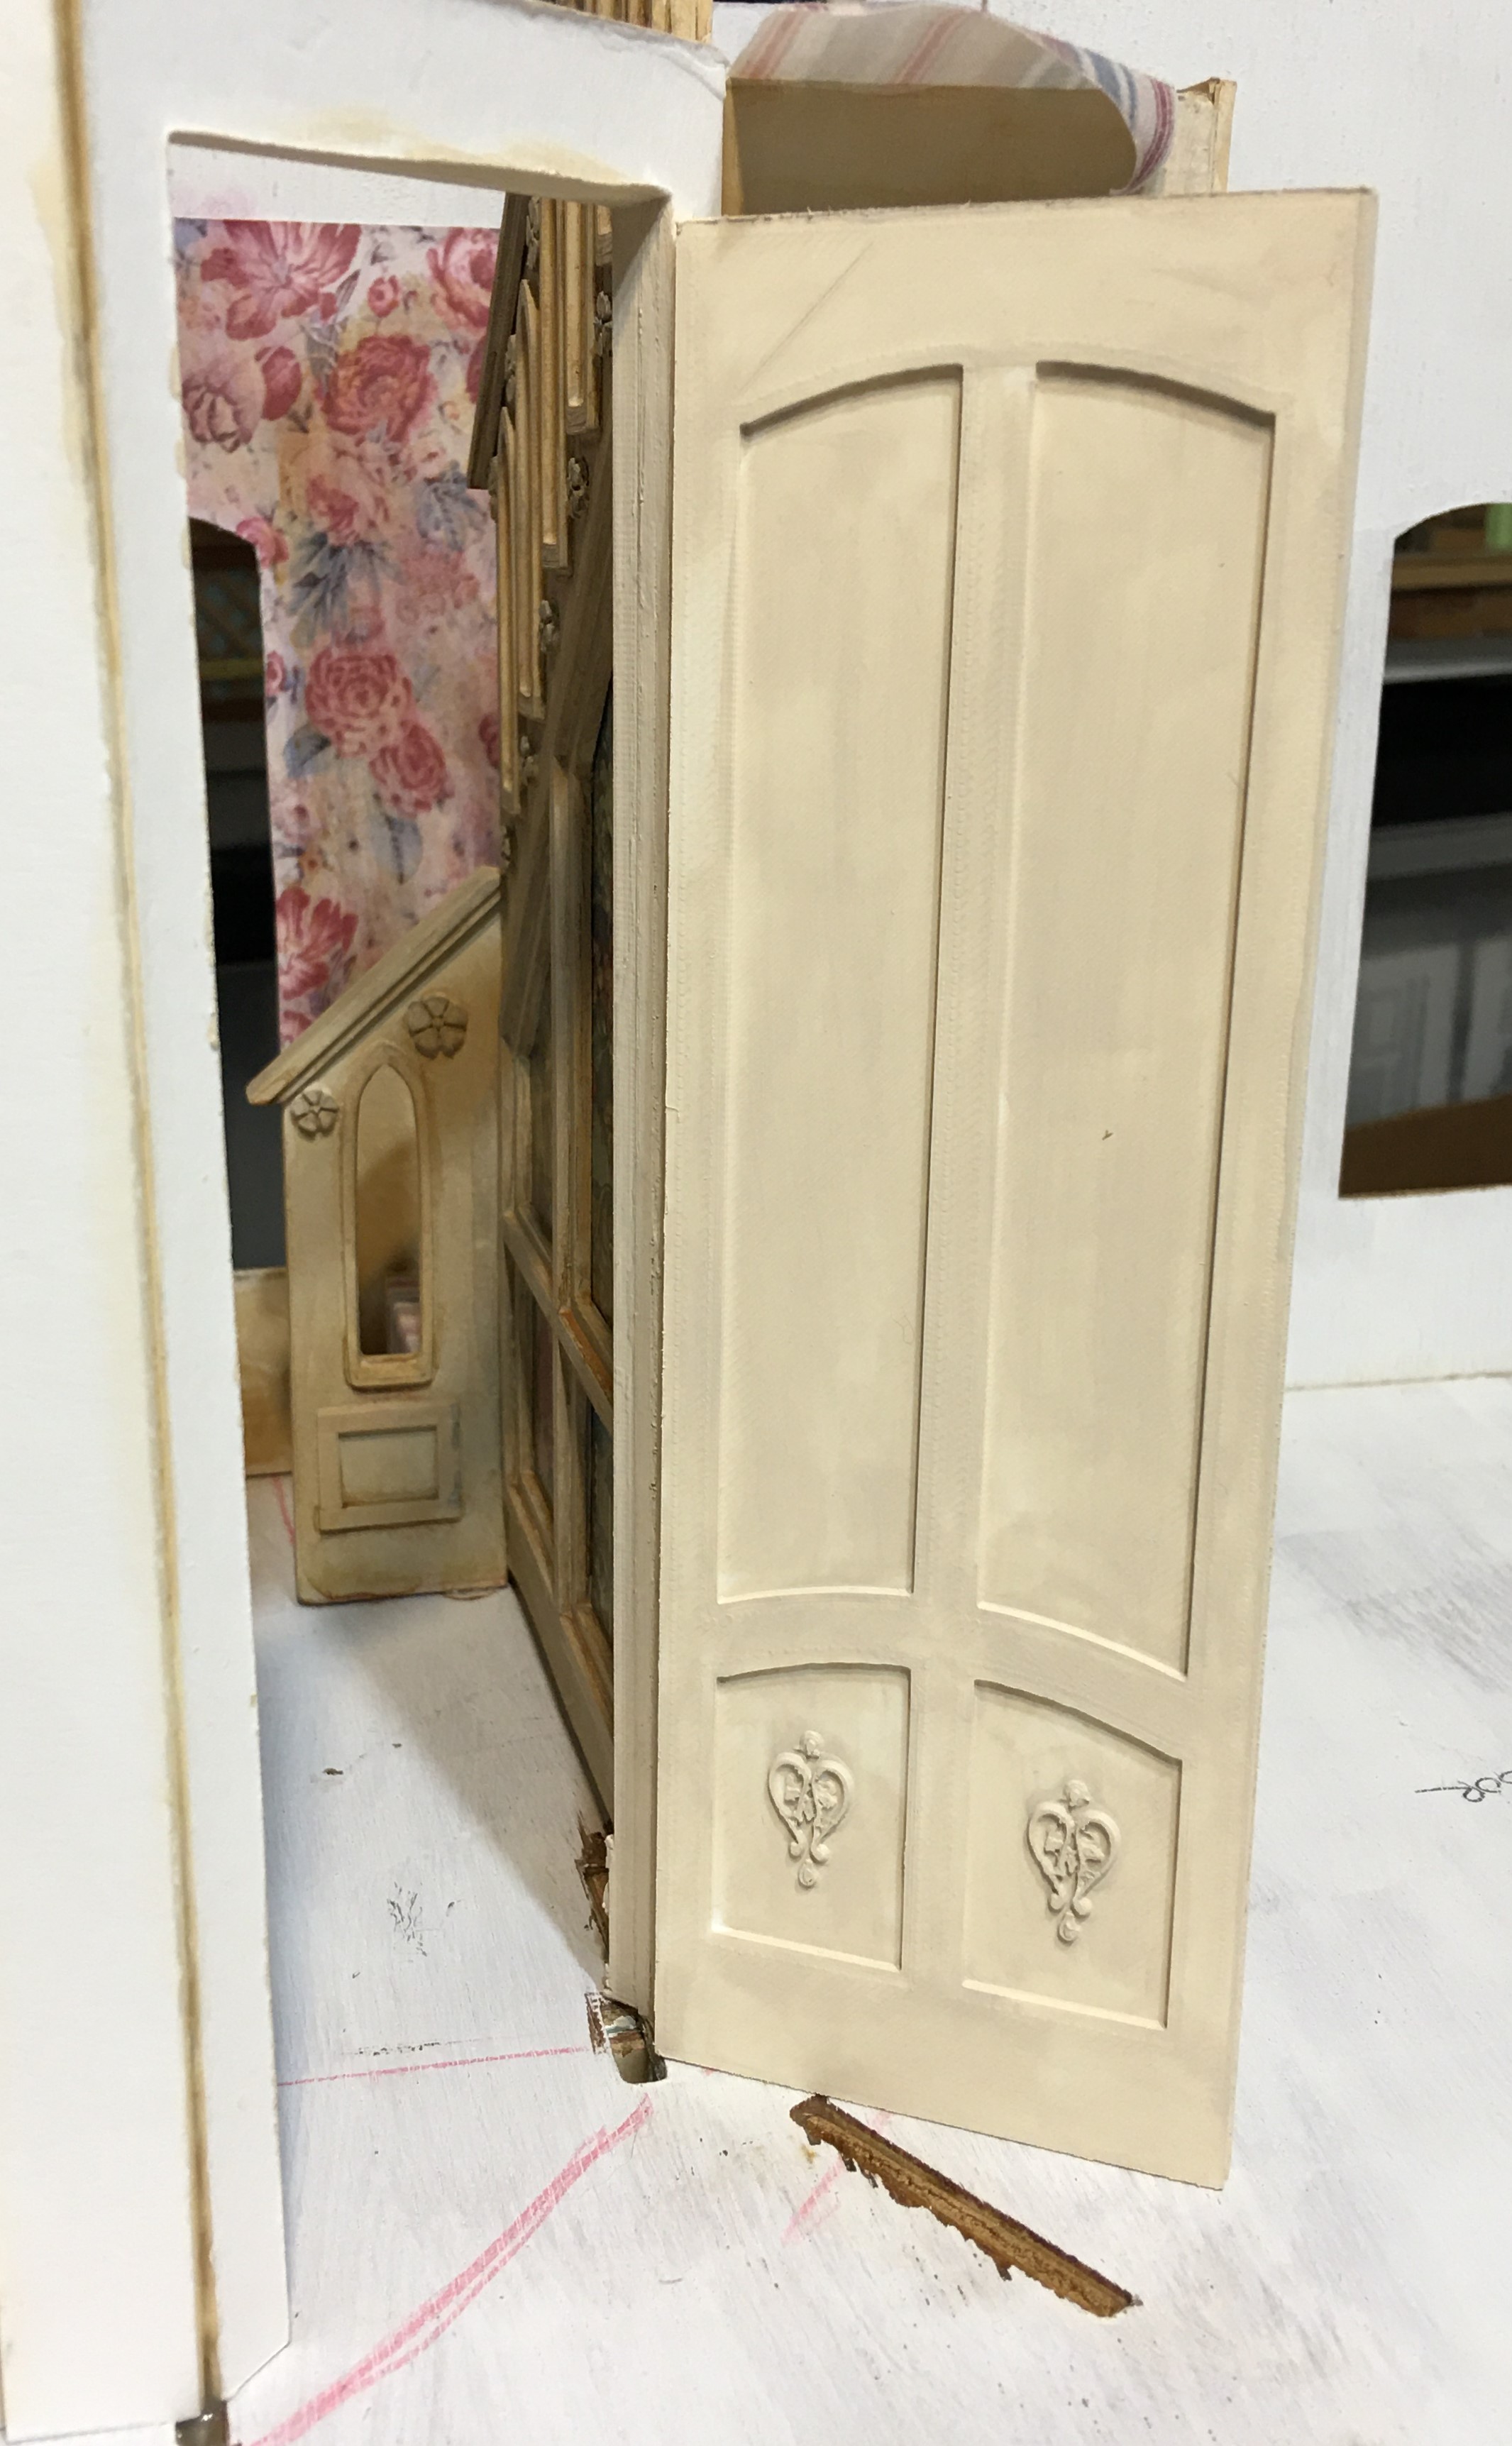
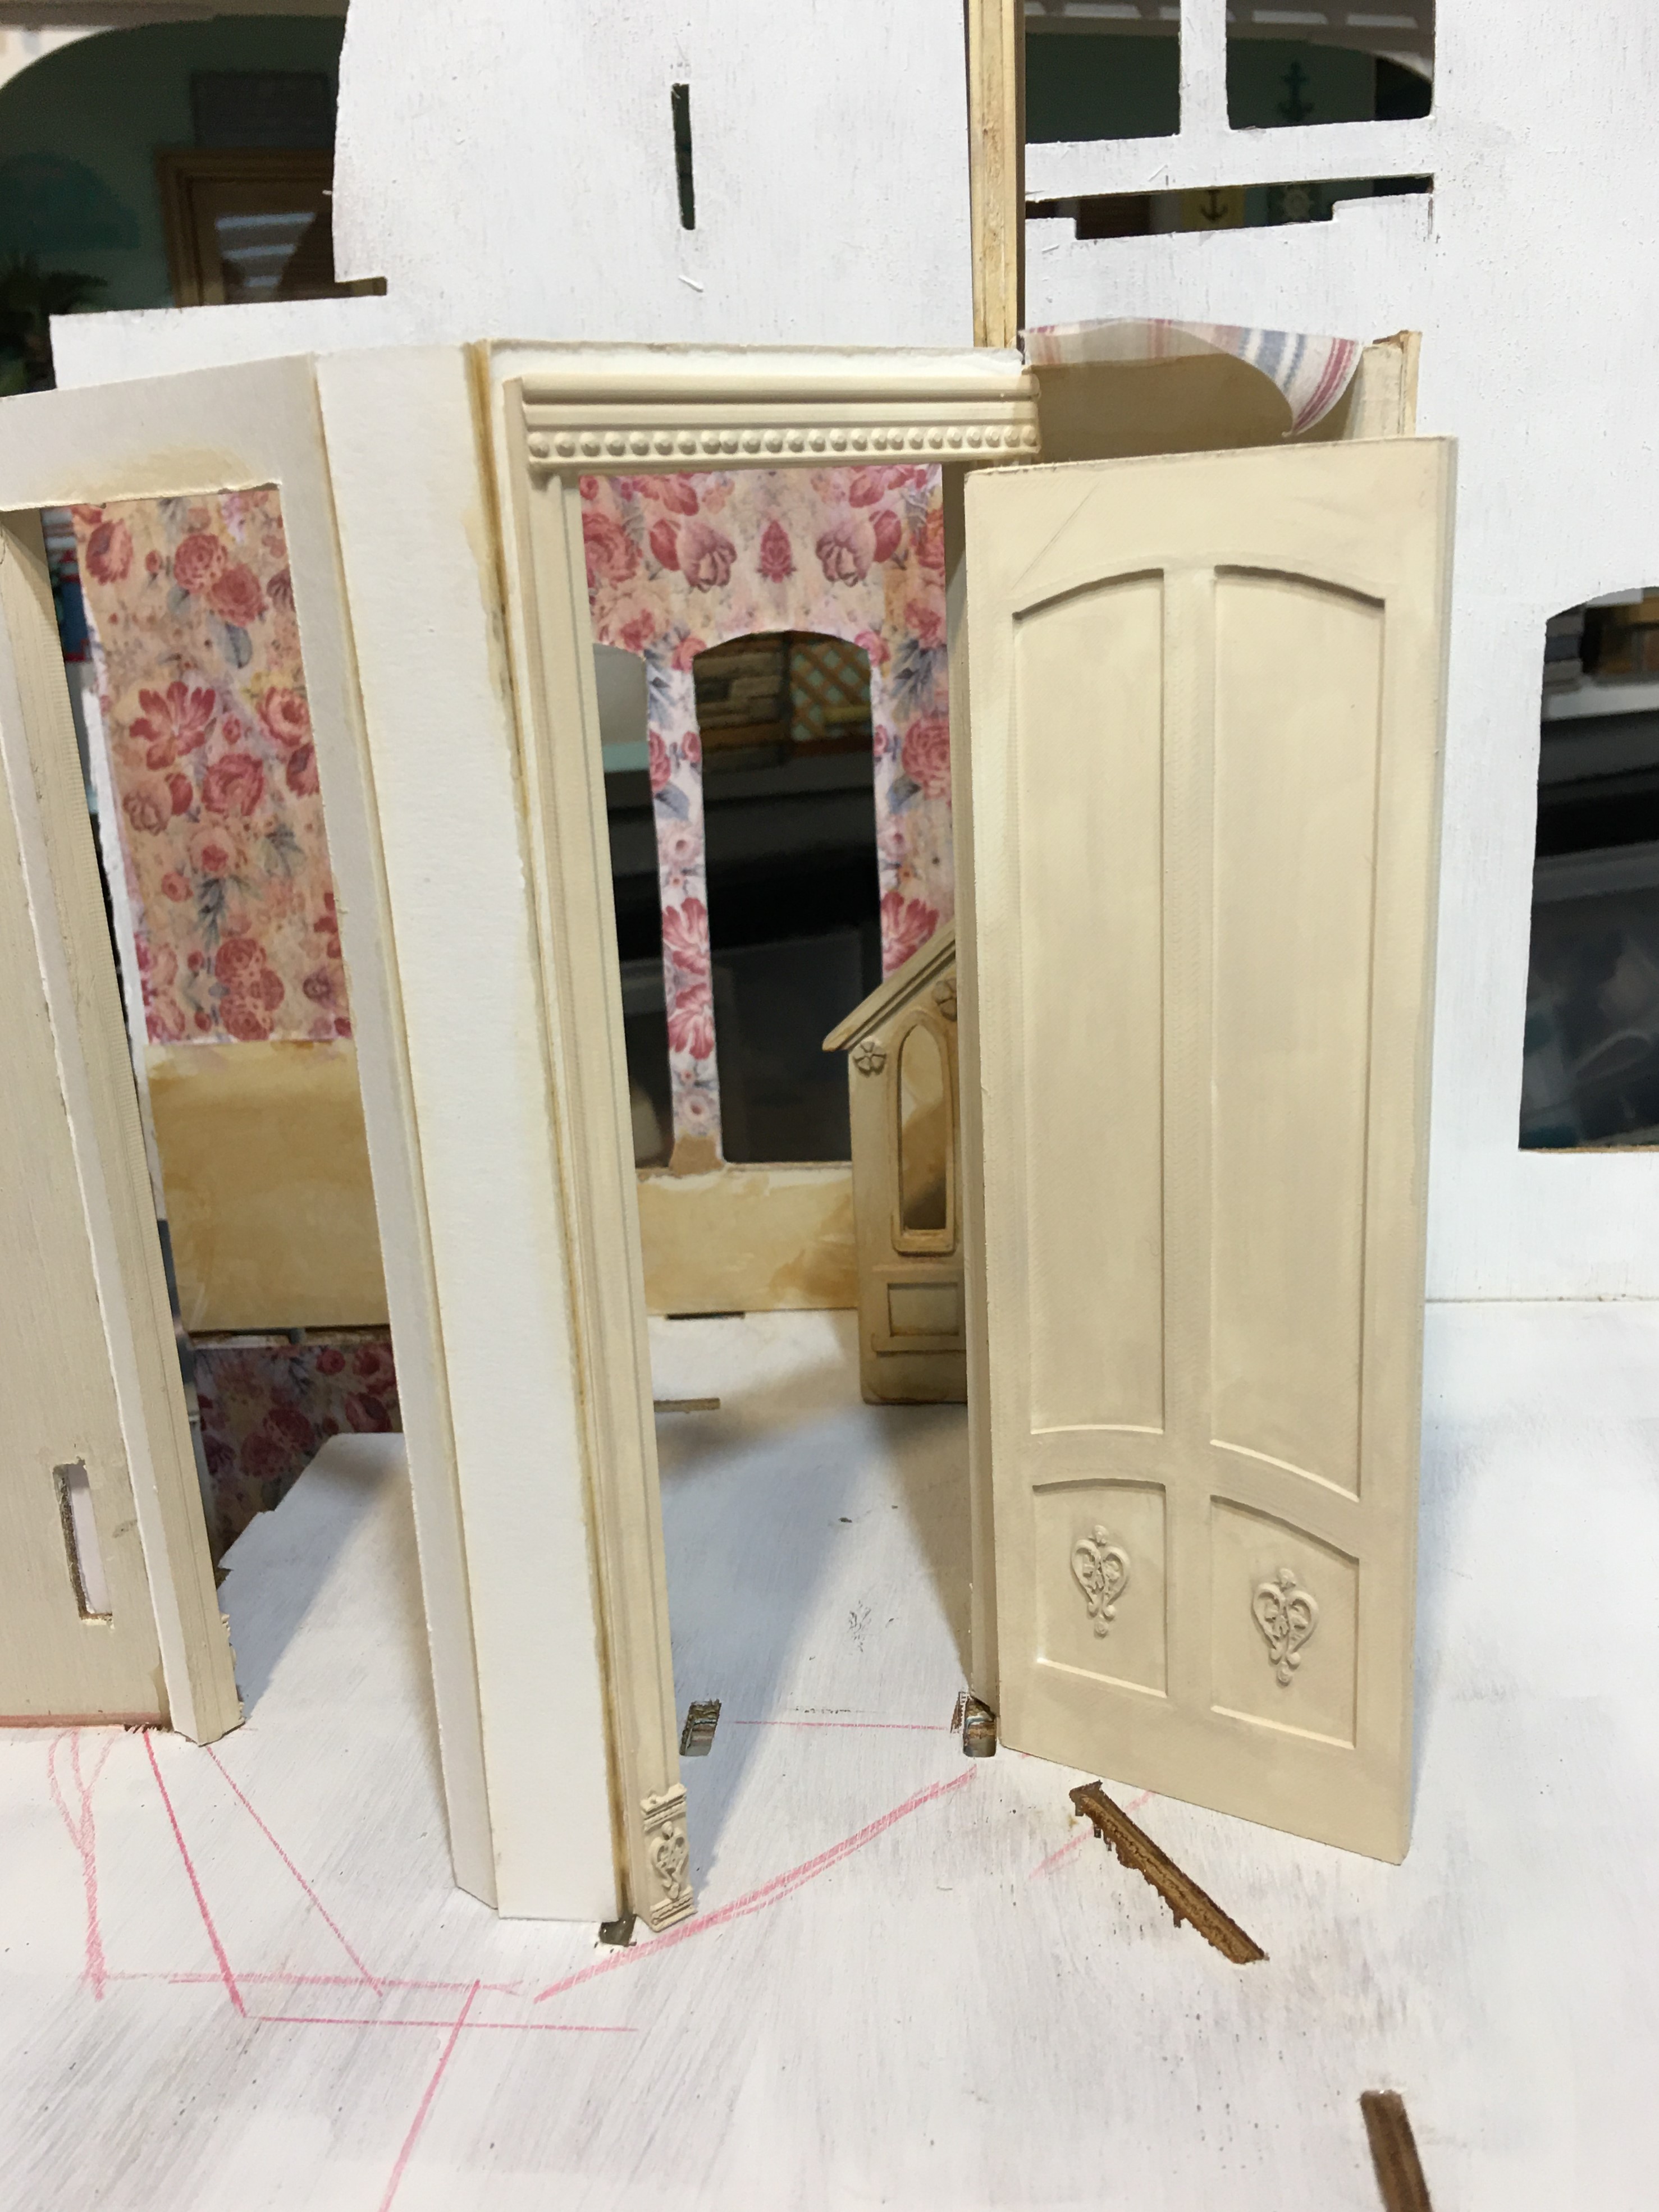
Here's how the new staircase fits into the hallway pushed back into the bedroom 2-1/4". There's sufficient room now for choosing to go up another floor or off to the right to the bedroom/bathroom.


Both staircases sitting in their places.


And the view from the future bathroom/bedroom doors.


And that, my friends, was this week's Willowcrest adventure! Good news, bad news, good news, triumph! Man, I'm having fun!

xo xo,
Jodi