This week the momentum from the kitchen swept me right into the living room. The first major task was to figure out the seating. I had purchased a blue sofa and chair set in 2016 to use in this build, and at the time, the color scheme would have worked great. But time and a total change in design left the idea (and the actual pieces) of blue furniture in tatters. The foundations were still usable, they just needed recovering.

I took photos of every angle of the furniture before I began the deconstruction. I wanted to be certain I knew how to put them back together again, and which areas of the pieces might show through the fabric.


I was going from a dark to a very light material, so the yellow toned, rough wood needed a good sanding and strategic primer on the areas that might bleed under the fabric.

I combined the separate cushion piece with the two padded pieces on the sofa's seat. This required that I cut the one long wooden cushion piece in two. I also took the opportunity to add a little extra cushion on top of the original foam padding. Uncomfortable sofas are a source of regret for many years, and I couldn't have that for Kairi and her friends!

I did a decent job with the recovering, though fabric and sewing projects are not exactly my forte. One issue I could see right away was the low height of the finished furniture. In spite of adding extra padding, the seats were 1/4" to 5/16" below the average seat heights for sofas and chairs (18" to 20" in real life and 1-1/2" to 1-21/32" in 1/12th scale). That's about 3 real life inches too short.


To correct this issue, I once again turned to the 3D printer. I made legs for the sofa and chair in both 1/4" and 5/16" sizes. I connected them to nearly flat 1/4" x 1/4" tabs to allow for more glue area with the fabric.


Then I let the ladies test them out to tell me which they preferred. They both agreed that the 1/4" legs were the sweet spot.

After painting them with a couple colors that made them look close to the wood tones in the project, I glued them on using both Fast Grab tacky glue and dots of CA.

Now all they needed was a soft throw and some pillows. Luckily for me, I've had all the pillows for this project in my stash for years, even though I didn't know I'd be using them for this project! I just love when stuff works out perfectly!

The next decision was what to do with the wall between the door and window. That thought has niggled at me since I started laying out the plan for this kit. I always wanted a hall tree/bench seat sort of thing, but had big doubts that I could pull it off because of the position of the island. Then I decided to give it a try. All I had to lose was some chipboard and a little time, right? I searched and saved off some photos I liked, but what I kept coming back to were the super simple versions like this one:

It is literally comprised of eight pieces and two corbels. All I had to do was make my pieces a bit wider to fit my space, then let the Maker do my cutting for me..

After quickly assembling the pieces with glue, I tested it in the space and loved it!

I definitely wanted to add some nautical elements, so I got out the brads I've been saving for five years! I also added a little beaded Dresden trim around the shelf and bench seat. I had the corbels in my stash.

Paint...

Distressing and hooks...

Baskets and tufted bench cushion...

Pillows, books, clock, shell and vase...

And it's right at home! I'm sure Kairi will utilize this the moment she moves in to hang her hats, purses and tuck away her shoes.


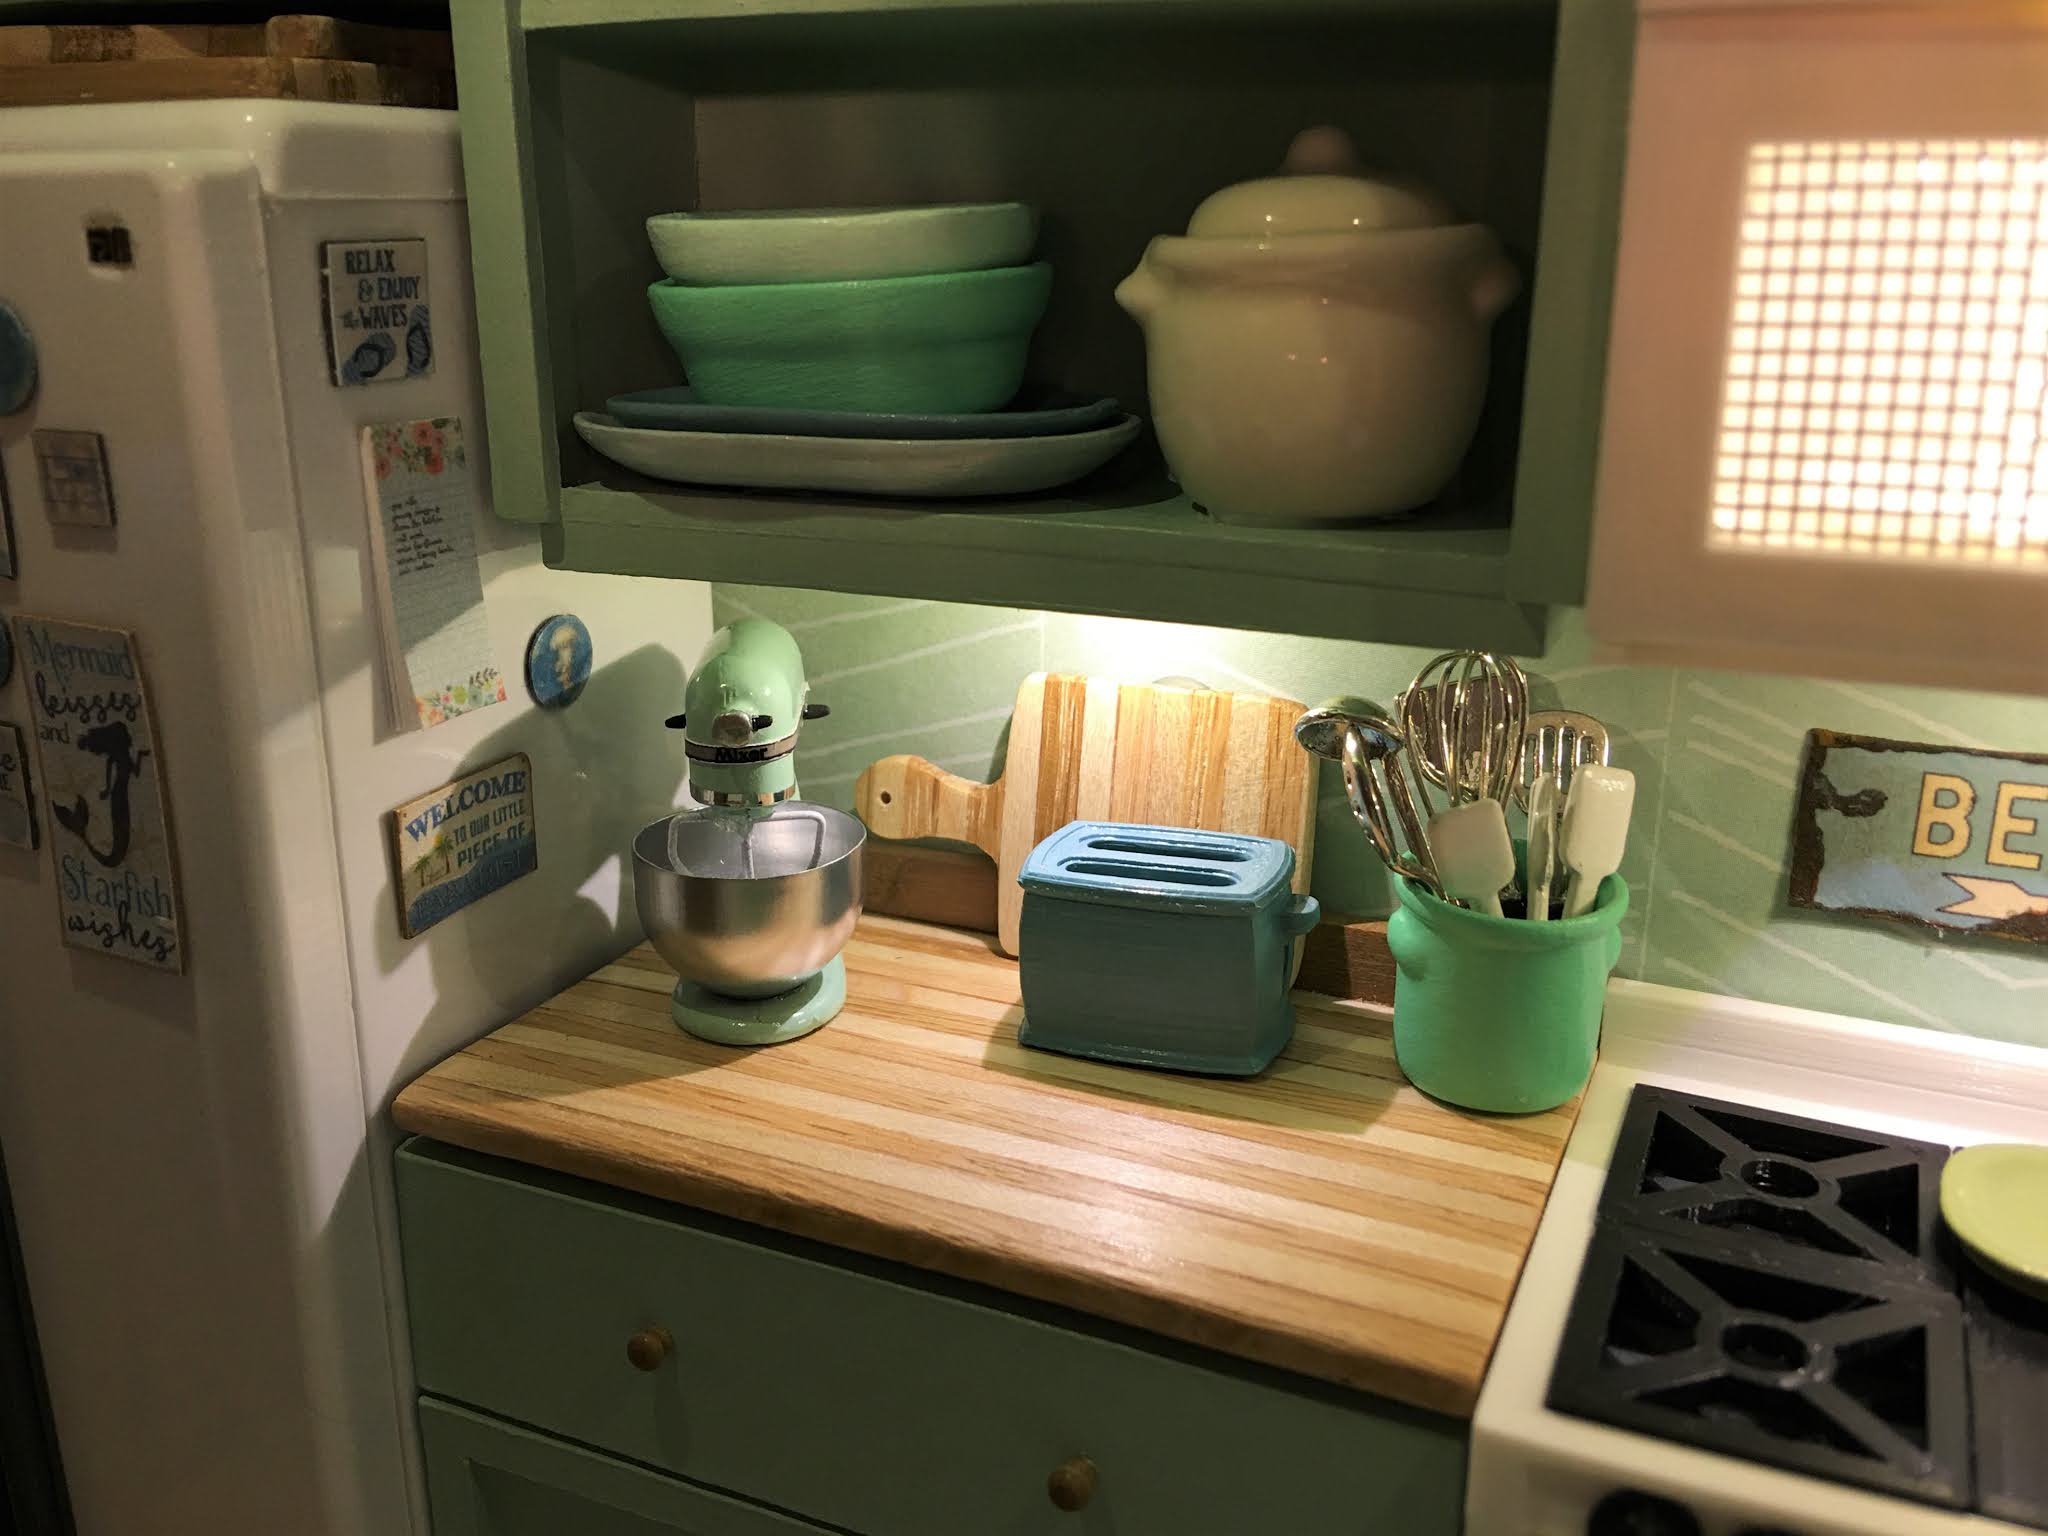
After last week's kitchen post, I had a couple questions about the bamboo blinds on the door. I apologize for not thinking to share how I made them before! They are so simple to make, yet give a highly effective and authentic look. Here's what I did and used...
I purchased this bamboo placemat from Amazon. I chose it because it had visible stitching at one inch intervals, and I wanted to incorporate those into my blinds (remember how challenging any sewing is for me?). There are a number of color options.

To secure the stitches, I measured where I would need to cut, then applied tacky glue to each of the stitches across the length, front, back, top and bottom of the piece I would need to cut. Once the glue was dry, I applied satin varnish to the front and the back of the mat, paying extra attention to completely covering the stitches.

Using my Xacto knife, I carefully cut the stitches across the area that I had glued with the tacky glue. I knew if I was very thorough with gluing the stitches, the leftover piece's threads would stay in tact for the next use.

To cut the width I needed, I got out my mini table saw. You can cut the mat by hand, but bamboo is very, very hard. When you measure for your window, be sure you account for enough extra to leave your stitching even on both ends. The blinds for my living room window are slightly wider than my bedroom window, so my piece ended up being perfect.


To create the top valance, apply glue on the second strip of bamboo, then fold over to create the height of the valance you'd like. I made mine three high. Clamp to dry.

To create the look of the blind being slightly rolled up, repeat the gluing process on the bottom of the blind. You will roll it up on the same side as the valence. Keep creating rolls until you have the desired amount rolled up. Mine have three rolls. Clamp until dry.


For mounting the blinds, glue a 1/16" x 1/4" piece of strip wood to the back side of the blind opposite the valance. You will glue this strip to your window trim. Clamp until dry.


 |
| Top: back side of blind. Bottom: front side of blind. |
Here it is installed on the living room window. I ran a solid bead of Fast Grab tacky glue on the strip wood, then added tiny dots of CA glue to several spots on top of the tacky glue. It only takes a few seconds for it to grab on, but you still have time to adjust and make sure it's level and centered on the window frame. You can add a string with handles if you like, but I find it's not necessary to sell the illusion.


So this is where the room has progressed, so far. It's been surprising where all of the colors and fabrics and odd ideas have lead me, but I really am loving the outcome!


I hope to be back next week to share the finished living room space. Time permitting, it will be all decked out with curtains, rug, art and décor. That stuff takes a long time to make, but it's so worth it! There's no bigger thrill than to see a mini house become a mini home!
Hope your ideas are taking you to surprising places, too!
xo xo,
Jodi