Fiona and Spooky insisted I let them pop on today to wish you all a happy day!


xo xo,
Fiona and Spooky
P.S.
If you'd like to revisit Autumn's Pantry, just follow the link.

~~~~~~~~~~~~~~~~~~~~~~~~~~~~~~~~~~~~~~~~~~~~~~~~~~~~~~~~~~~~~~~~~~~~~Welcome and Thank You for Coming By! One of The Best Things About Our Wonderful Mini Community is the Sharing and Supporting We Do With Each Other in Our Endeavors! I'm So Happy That You Are Here!
Fiona and Spooky insisted I let them pop on today to wish you all a happy day!
xo xo,
Fiona and Spooky
P.S.
If you'd like to revisit Autumn's Pantry, just follow the link.
Picking back up where I left off on the Beachside Bungalow's kitchen, it was time to make countertops. Instead of the polished natural stone look counters I made for the upstairs bathroom, I opted instead for something a little less pretentious: Butcher Block.
 |
I wanted a subtle contrast, not as much as the butcher block counters in Natasha's Kitchen. I ordered bundles of 1/8" x 1/8" in maple and oak from Bill & Walt's. I was hoping they would tie in with the other wood tones in the project.

I had to make counters for three cabinets: The drawer units on either side of the stove, and the center island.
 |
| Units needing countertops. |
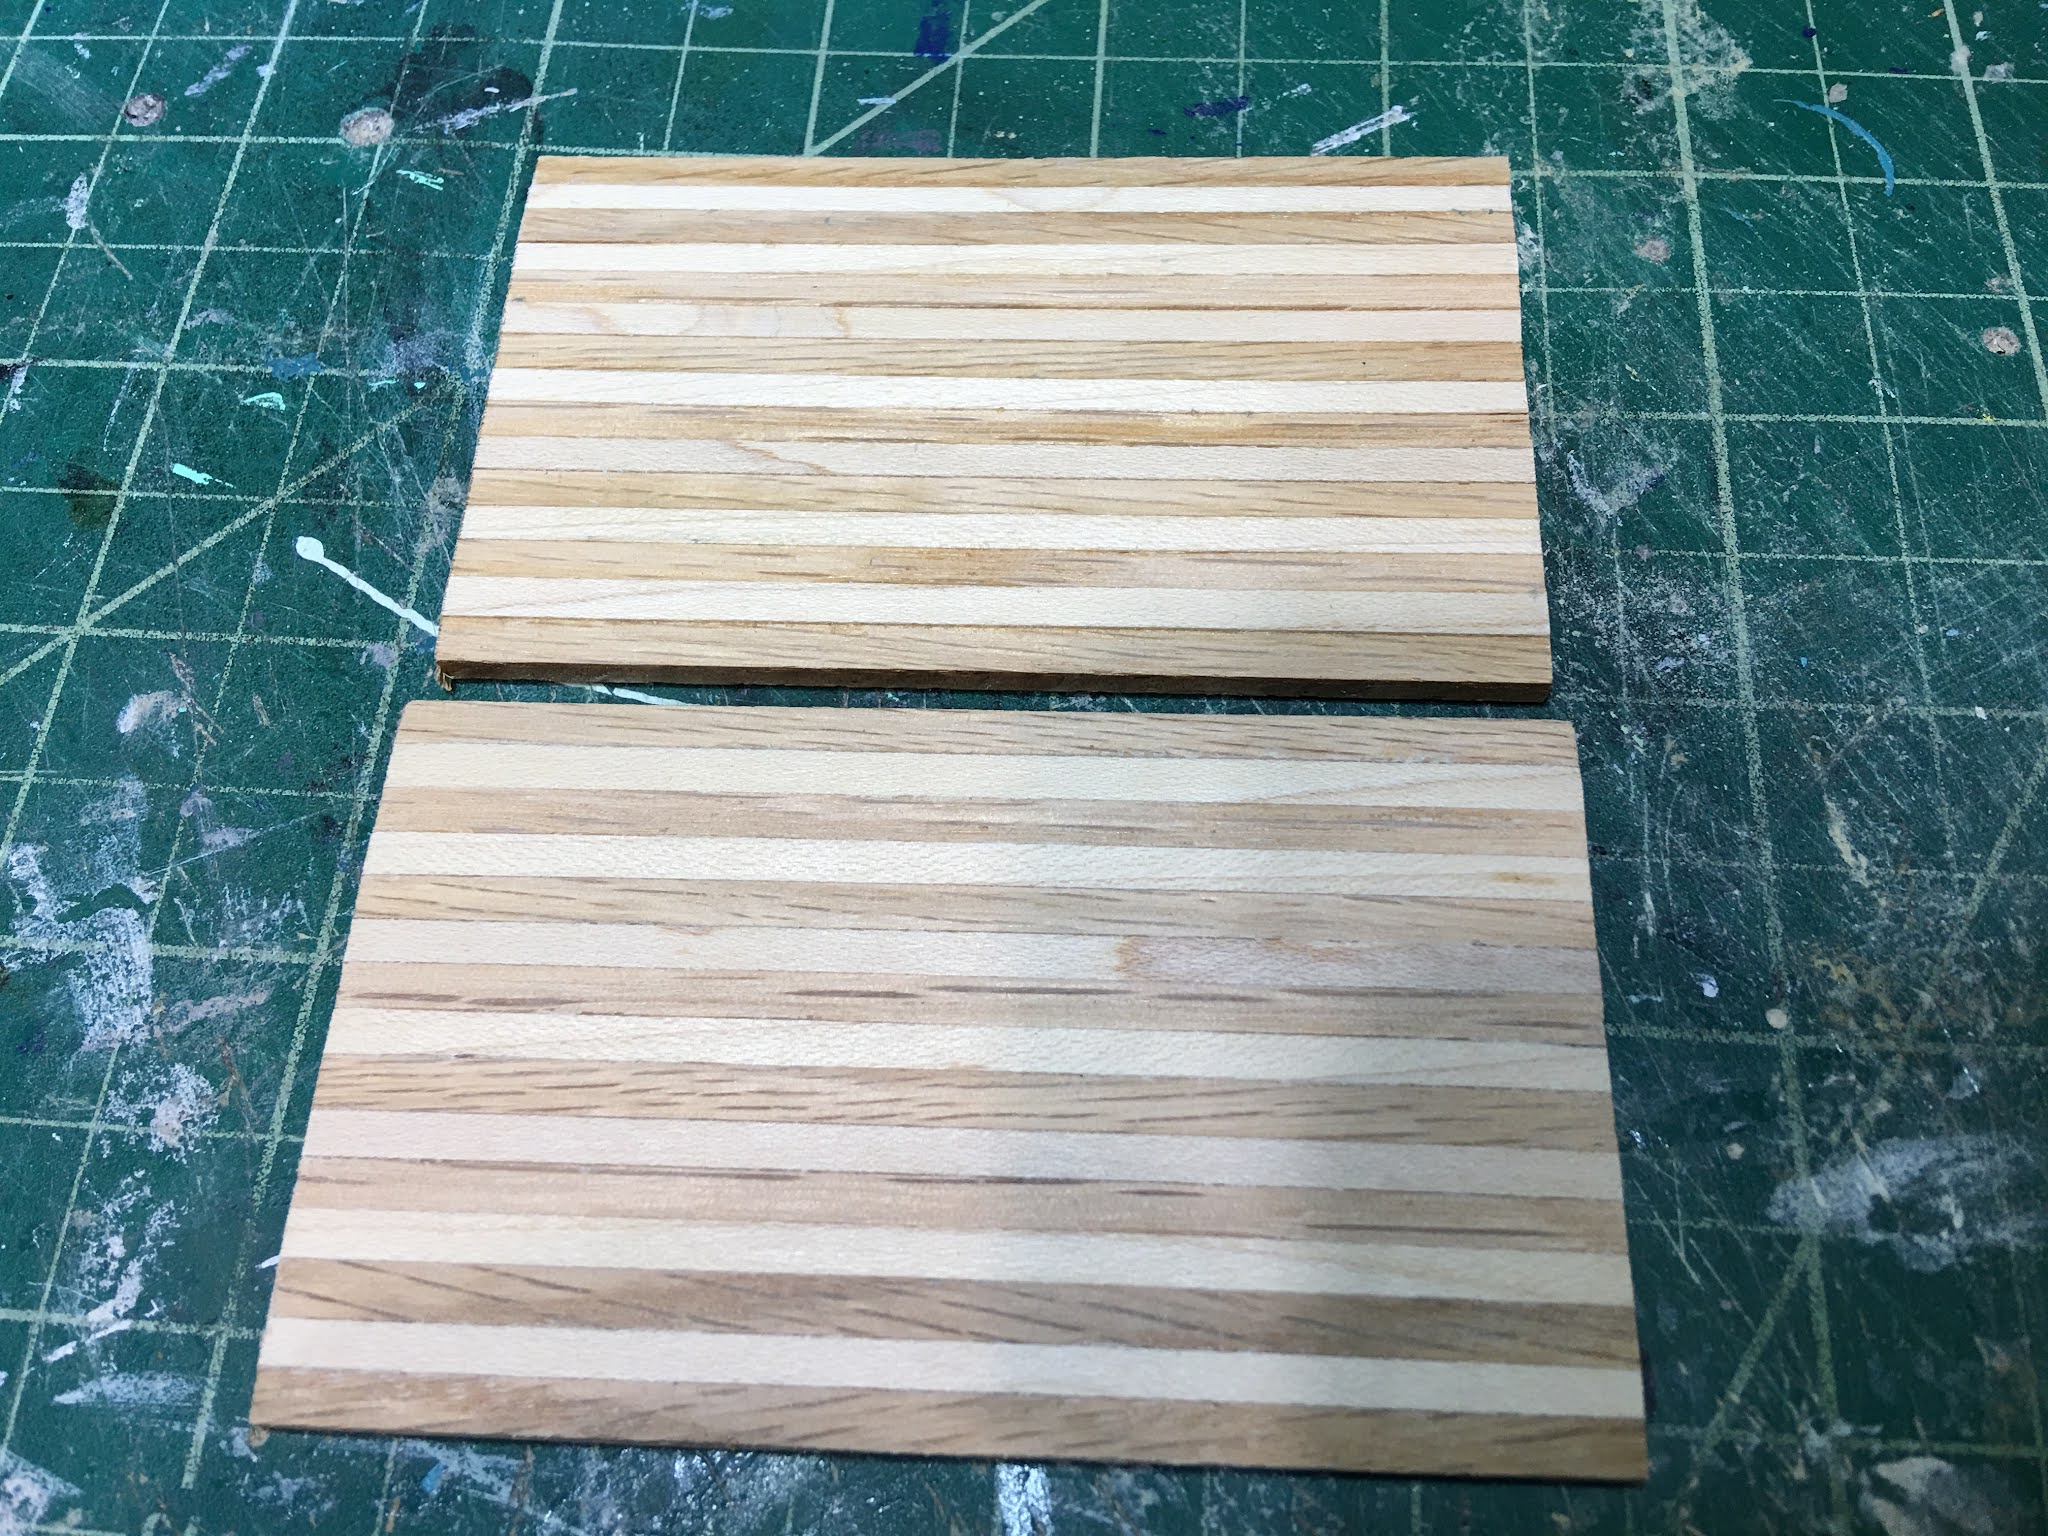
The drawer units were each under 4", and the island was just under 7", so I figured out how many 1/8" pieces I'd need, divided that number in half for each of the wood species, then cut them into 8" lengths.
 |
| Maple left, oak right. |
The next step, gluing them, was relatively straightforward. I like to glue one of each species at a time to one another, clamp, and then let dry. Some tricks I have learned in doing these is:
 |
| Gluing in pairs of maple and oak. |
Once the pairs were dry, I begin to glue sets of pairs to one another, clamp and let dry. I repeated the process until I had the depth of counters I needed. For the drawer units the depth was 2" and for the island top it was 3-3/4".

Once my pieces were glued and dried, I cut them down to the widths I needed. I marked my lines with an architectural square to get exactly 90 degrees, then cut them with my mini table saw.

Here I am testing the fit to be sure everything looks good. I made extra boards in various sizes.
 |
This wood came really rough and raw, unlike basswood that comes pre-sanded from brands like Houseworks that you purchase through dollhouse retailers. It requires extra work, but it's worth it.
I started with 100 grit sandpaper to remove the really rough finish. This abrasive grit also helps to remove any glue I may have missed that oozed out during clamping. Then I moved through sanding sponges in progressively finer grits, ending with a completely smooth surface. If anyone is aware of any mini sized electric planers and belt sanders like in real sized woodshops, let me know!

 |
| Top board is raw, bottom board is after the 100 grit sandpaper |

 |
| Raw wood left, waxed right. |
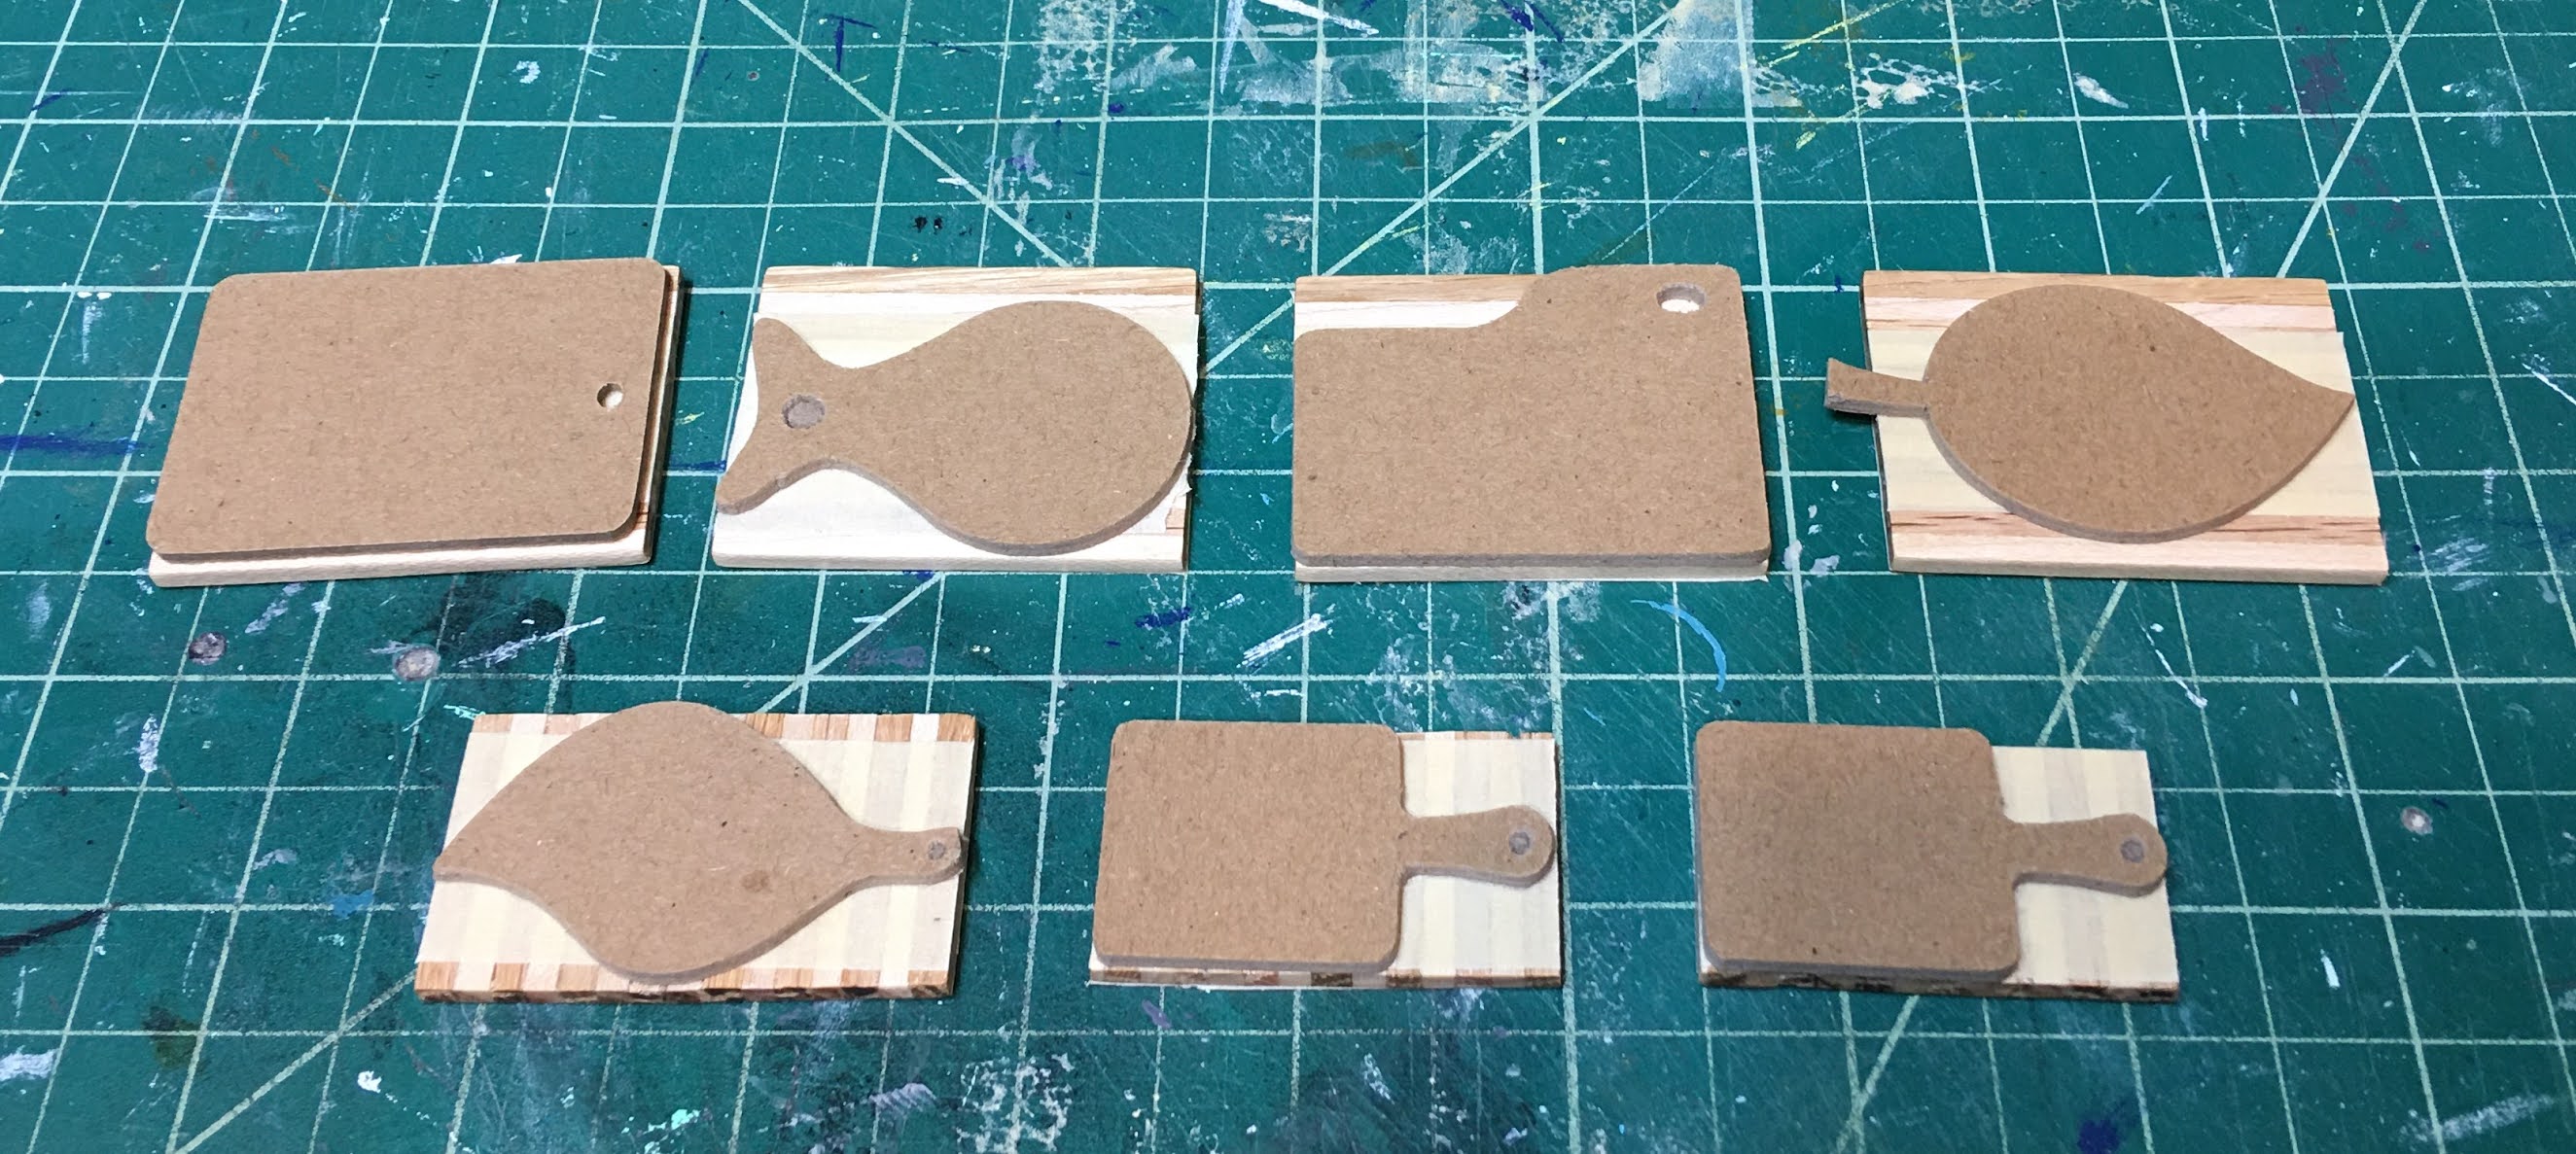
Here I have all of the pieces cut, waxed, buffed and ready for the next steps. You can also see that I have cut to size, sanded and waxed some cherry for the drawer unit backsplashes. Why the seven extra pieces of butcher block? I'm glad you asked!


 |
| Resized to fit the cutting boards. |


 |
| Shapes cut and paired with their cutting boards. |

 |
| Tiny dots of CA glue on the masking tape. |
 |
| Jigs attached to butcher block boards. |


I found that there was a significant difference in cutting basswood and acrylic vs. the hardwood. The saw blade definitely wanted to grab into the harder wood and yank it out of my fingers. And a little force was required to pivot into the blade for the curves. Once I realized it was a fight, I was ready! After all, I have wrestled alligators a time or two! Overall, the cutting went pretty well on the saw. But how did they look once I got the tape off?


I peeled off the chipboard jigs and all the protective tape and was pretty happy with my first attempt at cutting wee hardwood butcher block cutting boards with a power tool. They definitely needed sanding and shaping, but I was pretty pleased with the results! Like most things, practice will make perfect.

 |
| After sanding and rewaxing. I am still deciding whether to add holes to some of them so that I have the option to hang them. |


The drawer units with their countertops and backsplashes affixed and ready for installation.

And the in their places...

In the interest of keeping this post from becoming a novella, I'll just tease you and say you'll have to come back to see the full kitchen install in next week's post. ;O)
xo xo,
Jodi
This past week I was able to focus on the last few tasks for the Breakfast At Tiffany's custom order. The big job, creating a door based on the brownstone's, was challenging! You see, the dollhouse kit's door openings are much slimmer, and instead of a copy of the original basement door, the client wanted both doors to match. Here's the comparison photo to refresh your memory:
 |
| Client's Park Avenue Kit Left, BAT house right. |
I had to try to capture the detail and feel of the door in a much more compact design. The main BAT door has two windows on top. The client said she could live without them, but I was determined to try and make that feature a reality for her. Since she wanted to paint the doors herself, this created another challenge because I had to make the glass removable. I cut the doors from 2 mm chipboard, two outer layers and an inner core, with the Maker. This allowed me to create a recess for the glass to slide into. This sequence of photos shows how the window feature will function:

 |
| Lexan and trim piece cut to size. |
 |
| Slide Lexan into recess. |
 |
| Lexan seated into cavity. |
 |
| Insert top trim piece. |
 |
| A pin hinge has to fit here, too. Tight! |
I created the door parts in Tinkercad, then 3D printed detail molding pieces to fit into the chipboard recesses. Here are the doors with the detail molding glued in, dry fit into the door frames and with the two different pediment options. I included both pediment options for the client to choose from once she's seen a live dry fit. The basement door does not have windows per the client's request. I also added the same 1/16" x 1/4" trim detail onto the door frame to match the window frames. This is to try to recreate the stepped depth look of the original facade details. I think she could even add an additional 1/16" x 1/8" piece on top of all of the frames to even further the effect.


If you remember, the client had sent me both doors and their frames from the kit so that I would have exact measurements. This was great so that once I made the new doors, I could actually mount the doors into the frames. After priming, sanding and drilling holes for the pin hinges, I mounted them. The client asked that the doors open from the left instead of the right, so I changed the hinge pin holes on the door frames, as well.
 |
| Basement door front and back |
 |
| Main door front and back |
 |
| Doors Opened. The chipboard has been rounded off so it does not get hung up on the frame. |
 |
| Large window with fancier pediment, with simpler pediment and slim window. |
I was surprised that the door portion of the project went so well and so quickly! Because of that, I was able to get final approval from the client, get paid and ship her package well before the one month time frame that I quoted to her! Here's a collage of the final order, though I included a lot of extra architectural elements (not pictured) for fun.

I can't emphasize enough what an amazing opportunity this was! I was challenged in many new ways, learned so much about the possibilities of my tools and myself, and was able to help a fellow miniaturist fulfill a dream! It just doesn't get any better than that!
Now that this fun distraction is finished, I'm looking forward to getting back to the Beachside Bungalow's kitchen. Hopefully, I'll have some progress to share with you next week!
xo xo,
Jodi