
Picking back up where I left off on the Beachside Bungalow's kitchen, it was time to make countertops. Instead of the polished natural stone look counters I made for the upstairs bathroom, I opted instead for something a little less pretentious: Butcher Block.
 |
I wanted a subtle contrast, not as much as the butcher block counters in Natasha's Kitchen. I ordered bundles of 1/8" x 1/8" in maple and oak from Bill & Walt's. I was hoping they would tie in with the other wood tones in the project.

I had to make counters for three cabinets: The drawer units on either side of the stove, and the center island.
 |
| Units needing countertops. |
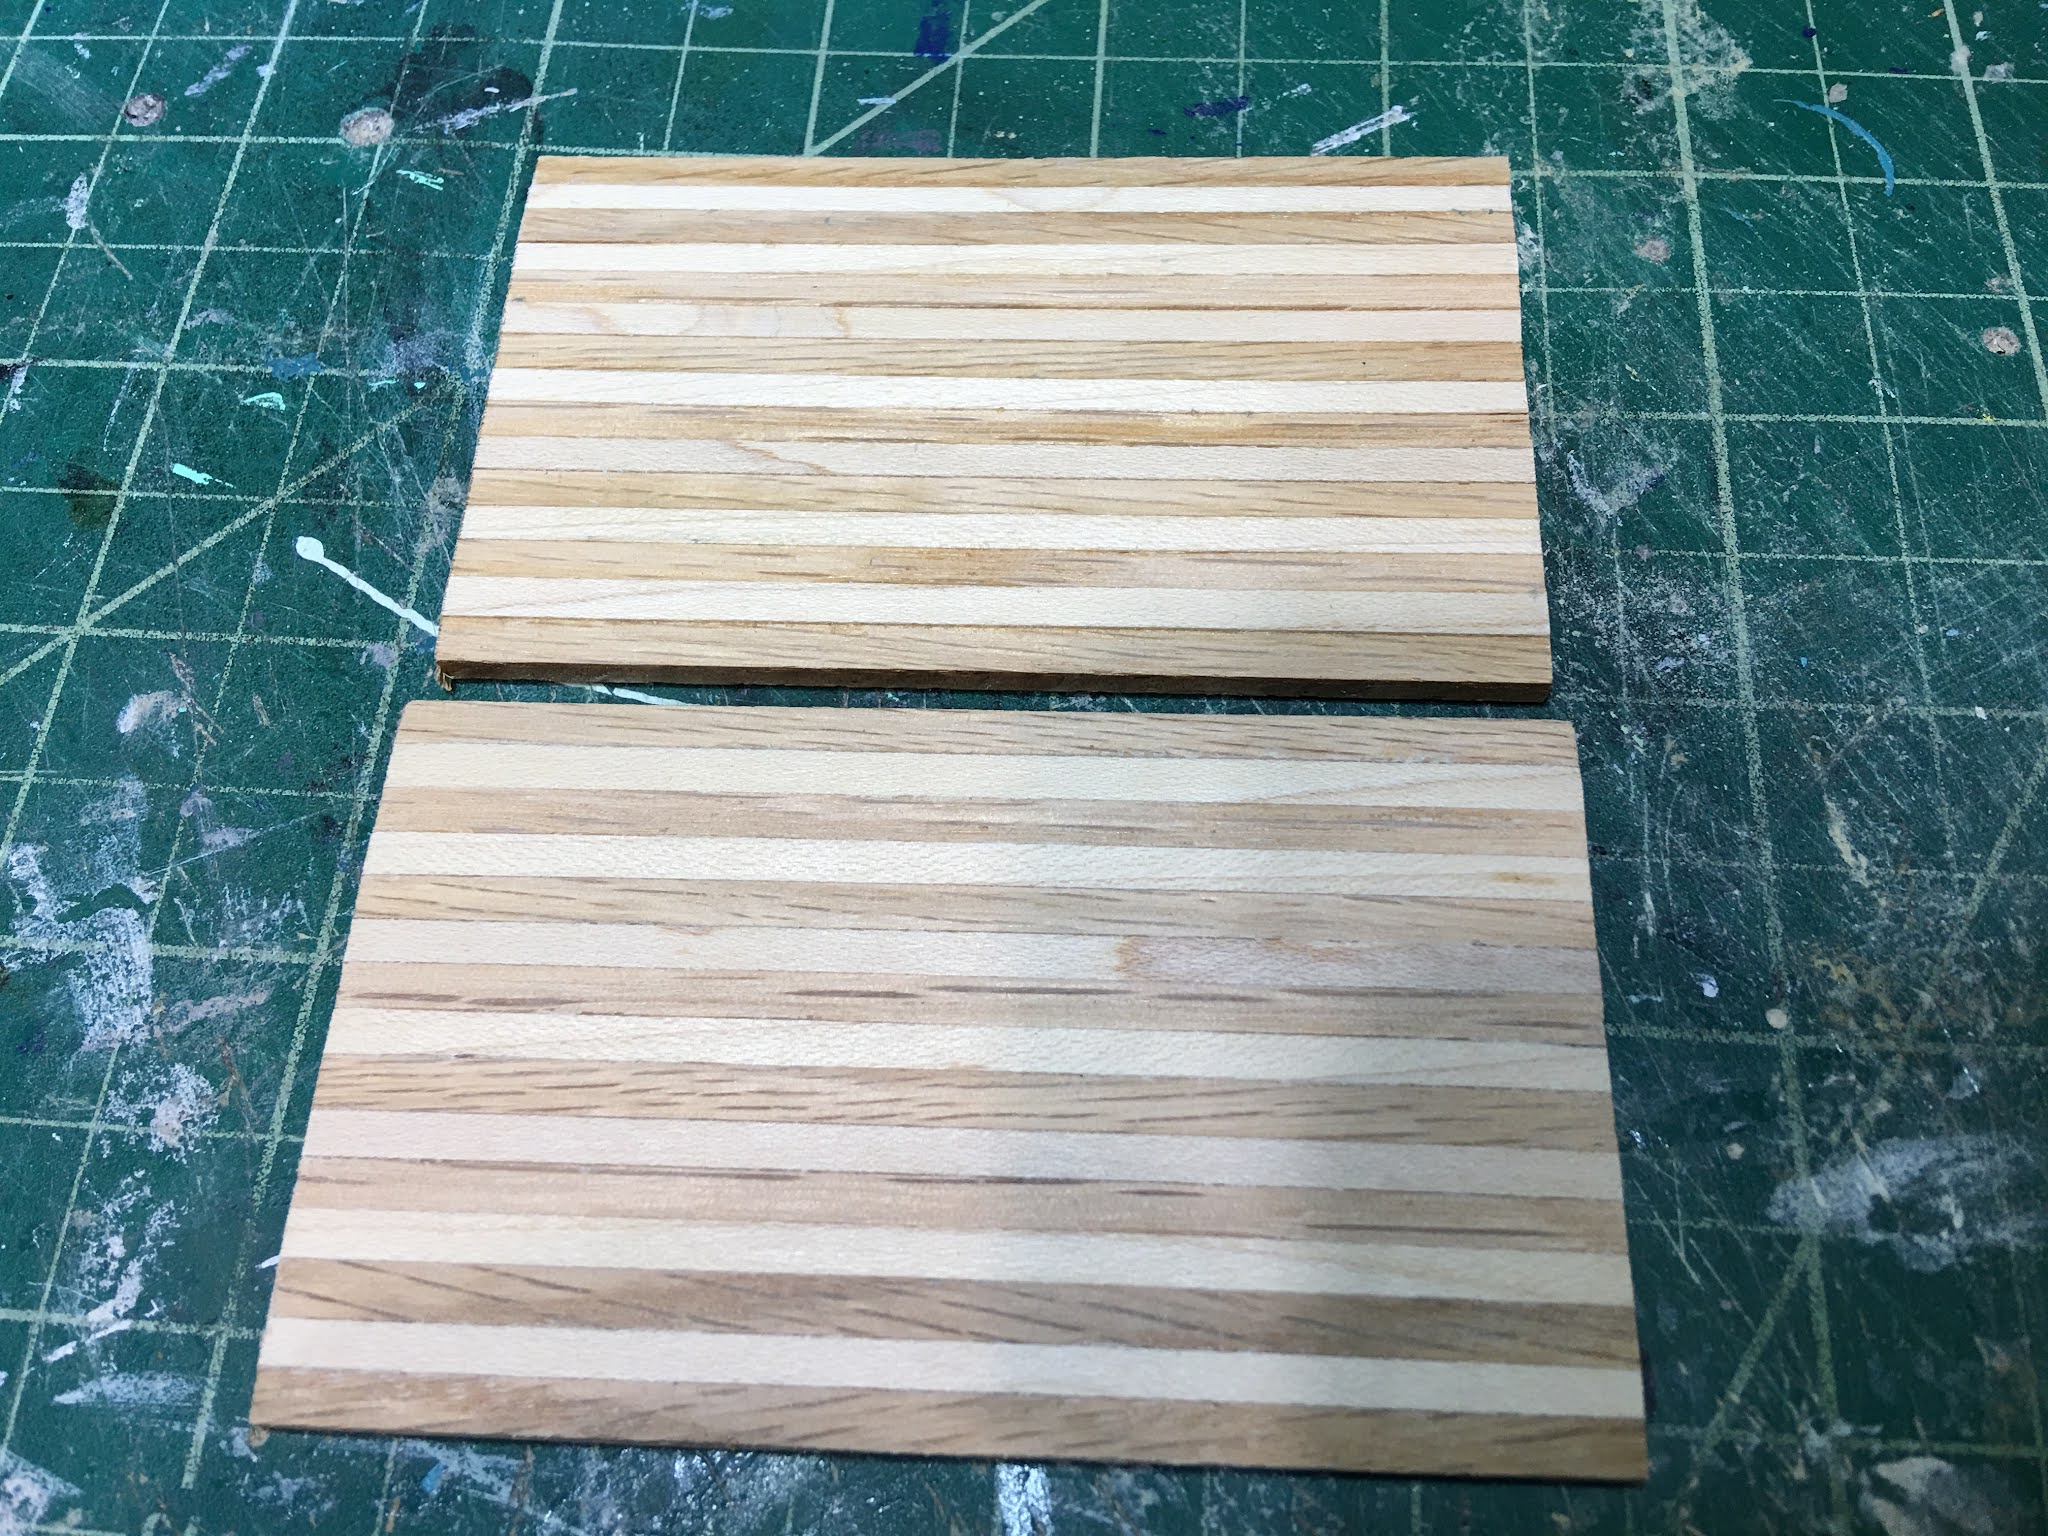
The drawer units were each under 4", and the island was just under 7", so I figured out how many 1/8" pieces I'd need, divided that number in half for each of the wood species, then cut them into 8" lengths.
 |
| Maple left, oak right. |
The next step, gluing them, was relatively straightforward. I like to glue one of each species at a time to one another, clamp, and then let dry. Some tricks I have learned in doing these is:
- Use wood glue.
- Apply with a small nozzle bottle applicator.
- Use glue sparingly, but cover every millimeter.
- Apply glue to both pieces of wood.
- Spread glue thin and even with a toothpick.
- Clean up any oozing, excess glue immediately.
- Use plenty of clamps.
 |
| Gluing in pairs of maple and oak. |
Once the pairs were dry, I begin to glue sets of pairs to one another, clamp and let dry. I repeated the process until I had the depth of counters I needed. For the drawer units the depth was 2" and for the island top it was 3-3/4".

Once my pieces were glued and dried, I cut them down to the widths I needed. I marked my lines with an architectural square to get exactly 90 degrees, then cut them with my mini table saw.

Here I am testing the fit to be sure everything looks good. I made extra boards in various sizes.
 |
This wood came really rough and raw, unlike basswood that comes pre-sanded from brands like Houseworks that you purchase through dollhouse retailers. It requires extra work, but it's worth it.
I started with 100 grit sandpaper to remove the really rough finish. This abrasive grit also helps to remove any glue I may have missed that oozed out during clamping. Then I moved through sanding sponges in progressively finer grits, ending with a completely smooth surface. If anyone is aware of any mini sized electric planers and belt sanders like in real sized woodshops, let me know!

 |
| Top board is raw, bottom board is after the 100 grit sandpaper |
Once all of the pieces were smooth, I applied Howard Paste Wax. It gave the wood a nice sheen and brought the natural wood colors to life. It also smells fantastic, like lemon oil. The piece on the left is right after sanding, and the piece on the right is after one application of the wax. I applied three coats, buffing in between with a soft cotton cloth. The more you buff, the shiner it becomes. I don't want my counters too shiny. After a couple hours, there is no residue, just a hard surface.

 |
| Raw wood left, waxed right. |
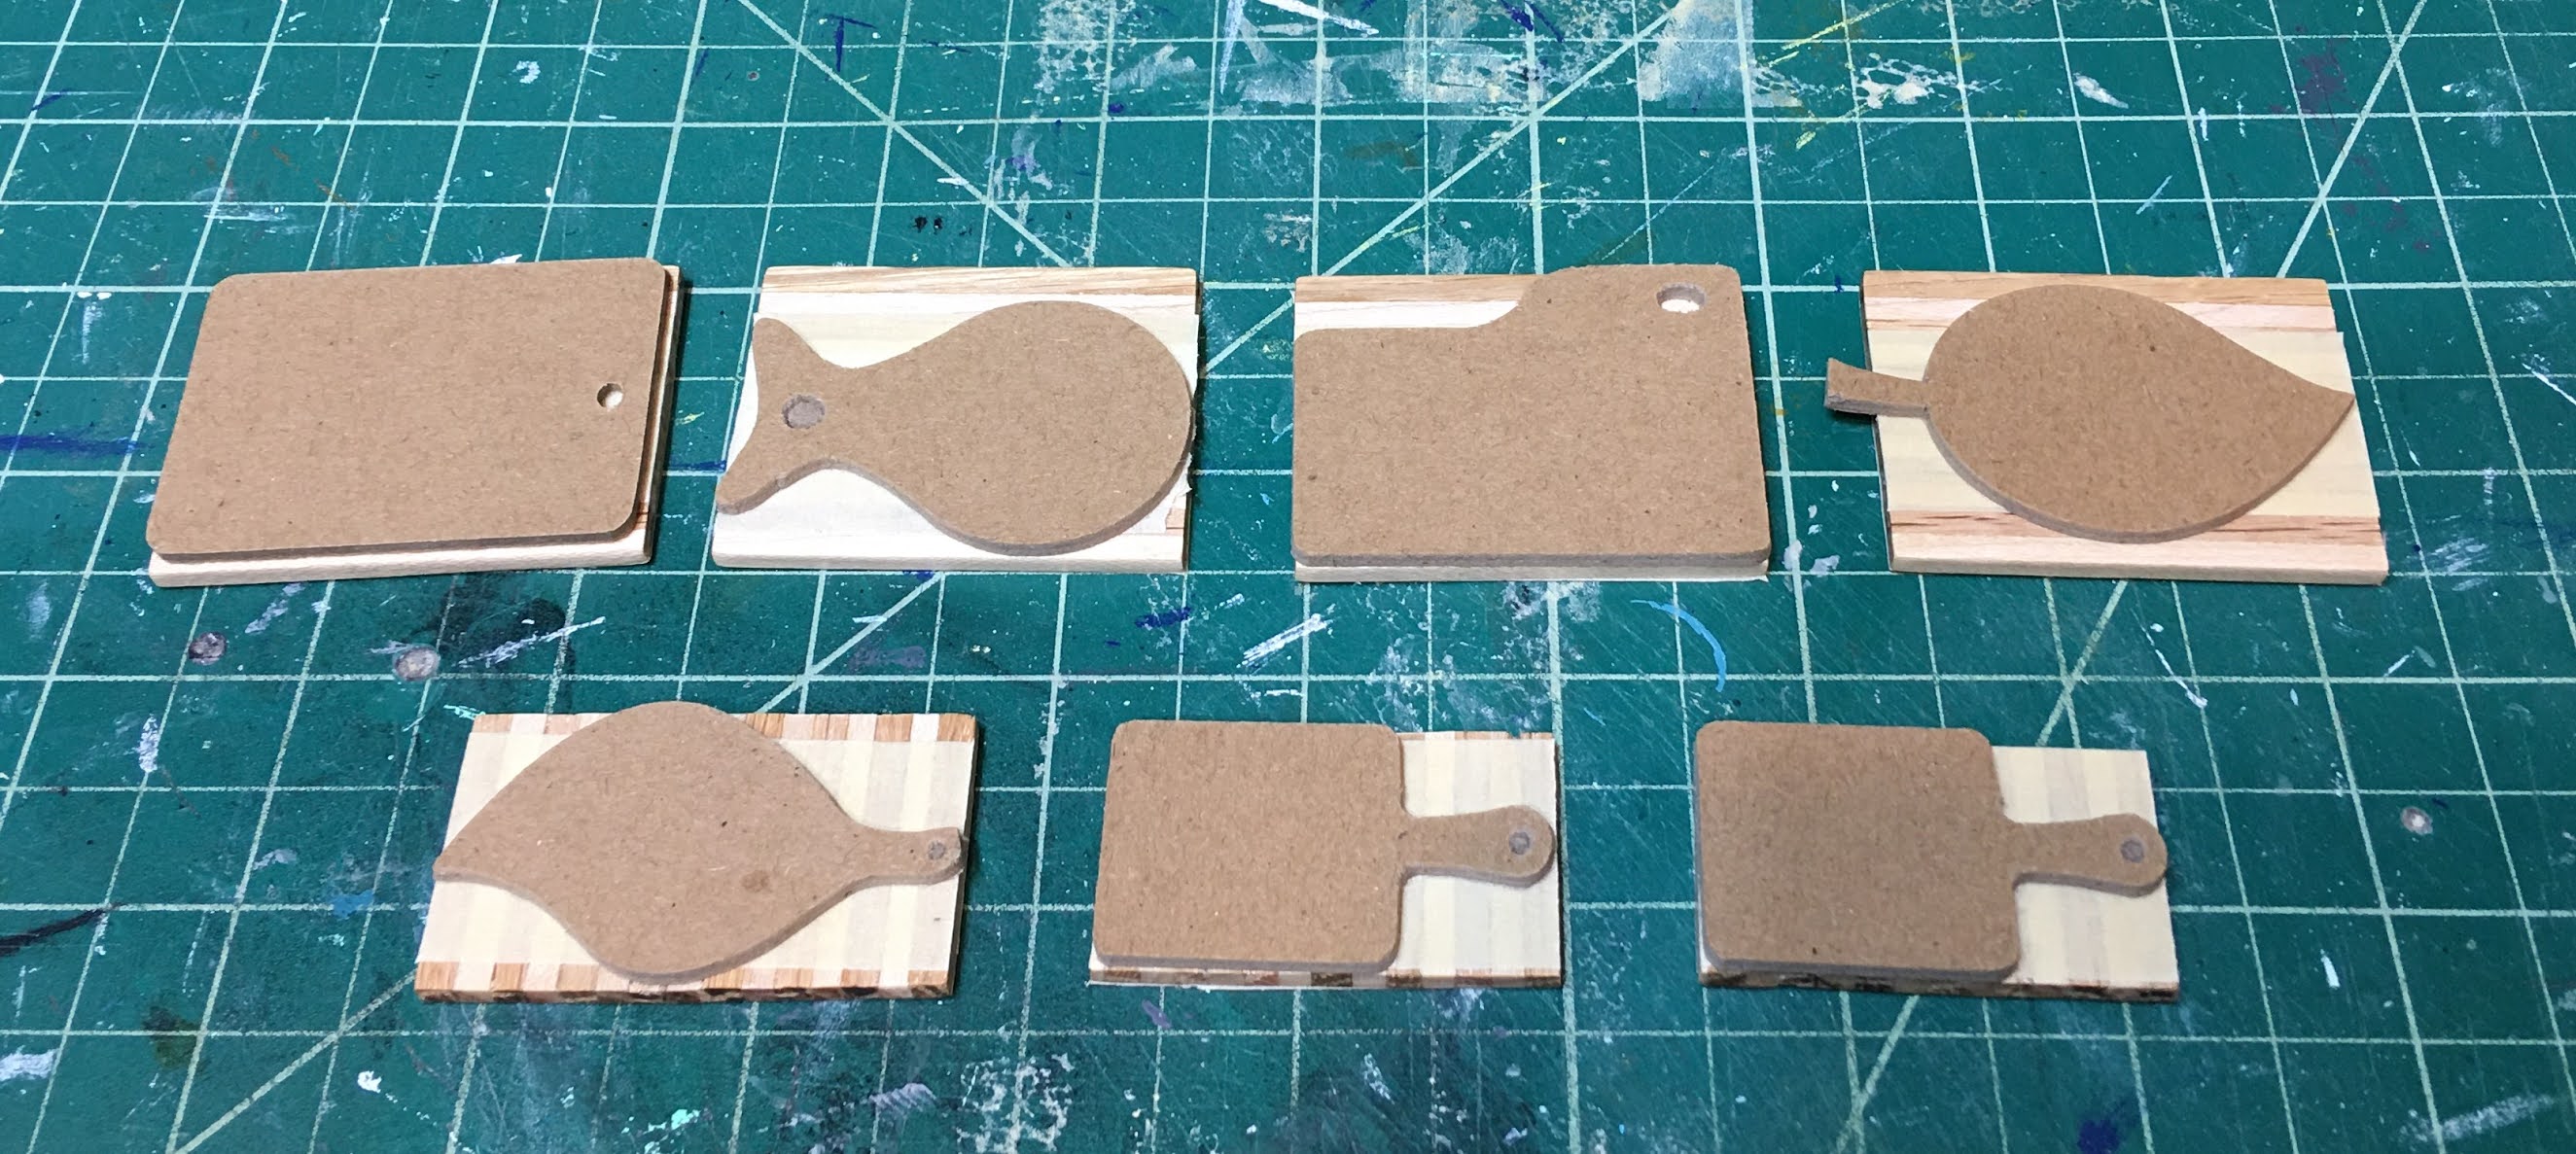
Here I have all of the pieces cut, waxed, buffed and ready for the next steps. You can also see that I have cut to size, sanded and waxed some cherry for the drawer unit backsplashes. Why the seven extra pieces of butcher block? I'm glad you asked!


 |
| Resized to fit the cutting boards. |


 |
| Shapes cut and paired with their cutting boards. |

 |
| Tiny dots of CA glue on the masking tape. |
 |
| Jigs attached to butcher block boards. |


I found that there was a significant difference in cutting basswood and acrylic vs. the hardwood. The saw blade definitely wanted to grab into the harder wood and yank it out of my fingers. And a little force was required to pivot into the blade for the curves. Once I realized it was a fight, I was ready! After all, I have wrestled alligators a time or two! Overall, the cutting went pretty well on the saw. But how did they look once I got the tape off?


I peeled off the chipboard jigs and all the protective tape and was pretty happy with my first attempt at cutting wee hardwood butcher block cutting boards with a power tool. They definitely needed sanding and shaping, but I was pretty pleased with the results! Like most things, practice will make perfect.

 |
| After sanding and rewaxing. I am still deciding whether to add holes to some of them so that I have the option to hang them. |


The drawer units with their countertops and backsplashes affixed and ready for installation.

And the in their places...

In the interest of keeping this post from becoming a novella, I'll just tease you and say you'll have to come back to see the full kitchen install in next week's post. ;O)
xo xo,
Jodi
It’s awesome Jodi! It’s really coming together!
ReplyDeleteThanks! It feels like I have so much catching up to do!
DeleteUn trabajo de esos que requiere un poco de paciencia, pero ha quedado precioso.
ReplyDelete¡Gracias Isabel! ¡Esta fue una tarea que realmente disfruté haciendo!
DeleteWhat an exercise in efficiency! It’s always fun to see your process. I particularly like your idea to make cutting jigs and the tip on affixing the jigs to the scraps of butcher block scraps. The kitchen looks nice so far and I have confidence that it will look lovely when we see it next week..
ReplyDeleteThanks Sherrill! It's a pretty fun process to make the butcher block, and I know you would enjoy cutting the cutting boards! I hope you get the chance to give them a try!
DeleteHow interesting to read the process about creating the butcher blocks. They are perfect for a beachside bungalow's kitchen counters. Thanks again for sharing your ideas and work. I wish you success with the 3D faucets.
ReplyDeleteHugs, Drora
Thanks Drora! I'm happy to know you like the counters! The faucet is just not going as neatly as I'd hoped, so I have set it aside for now. Hopefully, I can get back to it in a few days with new resolve.
DeleteLooking great. I love the butcher block myself. The lights are so pretty.
ReplyDeleteThanks! I love the casual feel of the butcher block, too! Next week, I promise a picture with the lights lit up!
DeleteAll that hard work pay off, Jodi. I think you countertops look amazing, they are beautiful, creative and original, great idea!! And the butcher blocks, superb!! This kitchen looks FAB already. Have a nice weekend!
ReplyDeleteThanks Alex! It was really pretty easy, and the entire process was fun because you can track the progress and feel like you are getting somewhere! There is still so much left to do on this project, and I feel like time is speeding by!
DeleteMy mom once had a pig shaped cutting board, painted white. It might have been pretty hard to cut all the curves on saw; none the less, the cutting boards the finishing touch and a great way to use up excess. The counter tops are beautiful, but it's the upper cabinets that are inspiring me to rework the ones I made for the Manchester. I've never been satisfied with them. Once again, you have taught us more great skills to take our own projects to another level. Thank you.
ReplyDeleteThanks Ann! I think there was a pig shape among those svgs if I remember correctly. You'll have to make one for the Bellingham Farmhouse! I am glad you like the counters, and I can't wait to share the upper cabinet installation with you! Best of luck on the new uppers! I know when you are finally happy with them they will look amazing!
DeleteLas encimeras de la cocina han quedado preciosas y originales, y las tablas de carnicero han quedado genial !!!
ReplyDeleteEstoy segura que lograrás el mismo resultado con los grifos.
¡Gracias Eloisa! ¡Estoy feliz de que te gusten los contadores! Los grifos que he creado hasta ahora son geniales en teoría, pero al final están demasiado llenos de fallas. Estoy respirando y volveré a intentarlo pronto. De lo contrario, tendré que pedir uno, ¡jajaja!
DeleteYour butcher’s blocks are gorgeous Jodi. I love the combination of maple and oak, and the wax finish is beautiful. I might try that. I’m thinking of doing the kitchen units in my Lake View house in a similar colour to yours.
ReplyDeleteThanks Polly! I hope you will try the butcher block! It is easy, fun and rewarding! If you just want to use basswood, just sand the pieces pretty smooth before gluing them together and apply a light stain to half of the boards. These colors work well in a sea or lake house! I can't wait to see what color you choose!
DeleteWow they turned out absolutely beautifully! I have the same jig saw but have to say I haven't used it much because it terrifies me - especially when using it to cut corners. One of these days I'll have to have a play with it and your cutting boards might be the prompt!! Thank you!
ReplyDeleteHi Rebecca! Mine really used to scare me, too. And honestly, it did take a few projects to understand how turning the wood into or away from the blade effected my results. Kind of like backing up a truck when towing a trailer, lol! But just make some sort of larger project to begin with, like a coffee table top with two wood species (using the neat masking tape trick above) and soon your confidence and skill will be unstoppable!
Deletela creación de encimeras y tablas de corte, es un proceso creativo laborioso, pero el resultado ha sido una maravilla Jodi,amo todas y cada una de las piezas,gran trabajo!!
ReplyDeleteBesos.
¡Gracias Pilar! Fue un poco de trabajo, ¡pero disfruté cada momento! Eso no siempre es cierto con los nuevos mini experimentos, como el grifo de la cocina, ¡jajaja!
DeleteI really like this processing with different wood species! The end result is very beautiful, and it goes perfectly with the green of the kitchen! The cutting boards are a lot of fun, and I think they give a very realistic and welcoming touch to a miniature kitchen. Jodi, you really have a great skill in working with materials, I envy you a lot!
ReplyDeleteThanks Elenè! I appreciate the kind words and I'm happy you like the countertops! Sometimes the best skill to have is the lack of fear in trying. If I can just shut off all the thoughts telling me why things probably won't work out and just start, I often walk away better for it. What I'm saying here is... There's nothing special about me. You have all the right stuff, too! :O)
DeleteThis is something I had not expected to read connected to miniatures: "Once I realized it was a fight, I was ready!" But I quite like the remark! :-)
ReplyDeleteThe result of the mixed wood counter tops and cutting boards have turned out very good. The different types of wood go together very well. The beachside bungalow is getting a kitchen to be proud of.
P.s. have you really wrestled with aligators?
Huibrecht
Thanks Huibrecht! Glad you like them! Sometimes you just gotta be the baddest bully on the tool playground! And alligator wrestling? Oh I've wrestled many in my life, metaphorically speaking. These days, just folding king sized sheets feels like a victory against an apex predator, lol!
DeleteWow! I love how they look. And the little cutting boards are wonderful!
ReplyDeleteI can't wait to see the rest of the kitchen install!
Thanks Sheila! It's time to slow down now and try to remember all of the ideas I had when I was daydreaming about doing this project!
DeleteDear Jodi, you have been Busier than a Bee with all those "b's" adding up to a Beautiful Butcherblock Bonanza!! I am so late to comment and visit with blogs... at this Time of year, I get a little overwhelmed with the Craziness that is Halloween in my Mini-world! But I am loving the tutorial on making the real butcher-block countertops in mini scale! It is a testament to your care and precision that it all lines up and fits and matches just right!! And it looks just Gorgeous! The little cutting boards are Too Cute!!! What a great idea, and great methods too! Bravo!!! I can't wait to see more of this fun project! :):):)
ReplyDeleteHi Betsy! You are never late, and I know how much time it can take to tell a good story with so many characters and scenes to set up! It's amazing how you do it all, but it's so very special that I hope you keep doing them for us forever! As for me, busy is good, and as long as there is an idea to try or a mini task to be working on I am happy and content! :O)
DeleteA very precise job. The small cutting boards are truly unique and I love them.
ReplyDeleteThanks Faby! It is good to make a lot of extra ones so you have them for future projects! Unfortunately, I think I used all of them in this kitchen! Guess I'll be making more someday, lol!
Delete