This week I concentrated on the final steps to completing the structure of the Beachside Bungalow. That included shingling the roof and finishing up the tile floors in the rest of the house.

We'll start with the shingles because in spite of the many dollhouse roofs I've done over the years, it was my first time using real shingle dye! One package is supposed to be enough for 1000 shingles - perfect because the Beachside Bungalow kit includes 950 of them!


I picked up a couple disposable aluminum roasting pans from the dollar store and poked holes in one of them. This allows for easy soaking and then straining of the shingles. I let them soak overnight in the dye, then spread them onto a metal screen in the garage the next morning. The weather was hot so they were completely dry in one day. Unfortunately, many of the shingles were also purple, not gray or black like some others. I recaptured the dye and soaked them again overnight. They were darker the next day, but many of the shingles still seemed not to have absorbed very much of the dye, giving them a purplish sheen. Because there was not much dye left, I decided to apply them to the house "as is" and then mitigate the purple once they were on the house.
One note here for those of you who have yet to try shingle dye - the instructions said to mix with 2 cups of water (about one water bottle). I used bottled water because our water here is very hard. I didn't want hard water to factor in in a negative way with the process. There was barely enough liquid to cover the 950 shingles and I sorely wished I'd bought another package. It costs anywhere from $7.50 to $11.50 per package, not including tax and shipping, so not exactly budget friendly. Roofing a dollhouse can certainly add up, so it's great that this kit includes the shingles.

 |
| Some shingles absorbed less dye, causing a purplish hue. |
I used Kraft cardstock to make flashing. Flashing is nice when you need to cut a lot of angled shingles around dormers where the two roofs meet. It takes away worry about seeing gaps if your accuracy in cutting is questionable. It's also helpful to install it where you want the shingles to butt up to a clean, straight line as in where the dormer walls meet the angled roof. It adds a little realism, too, so why not? My preferred method of applying shingles is by using a Surebonder hot glue gun and glue sticks. It makes the job go so quickly and there's never a concern over curling shingles or harmful fumes!


Under my craft room's bright white LED bulbs, I was still seeing an annoying purple hue to the shingles. To try and mitigate this effect, I decided to apply a Minwax gray penetrating stain over the top using a paint brush. In spite of being very stinky, I think it really did help to color the shingles better and knock down the purple appearance.

 |
| Before |
 |
| After application of Classic Gray stain. |
I do like the way the shingles look now, but I can't say I'm in a big hurry to use shingle dye again - I've had outcomes just as good with stain pens and acrylic paint. But I have learned never to say never unless that is exactly the thing that I want to have happen. It was a valuable experience and dying shingles seems to be a rite of passage for miniaturists.
Now for the tile floors in the rest of the Bungalow...
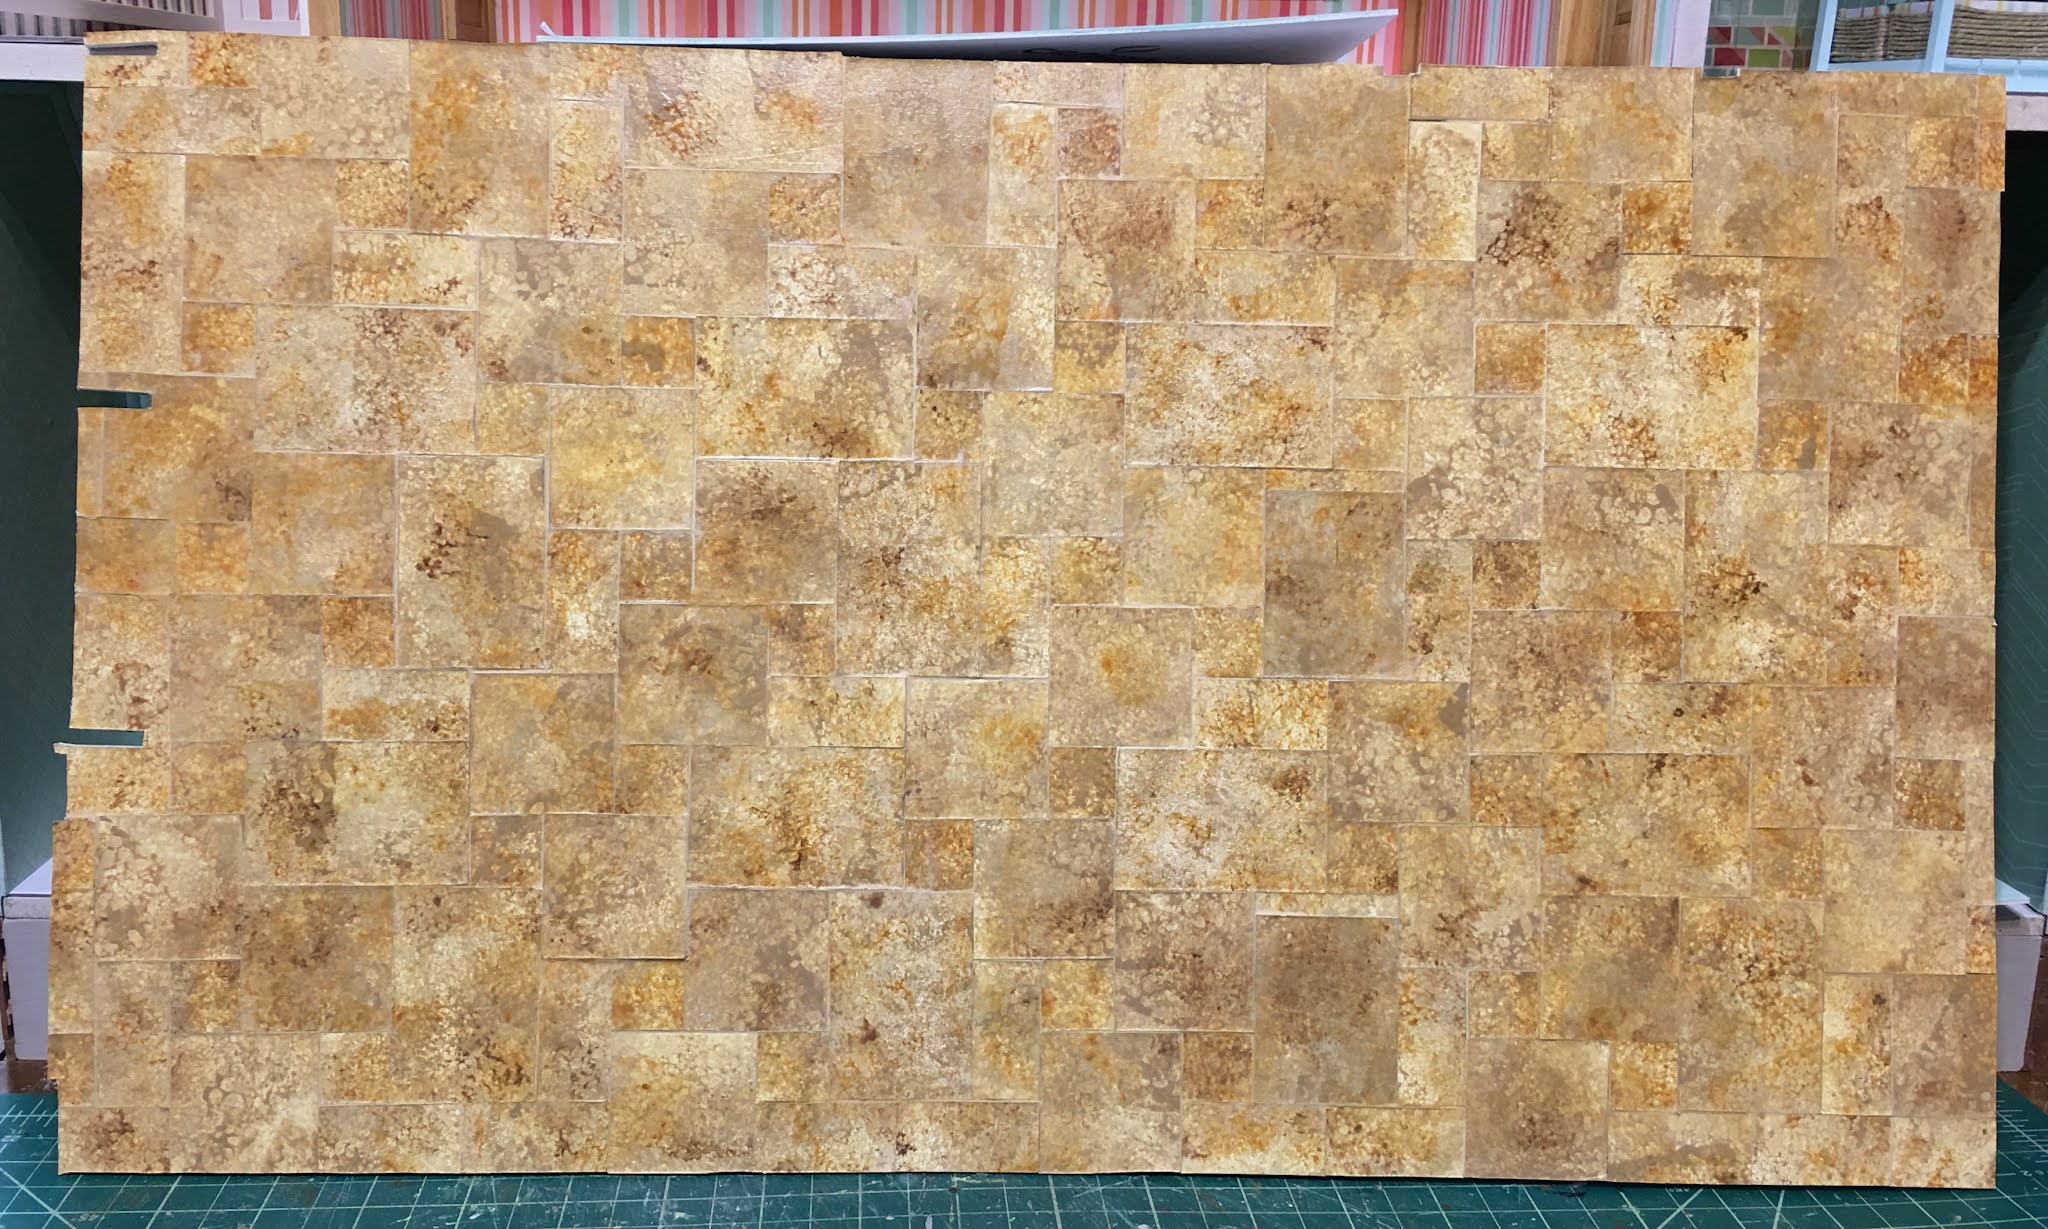
Last week I shared how I made natural stone tiles in the Opus Roman pattern for the great room. But in the rest of the house, I wanted something a little more subtle. Often, beaches are in warmer climates, lending themselves to homes with Saltillo or clay tiles. That's the look I was trying to achieve. In last week's post I also talked about how I made templates for every room, then transferred the templates onto mat board. I also used the same painting/glazing method for these tiles, though in very subtle colors. For the tiles I used Illustration Art Board again. See links to materials in last week's post.
 |
| Base coat. |
 |
| Chalk paint, acrylic paint and satin glazing medium. |
 |
| Finished with subtle color variations like a sky. |
I cut the tiles in 1" squares to emulate 12" tiles in real life. To find the dead center on the substrate, I drew a 1" grid. This also helped me to keep my grout lines straight, as did using 1/16" spacers (Woodsies) as I laid the tile. I really like tiles laid on the diagonal, as it feels a little fancier and more interesting to look at.


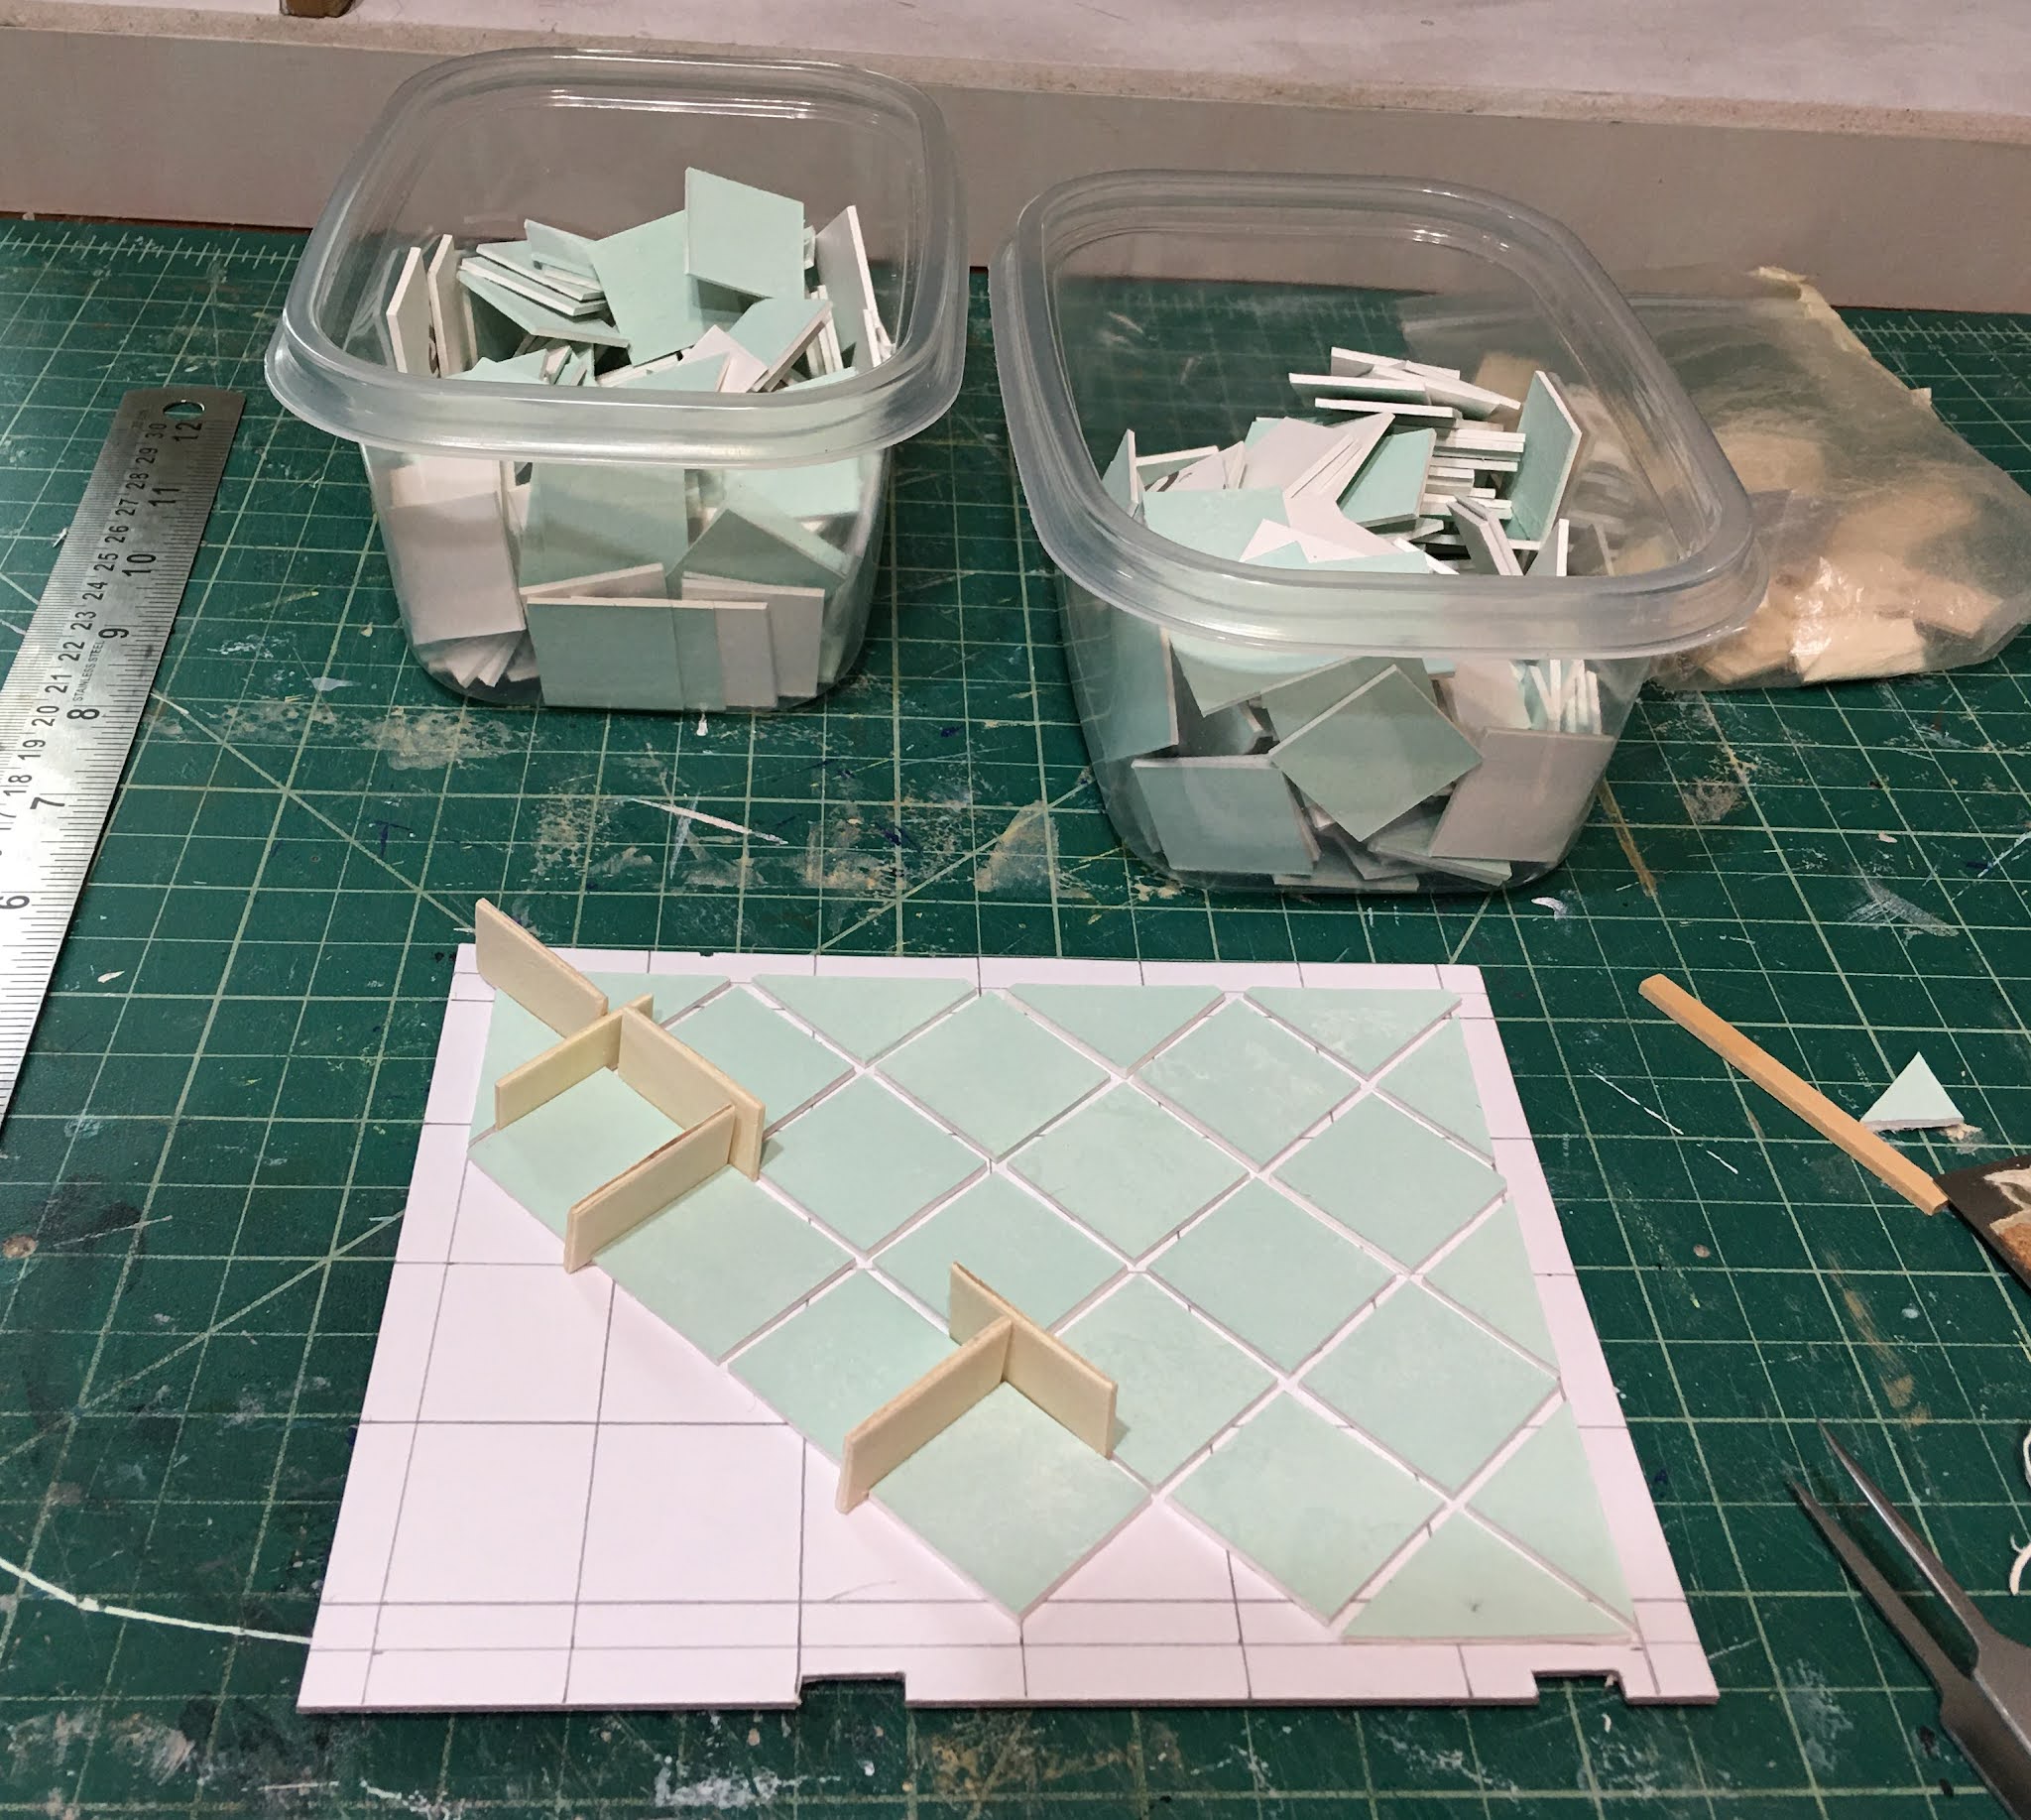 |
| Spacers help to keep grout lines even. |
 |
| It's always nice to have a border tile running in a different direction. |
 |
| Just let the tiles overlap the edges. |
 |
| You can cut them flush after the glue dries. |
 |
| Testing the fit. |


Meanwhile, I got the job done, then sprayed the floors again with satin varnish. It's got a little shine without looking too shiny like slippery porcelain tiles. If you want a porcelain tile look, just use a high gloss varnish as the final sealer.

 |
| My grout lines are ALMOST straight! :O) |
Finally, after all the work preparing the floors it was time to install them! I double checked the fit again, removed the floors, applied a good layer of Tacky glue to the dollhouse floor (being sure to get it to the edges), laid the floors in, smoothed them, covered the surface with scrap cardboard, added weights on top and left it to dry overnight. Whew!
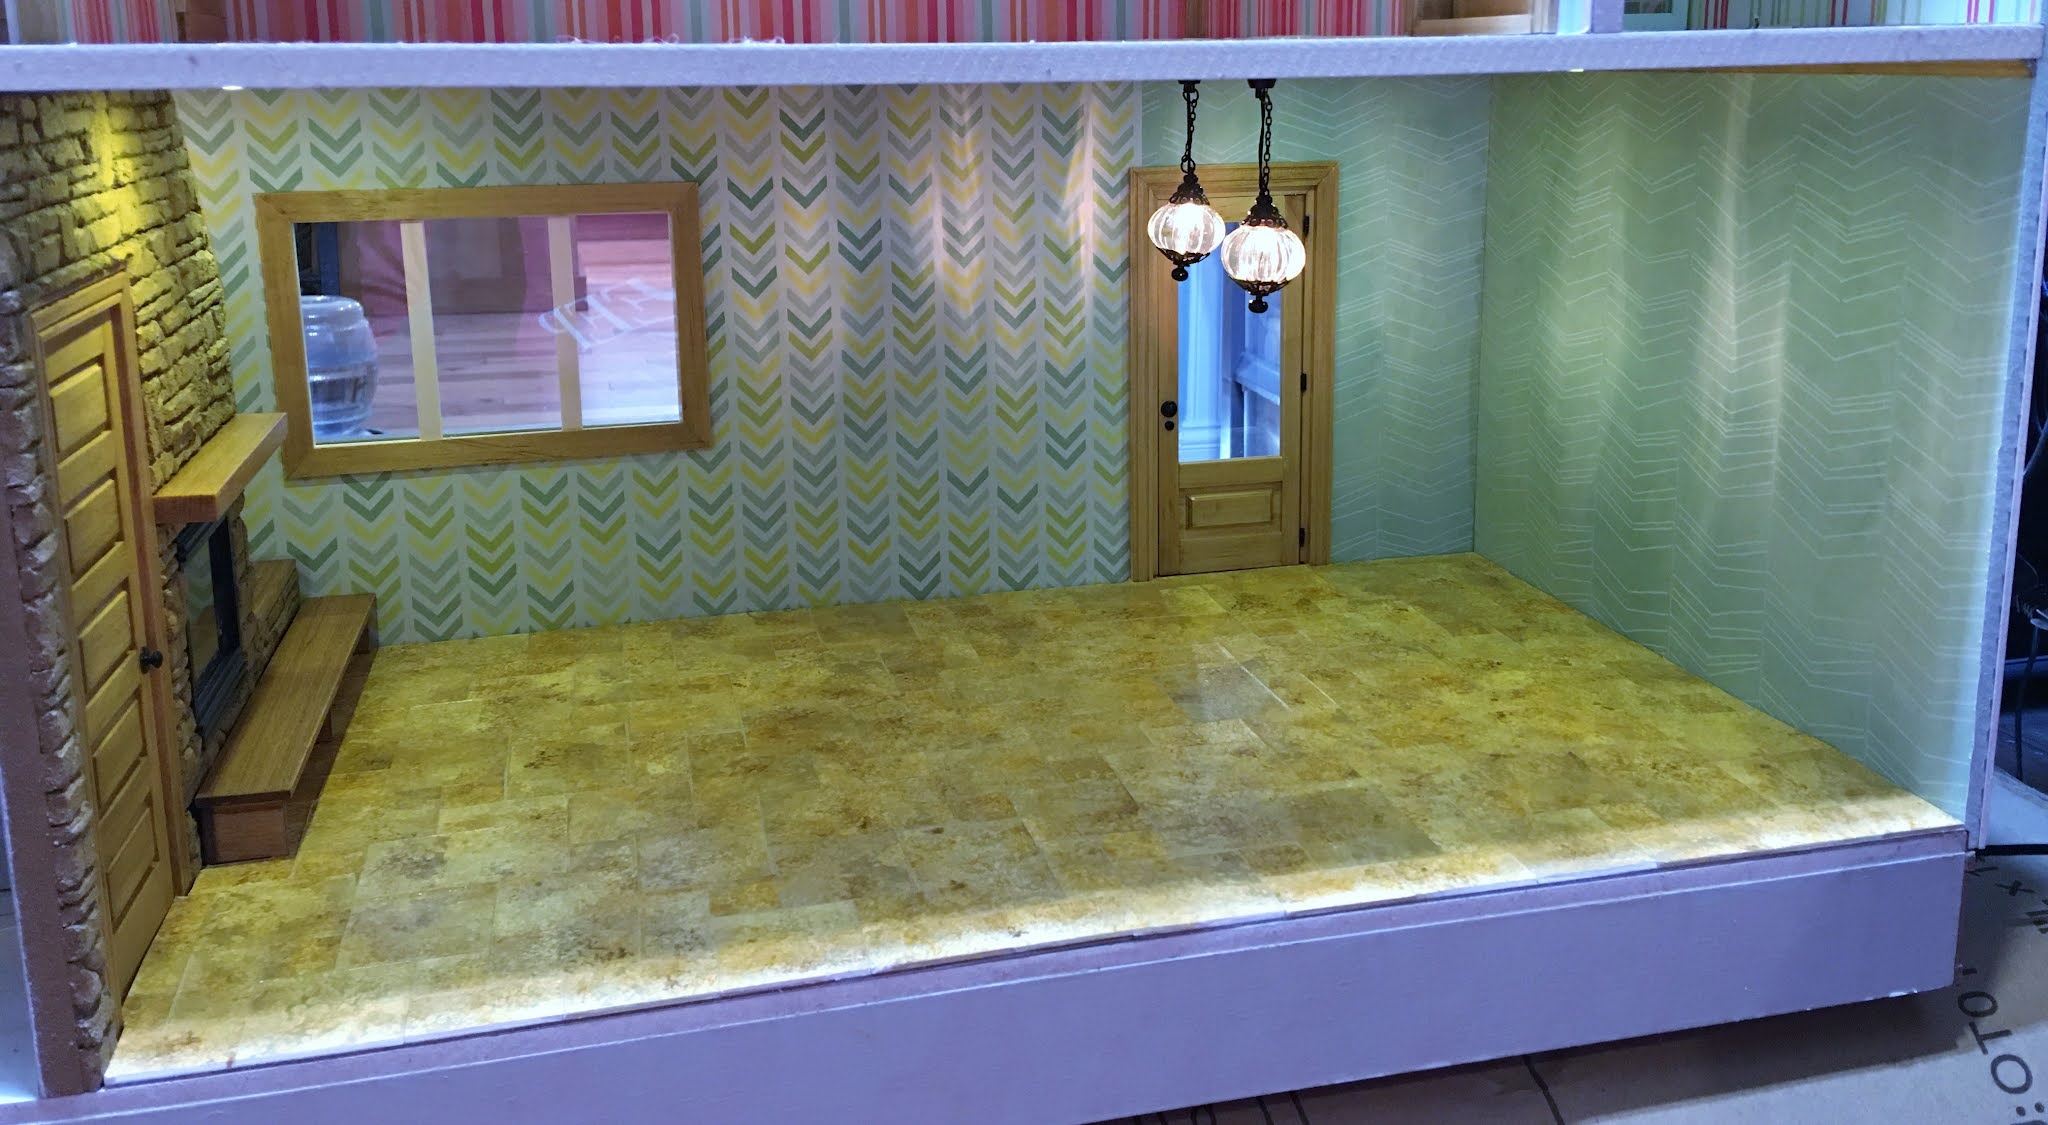
Here is the second floor with the tile floors installed in the stair hall, bedroom and main bathroom. Notice how the baseboards in the bedroom are stained wood to match the other trim.


The wee powder room...


The great room got stained baseboards, too. In the right corner the baseboard does not meet the wall. This is because the fridge will go here obscuring most of the baseboard anyway. I was able to use up a scrap piece here. All along the right wall will be the built in kitchen cabinets. Once I see where they will end, I may have to add another tiny piece of baseboard to finish off the wall to the opening.

With the exception of the back edge trim, the Beachside Bungalow is finished and ready for the interior and exterior details!

 |
| First sketch of the oven side of the kitchen. |
One last thing that I hope will inspire your creativity this week...
Tasha texted me the other night after she'd accidentally run the clean dishes through the dishwasher twice. She asked me if I remembered the dishwasher magnet I made when she was little. I vaguely remembered making one, but not really. She said I had made a clever "Clean/Dirty" sign using Barbie plates. Guess I should have taken a picture back then because my memory can be unreliable! In any case, she asked me if I'd make her one that she and Brent could use. I said I'd be glad to and here is what I came up with: A simple box with a sliding door to indicate a happy "Clean" plate, and a sad "Dirty" one. It's got more of the 1/8" mini magnets on the back and will stick to the front of the dishwasher. I hope it will prevent future confusion for her!
 |
| Happy "Clean" Side with half pearl smiley face. |
 |
| Sad "Dirty" side with dinner's red peppers, fig and carrots left in sauce. |
 |
| 1/8" Countersunk Magnets. These little guys are strong! |
 |
| Displayed on my dishwasher. |
Hope all your projects are happy, inspired ones from top to bottom!
xo xo,
Jodi