
Around five years ago I became obsessed with ideas for doing a beach house. If you've been doing minis for any length of time, I am sure a beach-y style house has made it onto your bucket list, too. At that time, I purchased the Real Good Toys Beachside Bungalow kit from Hobby Lobby, on sale, and then used the 40% off coupon. I began making elaborate plans. I made renderings in my design program, designed a complete kitchen and then ordered it in kit form from Elf Miniatures. I began collecting beach themed minis, designed and had my own fabrics and wallpaper printed from Spoonflower, and then like a lot of my "on fire" plans, it got circumvented by another idea. In 2019 I ended up using the Elf kitchen cabinet kits and appliances in the New Orleans kitchen. The Beachside Bungalow kit, still new in the box, sat on my shelf waiting for it's turn.
 |
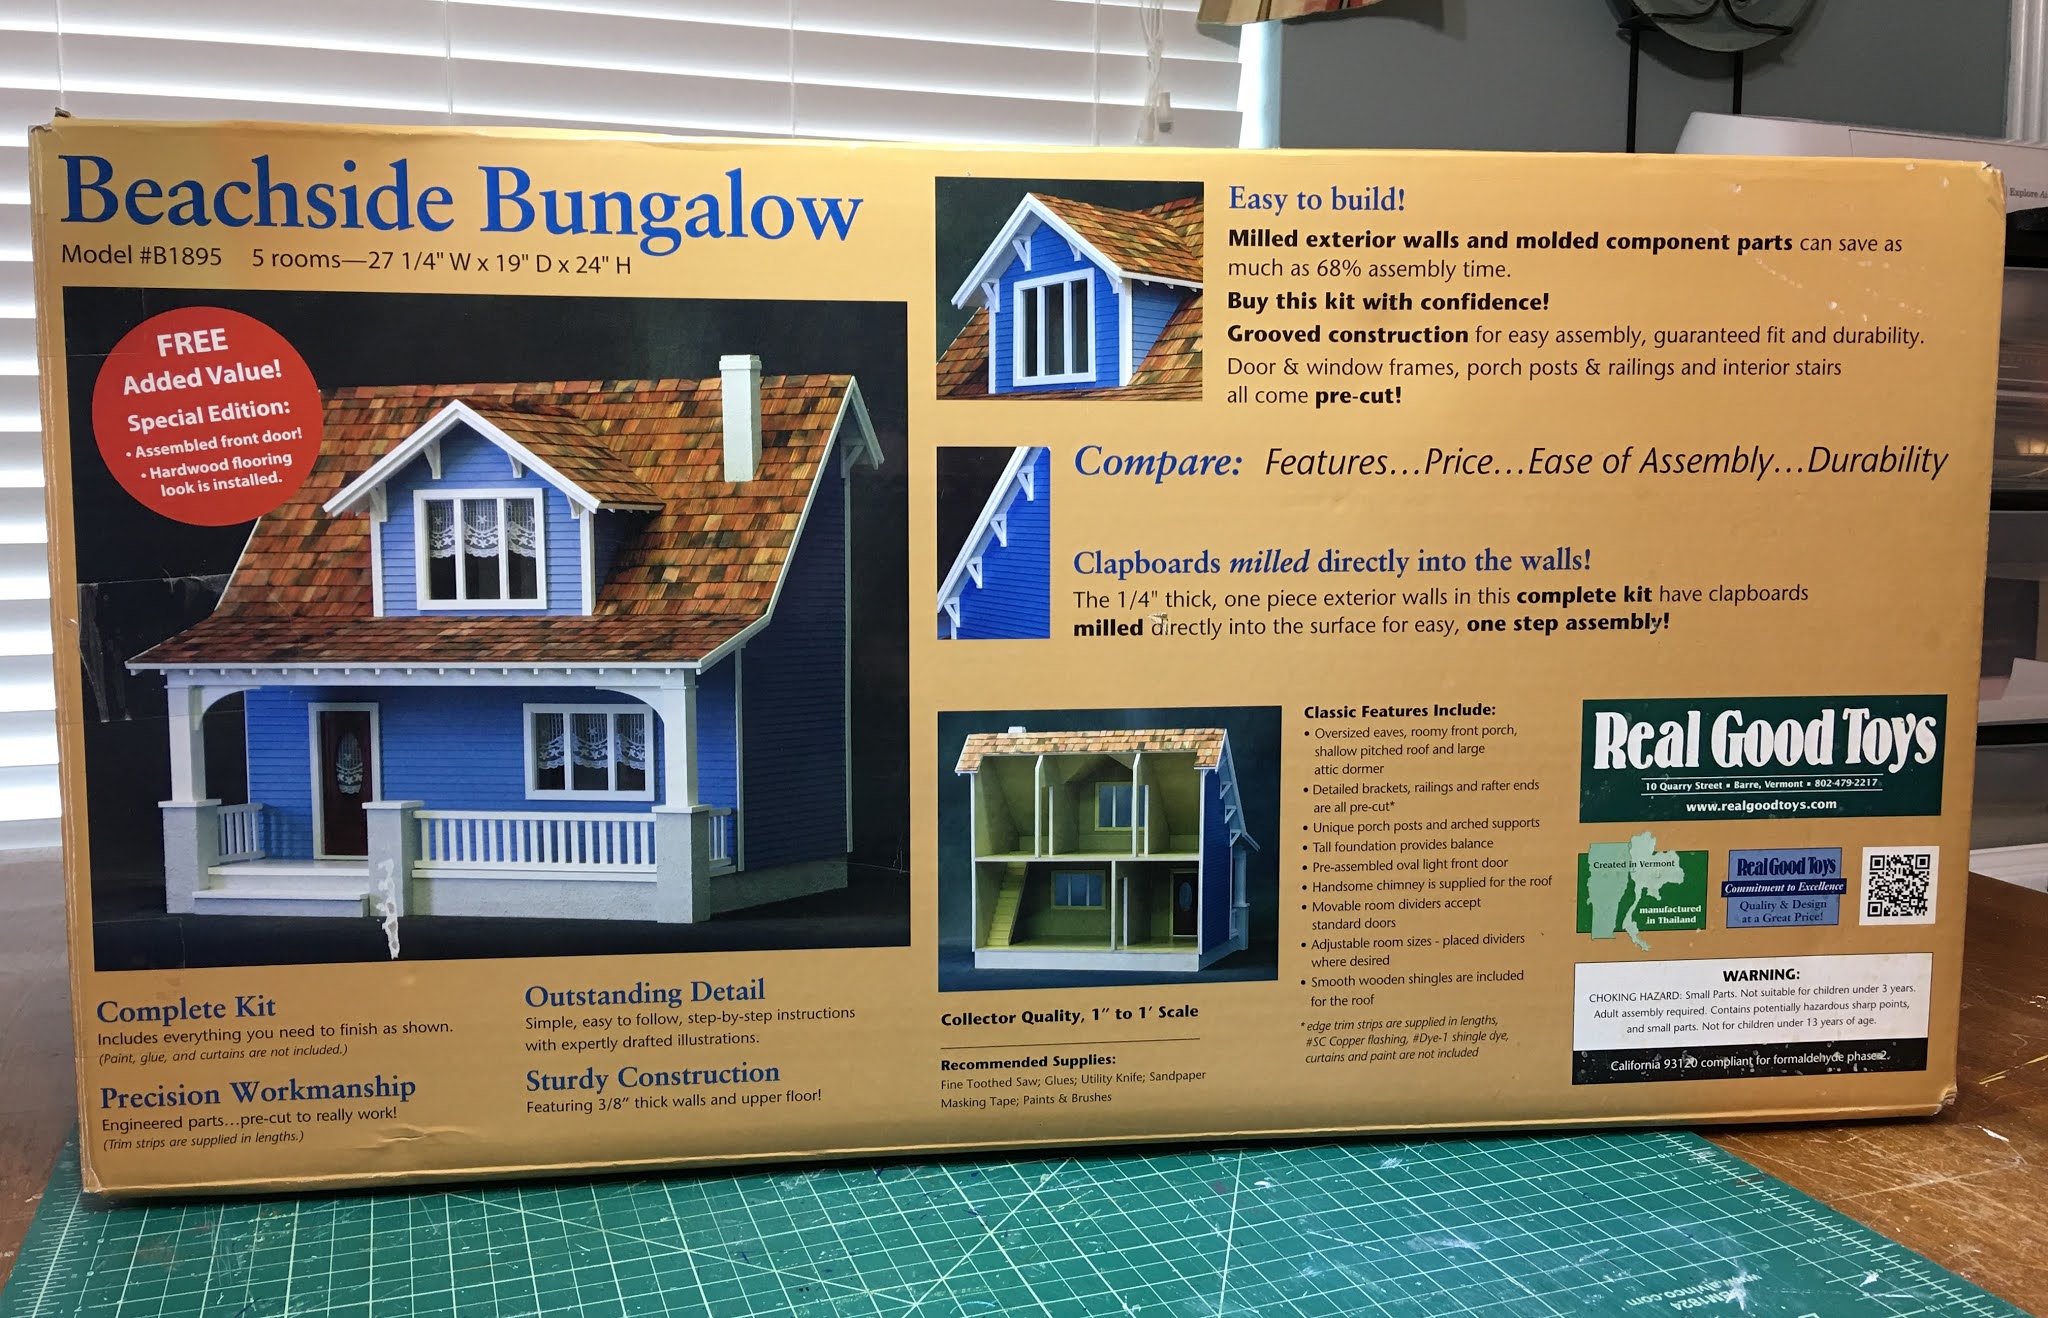
| Kit photo, front. |
I had no plans to begin on it any time soon. In fact, many times I wondered if I should just sell the kit to make room for newer dreams. And then, it happened. As I was reaching the end of Tasha's kitchen I began to get a little itchy. What was I going to do after that project? I have Pound Cake and the Storybook Cottage in process, but neither of those projects was speaking to me. Suddenly, I came across a photo of a completed Beachside Bungalow and my mind exploded with ideas. None of them involved the old fabrics, wallpaper, color scheme or layout that I had planned for the first time. In fact, my new ideas were a radical departure from any of those plans. As usually happens when I become obsessed with a new idea, I gave my craft rooms a deep clean, got Tasha's Kitchen tidied up and safely stowed, and then cracked open the Beachside Bungalow kit.
 |
| Kit photo, inside. |
There are so many finished Beachside Bungalows - I think it must be one of the most popular dollhouses among miniaturists at all skill levels. It is so much fun to look at photos and see the wildly diverse visions people have had for the kit. And it seemed like a huge (and fun) challenge to come up with ways to make it singularly unique. That is what I have set out to do - incorporate innovative ideas while keeping to the original footprint of the kit and while trying to use all it's components in creative ways. I am also going to try to use the majority of supplies, furnishings and accessories from my own stash. It could get very funky! I'm going to chronicle the progress here, but in keeping with my usual weird order of operations, will deviate from the instructions here and there. I'm not trying to be a rebel, I am just always thinking of how to make things easier on myself!
 |
| Original kitchen cabinet design. |
Enough with the long winded justifications. Let me tell you where I started...
I cracked open the kit, read the instructions, checked off all the components, and then kind of stuck to the instructions for the first couple pages. That involved gluing the foundation, assembling the porch posts and attaching the porch floor to the foundation.


I scribed boards into the porch floor using my poor metal file set. Did you know that metal files were meant only to be used to file in one direction? Me neither. Until I wondered why mine were so dull. Then I did a Google search of how long cheap metal files are supposed to last. The answer was a long time, apparently, as long as you use them correctly. Which I have neglected to do, resulting in them being pretty dull. So this old Harbor Freight set is now dedicated to tasks where they will be abused. The new set will be saved for metal and will be used properly. I swear!
I taped a 1/2" board to the porch floor to use as my scribing guide. Once I had a pretty good line scribed in with a pointy file, I removed the board and then deepened/widened the gouge with a triangular and rounded file. The I cleaned it up further with sandpaper. The ending depth is about 1/16". I followed this procedure all the way across the board. Then I added in the vertical lines every 6".


Then I primed, sanded, painted light blue (a couple coats) and sanded again.


Speaking of colors, here are the color chips I think I have settled on for the project. They compliment the scrapbook stack I'd like to use for wallpaper and patterns in the project.


For the porch posts, I thought it would be fun to try making stack stone with cork. I've seen some great examples of this method - in fact, Kristine from Paper Doll Miniatures has a great tutorial. Below was my inspiration photo, and here is the cork I purchased. It is about 1/8" thick and worked really nicely. I cut 1/4" strips, using a piece of basswood as a guide. Then, I just cut the lengths and gouged and roughed the individual stones up as I applied them. I attached with hot glue because I did not want to wait for glue to dry. Or babysit to make sure the stone stayed where I put it while the glue dried. I think hot glue gets a bad rap but I love it in the right circumstance!


Here I have painted the stones. At this stage they look a little cartoon-y and one dimensional.

Here, the first wash has been added to the post on the left. It tones down the paint, adds dimension and begins to look more like real stone.

Here are the colors and glazing medium I used. I wet a sponge with water, squeeze most of the water out, dip in a couple light paint colors on various spots on the sponge, then pick up some of the glazing medium on the sponge. Then I just pounce it on the stones until I like the look. I kept going with this process a few times until they looked "finished".

Here they are on the porch foundation. Not attached yet. Just in place so that I could get the lattice and trim attached. The lattice was something I had originally planned for the first time I planned for this project. This time I decided to stain it rather than paint. I am seriously rethinking the blue porch floor, though. Maybe a light gray would be a more cohesive look with the stone? I'll live with it while I get the walls in dry fit, and then decide.


Anyway, I hope this will be an interesting project for you to follow along with. I may post some progress over on Instagram and Facebook, too. It'll be weird after Tasha's Kitchen to not keep my project secret this time!
xo xo,
Jodi
P.S. Our final Pfizer shots went well, so far. A little tired, a sore arm and a bit of a headache but nothing too serious. Good times, here we come! :O)


