|
| Vera In Her New Kitchen |
 |
| Virgil In His New Kitchen |
But how did these kitchens come about? Well let me tell you...
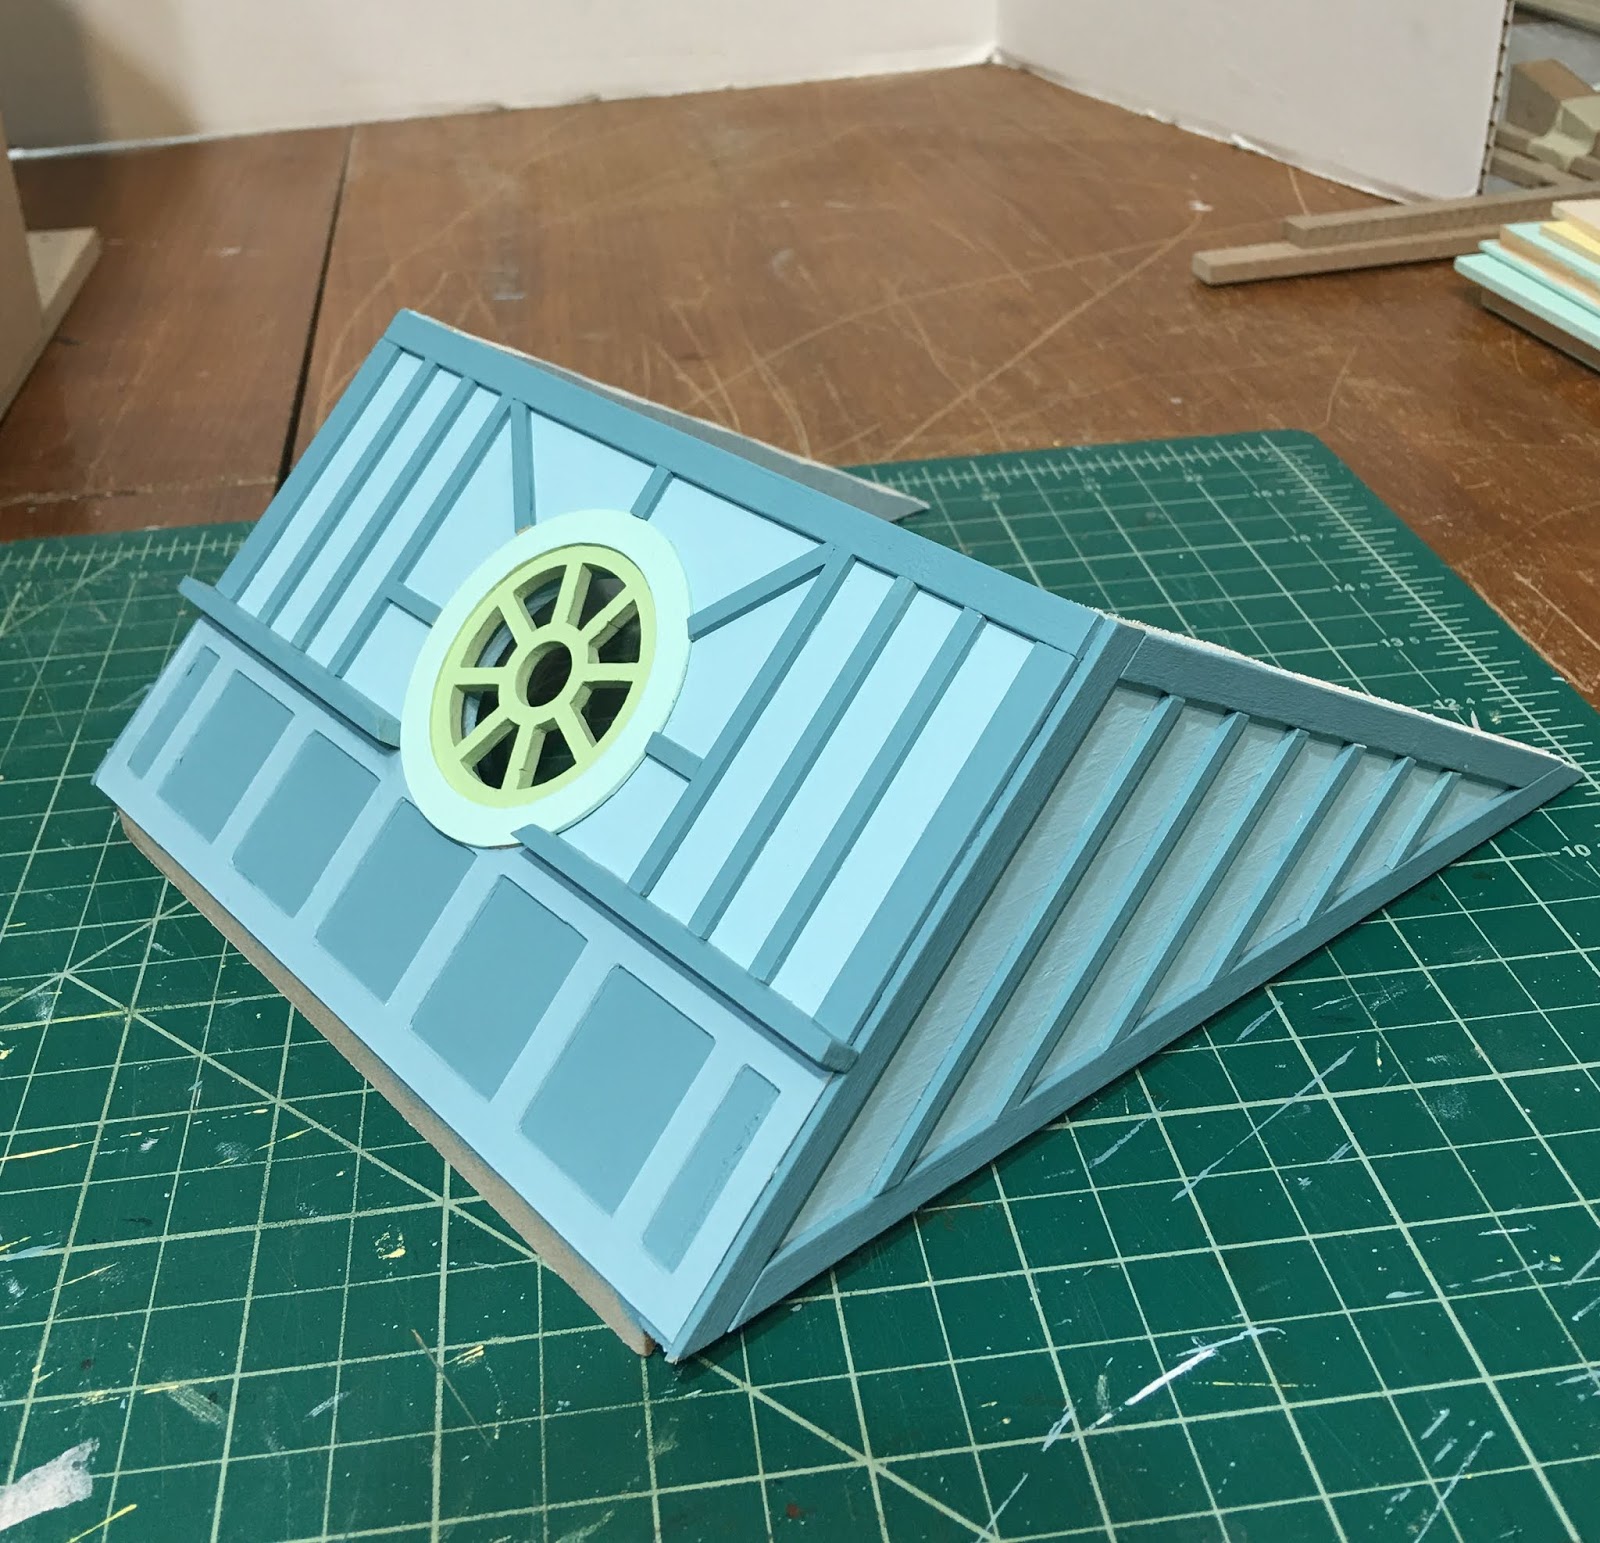
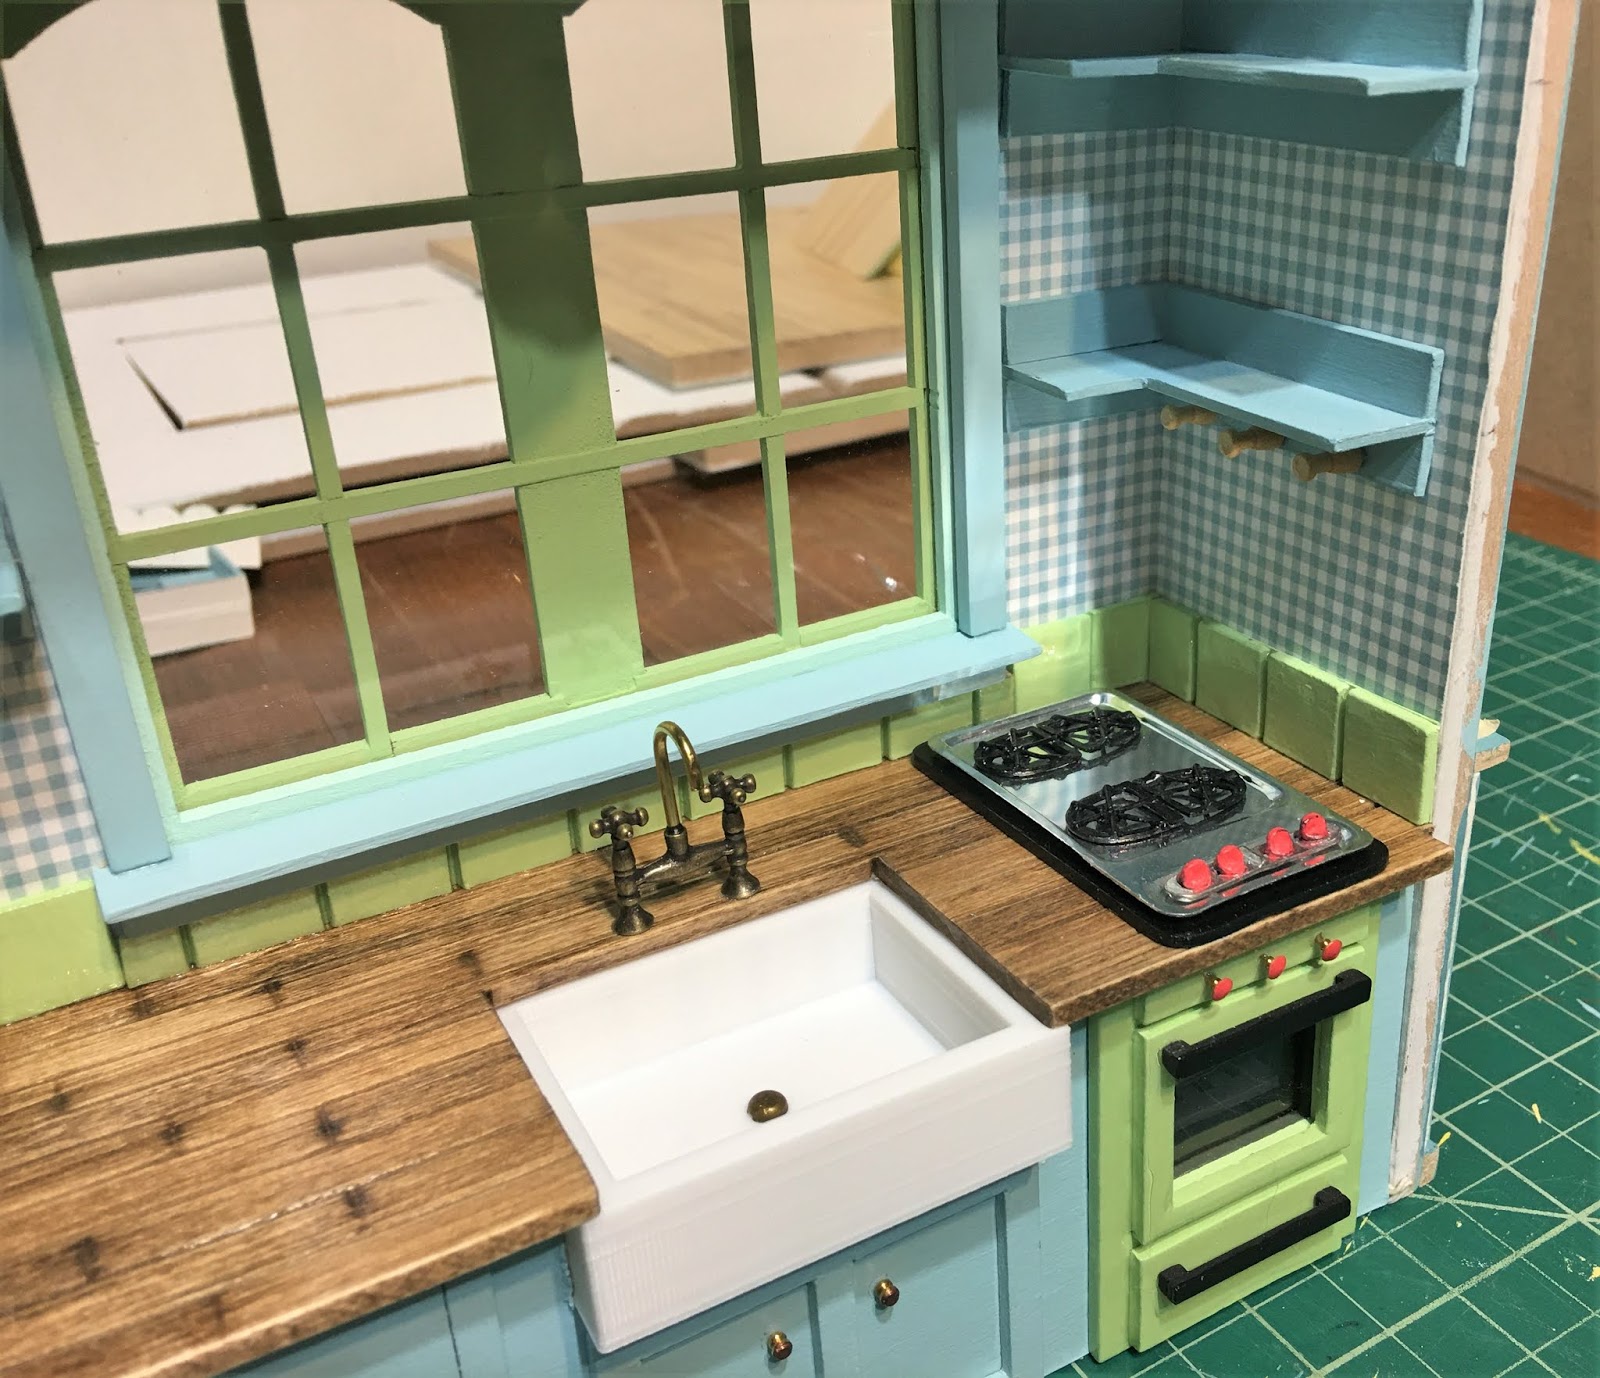
Each kitchen began as a simple plywood pop out. What better way in a compact cottage? Both Vera and Virgil don't need much. Not even a fridge, really, as they enjoy their cheese room temperature or cooked into delicious dishes. So a small stove and cooktop, a roomy farmhouse sink, a little counter space, some modest storage and a few open shelves will do.


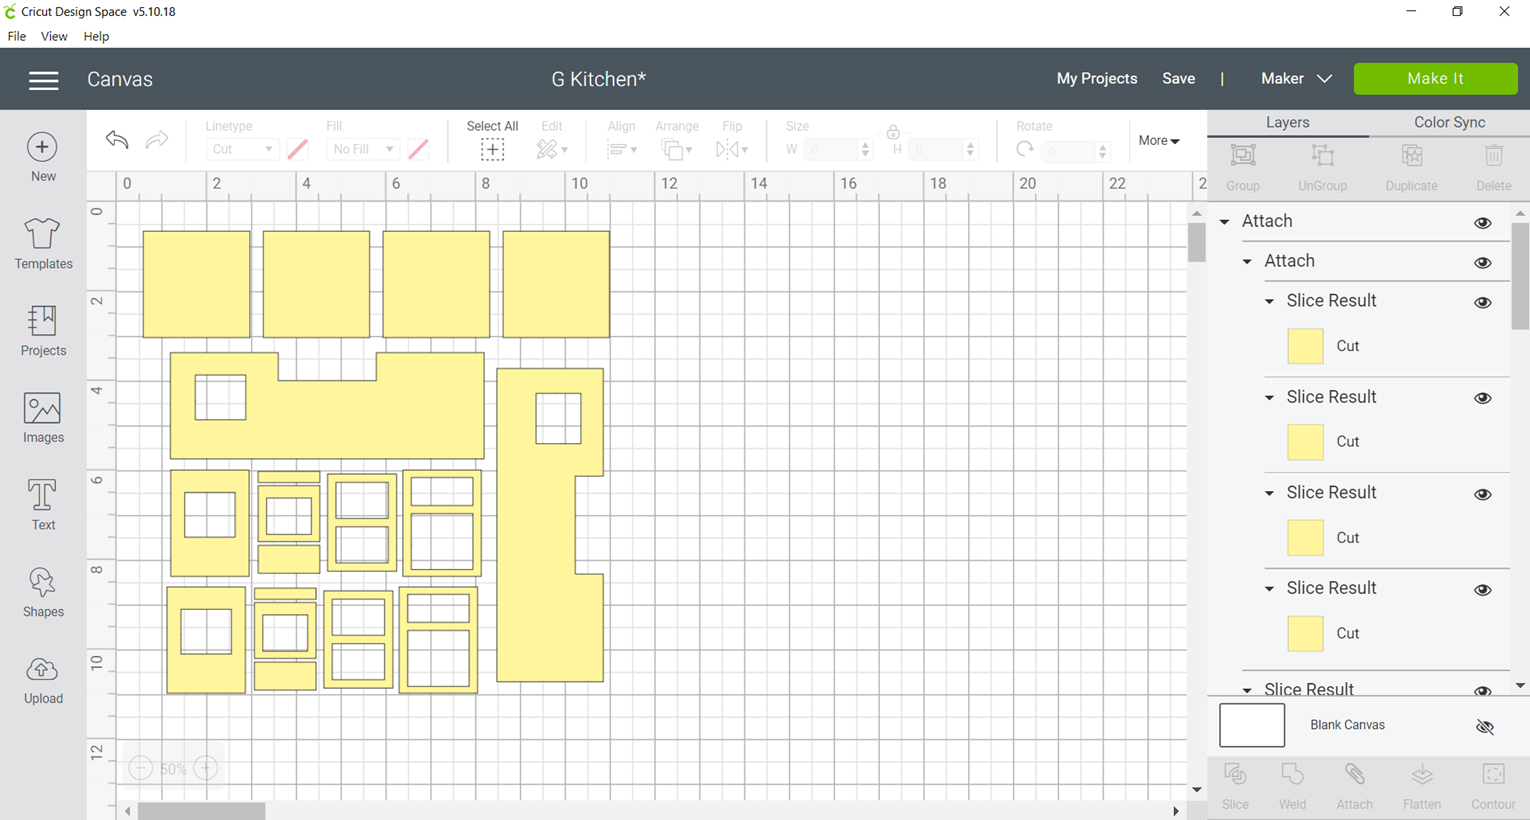
They began as many of my projects do, in Cricut Design Space. Using measurements from a quick sketch on graph paper, I made up the kitchen's components using shapes. Employing the ease of faux drawers and doors, I made a simple front panel and support pieces, drawer and door fronts and framing, and an oven front panel with door, drawer and control panel. These were cut by the Maker from 2mm Cricut chipboard. The countertops were made from 1/8" thick basswood, cut using the mini table saw, as it is slightly thicker and stands up better to stain and faux paint treatments.


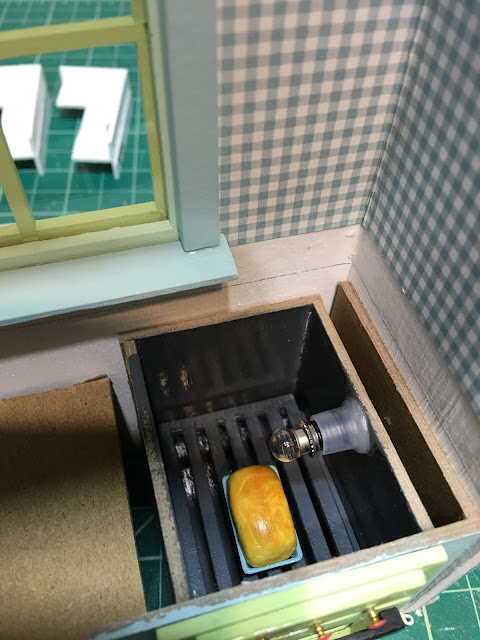
I added simple hardware to the cabinets. To the ovens, I added "glass" for the doors, handles and knobs, and before I lost access to the oven interiors, I gave each a special feature: oven lights and delicious cheesy breads being baked. I cut racks for each oven, again with the Maker, and added oven lights using 12 volt screw base bulbs and plastic holders from my stash.


I made the cheesy bread and cheese muffins using Paperclay, and then gave them a baked look by dusting them with chalk pastels in yellow ochre and burnt orange. The glistening egg wash on the breads is yellow label Mod Podge. Simple but effective! You should smell them! Yum!


How about the sinks? Remember a few weeks ago I told you I'd had my first noob blooper on the 3D printer? Talk about being humbled...
I only had to make a simple design in Tinkercad - a straightforward box with a recess and a drain hole, really. That all went fine - I'd done it tens of times for all the stuff in my Shapeways store. Bringing it into the 3D printer's slicer program even went off without a hitch. Using the sample roll of red PLA that came with the printer, it was successful the very first time!

Each kitchen began as a simple plywood pop out. What better way in a compact cottage? Both Vera and Virgil don't need much. Not even a fridge, really, as they enjoy their cheese room temperature or cooked into delicious dishes. So a small stove and cooktop, a roomy farmhouse sink, a little counter space, some modest storage and a few open shelves will do.


I added simple hardware to the cabinets. To the ovens, I added "glass" for the doors, handles and knobs, and before I lost access to the oven interiors, I gave each a special feature: oven lights and delicious cheesy breads being baked. I cut racks for each oven, again with the Maker, and added oven lights using 12 volt screw base bulbs and plastic holders from my stash.


I made the cheesy bread and cheese muffins using Paperclay, and then gave them a baked look by dusting them with chalk pastels in yellow ochre and burnt orange. The glistening egg wash on the breads is yellow label Mod Podge. Simple but effective! You should smell them! Yum!


How about the sinks? Remember a few weeks ago I told you I'd had my first noob blooper on the 3D printer? Talk about being humbled...
I only had to make a simple design in Tinkercad - a straightforward box with a recess and a drain hole, really. That all went fine - I'd done it tens of times for all the stuff in my Shapeways store. Bringing it into the 3D printer's slicer program even went off without a hitch. Using the sample roll of red PLA that came with the printer, it was successful the very first time!

 |
| Two versions, testing wall thickness |
 |
| Test fit success |
Then look what happened when I attempted to print it in white...
 |
| That's Not Good! |
Perplexed, I pulled out the packaging. To my shock, it was something called PETG, not the PLA I thought I'd ordered. I was about to learn something new. Well, a couple things, actually.
1. Amazon searches don't always yield the results you expect. It may include things you did not intend. Buyer beware, read all of the info, especially when you're a newbie using a product with lots of technical information. I did not read far enough, and inadvertently ordered the wrong stuff.
2. Aside from PLA and ABS, there is another filament that 3D printers use called PETG. It looks very much like PLA, and will come up in Amazon searches when you type "PLA". But it's properties are very different than PLA. When you begin to learn to use a 3D printer you will have to learn new terms such as "squish" and "skirt" and also know what temperatures both the extruder and the print bed have to be. It is specific for each type of filament you are using. PETG requires a MUCH higher temp, and when it is not set in the slicer program, the filament will not adhere to the bed, or itself. If you use PLA settings for PETG, you will get the results you see pictured above. Who knew? I know now!!!
Two Prime shipping days later, I had the real white PLA and the results were much, much better! Ta-Da! Farmhouse sinks for Vera and Virgil!!!
 |
| Four sinks in comparison |
 |
| Successful white PLA farmhouse sink! |
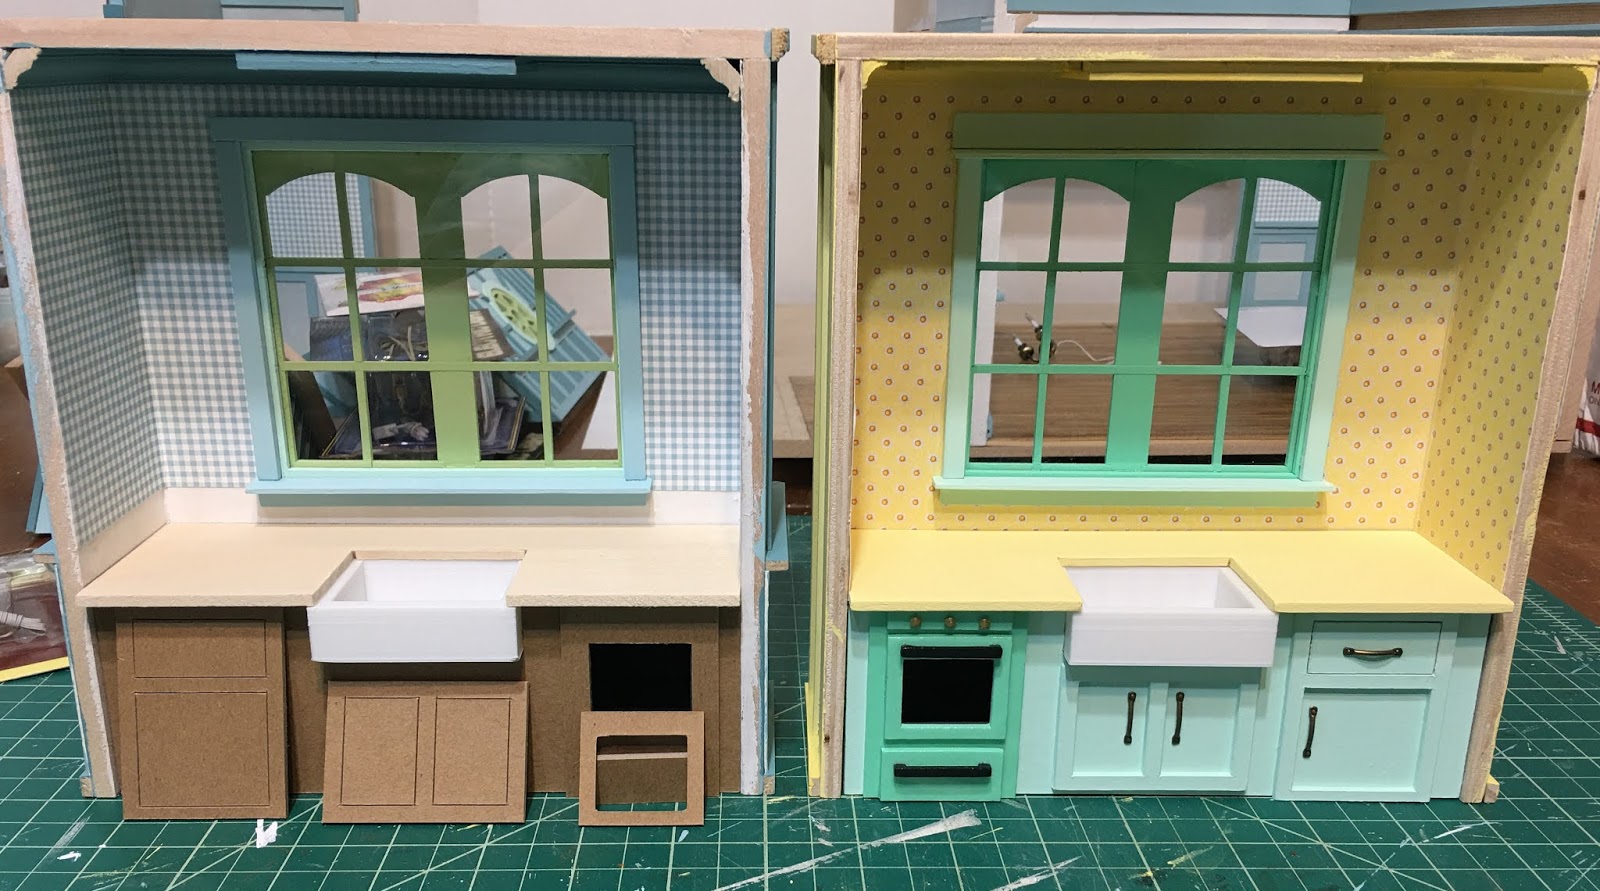
Now back to the good stuff... I made Virgil's countertop in faux butcher block by scribing boards into the wood with a stylus tool. Vera's is a type of solid stone made by using two yellow tones of paint, one creamy white and some acrylic glaze pounced on with a paintbrush. The tiles were made using illustration art board cut with the Maker. They were painted, glazed and left chunky and rustic - perfect for mice cottages. The corner shelves were made with illustration art board, too. The bottom ones have hanging pegs which are so useful in compact kitchens.


You can see that the light fixtures for this end of the cottages have been added. In addition to the oven light, there's an overhead light above the sinks and on either side of the kitchen, sconces. I made mat board plaques for the back of each sconce to add another layer of detail.


And with all of the lights on...


Vera and Virgil are thrilled with their new kitchens and couldn't wait to try them out! They are looking forward to move in day when they'll get to equip them with everything a mouse needs for cooking and baking. Vera is busy making curtains and aprons, and Virgil has begun to plot out the vegetable garden.


And here are the cottages side by side without the second floor and roof. Good thing we're expecting sunny weather in the work room!

After much discussion, the three of us think the next thing to tackle will be the fireplaces. Then the ceiling/second floor can be installed. After that the foundations, then I can attach the structures to the bases. Once that major portion of construction is completed we can discuss second floor ceilings, more lighting fixtures, porch floors and roofing. So, lots of exciting work ahead and many more decisions!
I hope you like the kitchens, too, and are inspired to build something nice for some critters you know!
xo xo,
Jodi