Search My Blog!

Use the Search box below to find keywords that you're looking for quickly and easily!

Search Feature

Wednesday, March 28, 2018

Rolled Towels + Tissue Box Tutorial

What did I do with my mini time this week? Well, I made tissue boxes and towels for the vanities. After getting all 36 of those little towels cut, glued and rolled, some of the vanities still needed something. I went online in search of a tissue box pattern, then went to bed that night thinking of a way to make them.

All of the thicker scrapbook paper I have is 12" x 12", and the patterns aren't very modern. I have a book of nice modern prints in 8.5" x 11", but the paper is very thin. So what to do? Aha! I can laminate them together. So while I went through the process of making 14 tissue boxes, I also made a Tissue Box Tutorial. Hope someone else finds it useful!


Since I didn't get any in progress photos of the towel making process (it wasn't very interesting), all I have to share photo-wise in this post are of one of the Finally Completed vanities! Actually, I think now that they are all complete, except for Sam's. I have one more essential bathroom element to make, then it's off to Australia! All that is left then for the other 15 is to take some nice photos and then put them safely away until I decide what to do with them all.

Since my lighting is so challenging, I used the Windows 10 Photos app to play with different filters. I wasn't sure my judgement was the best, so I'll just post all the variations and let you decide.


Are you getting tired of hearing about vanities? Me too! I promise something completely different, soon.

xo xo,
Jodi

Wednesday, March 21, 2018

Accessorizing The Vanities


When I began this whole sink/vanity experiment, my motives were to try all of the different finishes, styles and techniques that I'd filed away in the "want to try someday" folder. So in that regard, I have really fulfilled my goals. What I didn't expect was for the whole process to take 2 months. My attention span doesn't hold out that long, so getting them all to this point has been a a real commitment for me! I am beyond ready to put this chapter behind me and start on something less repetitive. 16 at once was a big bite for my little mouth to chew on. :o)


Over the past couple weeks I've made many accessories. I started with hemp baskets for each vanity in the same way that I made the bee skep for the 2016 Creatin' Contest build; wrap hemp around a form. For these baskets, I used a cereal box for the structure and also added fabric liners, interpreting for my own means the picnic basket tutorial video from Julie Warren. I used different fabrics and hemp cord colors to coordinate with the theme for each of the sinks.


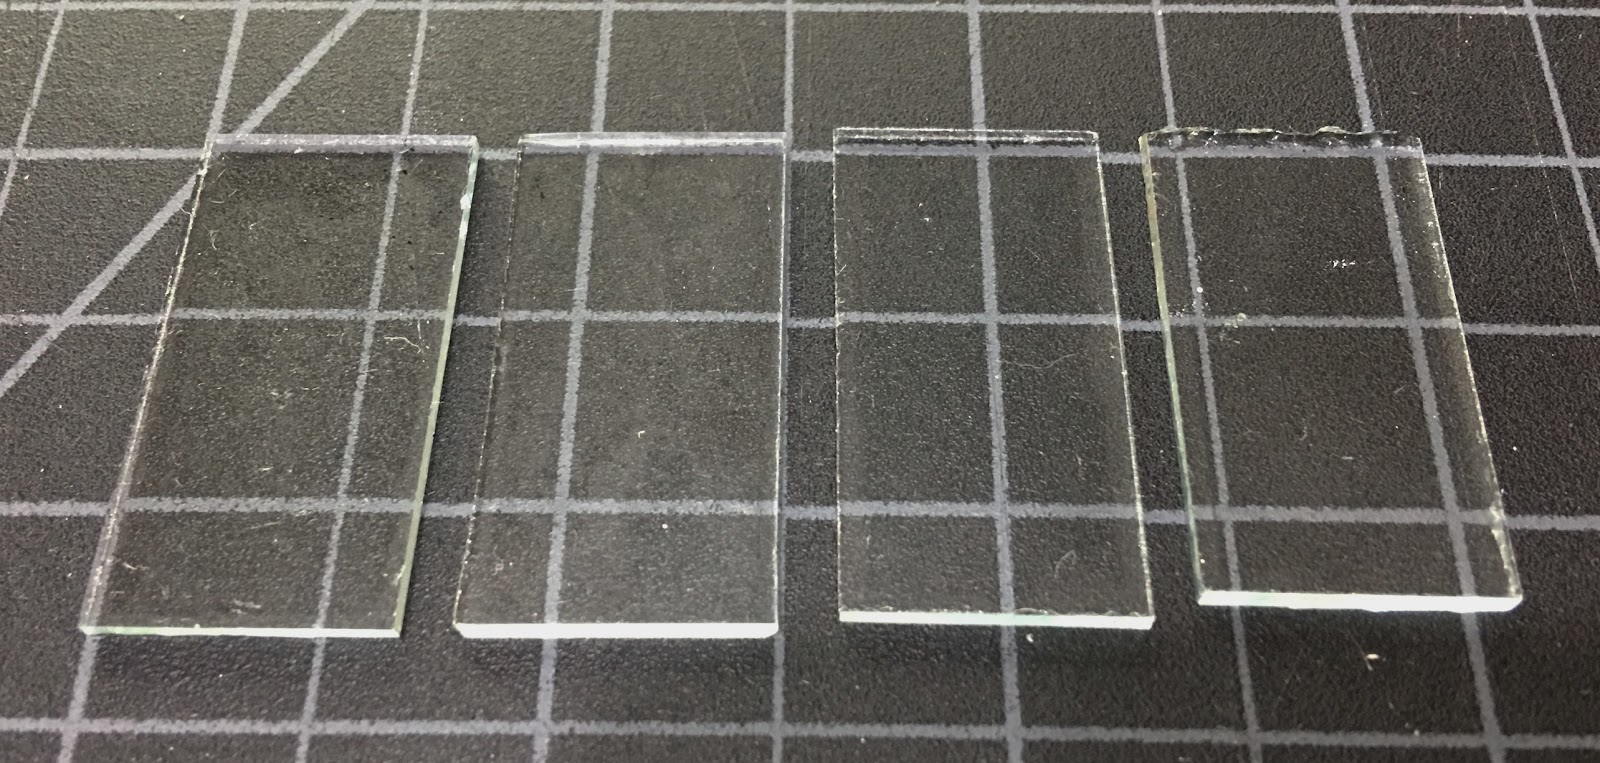
I also made mirrors for each vanity. All but two of the frames were printed from chipboard on my Cricut machine. Those were finished to compliment the sink themes, as well. I used Darice real glass mirrors for the round ones, and mirrored sheet cut to size for the square ones.


One note here for the growing number of miniature crafters using the Cricut: Whenever I use the 1/16" chipboard, even with the chipboard setting, I run into a lot of issues with the machine just stopping and throwing error codes in the middle of the second cut. After speaking with the nice tech support guy at Cricut, I came to the conclusion that I was pretty much on my own. To be fair, we did update my firmware, and he is sending me out some lube and a new power cord, so that is something.

After much experimentation, it seemed to me that the problem was due to the chipboard not sticking well enough to the really sticky purple mat. The deep cutting blade had no trouble going through the material, but the mat would slip very slightly, causing a small tear in the chipboard. This would cause the sensor "eye" to see microscopic debris and abort the cut to prevent damage. Once I realized this, I gave the mat a coat of Aleene's Tack It Over & Over Liquid Glue. That solved the slipping issue, and I was finally able to cut the thick material with minimal issue. I just had to be extra patient when removing the chipboard from the mat. This stuff sticks good!


Another accessory was the liquid soap dispenser with pump I designed in TinkerCad back in 2015. I had a bunch of them printed out from Shapeways in the Acrylic Ultra Detail. They are much easier to finish in that material than the White Strong & Flexible (thanks Kristine!), and I like that they are nearly clear. To finish these, I painted the pump and lid area in black paint marker, added tiny labels, then coated the whole thing in clear nail enamel. They are really awesome, if I do say so myself! ;O)


Each vanity will get a floral arrangement of some kind; a mix of daisies, lilies and chrysanthemums were made, along with matching foliage. They are getting hardened in their vases with "water" as we speak.


I also made a bunch of candles and holders in various finishes to match each vanity's hardware and color scheme - the candles were all either cream or white and the holders ranged from silver, aged silver, gold or aged bronze. More photos will follow in the final photo shoot. Still to be done: rolled towels ala Elizabeth's wonderful towel tutorial, and if my endurance lasts, tp rolls, trash cans, tissue holders, and, and and. And if not, I'll call them complete and move on to something different. I'd really like to get Sam's package off to her before March is spent!

Until next time, I hope your spring has sprung with lots of inspired mini dreams, and if you're on the underside of the globe, I hope your cooling fall is a welcome relief!

xo xo,
Jodi

Thursday, March 8, 2018

Reaching For The Bottom Of The Sinks

When last I shared my mini adventures, I was getting ready to finish the countertops for the sinks/vanities. I had some fun experimenting with them, a little success and one method that is still to be determined as to whether it bears fruit.


The first method was adapted from Kris' tutorial posted on her One Inch Minis blog. My supplies differed a bit from those she suggested, but they were similar enough that I was able to make the marble happen. I was able to find the brand of glazing medium she suggested, but could not find the PermEnamel Satin Glaze. Instead, I used Golden Acrylic Glazing Medium because it was the only satin finish glaze I could find. In the end, it was really flat so I applied a final coat of satin varnish instead. Also, my charcoal pencils are really charcoal vines. I just broke off a piece to work with, and shaved a point into the end with a razor blade. I practiced a bit to get the feel of the charcoal before starting on the actual countertops. That helped, and I do really like the results.


The next "stone" type finish I tried was faux granite. I watched some YouTube videos on how to do faux granite on real life counters, then just shrunk down the method. I wanted a variety of colors, so I had black, white, grays, tans and glazing medium squirted out on a paper plate. I just dabbed on different colors with the sponge, picking up the glazing medium along with the paint as I went. I did several different layers, letting the paint dry, coating it with glazing medium, letting that dry and repeating until I achieved some depth. I finished it off by sealing with a good coat of Triple Thick. My photos don't do them justice. I am really happy with the effect.


While waiting for layers to dry, I sprayed several coats of gloss white onto the various sinks. I did not have ideal spray painting weather. The garage was so cold - even with the space heater, that the paint was taking forever to dry. So after each coat of paint I would bring the whole pant booth into the house. Gave myself one heck of a migraine with the fumes, but that's the kind of thing that happens when you push to make progress!


I also painted and/or installed hardware to all of the little doors and drawers, painted the vanities themselves (only two of them with spray paint), and added drain pipes and drains to the sinks when they had finally dried.


One of the other countertop experiments was to try for quartz. My first method is taking days to dry and become clear, so I will have a later update on that. Essentially, I was attempting to "float" Diamond Dust into the glaze to create sparkle. My next quartz experiment will involve Triple Thick and white or silver glitter. I'll let you know how that goes, too.


The ones above were the Bespaq pieces. It was fun to try the different finishes, taps and sinks with each one.


The above were made based on one of Sam's inspiration photos.


And above is the one Sam chose for her San Franciscan Basement bathroom.


This one is nearly ready to be assembled - just need to decide whether the top should be shiny or satin before adding all the plumbing. What do you think?

I am going to make a mirror, candle, vase with flowers, basket/s, towels and soap pump for each one, so there is still a good deal of work left before I can call this sink adventure complete. I am madly itching to break open a new kit and do something completely cute, so I hope the end comes soon!

I hope you find something inspiring from this journey, and that you make the time to play!

xo xo,
Jodi

Monday, February 26, 2018

The "Sinking" Saga Continues...

In the midst of my cleaning & reorganizing campaign, my education in sink making continues. The chaotic photo below shows my homework in various stages of completion/experimentation.


So far I've played around with different Barewood pieces, built some of my own using basswood, dowels and jewelry findings, and my latest guinea pigs are some Bespaq pieces. I am having a little fun adding, subtracting and rearranging them. No need to worry too much about ruining them - they are of the bargain basement variety.


Here they are after having gone at them with a blow dryer, microwave, chisel, pliers and Xacto knife. I have a vision and a plan, so please bear with me...


Some things were a little more difficult to pry apart than others. Trying to get the glass inserts separated from the doors was a bit of a challenge, but I learned (finally) the best way was to apply a good deal of heat with the blow dryer, run the Xacto along the seam where the glue met the glass and the wood, and then slowly pry them off. I also learned how to repair a blown out hinge and reattach trim so you'd never know it came off. See? Very educational!


I had learned in a previous experiment that the best way to remove glue residue from glass (any kind f glue), was to soak the glass in acetone. Works like a dream, and if you use a coffee filter, you can salvage the acetone and add it right back to the bottle. Not that I am cheap, but I'll do just about anything to avoid a trip to WalMart whenever possible!


I wanted to add my own countertops to some of the pieces, so I took measurements and made mock ups out of cardboard. I have learned that a good visual often saves a lot of cutting and sanding.


My husband Russ is a contractor, so he is big on tools. This is awesome for me because he often buys them for me and is an excellent resource when I have a question. For my birthday in December, he bought me a small Microlux Table Saw from MicroMark

This was excellent for cutting the 1/8" basswood countertops, though if I could suggest an improvement to MicroMark it would be to have a wider cutting table. There is only about three inches on either side of the blade, so that's all the width you get for setting the fence. My cuts were all around 3-5/8", so I had to free hand. It did cut much smoother than my scroll saw, like butter actually. Keeping a straight line was just a matter of going slowly and keeping your eye on the blade where it met the line. The other small suggestion I would make to MicroMark is to have the miter guide lock in at the end somehow. If it lifts up out of the groove while cutting, it could ruin your day. I think I can Jerry Rig something to solve this potential issue, though. Overall, I am happy with it and excited to have an accurate and diverse cutting tool in my arsenal.


Each of the furniture pieces were of varying height, so to keep the height between 32" to 42" real life inches, some of the designs had to be modified. Some will have bowl sinks while others will be recessed.


Some tops will be faux marble, but others are going to get a little more experimentation with faux quartz and granite finishes. This will be an interesting process and I'll be sure to share my triumphs and failures.


For the next few days, I'll be busy packing up and shipping the eBay auctions which end tonight at around 5:00 Pacific time. I am super happy and so grateful with the bidding, and a little shocked at some of the bids! Most of all, I am excited that these beloved little minis are going to get a new life and a new adventure!

Have an awesome week mini friends!

xo xo,
Jodi

Tuesday, February 20, 2018

Sugarplum (aka The Soap Shop) Added To The Purge

In my continuing efforts to clean and organize, I listed another item on eBay. The poor little soap shop (made from a Greenleaf Sugarplum kit) has been sitting up on the shelf collecting dust for nearly two years. I just can't seem to find renewed inspiration for it, so I am hoping someone will get it and do something awesome with it!


I added a dormer with a rounded window to the roof, then added two more on either end of the gables. The gables are clad with 1/2" scale hexagonal shingles to give them some nice detail.


I extended the front porch and roof to make way for lots of display, letting the shoppers have a peek at what they can expect inside the shop. The door is made by Alessio and features arched mullions. I really like it!


The foundation and chimney are done in egg carton "stone".


I kept the interior very whitewashed so that the minis would be the star of the show.


I made all of the displays, shelving, baskets and window seats custom for the space, so they are included, too.


The fireplace is by Jim Coates...


As are the frames on the lover level windows.


I eliminated the second floor to give way to vaulted ceilings. A battery powered chandelier would be awesome in here! There's a built in shelf where the second floor would have been for more display space. The ceilings have a patterned textured ceiling paper by Jackson Miniatures.


Theres lots of display space for bottles of hair care products, shampoos, soaps, candles, jars of bath salts and potpourri and anything else you'd find in a soap shop. There's even a window seat where you could put some adorable pillows for sale.


The displays on either end were designed to hold wrapping paper rolls, ribbon spools and gift cards.


I started the bidding again at $.99 because I have no idea what to value something like this at. I'll let the buyer decide, and I will be happy knowing it is going to someone who feels inspired.

Here's the link to the auction:

Sugarplum Soap Shop Dollhouse


I am still going through boxes, repairing and sprucing up unused furniture and miscellaneous minis, so there may be more stuff to purge soon!

Have a great week!

xo xo
Jodi