As you may have noticed, I haven't posted in a while - November 1st seems like such a long time ago! But once I was finished with all the 3D printed kitchen stuff, I had to take a breather. I got my craft space ready for mini work again, and I began to think about what I'd like to do next. Finishing the Willowcrest kitchen seemed like the obvious choice (it's the project that sparked the 3D kitchen accessories to begin with), but I just couldn't muster any motivation to get going on it. In the meantime, I was contacted with a request to design and create a couple architectural elements for a very special project that had been waiting in someone's basement for a very long time.

You may remember my customer, Diana, from my doing her Breakfast At Tiffany's brownstone windows and door replicas last year. One of the projects she's been dreaming about since the 90's is recreating the historically significant Dexter Avenue Baptist Church in Montgomery Alabama. Back then she purchased the Real Good Toys Country Church Kit at a miniatures show to house it in. Then she had custom stained glass windows made by a miniature stained glass artisan. But, like for many of us mini dreamers, other projects moved ahead in line and there the kit sat, waiting for its turn. The project was never truly forgotten. Diana collected a whole lot of lovely resin sitting folks all decked out in their Sunday best to add to the congregation over the years. When she saw the project on it's basement shelf a few months ago while looking for something else, these patient people reignited her inspiration!


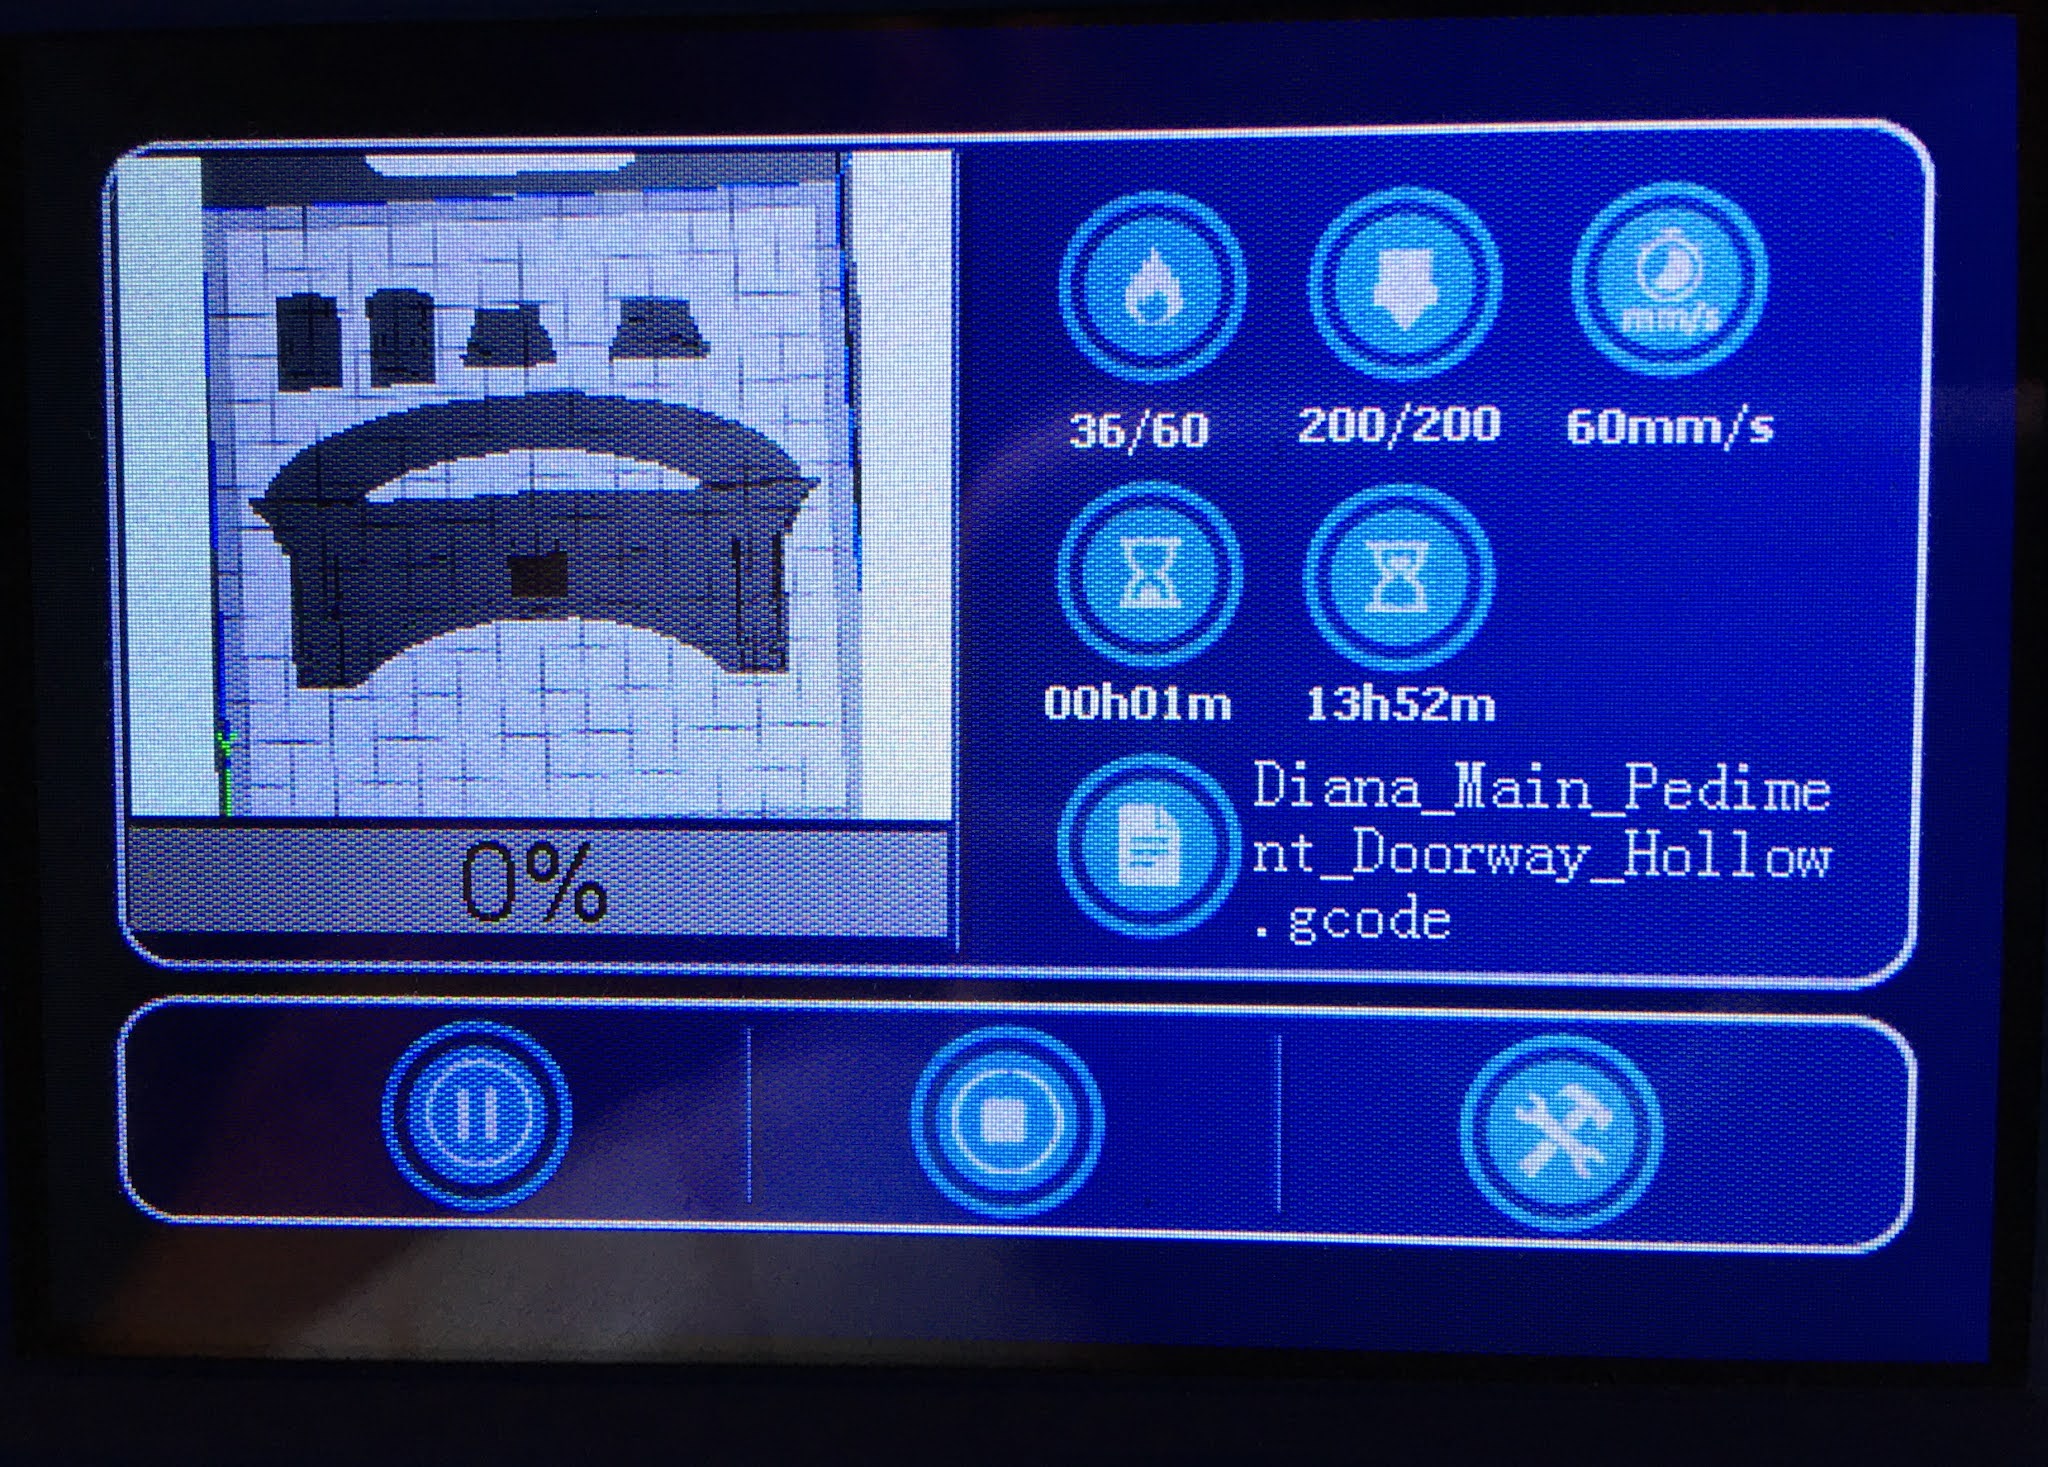
What Diana wanted me to tackle was the elaborate carved doorway behind the pulpit, as well as the lattice panel behind the organ area. It was challenging, as the only details I had to go by were the limited photos found on the web. The proportions and measurements had to be estimated. Additionally, Diana only had 10" of ceiling height (minus the height of her crown molding), and I estimated the doorway in the original church to be about 18 feet tall! I would need to find a way to pay homage to the original within the height limitations, while still balancing the proportions and ending up with something that was worthy of being a focal point in her project.


Challenge accepted! Diana and I traded ideas back and forth on three slightly different models before we both agreed the version below was perfect! It kept the proportions balanced, included as many of the carved details as space would allow, and finished up at 9-7/16" tall by 6-13/16" wide.
I got to experiment with creating dental molding and fluted columns for the first time with this doorway, and I had so much fun figuring it out!


I am so fortunate that Tasha and Ande gifted me the bigger 3D printer for my birthday last year! My first printer would not have been able to accommodate this big job, other than in pieces needing to be assembled post production.

I think the doorway is so pretty, and I just love how the dental molding, fluted columns and corbels turned out!


The lattice piece was pretty challenging, too. In scrutinizing the church photos online, I realized that it was created in three panels. The middle panel is slightly shorter which allows room for the wood molding of the lower organ area. It is installed in a raised position on top of and joining the other two panels. The lattice detail itself is done in four levels, not including the main frame and the stepped picture frame molding on top of that. It was a challenge not only to create, but to figure out how to engineer it for a successful print. I felt that eliminating the half circles in the homage version gives the piece more balance and accommodates better the measurements that Diana had to work with.


 |
| Level detail close up. |


It was such an honor to be trusted with this piece of the job and to help Diana realize her longtime dream!
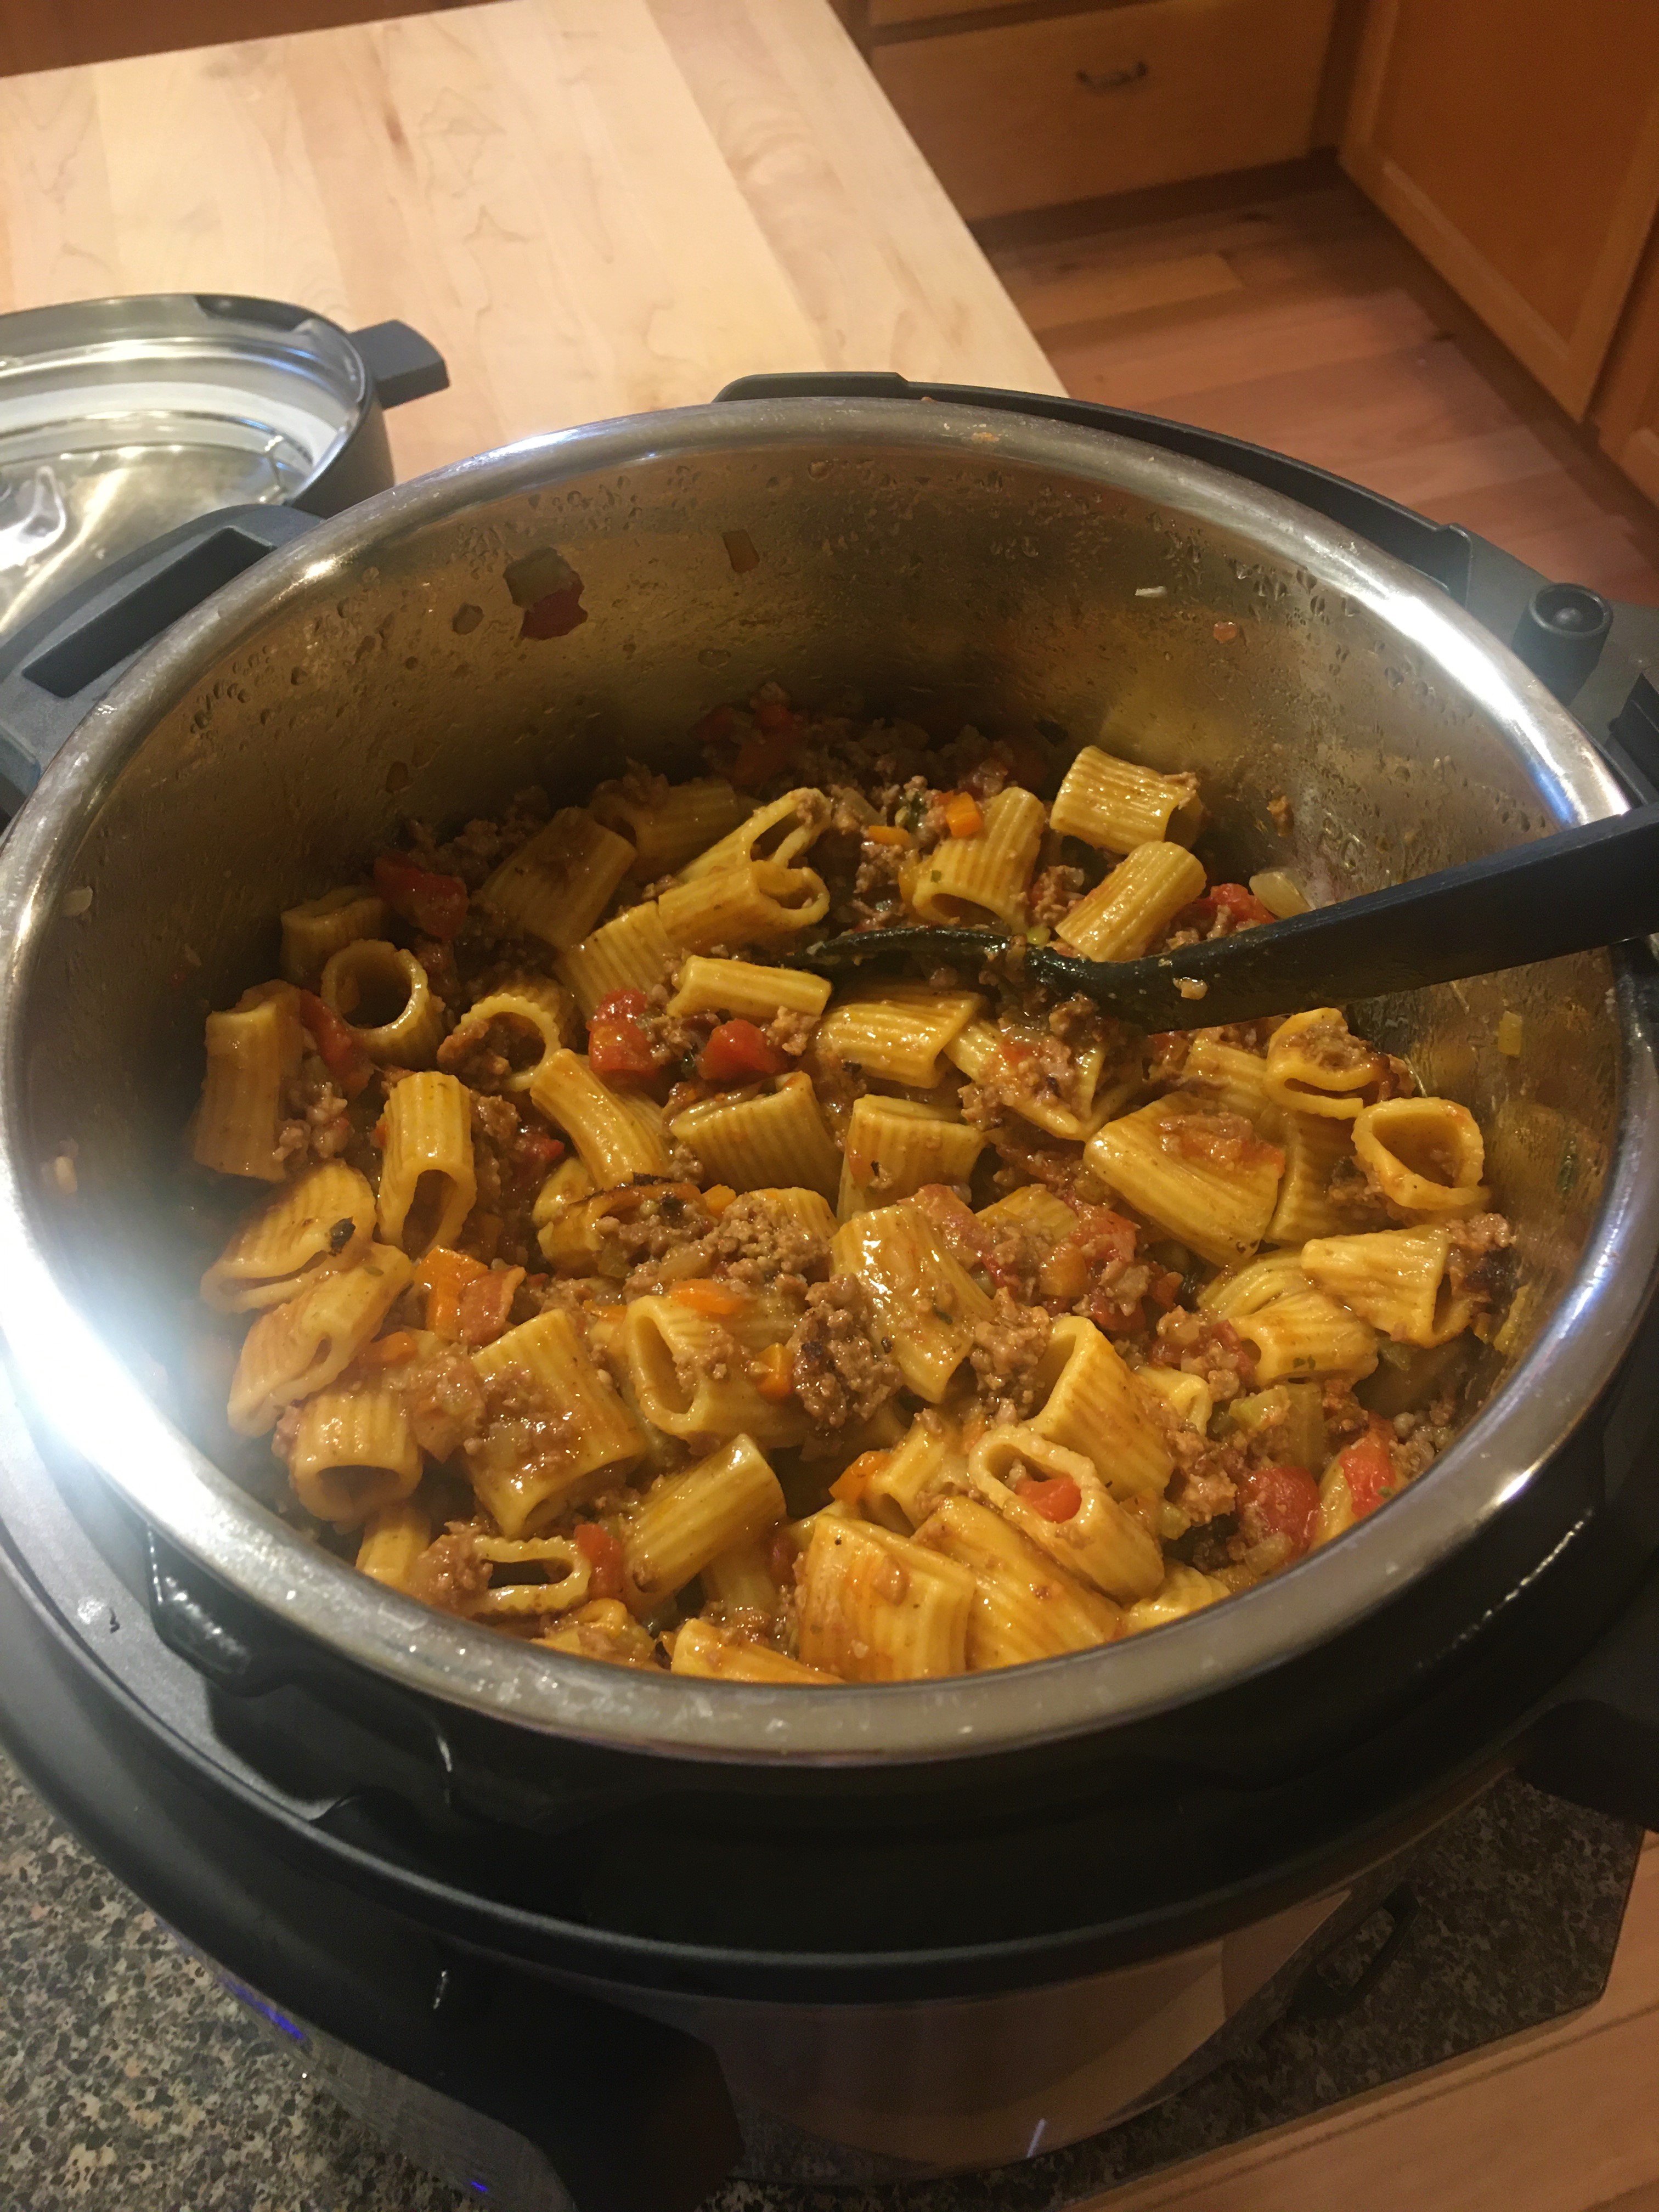
In other exciting news, I have been busy rediscovering cooking joy with our new Instant Pot! Even Russ has joined in the culinary delight around here! This is all thanks to our big hearted and generous son, Ande! He uses my Prime membership from time to time, and if I leave stuff in my cart and he sees it, he likes to surprise me with it! 💗 This time, it was the Instant pot and accessories I was considering. What a great kid we made!!! He and Lex and Tasha and Brent love theirs, too!


We have run out of fingers and toes counting our blessings, among them, going to Tasha and Brent's new home for their first Thanksgiving there! I hope each of you has more to be thankful for than digits, too!
Happy Thanksgiving!
xo xo,
Jodi