Search My Blog!

Use the Search box below to find keywords that you're looking for quickly and easily!

Search Feature

Showing posts sorted by relevance for query Breakfast At Tiffany's. Sort by date Show all posts

Thursday, September 23, 2021

A Thrilling Custom Order

This week I received an email with an exciting and challenging request! A fellow mini enthusiast is the lucky owner of the Majestic Mansions Park Avenue dollhouse kit. She is planning to pay homage to the movie Breakfast At Tiffany's by recreating a close resemblance to the famous facade. She's asked me to do my best to replicate the arched doorway pediment, trim and corbels. Those are a job for the 3D printer, but the main and basement doors, which she has also requested, will be a job for the Cricut Maker. This will be the most complicated design and print work I've taken on, so far, and it is so thrilling!

Park Avenue Kit and Breakfast at Tiffany's Brownstone

Because I am a novice at 3D designing, my knowledge is limited to Tinkercad and what I can do with it's basic library of shapes. Luckily, there are a host of web sites like ThingiverseCults, and others. Some designers offer their amazing .stl files for free! Once the files are downloaded, I can import them into Tinkercad. I turned to DavidG7 for his excellent and generous leaf corbels, and was able to figure out the rest of the pediment and frame with Tinkercad's shapes. It's helpful when searching if you know what architectural term is used for what. I had to bone up on them!


I know if you haven't ever taken any time to play in Tinkercad, it's hard to believe that with just four basic shapes, two free corbels and a free fig leaf you could make historic looking architecture for your dollhouse in about five hours. But I swear it's true! I encourage all of you to go have a play and see what you can make! You may just be putting a 3D printer on your Christmas or Hanukkah wish lists!

Square hole, square, half circle, pyramid, free corbels and fig leaf.

Here's what the assembled pediment and doorframe trim will look like. 

8" tall x 5-1/16" wide x 1-1/8" deep.


Close up detail.


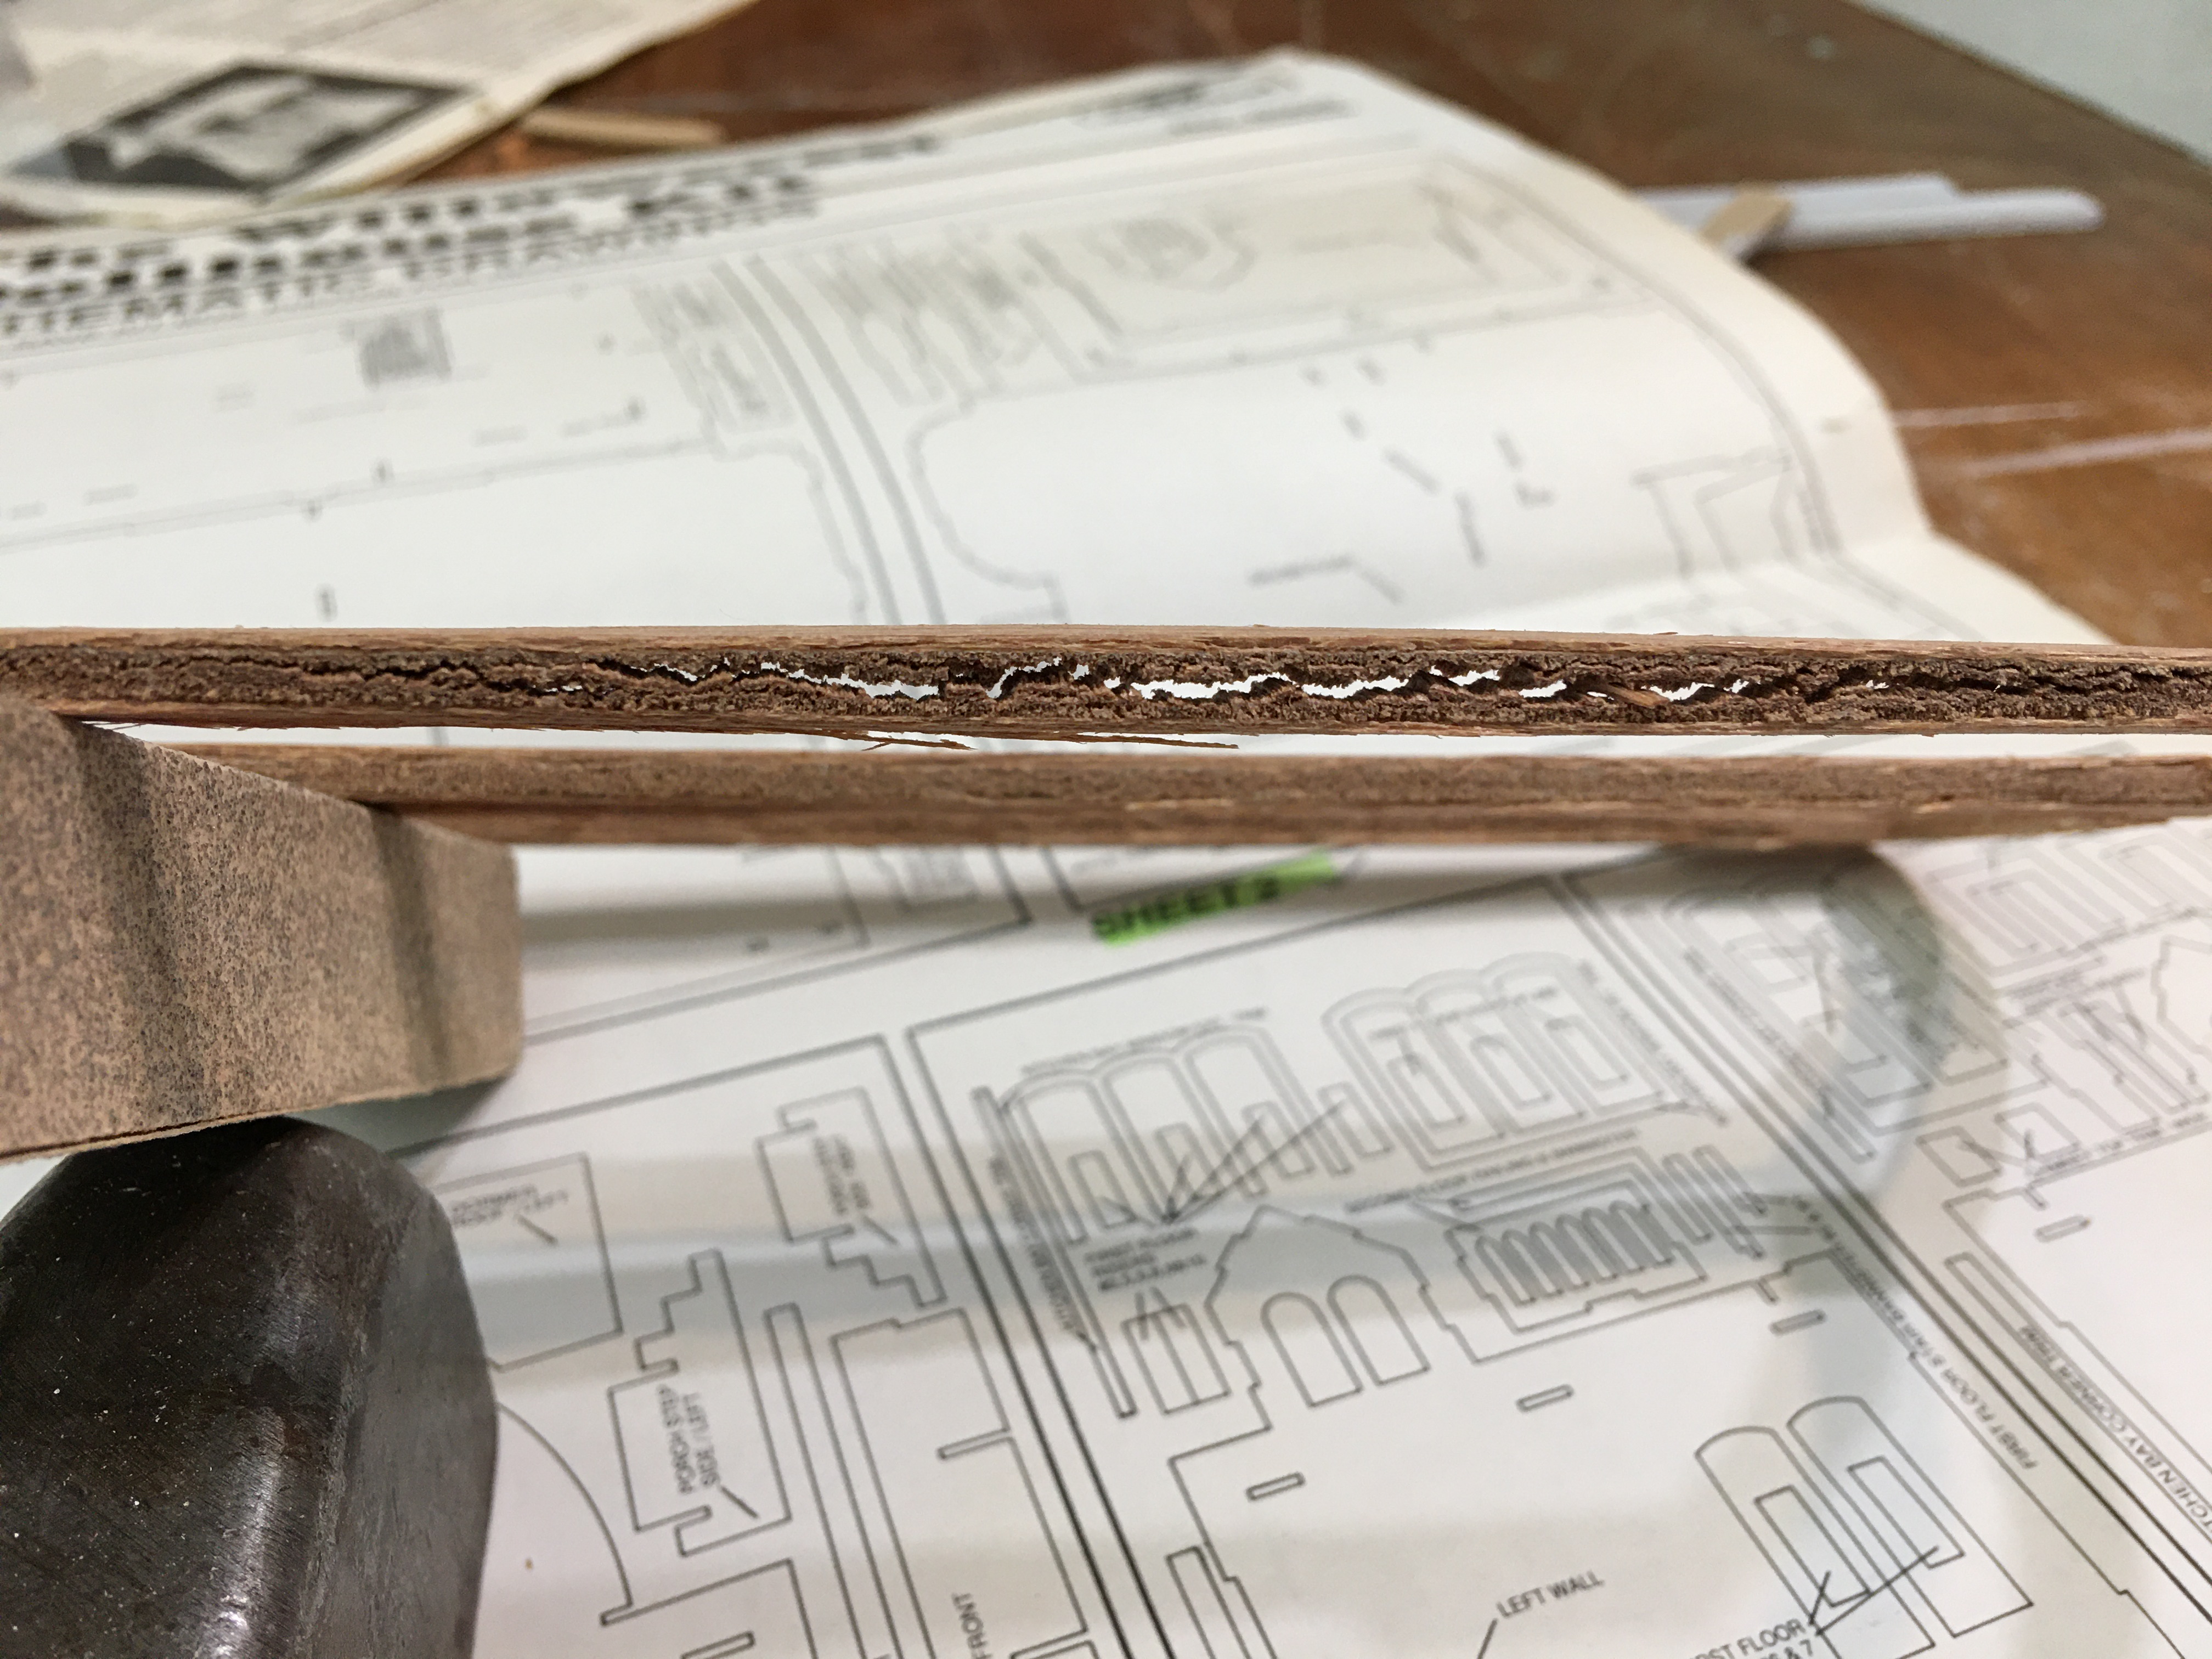
Side detail. The real test will come when it's time to print.


One of the challenges we miniaturists face is trying to work with the space we've got while still replicating the look of real life homes. This was especially challenging here because the real life BAT doorway is so much larger than the doorway on the kit. The ceilings in the BAT house are 12 feet high so the windows and doors are huge. The doorway opening is around 11 feet. I'd need an 11 inch opening to create a true replica in 1/12th scale. In the kit, the ceilings are only about 8". I had a 7" doorway opening to work with (4" less!), and then there was only 2-5/8" to the bottom of the window opening above. With these limitations, I am unable to create a true replica that still allows a 5.5" dollhouse doll to fit through the doorway without looking like a giant. But with what I had to work with. my results are pretty stellar!

Here's the real life version and my effort side by side.


The customer is also considering having me design replacement windows to look more like the BAT house. The challenge here is that the kit window openings are much, much slimmer than the real life windows. It takes space to make a curve, and the openings for the windows are square. Ideally, you'd cut rounded window openings and then create chipboard frames. But a lot of us don't yet possess the skill or the tools to fulfill all our dreams exactly. Adding a curved pediment to the tops of the frames might just give a close enough resemblance to the look she wants. 

1 9/16″Wide by 5 1/16″High = about half as wide in scale.

That's about all I had time for this week. Dad left today to make his way back home to Arizona. I feel so lucky that I got to spend time with him in person twice this summer - once to kick it off and once to finish it. Enjoy the first days of fall! I'll be back next week with who knows what!

xo xo,

Jodi


Thursday, September 30, 2021

The Custom Order Continues...

Not much in the way of content for this week's post (a relief to some, I am sure, lol!). With limited mini time, I just continued the work designing architectural elements to be 3D printed for the Park Avenue Dollhouse. Last week, I completed the main doorway pediment and trims. That left a large window cornice and it's sill with corbels, seven small window cornices and their sills with corbels, eleven roof corbels and finally pediments and trim for the main and basement doors.

Large window, mock-up door and roof corbel.

The customer mailed both doors, the large window and one of the slim windows to me. This way, I can test fit the 3D printed pieces for a perfect fit. These elements are included in the Park Avenue kit.

If you recall, the customer wants to pay homage to the brownstone's facade from the movie Breakfast At Tiffany's. Because the Park Avenue kit is not an exact replica in scale or layout, some adjustments had to be made.

Park Avenue Kit Left, Breakfast At Tiffany's Façade Right.

By making rounded cornices for the tops of the square window frames, I think the look has been achieved and, once installed, will be recognized as the BAT facade in spite of the structural differences.


For the sill with corbels, the customer will just remove the sill and trim piece from the bottom of the kit's window and replace them with the 3D printed upgrade. 


From beneath, you can see that there is a recess that will fit down over the top of the original kit window's frame for easy installation. 


The six windows that go in the bay protrusion of the facade will have simple rounded pediments for the tops and bottom sills with corbels. I made 3 designs, and the customer picked design C.


The basement window will be much the same.

There was not enough space above the door frames to create a rounded cornice for them. Instead, I took the lintel feature from the doorway pediment and made that into a decorative piece that can be attached to the top of each door frame. In addition to the corbels that hold the pediment up, there are pedestal pieces which attach to the bottoms of each of the door frames. They are also based on the design from the pilasters that frame the main doorway's pediment piece. The doors themselves are going to be much closer to the BAT inspiration door, but for those, I'll be cutting them with the Cricut Maker. I can create them in Tinkercad, then just export them in the file format used by the Maker - .svg. 


For the corbels that will support the roof cornice, I used the same acanthus leaf bracket to comprise the details. They are the exact measurements as the more simple brackets that came with the kit, just fancier.


Kit's corbels:


Now, the real test will begin. Finding the right combination of settings in the slicer program will be the next hurtle. I've got five separate files to print, two of them twice. What I need most now is all the prayers, finger crossing and luck I can get! Hopefully, by next week's post, I'll have actual, physical pieces to share with you!

The corbel file in the slicer program.

After two hours of printing. Still 6 hours and 50 minutes to go. This file gets printed twice!

In the meantime, I finally got the 1/8" x 1/8" oak and maple in the mail from Bill and Walt's. That means I can start on the butcher block countertops for the Beachside Bungalow, time permitting. With an application of wood wax, the depth of color and richness should really come out!


So much exciting work to do, so few spare hours in the day! Happy October everyone!!!

xo xo,

Jodi


Thursday, October 21, 2021

A Breakfast At Tiffany's Happy Ending!

This past week I was able to focus on the last few tasks for the Breakfast At Tiffany's custom order. The big job, creating a door based on the brownstone's, was challenging! You see, the dollhouse kit's door openings are much slimmer, and instead of a copy of the original basement door, the client wanted both doors to match. Here's the comparison photo to refresh your memory:

Client's Park Avenue Kit Left, BAT house right.

I had to try to capture the detail and feel of the door in a much more compact design. The main BAT door has two windows on top. The client said she could live without them, but I was determined to try and make that feature a reality for her. Since she wanted to paint the doors herself, this created another challenge because I had to make the glass removable. I cut the doors from 2 mm chipboard, two outer layers and an inner core, with the Maker. This allowed me to create a recess for the glass to slide into. This sequence of photos shows how the window feature will function:

Lexan and trim piece cut to size.

Slide Lexan into recess.

Lexan seated into cavity.

Insert top trim piece.

A pin hinge has to fit here, too. Tight!

I created the door parts in Tinkercad, then 3D printed detail molding pieces to fit into the chipboard recesses. Here are the doors with the detail molding glued in, dry fit into the door frames and with the two different pediment options. I included both pediment options for the client to choose from once she's seen a live dry fit. The basement door does not have windows per the client's request. I also added the same 1/16" x 1/4" trim detail onto the door frame to match the window frames. This is to try to recreate the stepped depth look of the original facade details. I think she could even add an additional 1/16" x 1/8" piece on top of all of the frames to even further the effect.


If you remember, the client had sent me both doors and their frames from the kit so that I would have exact measurements. This was great so that once I made the new doors, I could actually mount the doors into the frames. After priming, sanding and drilling holes for the pin hinges, I mounted them. The client asked that the doors open from the left instead of the right, so I changed the hinge pin holes on the door frames, as well.

Basement door front and back

Main door front and back

Doors Opened. The chipboard has been rounded off so it does not get hung up on the frame.

The client thought, after seeing the fancier large window pediment, maybe she'd want the large window above the entry to match all seven of the other slim windows. I printed a simple rounded pediment and sent both so that she could choose her favorite once she'd seen them both in person.

Large window with fancier pediment, with simpler pediment and slim window.

I was surprised that the door portion of the project went so well and so quickly! Because of that, I was able to get final approval from the client, get paid and ship her package well before the one month time frame that I quoted to her! Here's a collage of the final order, though I included a lot of extra architectural elements (not pictured) for fun.


I can't emphasize enough what an amazing opportunity this was! I was challenged in many new ways, learned so much about the possibilities of my tools and myself, and was able to help a fellow miniaturist fulfill a dream! It just doesn't get any better than that!

Now that this fun distraction is finished, I'm looking forward to getting back to the Beachside Bungalow's kitchen. Hopefully, I'll have some progress to share with you next week!

xo xo,

Jodi

Thursday, June 23, 2022

The Replicator

Last week we began our Willowcrest journey by starting on the first/second floor stairwell. I wanted to make that area more viewer friendly by adding a much larger window using the kit's French Door Window as the model. But how could I replicate the fancy, multi-layer and double arched frames and trim? I'm not a woodworker, but I do have lots of technology at my fingertips, so I decided to see what I could do with it. 

3D Printed Staircase Interior Window Frame

After some tinkering, I found that I could scan the frames into my PC, open them in Inkscape, separate the layers then save the best one as an svg file. I imported the svg file into Tinkercad, made adjustments, if necessary, added details and then prepared them for 3D printing. It's a pretty complicated process at first, but once I did a little troubleshooting, I ended up with some amazing replacement kit pieces!

Scanned French Door frames into my PC

Imported into Inkscape and converted into an svg

Imported into Tinkercad. There were mysterious "holes" that needed patching up.

Not only can I combine each of the layers into one frame, to further enhance the kit's components, I can add architectural details created by myself or by others on Thingiverse, Has your mind just exploded like mine did? Oh the possibilities!

The kit has you stack four layers of die cut plywood to achieve the look of fancy molding. Here's what the kit's French Door Window looks like assembled. It's super charming but the plywood needs so much TLC...

French Door Window exterior frame layers.

And here is the Small Window's wooden parts, exterior and interior.

Small Window exterior frame layers.

Small Window interior frame.

Not every piece of plywood in the kit was in great shape. You see, while all the sheets looked to be in good shape at first glance, upon further inspection, while popping out pieces, a couple sheets weren't so good at all. It was as though the top and bottom layers of plywood were nearly petrified and so hard to cut through, even with a sharp Xacto blade. By extreme contrast, the center layers of plywood had disintegrated, leaving a crumbled chasm. This made the pieces very unstable, so tricky to safely remove from the sheets and some had weirdly expanded in thickness. I probably could have restored them with a lot of wood glue, filler, sanding and copious patience, but 3D printing them seems like much more fun. Not only is this method an exciting way to replicate the kit's windows and other trim elements to improve them, it's a way to replace them altogether, when necessary.

French door frame from sheet 4.

French door frame from sheet 7

Here, each layer of the Small Window's exterior frame has been scanned, saved as an svg and imported into Tinkercad.

The kit has you stack four layers to achieve the look of fancy molding.

In Tinkercad, I stacked the frames into one piece and then embellished them with corbels. I added a recessed reveal in the openings so it appears as though the window can open.

A close up view of the 3D rendering which shows the corbel detail better.

For the Stairwell's exterior window,  I added a shelf to the bottom shaped to mimic the window's curves. It's supported with detailed corbels. The same top corbel will be used wherever possible to unify the exterior style. 


Shelf Detail

When I recreate the French Door Window frame for the front of the house I'll skip the shelf and add a frieze to the lower portion since it sits on the porch floor.

The French Door Window to the left of the front door.

All the window "glass" will mount in the exterior window frames. I have created a recess for the "glass" so that the window frame can sit flush to the wall. I'll replace the kit's acetate windows with 1/32" Lexan.


But aren't I getting WAY ahead of myself with all these windows? Yes, but recreating them is so much fun! My goal was to get the entryway/stairwell completed first. The exterior window frames won't be needed until much, much later. All I need right now are the interior stairwell window frame and a small interior window frame for the second floor landing. I went a little crazy with the details on the stairwell frame as you can see. The entry/stairwell is the first room guests see, so traditionally in homes of that era, they were meant to make an impression.

Stairwell window frame.

Side detail.

The interior frames for the rest of the house will likely be a lot more subdued.

Small Window Interior Frame

Side detail.

Here I must digress a little...

Some of you may remember that last fall I worked on a commission to design and print 3D windows and doors for a Breakfast At Tiffany's themed dollhouse. For the 9" door surround, I had to print it in five pieces because of the 5.5" size limitation of my 3D printer's print bed. 

Rendering pieces, left. Printed and assembled door, center. Original BAT door, right.

My supportive husband, believing in my ability to create great things if I have the right tools, conspired with my kids to join forces and buy me a much larger 3D printer for my birthday last December. Now, I am able to print things over twice that large, making it possible for me to print the 7.91" interior stairwell window frame in one piece. Have I ever mentioned how wonderful Russ and my kids are to me? 💗 Using the scan/svg/3D printing method, I can replicate almost any piece I need to, as long as I can fit it onto the X-Max's 300 x 250 x 300 mm (11.81" x 9.84"x11.81") bed. I can even have another small job going at the same time because I still have my trusty old X-one2!

Welcome to the family, X-Max!

Back to windows... Now it was time for the real test. How would the frames look printed? I started with the staircase wall's interior frame. This was pretty complicated, so I figured if this one was successful, I was home free. I think it came out amazingly good, and surprisingly, even with the more capable printer, it took over nine hours to print. I am sure there are settings I can adjust to speed things up, but I still have A LOT to learn! I am trying to eat this elephant one bite at a time.


There is a bit of post production work to do, but sanding PLA is generally pretty easy if you have the right sized sanding implements. And trust me - it is a lot easier sanding than those crumbling plywood frames! And, no slivers!


It looks perfect against the pattern I traced on the wall, so I guess it's safe to cut the hole. Scroll saw here we come! But first...


In my excitement about the windows, I'd nearly forgotten that I also needed to have the front door ready. The kit's door is a double opening model which seems to be a common feature for second empire homes. I thought that re-designing mine to look like a double door but actually opening as one solid door was a better idea - less hinge engineering and less operating parts that could break.  Here's the rendering of what the door and frame looks like together.


Kit's Double Door


I designed it so that it looks the same on both sides. There's a frame for the exterior and the interior. The door itself is printed in two halves that when combined, will be the thickness of the original kit's door. I made a recess for the "glass" so that it will be sandwiched between the door layers. Because of the width, I printed the file two times - one for the interior and one for the exterior. I think I've figured out a way to engineer the hinges and I hope it works! 


Recess for "glass"

And here are the interior/exterior doors printed. I am super happy with how they came out! Each side took over 10 hours.


Test Fit...

From the front porch

From the kitchen doorway. I left 1/32" allowance on each side for paint and swing space.

From the stairs

And the interior Small Window frame straight off the printer. Simple but elegant, I think.


I did the entry arches for the kitchen and living room, too, but haven't printed them yet. First I have to decide on the flooring. The height of the arches will have to be adjusted accordingly for it. And I think it might be time to actually glue the foundation, front wall and center walls in place. Scary and exciting!


My recreation system is not quite as sophisticated as The Replicator in the Star Trek series, but it works well enough for me! And it goes to show that with a little technology and a will to try, any challenge can become an opportunity for even better minis!

Hope you're finding ways to turn your challenges into opportunities, too!

xo xo,
Jodi