By royal decree I have finished the final bed for the treehouse, my friends! Now Roz can call it a knight! 🤣 Yes, I often laugh at my own jokes... In all seriousness, it feels like real progress!
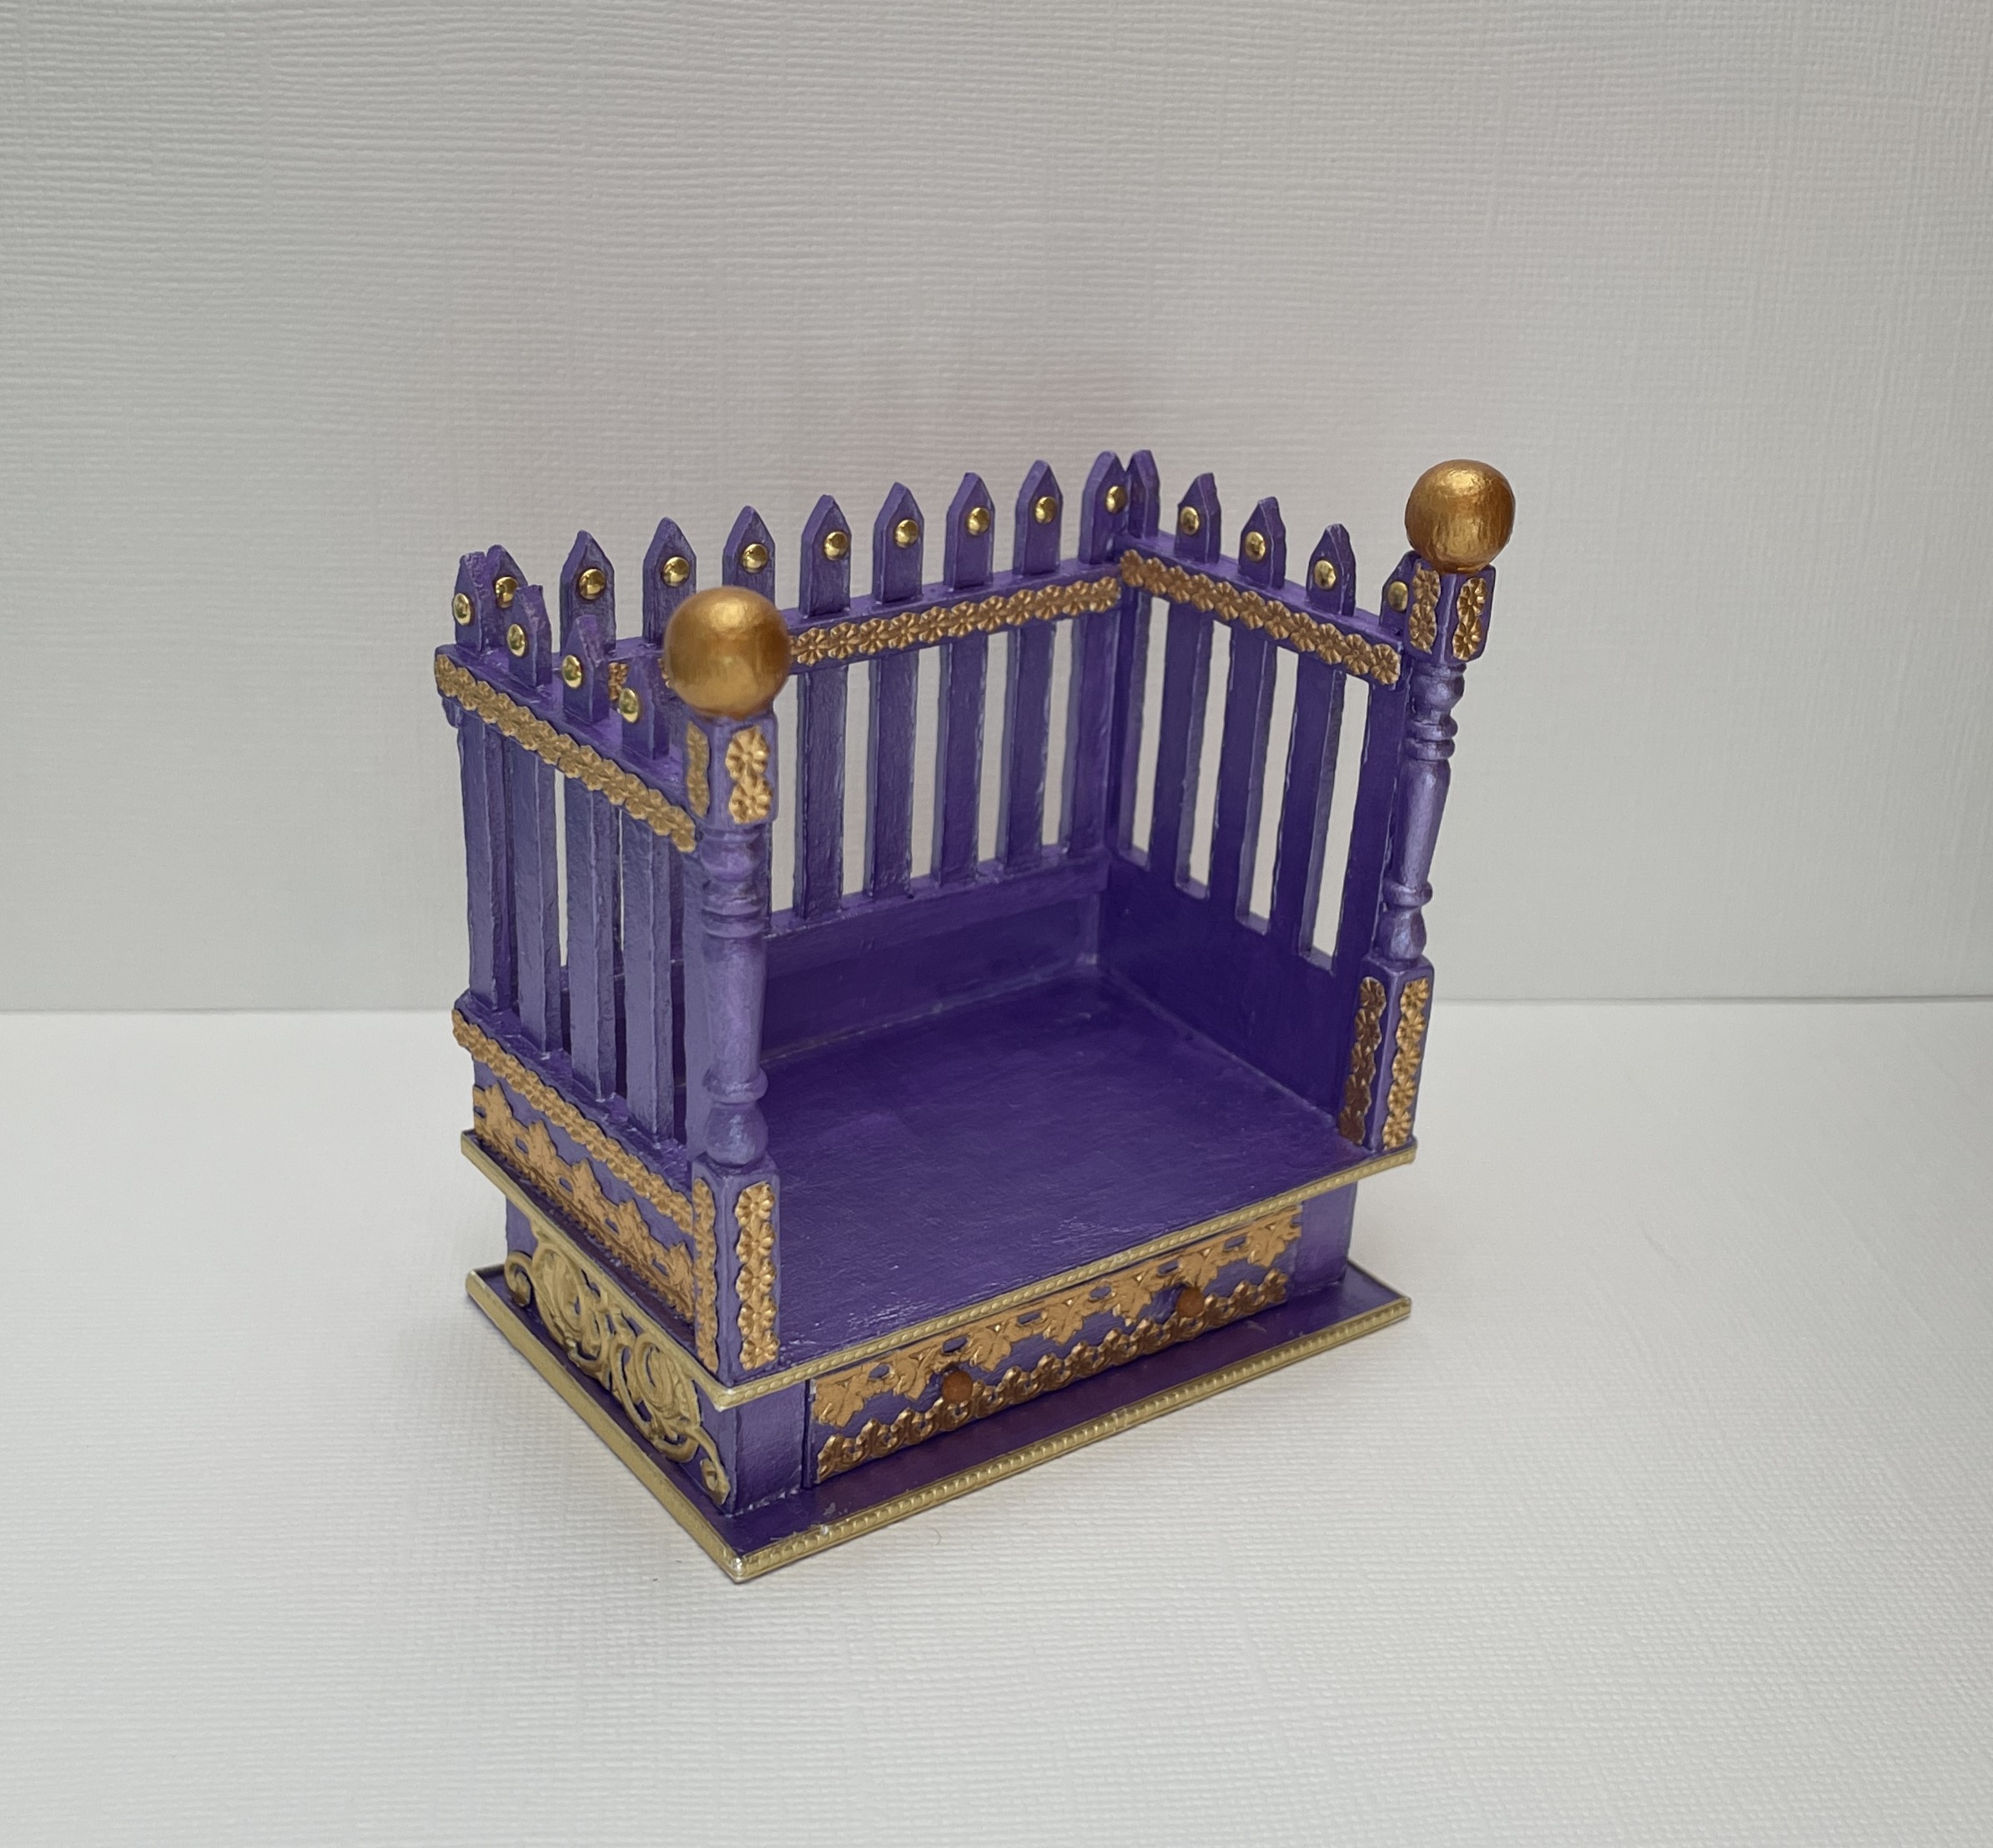
When last I posted about Roz's bed, before I switched to the other treehouse occupants' beds, I left off showing you a photo of the white primer coat. It was pretty just like that, but it wasn't Roz.

So, the next step was to paint it a custom mixed lilac shade followed by a glazing with a darker shade of purple. Roz just loves how the glaze coat makes the detailing stand out. It is really easy to achieve: just mix a ratio of about 25% contrasting paint color with 75% satin glaze. Brush on and into the crevasses, then dab away any excess with paper towel. Stippling also creates a wonderful texture with the right piece, especially rusty things.

With the bed frame itself completed, I could finally explore the bed style ideas I've pondered for months. There were so many that I couldn't incorporate them all into one bed! Luckily, Roz's requirements narrowed them down for me. She said it had to be very feminine, very frilly, adorned with loads of flowers and yet be as plush as a cloud. Being as practical as she is magical, her final caveat was that it would also need to be very functional. After all, what good is a beautiful bed if you can't be comfortable in it? A Fairy Beary Godmother, whose job it is to grant wishes, should have her own wishes granted, when possible, don't you think? I set out to check off every detail.
First, I built a frame to support a fabric dust ruffle with an overlay of 5/8" lilac lace. This would attach under the bed frame and add stability, as well as look attractive. The fabric is glued onto a strip of cardstock, then glued to the basswood frame. Then the lace is glued on top of that.


I built a matching canopy frame and a canopy top made from fabric covered cardstock. I used DMC floss to blend the seam where the canopy frame met the cardstock canopy top.


I'd say those elements went a long way in achieving the "feminine" and "frilly" parts for Roz!


Now for the "cloud" part! I found this video on how to make fitted crib sheets and thought I could adopt it for a mini bed. I cut the fabric for both the fitted and the top sheet from some nearly sheer quilting cotton. Thanks to the tip Shannon left in last post's comments, next time I sew fabric this thin I will try using tear away interfacing.
I won't bore you with many details of my process, and who am I to give a sewing tutorial, but the video was enough to help me make Roz's fitted sheet. It is basically just cutting the corners out and stitching them together. I took photos to share, though.


I actually bought 1/4" elastic to sew into the fitted sheet, but decided it would only add unnecessary bulk under the mattress (or maybe I just chickened out). Instead, I tacked the fitted sheet down with Tacky Wax. This leaves it removable if I ever want to make different sheets.

Viola! It fits!

And it looks nice on the bed! Yippee! I hope this counts towards the "loaded with flowers" part!

Here is the rest of the bedding I sewed: A top sheet (with wonky stitching thanks to it catching on the feeder feet (again need interfacing!), two bed pillows (using the same ticking fabric as the mattress), a pillowcase that matches the sheets, a pillowcase that matches the duvet, and a reversible duvet that I've lined with tin foil so that I can arrange the bedding if the story calls for it. The dark purple thread is one of two choices I had in my stash. Being a novice, it did not occur to me ahead of time to have other purple thread options. I should have made a different thread choice but... hindsight! I am satisfactorily happy with my efforts.

I didn't end up liking the bed with both pillows for the photos. Roz can decide how she likes it for her purposes. The little crochet pillow was an Etsy purchase. You'll see later that I added a homemade tassel to it and a couple to the canopy. The bed looks pretty comfy, so that takes care of the "cloud" part!

Now for the "adorned with loads of flowers" part. I didn't have any more purple mulberry rose buds, so I decided to dye some white ones myself. Using a couple purple alcohol ink shades and blending solution, I mixed four varying shades of purple to dye the rose buds. I mixed the color in a plastic condiment cup, dipped a paintbrush in and then touched it to the flower. The bud drank it up and the ink dried quite nicely. I dyed and used 99 buds on the bedposts. For the leaves, I used a mini leaf punch and leftover paper from flower kits that I've saved up. I dyed them with a variety of shades of green alcohol ink. You can also use rice, silk or tissue paper. I don't know how many leaves I used, but it was A LOT! Because I was listening to The Covenant Of Water on audiobook and got lost in the tale, the time sailed by.

And here is the "adorned with loads of flowers" aspect that Roz asked for.


With the pillows...

And finally but most importantly, what does Roz think? Is it fit for a queen? Or better yet a Fairy Beary Godmother? Roz thinks it looks too perfect to pass up! She's taking her wonderful new Little Women book from Deborah's Etsy shop, climbing in and reading until she drifts off to sleep...

Sweet dreams, Roz!
But wait! Aren't I missing something on Roz's list? Yes! the "functional" part! Not to worry - Next week I hope to have Roz and Rozario's bedroom completely furnished and decorated. Then I'll share how things function.
Until then, keep peace in your prayers, my friends!
xo xo,
Jodi
“I think it pisses God off if you walk by the color purple in a field somewhere and don't notice it. People think pleasing God is all God cares about. But any fool living in the world can see it always trying to please us back.”
― The Color Purple