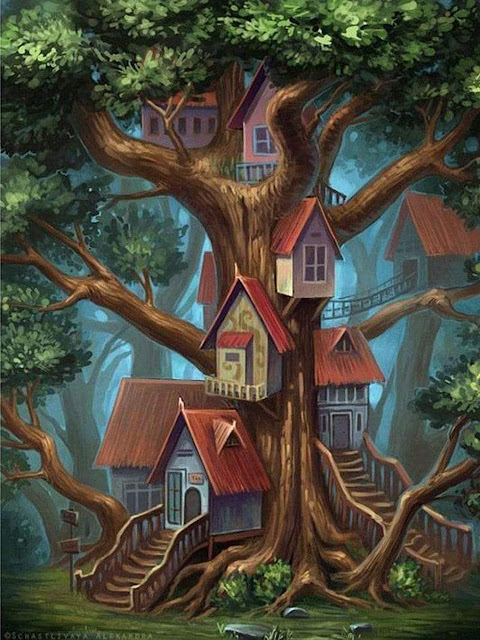
Yes!!! All those things! And any other style or genre that seems to fit the bill. All I know for sure right now is that this will be the home for a couple rebellious and adventurous little girls that seem to find rejection and trouble in their worlds. They need a fun, safe place to call their very own and a real, true friend to adventure with. This will be a home where the porridge, chairs and beds are made just for them and weird tea parties with strange creatures are encouraged. Beheadings definitely are not! Meet Goldie and Alice and their new home, the Linfield Fairy Treehouse...
 |
| Goldie Locks and Alice Wonderland |
They are very excited to make your acquaintance and would love it if you could recommend a good dressmaker!
Now that we have the inhabitants to build for, let's talk about the structure...
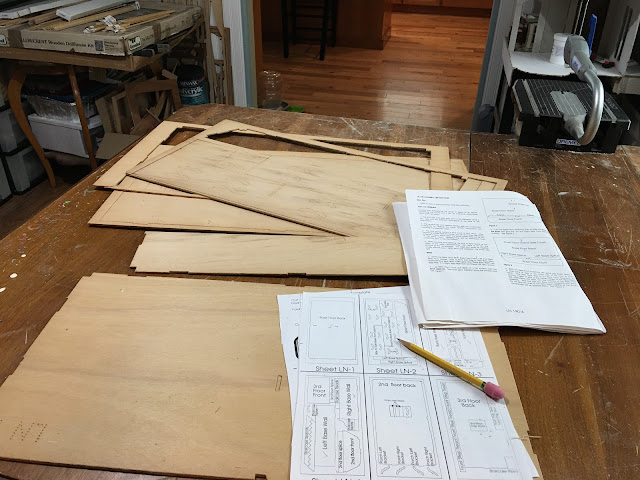
Since I only have a folder full of inspirational photos as a general guide to the features I'd like to include in their home, I thought it best to work on each of the four main walls in the Linfield kit, one at a time. But I kind of do have to sort of follow the instructions, so it might get challenging quickly.
 |
| These homes have features I'd like to attempt to incorporate |
Going by the instructions, I needed to construct the base floor first. Already, by step 2, I was deviating from them. I guess that makes me a rebel, so I'm the perfect builder for these girls! I want to incorporate a tree trunk type base for the house, so having a 3-1/2" tall foundation was not going to work. I replaced the kit's foundation pieces for 3/4" basswood strip, and will end up with more of a deck floor incorporated into the tree base. I installed the kit's wood flooring strips as haphazardly as I could with a hot glue gun. The messiest techniques could become the best character features for this treehouse!
 |
| Punching pieces, picking splinters from my fingers... |
 |
| Lots of gaps, just like a treehouse should have! |
 |
| This floor will need supports once I know where the trunk will fit. |
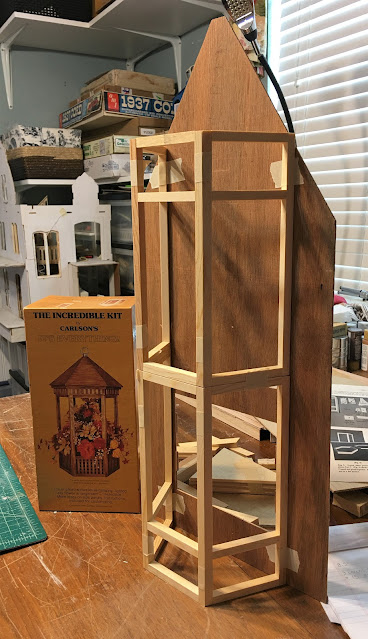
Next, I wanted to start on the wall with the staircase. I always knew that I would create a protruding stairwell for this house. It would take up too much room space if I left it in the center of the house. But the new stairwell would have to fit in architecturally with the treehouse feel. I had the perfect little Carlson's kit to help me.
The gazebo kit is designed to be built in two halves, so if I stacked the halves, I'd have an almost instant staircase tower. Using and rearranging some of the kit's trim pieces in dry fit was promising. I just had to cut the short sections off one of the halves to end up at a good height for the Linfield kit's wall. The opening in the left wall is almost the perfect width for the tower - I'll just need to make the opening taller. The pop out window that is supposed to fit the opening can now be relocated to the right side wall. I am hoping that it will become a bed niche for one of the girls.
 |
| I'll need to cut a slightly wider and much taller wall opening. |
 |
| Just a little too tall... |
Now I had to come up with some stairs and see if it was going to work with only half a stair tower. By stacking three 3/16" foam core pieces it created a good step height. I was only able to fit six steps and still have a roomy landing, so the girls will have a custom ladder to climb the last four inches to the second floor. Fun! I'm still considering ideas for a finish on the stairs.
 |
| Fairytale steps! |
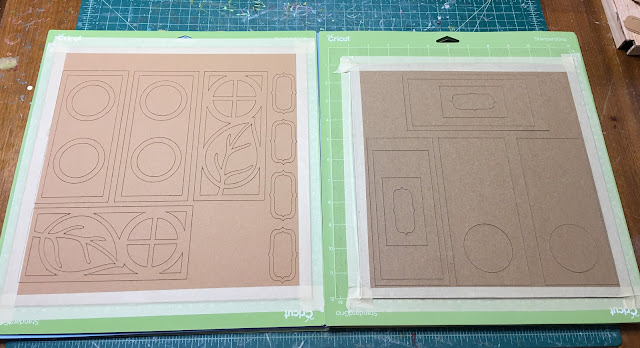
Now that I knew the stair tower was going to work I needed to come up with wall ideas. I turned to my trusty Maker and chipboard/kraft board. I decided to make small porthole windows where the stairs winded up, but then open the second section up with windows common in fairytales. The top section of the tower just needed small windows with a fun shape.
 |
| First section tower wall/window panels |
 |
| Second section tower wall/windows |
 |
| Third tower wall/windows. |
By stacking layers of chipboard and kraft board, I created walls for the inside, walls for the outside, and will sandwich the 1/16" Lexan window panes in between. But first, a dry fit to see if they were going to fit and look the way they looked in my mind. You can see in this dry fit photo how I was able to use some of the gazebo kit's trim pieces to create a raised base for the tower. Now the stairs and first floor will meet perfectly.
Before going any further, a dry fit with the base colors... I love it!
And with the stairs... I think this is going to work!
Now to create some texture! Using layers of regular wood glue, applied with a needle tipped bottle, I created "bark". It shrinks quite a bit after it is dry, so I applied about three layers. I was really hoping this was going to come out the way it looked in my mind.
And then the tower itself needed "bark"...
And paint...
And dry brushed highlight colors, then finished with dirty water washes on top...
Now it was time to assemble the windows. I only have so many clamps, so this was a patient process...
Once one window panel sandwich was dry I could assemble and clamp the next, then sand and fit the previous one into the tower...
And I just love the whimsical look and texture that was achieved with simple chipboard/kraft board, wood glue and paint!
Finally, the panes were finished and installed!
This "by the seat of your pants" thing is really very fun and the girls are loving the progress! Hopefully, I'll be back next week with the stair tower finished and attached to the left wall. Maybe the girls can even test out the stairs! 🤞
xo xo,
Jodi


