Search My Blog!

Use the Search box below to find keywords that you're looking for quickly and easily!

Search Feature

Showing posts with label Non Mini Ramblings. Show all posts

Monday, May 4, 2020

Never Boring At My House!

Here I am with another project that may seem out of the blue, and on top of that, it's one that I can't talk too much about for a few weeks! I know, I know! Then why even tease you?!? Well, because, when I don't post anything I get lonely for you! So indulge me for the next few weeks and then I promise I'll get back to the bakery and back to laying all of my cards on the table...


Without giving much explanation, I can say that I have been changing gears and working on a couple small side projects. Not the southwest/Spanish style patio project - it is finished and I'll have a post about that later this week. This is a whole other commitment I made around the beginning of the year.

For this one, I started off with vintage The Daisy House Hall Table w/Mirror kits, and, making a few minor modifications, turned them into bathroom vanity sink units. I added a full shelf to the bottom and made new deeper stained wooden countertops to accommodate a sink and faucet. Adding the mirrors will be one of the last things I do as it is safer that way!


Each will have a different overall theme, and so accordingly, the accessories will be made up of supporting color schemes. Think eucalyptus and lavender. Below are the candle sets for each, and the candle and pillar tutorial can be found on the tutorials page or in the March/April issue of American Miniaturist.


What am I going to do with them? Well... I can tell you part of the story...

A lot of you know that Russ is a contractor. That means that we experience a lot of Feast or Famine depending on the work situation. Our married life has been sprinkled with a few very scary times, especially in the younger years when we often did not have two dimes to rub together or much food in the cupboard. I remember a time when our kids were really little. Russ had to have surgery and so was out of work for about six weeks. We were struggling to make ends meet and our grocery budget was dismal. In our mail box one day was a grocery store gift certificate for $25 and the name of a local food bank. I did not know our tiny town even had a food bank! The angel who sent us that help touched us in such an amazing way. It was an anonymous gift, but we knew who it was from. They were a young couple, too, and they had three kids! And yet they shared what they could with us. That amazing gesture opened up our minds and hearts to the idea of giving whenever you are able to give. This is why Russ and I support our local food bank and I encourage you, if you are among the lucky in these times, to donate food or money to yours. A little can go a long way!

When the vanity sets are finished, I'll hold a drawing for one of them. All you have to do to enter is to donate to your local food bank. If you are among the folks relying on the food bank to help you through this time, all you have to do is agree to one day, when times are better, pay it forward. More details to follow...

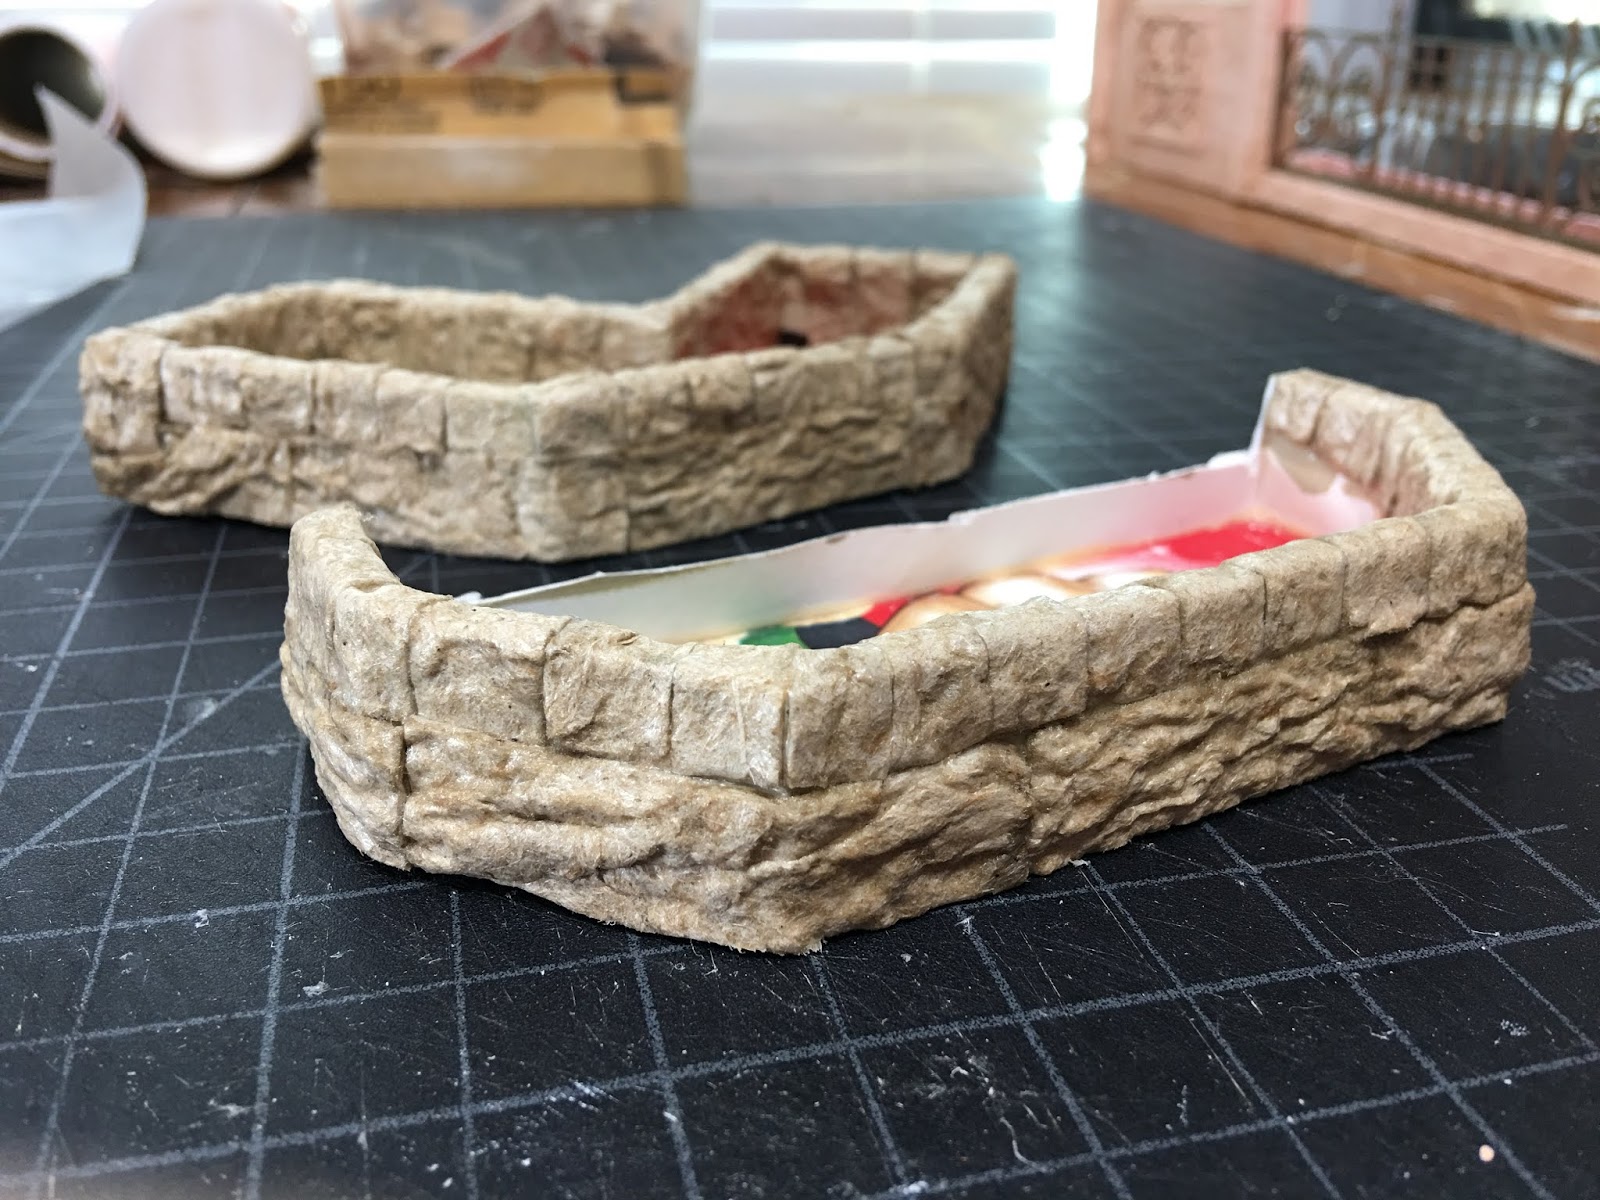
In the meantime, I am going to continue to make accessories for the vanity sets until I run out of materials or ideas. In digging through drawers to come up with ideas, I came across these! Looks like no boredom is in the cards for me!


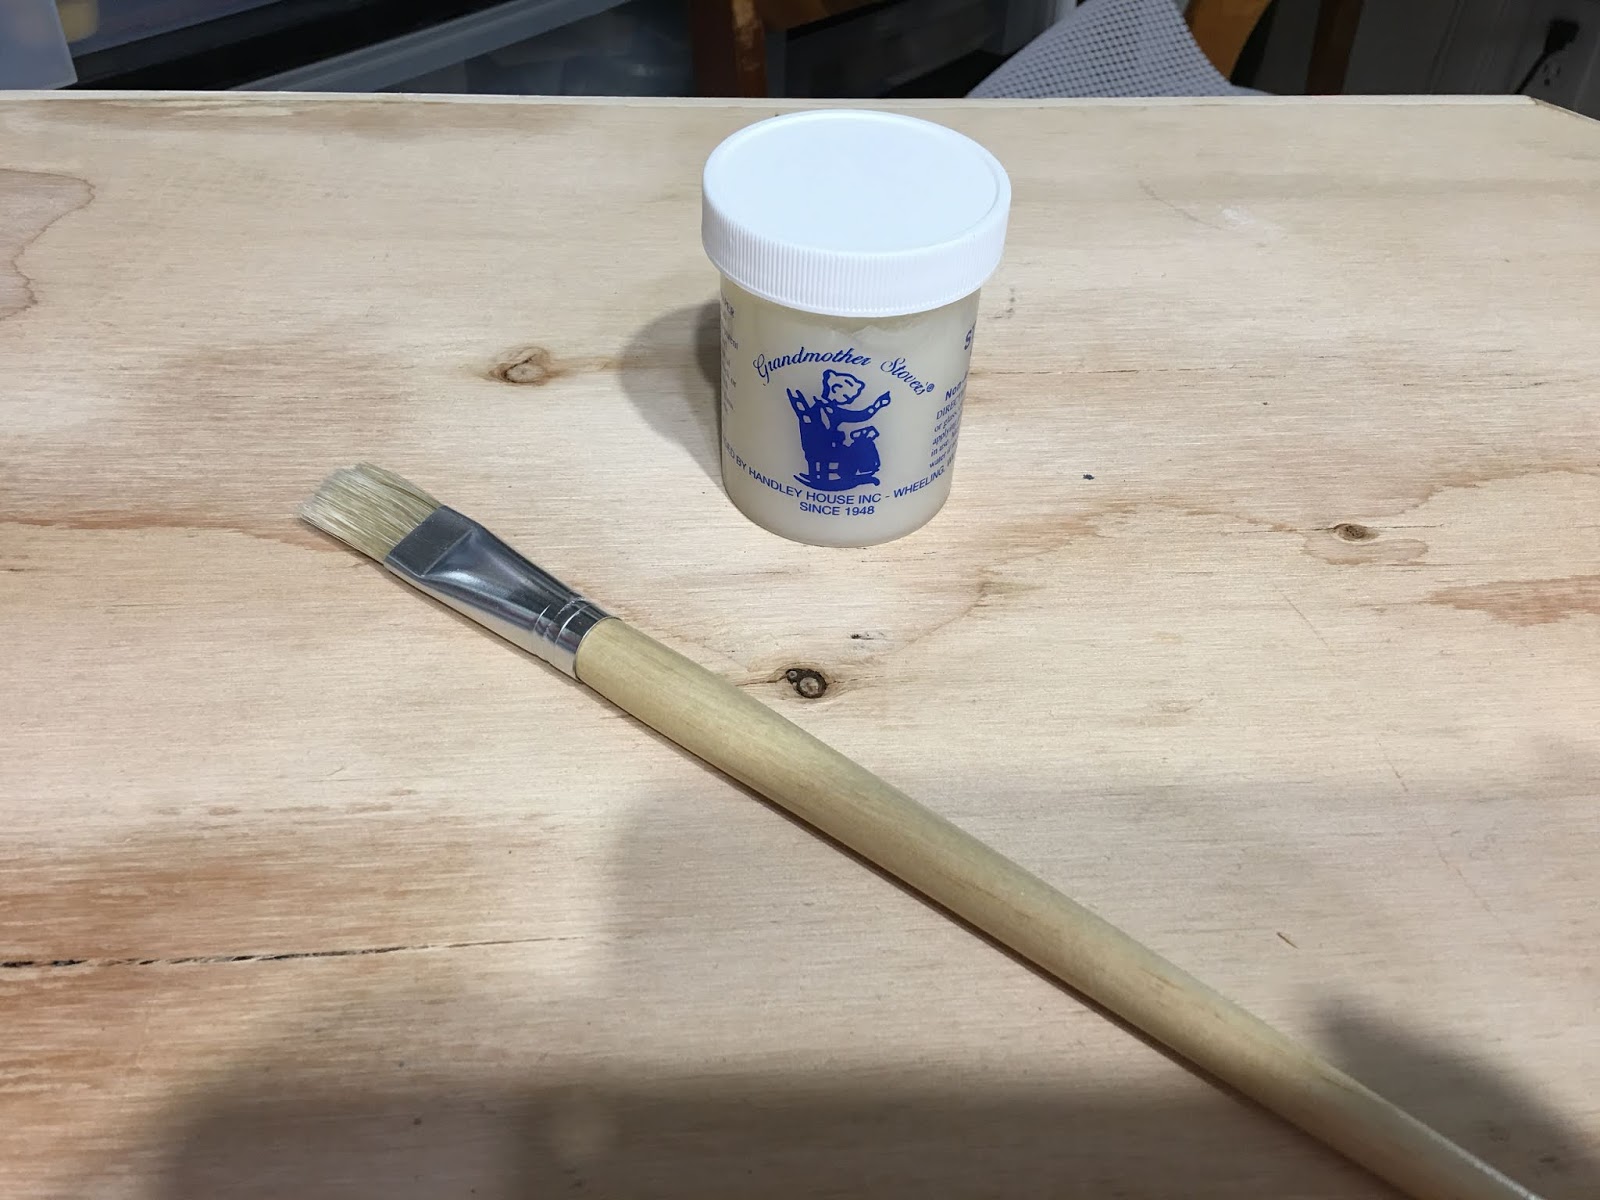
And just so you know that I am serious about getting back to the bakery, I have ordered three cake kits from Stewart Dollhouse Creations! I imagine the learning curve will be a sharp one, but hopefully, you'll be here to laugh (or cry) with me through the process!

Stay safe and get busy making!

xo xo,
Jodi

Wednesday, November 20, 2019

Where Has November Gone?!?


If you like lists, here are a few things that are making November fly by for me:

  • Family Room/Kitchen refresh/remodel (still not finished!).
  • Secret Miniature Project With A Deadline That I'm Not Allowed To Share Just Yet.
  • Football (watched more games than I can justify or want to admit).
  • Normal work/life obligations.

And yet it feels as if I don't have a lot to show! Let's start with minis...

I can't reveal much about my secret mini project, but I can show a couple partially revealing photos. I promise, soon I can spill the beans!


Oh - And I made a little Snake Plant Tutorial as I made up these plants.


Family Room/Kitchen refresh/remodel (still not finished!). In spite of the kitchen painting being done, it's still chaos in there! You can see though that we did go with the sage paint and it looks nice. Thank You all so much for your help in deciding!


The family room is getting used regularly, even though it still isn't quite finished, either. I need to paint and recover that chair and it's twin. I bought them in an auction in 2004. They've seen three homes and a lot of butts!


Eating At the the counter while watching football has been great!


I started refinishing the hutch that my grandma left me when she passed. By refinishing I mean spraying with chalk paint. I have 1-1/2 cans left to go, then the aging and finish. I can't decide on decoupaging the sides or not, so I am allowing myself time to ponder while we work on higher priorities. It's hard to see the true color in our Northwest gloom, but it's Rustoleum Serenity Blue. Can photo below. I hope to eventually fill the upper glass portion with mini scenes or an apartment like layout inside.


Russ started on the wood floor installation over the weekend. Unfortunately, the air nailer freaked the dogs out so badly we had to stop. Georgia has a seizure disorder already and startling noises are a trigger. Woodson is a rescue from a pretty terrible puppy mill and still has PTSD. Rusty is just the sweetest and most timid soul on the planet. Ande, our grown up son (bless his heart), is going to come take them all to the dog park this weekend so we can finish without traumatizing them! But the good news is that the new super discounted floors are a pretty close match to the original floors!


My sweet little boy, Woodson. Petting him is like feeling crushed velvet! 💗


So, still lots to do as November ticks by! Luckily, my amazing daughter Natasha, who is a fantastic cook, is hosting Thanksgiving dinner at her place this year! There will be 16 of us, but she has that kind of excitement about hosting the holidays that we all did when we were young! Bless her heart, too!

Back soon,
xo xo,
Jodi

Wednesday, October 23, 2019

Big Plans, Little Progress...

Greetings fellow mini addicted! I am afraid what I have to share is pretty sparse this week. I have done a little in a lot of directions, but completed nothing!


I painted the lamps and shades for each of the roomboxes, and painted pots and worked out the plants that will be planted in the pots for the atrium windows. I have yet to actually plant them.


I also began working out the chair designs for the rooms, first finding a chair style I liked and then trying to work out how to make it.


I have drawn up the pieces for the chairs, then imported them into Cricut Design Space.


I cut them from kraft board, and as I am making each of the three prototypes, I am taking notes on what needs to be changed on the pattern pieces. So far, it's not half bad. Just time consuming.


Russ was visiting his mom for a long weekend to celebrate her 71st birthday and to help her knock a few things off of her Honey Do list. He came home Monday with a clear schedule and some wicked home improvement mania. We'll be doing a little home improvement to our family room over the next three weeks, so my mini creating time will be very limited. Here's what the room has (mostly) looked like for the past 11 years...


I'll share some after photos as soon as we're done. It's going to look very different!

I asked Rusty if he'd mind helping a little. This is what he said...


I think we're on our own, lol! See you next week!

xo xo,
Jodi

Wednesday, December 26, 2018

Suddenly... Life Is Sweet Again!

Hello Dear Friends! I know it has been a while (not usual for me to stay away this long) and I hope I have not worried anyone! Heck, with all the holiday hoopla for most of you, you probably didn't even notice my absence! Either way my excuse is lame - too busy with big life responsibilities resulting in low energy/no mojo for mini life. I don't have anything really exciting to share yet mini wise, but I did work on a few minor things...


You may remember that the Storybook Cottage kit comes with some furnishings. I knew from the beginning I was going to use the daybed and have a little fun with it. I added some Dresden trims, some metal findings and am in the process of priming with gesso to get it ready for paint.

Photo from the trial fit in the bedroom months ago.
Embellishments added and a decorative back piece cut with the Cricut.
I cut a decorative back piece and faux drawer framing/side molding with the Cricut. Once it's painted I'll add drawer pulls, make the mattress and pillows then dress it all up.

I received a lovely gift from our generous and thoughtful friend Birgit! She sent a variety of beads and findings that get my creative juices flowing!


 She also sent four very special Schwibbogen (candle arches) which were so interesting to learn about! So many great Christmas traditions came from Germany! I still have the original Advent calendar roombox to make, so now it will include a four pane window so that each of these can be displayed! All of the things she sent to me will find their way into the design. Of course she sent marzipan, too, but Russ and I ate it all before I could get a picture! Yum! 😋 Thank you dear Birgit! Your package lifted my spirits like a big bear hug!


My birthday was made incredibly special by the people in my life. I got to spend the entire day with my amazing daughter Natasha who is now a grown and successful businesswoman. She took the entire day off just for me! We went to the local butcher to pick out the Christmas prime rib (which she cooked extraordinarily at her house, hosting Christmas for the first time), then had delicious Thai cuisine for lunch. We went to downtown Seattle to enjoy the Christmas lights and saw the movie A Star Is Born. Luckily, we are both criers when it comes to sappy movies! She also gave me a generous Amazon gift card to keep me in mini crafting supplies and a beautiful gold necklace that says "Momma".


My son, in spite of being sick with a nasty bug, came over to help me fix a section of fence that blew down in a freak wind storm. Russ was still working 80 miles away so Ande was a real hero! Then he brought me a box of yummy See's chocolates and a gift card for minis! I raised some incredible kids, and they make me feel so loved!

My wonderful parents spoiled me with a gorgeous flower delivery, a hilarious singing card informing me that 50 is the new 40 (to the tune Grandma Got Run Over By A Reindeer), and a very generous check with instructions to spend it completely frivolously! They are awesome, and because of them I am able to give the cottage kitchen appliances one more try!!!


I hope all of you enjoyed time with your favorite people, and were reminded how sweet life can suddenly turn again! 💗💗💗

Back (hopefully) next week with good mini progress!

xo xo,
Jodi

Wednesday, October 17, 2018

Be Our Guest...


After our son moved out in July, we decided to give some of the upstairs rooms a little refresh. We took out the old carpeting, replaced it with laminate flooring, repainted the walls, and did some repairs. It took us a while (and is still ongoing), because Russ had been working out of town, coming home for weekends, for several months. As luck would have it, other important things (like replacing the Jeep's clutch) came up and took precedence, too. We really only had the weekends together to get things done, and a lot of the work was a two person job. Our scope of work included two bedrooms, the guest bath, the hallway and (almost finished) the landing. We are also replacing the carpeting on the stairs for wood treads and beadboard risers, though that work is still ongoing. It's been a lot of physical work, and in spite of our "Reuse, Recycle, Restore and Repurpose" commitment, the $$ have been flying out of the checking account. But like most necessary things, we are glad to have (nearly) gotten it done.

For now, we only furnished and decorated one guest room. Our usual visitors live close enough to go home after gatherings, so one room seemed appropriate. To make it a comfortable place for our guests, we bought a few things, refreshed and repaired a few things, and I made a few things. I have a lot of bold colors throughout the rest of my home, so I wanted the guest rooms to feel light and airy. I tried several samples on the walls, and because of it's warm and neutral feel, went with Behr Cream Puff. I like it, and it gives off a nice feeling in person. It also looks crisp and clean with the freshly repainted white trim.


I made the wall art piece thingy using wood, trim, knobs, ribbon and paint I already had. The frames are 12" x 12" purchased on sale from Hobby Lobby online. The price was great ($4.99 half price sale), and the frames are good quality, but boy did they take a long time to get here! 10 days! If only Hobby Lobby knew how impatient I am, and could get my stuff to me in 3 to 4 days instead, they'd get A LOT more of my money! I used the Cricut Design Space to create the lettering and mats for the frames. The letters for HOME were also purchased from Hobby Lobby.


The coat rack/hanger was under $8, having only to buy the chipboard "welcome" and two fancy metal hooks. I had the scrap wood and trim, black chalk paint and bronze guilder's paste.


The dresser has been a hand me down in our family for a number of years. My grandparents had it in their guest bedroom, then when grandpa passed, it lived at my parents house. They gave it to my son who used it until he moved out, and then it became ours. Originally, it had a very orange-ish toned stain. Not really my style, but the original hardware was unique and rustic enough to fit in with the new decor. After a coat of black spray paint and then a dusting of aged bronze, they're even better. I gave the dresser a good cleaning to remove accumulated and invisible oils and furniture polish collected on it throughout the years, then primed and spray painted it satin black to match the rest of the furniture. It works really well in the room.


The platform bed frame is nothing special, just a ship flat IKEA type piece. They wanted an arm AND a leg for the matching headboard, so I made my own. Having some experience making fabric covered cornices for the kitchen and family room windows, I had a little confidence that I could make the fabric covered headboard. Nothing fancy, just interesting and nice. Russ cut the 3/4" plywood for me, then I stapled on a 1" foam slab. I wrapped batting over that, and then the fabric. I got the upholstery fabric and the foam slab from Joanne's online when they went on sale for 50% off. I paid $5.99/yd. for the fabric (bought 4 yards so I'd have extra) and $16 for the 24" x 90" roll of 1" thick foam. I had leftover batting stored from the cornices, and finally put it to good use! The fabric is pretty and pulls in the yellow, black and creams from the rest of the decor. I also made runners for the dresser and the nightstand with the fabric.


I bought the chair, mattress, bedding with window covering set, candles, rug and clock at various online retailers after much price comparing and review reading. Did I mention how much I avoid shopping in stores? Fierce traffic to get anywhere, long lines, out of stocks, can't find what you need, having to drive all over to several stores just to strike out. Nope. Not doing it. I'm an online shopper, and even get my groceries delivered!


The lamp is an extra from the set I have in the family room. It just needed a simple rewiring. The nightstand is an extra piece I've used in various rooms over the years.


The bathroom didn't get a lot of attention. I found just scrubbing the walls, repainting the over-the-toilet cupboard and a fresh coat of trim paint did the trick.  I replaced the previous art work in the frames with another quick and easy Cricut project. Russ and I had already replaced the light fixture and added the countertop tile years ago. So, a guest bath ready for guests or overflow (oops! probably shouldn't use that adjective when referencing a bathroom!) from family gatherings.


And that's it for now, though at some point we'd like to replace the flooring in the last three upstairs rooms. Maybe next spring, though - we're pooped and looking forward to some lazy days!! I'll leave you with a lovely foggy fall morning view from the guest room's window.

Mt. Rainier
Hopefully, next week I'll be back with continued progress on the Storybook Cottage landscape.

xo xo,
Jodi


Thursday, September 6, 2018

Storybook Cottage - Laying The Groundwork

This week's mini time was a continuation of getting the landscape board ready for the cottage and it's garden. Before I got much further, I needed to get the plywood base bottom covered in felt to protect the table it will sit on. I bought a few yards of this brown felt at Joanne's a few years ago when it was on clearance, and I'm still using it up. I cut a piece to cover the bottom with extra allowance around the edges, then gave the plywood a good layer of Grandmother Stover's glue. I laid on the felt, then used my burnishing tool to get good adhesion everywhere. Once dry, I used my Xacto knife to cut a nice close edge. When I missed some, or the cut wasn't as pretty as could be, I used my embroidery scissors to clean it up.


I marked again on the board where the house would sit, then made a planter box to attach to two of the fence sections. They got stucco (and later aged) to match. There will be a stone path along the third fence section, so it didn't need a planter.


Using foam core boards for walls and cereal box cardboard for bottoms, I made a planter for the corner and for under the bay window by the front door. I covered them in "stone", then added foam planting bed to help hold in the future plantings.


With the very limited garden space, I decided not to try to force in a lawn, but instead make a stone path surrounding the cottage. In addition to the planters and window boxes, I can have an extensive container garden with all sorts of creative pots and things. So first, I painted in the path, then edged it in 1/4" wide liner "stones". I checked the fit of the fencing and planters as I went.


Then I filled in the pathway with "stone pavers" made from the same Yankee Candle cardboard packaging as the rest of the "stone" in the project.


I didn't want to grout the stone, because I wanted a more informal path kind of feeling. I had this Bachmann gravel in my landscaping drawer for a long while now, but had never had the chance to use it. I experimented a little, then found that running a light bead of Elmer's glue in the grout lines, then sprinkling the gravel on worked well. I lightly patted the gravel, then once dry, I rubbed my finger across it to remove the excess and loose gravel. I didn't try to save the excess - didn't want to risk gouging my wood floors if I happened to miss cleaning it up, so I just dumped the board out on my gravel walkway in the back yard. With a little future aging using chalk pastels, then planting some rogue weeds and moss in here an there, I think it will look nice.


So here is the table that the cottage is going to live on. I am still mulling over ideas about weather I'm going to paint it, and if so, how? The great thing is that there is room on the bottom shelf for another small future project!


And here is where the cottage stands now, ready for flowers and plants and all manner of living things to adorn her. You may notice that the moss is a little less prominent, having been rubbed to lose some of it's fuzziness. But the mossy rock is kind of growing on me.


But before I can begin to undertake all of that flowery awesomeness, I have some real life homework.

Dresser Handles

Dresser Painting in Progress

Lots of Decor Stuff To Make

Russ has finished the flooring in two bedrooms and the hall, with only the landing and stairway to go. So now I can begin creating a nice, comfortable room for our guests to stay in.


So now that the groundwork has been laid, next time, I hope to have more exciting and colorful things to share both with the cottage, and our real life home!

xo xo,
Jodi