Oh My! Stairs are HARD!!! And the ones for the New Orleans have been a real challenge for me from the start. I reasoned that before I installed the last wall panel upstairs, and prior to focusing on the bedroom, I had better get the hallway balcony railing and all trims for that skinny room completed. Big hands and frequent lapses in grace were among my worries. To do this part of the project, finishing the stairs was essential, but the stairs for this project have been a bit of an odyssey from the beginning...
During the first dry fit I decided the set that came with the kit were too narrow, steep and plain. So I began making my own. This was in May of 2017!
After I had finished the first set, I realized that the last stair ended way too close to the "fourth wall" and instead needed a return. And since I was rebuilding anyway, why not add built in shelves for more display opportunities?
The photo below was as far as I'd gotten in August of 2017. And there they sat during my looooong hiatus.
Another bright idea came when I thought that opening up the stairwell would allow the chandelier light from the landing to shine down the stairs. I couldn't resist the idea of having something so pretty, so the opening became much larger. Now there would be a balcony all the way around the opening.
 |
See how narrow the original stairs and opening were to be
per the original kit specs?
No way Jose! |
When you cut a gaping hole into the structure, it can cause some sag which is what I expected and did occur with the stairwell opening. I always thought I would probably have to have some sort of column to support the second floor, though my original solution proved to be too big for the room.
 |
| Slight floor sag at enlarged stairwell opening. |
 |
| Original column plan took up too much space in the living room. |
 |
| And crowded the walkway from the front door to the stairs. |
To help support the opening, I have added a 1/4" x 1/4" trim strip all along the second floor. It matches the first floor trim strip that I added to give the extra 1/8" of length I needed for the kitchen cabinets. I drilled pilot holes then nailed it into the floor for extra support. I will likely still add a column, but will need to load the furniture into the room to decide on size and placement. So I have put a pin in that task for now.
 |
| The trim strip has helped the sag. |
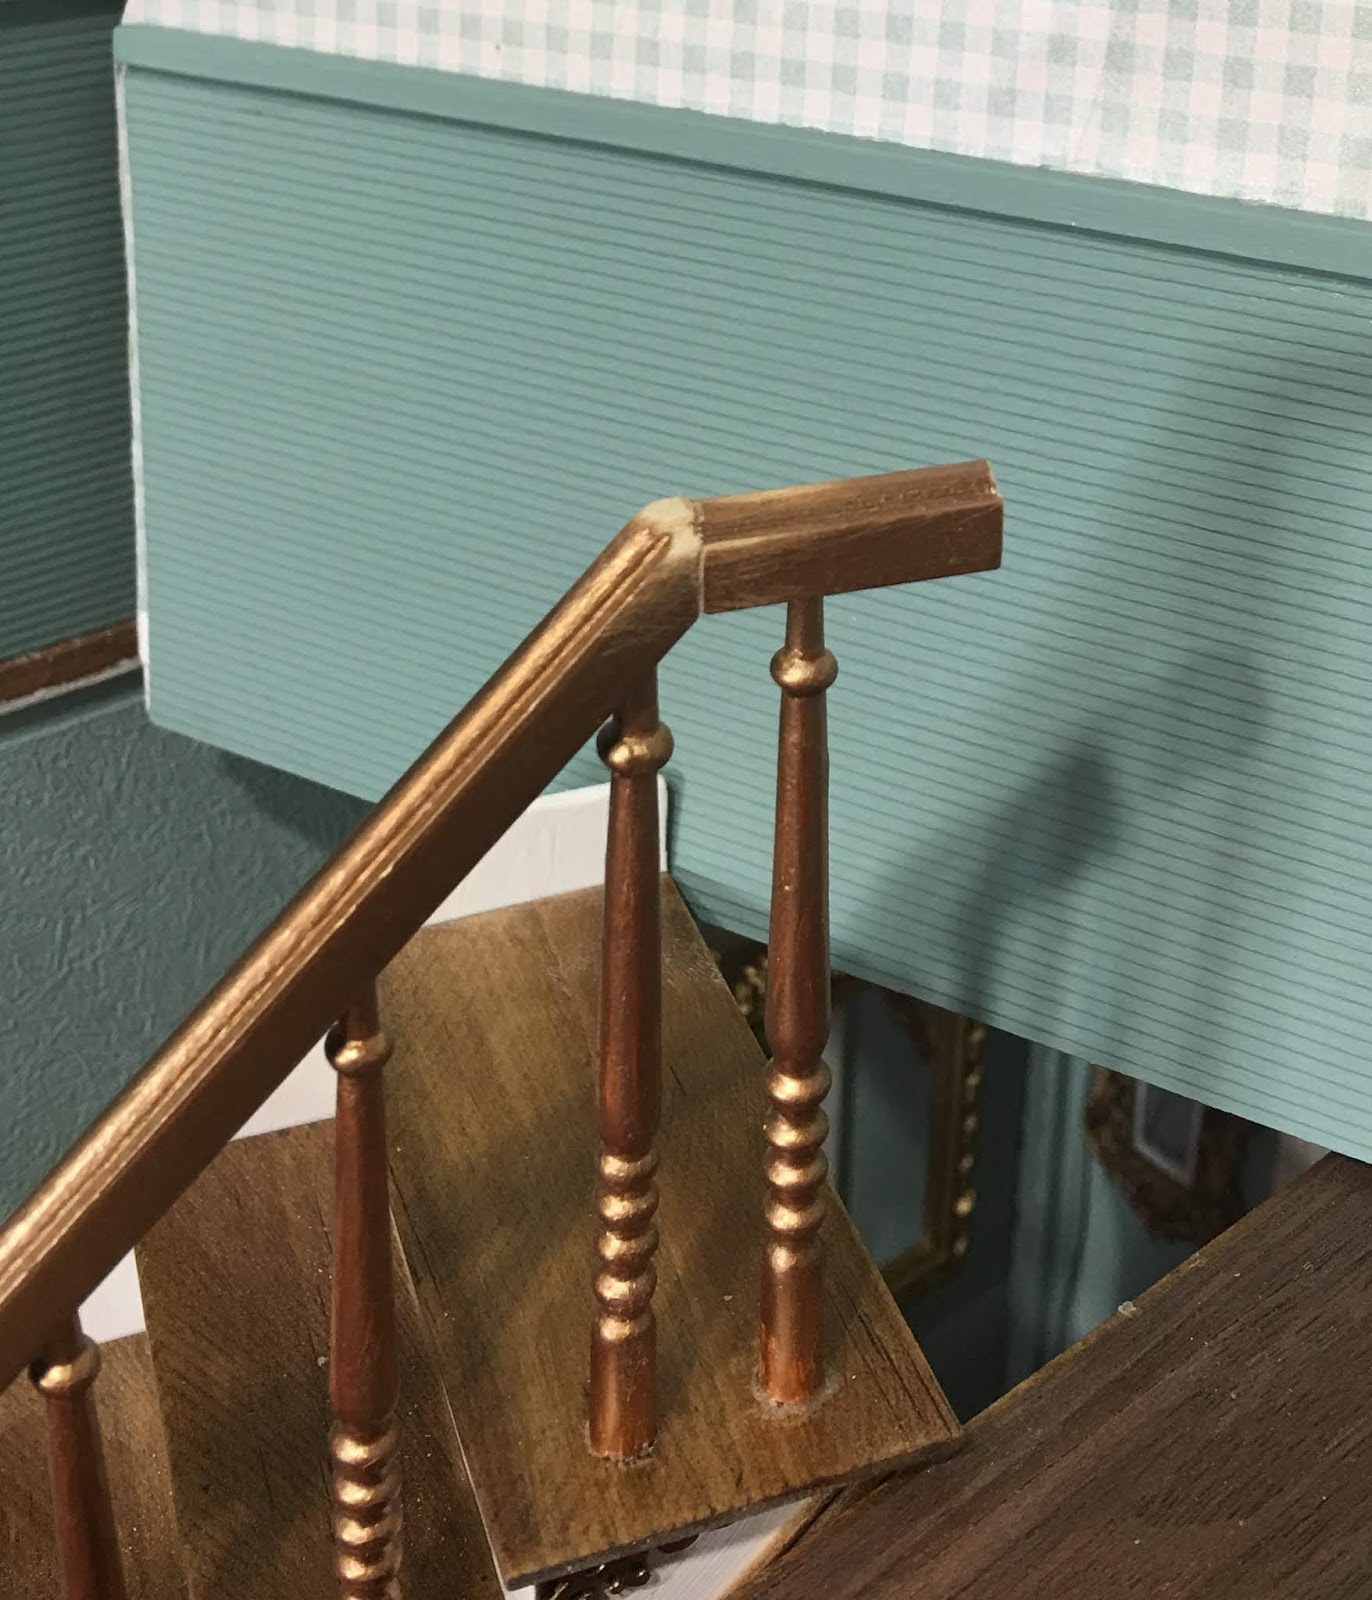
The banister was not attached, just sort of in dry fit on top of the spindles. I had inadvertently knocked it around a little and some of the spindles had come loose. Many repairs had to be made, the banister had to be permanently attached, and decisions made on how to address the return stairs. As in: spindle and newel post or no? I also had the tricky angle cuts to make to join the banister sections at the top where the landing stair is longer, and at the bottom where the return meets the main rail. Nothing lined up perfectly or angled well, so I had to fake it. Wink, wink. I have used layers of wood glue as spackle, done some "creative sanding", and hoped the final painting would disguise this fact enough to pass.
 |
| Wood glue as spackle. |
 |
| The bottom newel post needed a bit of a lift. |
 |
| Creative sanding. |
In addition, I had to make decisions about what to use to make the balcony railing and then actually make it. I had considered several options such as creating a fancy wrought iron design out of plastic fencing pieces, but ultimately decided the house was asking me to keep things traditional. Too bad for me because spindles, baluster and bottom rail were the most fiddly option! Extremely tiny gluing surface, spacing nightmare, measuring minefield, ripe for knocking over after installation and just short of materials were some of the challenges. Below is the jerry~rigged~jig I made in an attempt to get the spindle spacing at least close to even. I made the rails in four sections and then joined them together. You can imagine my joy at having the entire thing explode to pieces while attempting to secure the baluster and bottom rail with rubber bands. It happened more than once. My neighbors now believe I speak in Tongues.

The only way forward was to exercise extreme patience and let each step thoroughly set and dry before moving on to the next step. Here is one of many dry fit checks I made at every step along the way...
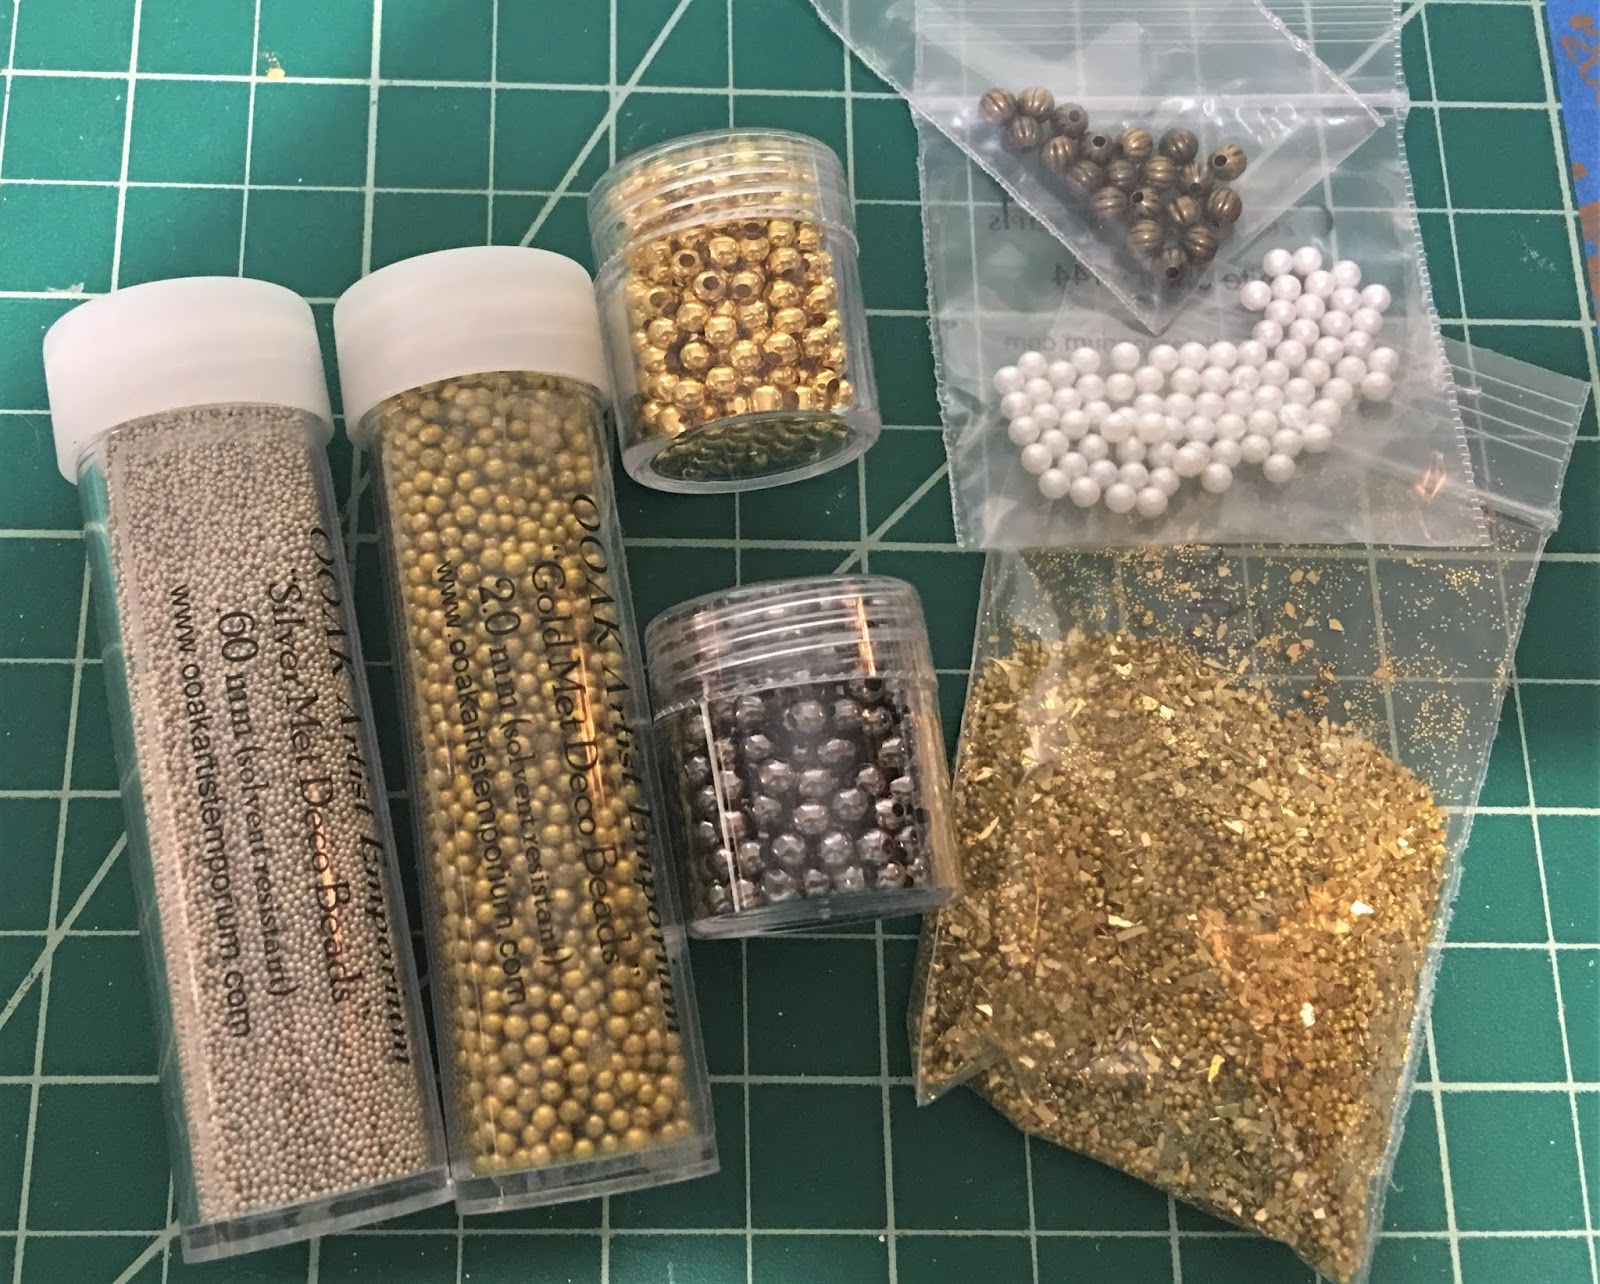
I made use of the waiting time by making up a bunch of frames with artwork for the stairway wall and upstairs hall. I used my old faithful method of marking out the wall space on my cutting mat with tape and then playing with the arrangement. I don't always follow the arrangement I've laid out, so this wall is going to need more art in frames.


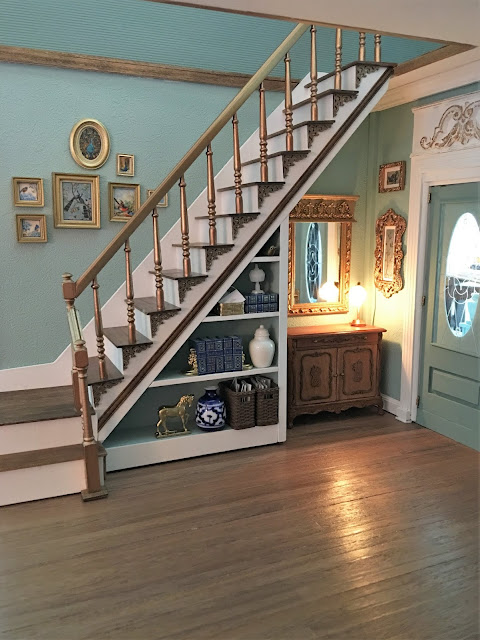
You can see in these photos that I took the opportunity to add some decor to the stairway shelves, and to install the entry table and lamp. By install, I mean attach a piece of wood to the back of the furniture and attach that to the wall semi-permanently. By that I mean that I attach with Quick Grip so that the piece stays in place but can be removed without damage at any point in the future. This is ideal when a "decorate as I go" method is employed. I find it easier to decorate tiny spaces this way and less damaging than reaching big hands into tiny recesses at the end. There is still more to add, but I need to make a bunch of plants and flowers and want to do them for the entire house all at once. Flower and plant making have a way of taking up your entire work table!

My next steps are to install baseboard and other moldings into the stairwell hall, make a fabric shade for the dormer window, make some artwork for the walls and contemplate adding another mirrored faux window to the stair wall. Everything I have on hand is either too big or too small, so I am waiting for a good idea to convince me to give it more effort. :O) At that point I can finally install the last wall in the house and begin again on the bedroom.
A lady from a blog I follow recently shared that she received some critical comments from a person via FaceBook. It struck a chord with to me to want to say a few words about it. The vast majority of us who love and have a passion for dollhouse miniatures, and who have blogs/Instagram/Facebook that we use to share our projects and connect to each other with, are not professionals in the litany of skills and trades involved in the hobby. We share because we receive and give support to like minded folks who "get" us. A lot of us share things that we are trying for the first time, more complicated things that we are trying to learn from, or things we are simply just having fun with. We don't share because we think we are perfect. Long lecture short... For those of you who support and encourage all of us through your wonderful comments...
~THANK~YOU!~
You are truly angels of light whose positivity impacts us in ways that you'll never know the measure of. For those of you who feel moved to write something nice, DO! And for all others, Be Kind with your Words. Check to make sure your intentions are good and words sincere before you type them. Making someone feel bad about their work only feeds rather than starves monsters. The world needs more angels and fewer monsters and you get to chose which you want to be! :O)
And to everyone, whatever gender, if you put others first and show love to them...
xo xo,
Jodi