At last, dear friends, I have finished the Powder Room! I really didn't mean to leave it for last, I just couldn't make a decision on what to do. At only 2-7/8" wide and 4-3/8" deep, it was a challenging space. Getting both a fireplace and a powder room under a staircase might sound crazy, but trust me - it's not impossible! Tiny, minute, fun size, petit, cozy, compact, efficient, pint-sized, itty bitty - no matter what you call it, it functions! With a little ingenuity, I knew I could make it work.
The Beachside Bungalow kit by Real Good Toys allows you to place the first floor's dividing wall wherever you'd like. When I cracked mine open, I'd never seen one with a powder room fit underneath the stairs. Challenge accepted! I determined to leave the bulk of the space "open concept" and use my wall to separate the staircase. And to make it even more challenging, I added a fireplace and a powder room under the stairs, too!
I was engaged in finding a solution before I put the project aside for the holidays (and then the flower shops), but I just wasn't sold on any of my ideas. Here is one of my first iterations of a space saving sink and toilet. Created to utilize the corners, they were designed in Tinkercad and printed with the 3D printer.
Roxanne thought that the toilet was kinda neat. Modern, easy to clean and totally functional. The sink, however, she didn't care for. She thought it was too cold for such a warm and cozy beach house. She encouraged me to try again with something more cottage-y.
I found loads of inspiration for
under stair bathrooms, but nothing captured my imagination until last week. That's when I suddenly had an idea for a vanity that involved the Cricut instead of the 3D printer. I got out my graph paper to draw the dimensions of the room. It really helps me to see the space right before my eyes as opposed to looking into a room. Now I was able to envision a vanity that would be unique, a perfect fit and utilize all the space available. I drew it within the confines of the space on the graph paper to make sure it would fit.
I cut out the shape to see it in the space. So far, so good. There was still room to get a body in and access the toilet.
My design has a curvy shape, and I am not the best cutter with an Xacto knife. That is why the Cricut Maker is so perfect. I scanned my graph paper sketch into the computer, then uploaded it into Cricut's Design Space program as an svg file. Now the Cricut Maker could cut my vanity pieces out of chipboard.
 |
| Vanity Top |
I also made up the support pieces and an outer and inner frame for the mirror.
Once the pieces were cut I began to assemble.
 |
| Top with sink hole, back, back, side, side and bottom. |
I painted the top in preparation for the countertop finish. To add support for the rounded front of the cabinet, I used a toilet paper roll. Guess where I was when I came up with that idea, lol! It just seemed so apropos.
I cut the roll down the center so that I could wrap it around itself to get the right circumference.
Then I cut it to the right height.
Then I held it in place under the sink to get a good fitting. The paperclip held it to the size I needed until I could get the glue and clamps handy.
But first I had to install the sink. In this case, a miniature aluminum bowl. It will be a small sink but this is a teeny powder room.
I glued it really, really well, using wood glue to weld it to the underside of the countertop. Don't want the sink falling out!
Then finally I could glue and clamp the TP roll support under the counter.
Once the rounded support was installed, I could add the last two support pieces.
Now it was time for the cabinet front. Using Cricut kraft cardstock, I came up with an idea to attach the curved section separately from the side pieces to allow it to form better to the curve. I measured from support to support, then added the depth of each side support to the length, I made folds that were the same depth as the supports and glued them to the outside of the supports. Make sense? That gave me a natural rounded front.
For the sides, I did the same, only these would be flat because there was no rounded TP roll behind them. The small gaps on either side where the sections met were filled with my wood glue caulking method. I lined up the bottom piece with the back of the vanity along both sides then traced the final shape of the front onto it. I cut this by hand to get the perfect fit. You can see that photo below after I added the legs.
To make the faux doors, drawers and trim I used the same kraft cardstock and had the Cricut Maker cut them, too. They are comprised of two solid layers and two frame layers for each, gluing the layers on top of on another to get the right thickness.
I forgot to take an in progress photo of applying the cabinet fronts, but to get the center drawer and door to curve, I gently forced it around an acrylic paint bottle. Here is the vanity after I have glued on all the fronts. The legs were 3D printed extras I had left over from the sofa and chair recovering project. I added a scrap wood layer under each leg because I didn't quite have the height I needed to get above the baseboard in the powder room.
And here I have added a Dresden bead detail around the bottom to cover the chipwood raw edge. I added a ship's wheel brad to the center cabinet door for a little nautical whimsey.
Everything always looks better with a coat of paint on it! I went with the
faux stone countertop method just like with the ensuite bathroom's vanity top to give the house some consistency.
Taps and drain added...
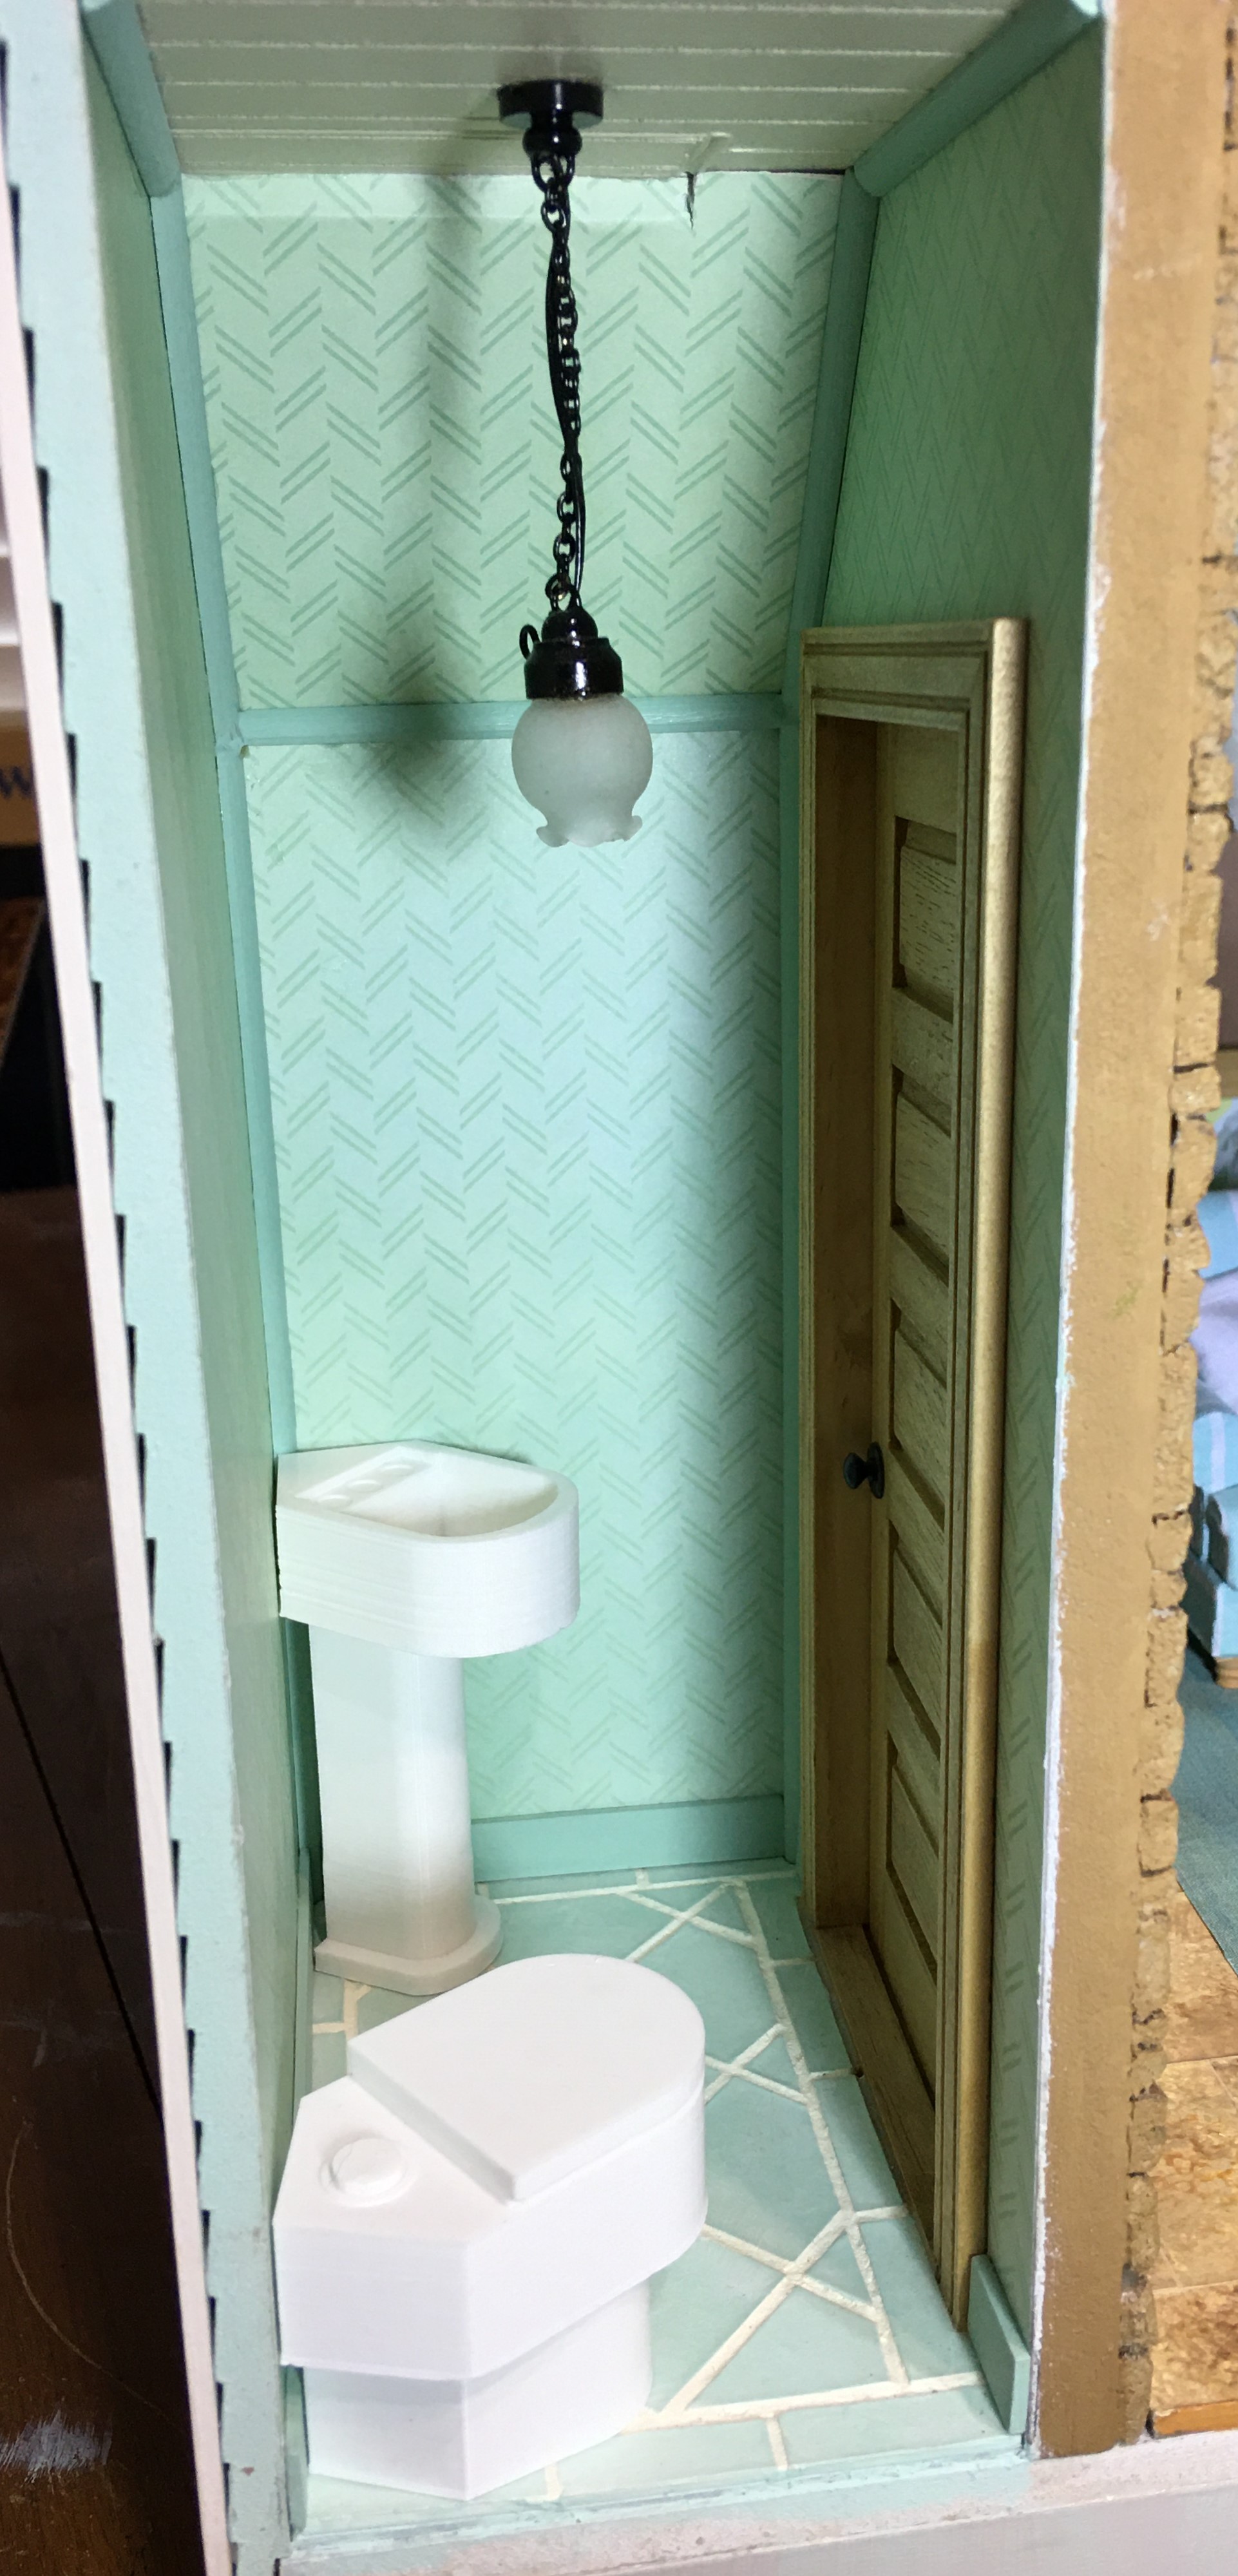
Installed in the powder room with a paper tile backsplash and corner mirror to give the illusion of more space. The vanity was still just a tad too short to stand over the baseboard, so I added silver spacer beads to the bottoms of each leg.
The toilet is the third or fourth 3D printed iteration for this tiny room. Each version got a slight adjustment. Since all of the other 3D printed things in the house were left in natural PLA white, I left the toilet natural, as well. I did try to paint one toilet with porcelain repair paint, but it is not at all forgiving. If it does not go on perfectly, it looks terrible. It is about four times as thick as old nail polish, and applied with a stiffly bristled brush. There must be a great glossy spray paint in existence for PLA and I am determined one day to find it!


The girls had harbored doubts about the powder room's feasibility from the start, though they didn't want to hurt my confidence. They were so pleasantly surprised at how functional the space really was that they wanted me to get a photo of them together in the room! If you're not shy, one can even "go" while the other washes her hands at the same time! You see, where there is a will to have an extra bathroom in a dollhouse there is a way!
With the powder room done, that completes the interior of this little beachside bungalow!
 |
| First Floor |
 |
| Second Floor |
Now all that is left is to finish is the back opening trim and then to decorate the front porch. I have some ideas, but am open to wherever this creative current is carrying me.
But first, there's going to be some serious partying going on tonight! Five years is a long time to wait for a home, and Kairi is ecstatic!
I hope to be back soon and report that this Beachside Bungalow project is officially, totally completed!
xo xo,
Jodi


Well, Jodi, I am certainly amazed. We went the same process of trying to design an under the stair bathroom: looking at a lot of designs in Pinterest, only to realize that any standard dollhouse bathroom fixture would not work, that the fixtures had to be custom designed. I gave up. You persevered and taught us how to engineer the unique. Our camper trailer bathroom is about that size, only more square and has a tub, so custom shaped fixtures are the way to go for these tiny bathrooms. The challenge is how ti create them, and you nailed it!. I had to laugh because just the other day I played around with a toilet paper tube, trying to figure out how to create a whiskey barrel water garden.
ReplyDeleteThanks so much! It is great having these "impossible spaces" because it forces us to look beyond the norm for solutions and that is where the most fun ans satisfaction in this hobby come from - at least for me! I like your TP barrel idea! It sounds like so much fun!
DeletePS I've put off doing counter tops for my kitchen, so I reviewed your process and I think I can manage a decent counter top. Thanks
ReplyDeleteThat's awesome! I hope you enjoy the process and love the results! It doesn't have to be hard to achieve excellent finishes! We just have to share our easy and successful experimentation with one another!
DeleteWoo fantástico Jodi, muy ingenioso en tan poco espacio has logrado un baño genial. El conjunto de toda la casa es para entrar a vivir de inmediato. Felicidades por este nuevo trabajo. Beso
ReplyDelete
Delete¡Gracias Rosa María! ¡Me alegro mucho de que te guste el tocador! ¡Las chicas están tan emocionadas de que haya terminado, y yo estoy tan feliz de tener otro proyecto que realmente terminaré! ¡Se siente genial!
Awesome Jodi! The vanity is perfect for the space and a corner toilet is a really innovative way to save space and create interest. And now I am sure you will come up with the perfect exterior details/landscaping.
ReplyDeleteThanks Shannon! I am glad Roxanne wouldn't let me stop at "functional" and pushed me to create something more unique! It was a fun piece to make, and now, my mind is going to always think a little more out of the box! I am having a great time printing accessories for the front porch with the 3D printer! It's like being able to shop online but get my "stuff" in just a few hours! I do have to paint them, though, lol!
DeleteThis is fabulous! That vanity is absolutely my favourite thing!
ReplyDeleteThanks Emjay! Me too - it was so much fun to make! I'd really like to take the space saving toilet to a much higher level, too, but that's going to require a little more time and a lot more brain power!
DeleteIt looks just wonderful. I'm always amazed at how you are able to make the most of a space without making it seem cluttered. Beautiful work!
ReplyDeleteThanks so much! It feels like a major victory giving the girls a place to "go" in the public part of the house!
DeleteJodi, tu idea y tu tesón, se han visto recompensados tu baño bajo la escalera es fantástico, el aprovechamiento de ese pequeño espacio ha sido absoluto, logrando un aseo pirático, confortable además de bonito!!
ReplyDeleteTu manejo de la impresora 3D y de la Cricut cada día me asombra más. estoy segura que en algún momento encontrarás esa pintura para el sanitario.
Bravo de nuevo!!
Besos.
¡Gracias Pilar! ¡Es sorprendente lo que podemos lograr si solo enfocamos nuestra atención y recursos en el problema! ¡Estoy muy contento de tener la impresora 3D y el Cricut para ayudarme! ¡Hacen que mi mente crea que todo es posible juntos!
DeleteYour corner vanity is very very fine. And I like your house very much
ReplyDeleteThanks so much! I am so happy to know you like the way the powder room came out!
DeleteAnd I forgot to thank you for showing us how you did the vanity
ReplyDeleteRegards Britt
Thanks Britt! Sharing is the very best part of minis!
DeleteIt's fabulous!
ReplyDeleteThanks Marilyn! 💗
DeleteWow! Nice job of doing the impossible. Also, I love the way you have demonstrated the value of your height tech tools 🤗.
ReplyDeleteThanks Sherrill! Just having the Cricut and the 3D printer at the ready makes me believe we can do anything if we are willing to think and spend time on it!
DeleteThe impossible was achieved with stunning results! Following your blog gives me so much pleasure, makes me happy I'm still around. I love all the photos and the best one is the last, seeing the happy triumphing trio.
ReplyDeleteHugs,
Drora
Oh Drora! It makes me so happy that you are still around, too! I know that we all expect to be finished in our 80's, but you are extraordinary and still have so much to teach us! I am so glad that you like the way the room came out, and it makes my heart sing to know you enjoy the blog! Wish we could get together in person and combine our creativity!!! Hugs!
DeleteSeems unable to register me as me and insists on anonymous…. Its Marilyn, aka Burygardener. Hey ho. Any way, as always I am so totally in love with the end result. You are not only full of smarts but also very artistic too. Two beautiful solutions and when dressed in your inimitable style it is just perfect. I love watching the transformation from toilet roll and bits of wood and cardboard to a perfect tiny room.
ReplyDeleteHi Marilyn! It's so great to "see" you! I don't know what is up with Blogger, but they keep sneaking changes in on us and it worries me. I am so happy that you persevered even tho Blogger stopped recognizing you!
DeleteI am tickled that you like the powder room and am happy that you liked the step by step! I just really want to encourage everyone not to get stuck, to think creatively and make their mini dreams happen. It gives us such joyful confidence when we overcome the "impossible". Hope all is well in your neck of the woods and that you are getting lots of creative time with your grandson!
Heavens, Jodi, that "Powder Room" turned out just awesome! I LOVE it that the "Girls" were so willing to help you make sure it would all "work" ! LOL! The picture with both Roxanne and Kairi in there made me smile ear to ear! So Typical!!! :) And the idea that your little Beach Bungalo had to have not just one real bathroom, but two...! So many miniaturists find excuses to leave out the bathrooms and the stairs....! I am like you, I want my houses to be realistic that way... how do we get up there when we come visit if there are no stairs??!! And what about when you gotta Go???!!! :) And as for realism, the details you include are just perfect! I love the pattern on the box of tissues! And the corner vanity is just simply divine! It makes that room! (Who cares about the commode?) The focus is completely on that charming corner vanity! Well done!!! And that little framed "beach beach beach sign... LOL! You are so clever! :):) Now the girls can enjoy their cottage to the fullest! and so can we! I just love it all! :):)
ReplyDeleteThanks Betsy! I think the guilt about making Kairi wait so long for her home really forced me to want to go all out for her, lol! I am so glad that you like the powder room. Keeping the realism IS important to me, too, and while that can make things difficult, it can also be the precipice that forces our creativity in new and challenging directions. It's why dollhouses will never become boring, and gives us the opportunity to continually expand our craftiness!
DeleteFantastic room! Everything is arranged in the best way to make the space functional. The Beach house is amzing and the girls can enjoy their home. The explanations are interesting and useful.
ReplyDeleteThanks Faby! I'm so glad you like the powder room and the finished interior! It feels so great to have this home nearly ready for all the girls to hang out in! And to daydream about what's next!
DeleteThe sink is fabulous and ingenious! The color is soothing.
ReplyDeleteThank you! I suppose if you work on a solution long enough, the answers will come to you!
DeleteJodi: having been away from minis so long myself, when I finally got back to it I was so happy to grab a cup of tea and sit down to read all of your posts I had missed. Just as I remembered - you are a mini-making genius - not just in the ideas you come up with but your finishes, decorating choices and creative problem solving - you are truly a master! You can't see me but I am humbly kneeling in front of you. Amazing flower shops and the bungalow is gorgeous. I truly am not worthy! Big hugs - Marilyn D.
ReplyDeleteOh Marilyn! You say the kindest things! But truly, if I were part of your mini group, you talented and industrious ladies could teach me a lot! There are so many amazingly gifted miniaturists in the world, and I am just grateful that I get to indulge in my own little passion for it. The best part in all of it is knowing when my posts have encouraged or inspired the creativity in other crafters. Why? Because I know then that they get to experience the same kind of joy that I do, and joy is precious stuff!
DeleteWowww.
ReplyDeleteComo era de esperar, lo conseguiste.
Es una habitación pequeña y encantadora y tu reto está conseguido..
Un saludo
¡Gracias Mariana! ¡Se siente genial haber descubierto una manera de salir del desafío! ¡Ahora a espacios más grandes!
DeleteHello Jodi,
ReplyDeleteTHe powderroom has turned out lovely! I like the corner mirror!
And as is oftenthe case with small or unusual spaces, run of the mill furniture/miniatures don't cut it. You made this corner vanity to fit into this small space and it works. It adds charm to the room which otherwise would actually look like just a poky little room. :-)
Now it is a charming space saver. I can fully understand why Roxanne has aproved it.
Huibrecht
Thanks Huibrecht! It was definitely a custom job I "cornered" myself with, lol! I am so glad I took the time away to come up with something other than the 3D printed sink. Someday when I can create rounded edges in a different CAD program I may try again. It would be interesting to know what they used these types of spaces for in grand old houses, before indoor plumbing was a thing!
DeleteExcellent job Jodi! I'm still chuckling at your location for coming up with the TP core idea. I'm also encouraged to see your cutting mat is the same wonderful condition as my own mat!! You've done a fabulous job with this project and I love your sense of humour!
ReplyDeleteThanks Wanda! Every time I toss one of those rolls into the recycling bin I think "what a shame there is no further purpose for you". I am so happy I finally found the perfect one!
DeleteThat poor cutting mat has seen a lot of good and bad ideas over the years, lol! Generally, before I begin a new project, I do my best with soap, a Scotch Bright scrubbing pad, sometimes an S.O.S. pad and sometimes isopropyl alcohol to make it fresh again. I have drilled holes into it when in haste and don't lay a sacrificial piece of wood under my work. I am known to pile glue right on the surface so as not to have to bother with the bottle in mid madness. It must be among my most used and indispensable tools, and often looks like a frantic work of art itself. I love the hair right off my mat and I'm so grateful to have it!!!
Oh, what a wonderful post! ;O) And I can't help it to say: The impossible dream became a dream come true! You may have noticed that I'm always in awe with your struggle for realism... Of course I'm really glad that I can leave realism to others as in my projects it isn't needed... I mean... would you expect Fluby to use your powder room? Eh, wait a minute... if you'd put a basket with strawberries in... *tweet* But in all honesty, realism is not for me... but I enjoy it very much, even more if it comes along in perfection as it always does when you show us your results. This powder room is another triumph for you and your trusted machine park!
ReplyDeleteThe vanity turned out awesome and the TP roll story gave me a broad grin. How great to use helpers who really know what all of this is about. *grin* It's always a big pleasure to follow your well explained steps who lead to fantastic, ooak solutions in the end. No surprise that the girls threw a big party - Kairi must be the most happiest owner of a beach themed house ever. You've turned this into a masterpiece... however, there's one little detail that puzzles me. Please, PLEASE tell me that this candle on the left side of the vanity is a LED one! Otherwise I would like to have a word to the one in charge of fire protection... and to have Kairi put away that candle directly under this fluffy towel right away. *grin*
I'm already curious to see your porch... and I know Kairi will be as excited as me, well, perhaps even more as she is the very lucky owner of one of the most beautiful houses ever. ;O)
Hugs
Birgit
Thank you dear Birgit! I am so happy to know that you like the powder room and the post! I am a huge fan of mini genres of all kinds, and am so happy there are artisans like you in the world who make whimsical and fantasy dollhouses to satiate our imaginations! I love to try all the styles depending on my mood and the character who is intended to inhabit the space, and I like that sometimes the space can be pristine and sometimes decrepit. It is so much fun to imagine and attempt everything!
DeleteIf Rosey and Flubby do ever come for a visit, they will not be turned away. Uh uh no way! We celebrate all kinds here, whatever the wrap or the filling!
Now, about that candle and the towel... I tried like the dickens to get that teeny, slippery and wiggly towel holder to the other side of the sink. I tried so many times! I am so surprised that I did not ruin the wallpaper with the glue! But because it is a ring inside a metal tube, I could never trust that I had it pressed to the wall, and apparently I never did because each time I dared take my fingers off it plopped right on the floor. After many frustrating attempts I reached the "Oh Fine!" point and placed it above the candle. Maybe I better purchase a cute fireman to stand by for the girls just in case, lol! Or we can just pretend in this world that candles and towels are perfect friends. 😁
I am hoping not to drag out the porch for too long, but I am afraid real life has pulled me away in body and in mind for the time being. I will likely not get it finished for another week, maybe two. But I did make a good start with what to use - my machine park continues to save the day!
A handsome fireman would be worth a thought or two, no doubt... but where should he have his guard? Outside it would take him too long to force himself into this tiny room pushing Kairi aside who was just washing hands with atmosphere and candle light... And inside... well, what was the thing about being shy or not? *LOL* So if you agree I will now calm myself that this is indeed a LED candle running on batteries as there are versions which come along with black wicks... ;O)
DeleteI hope all is well with you and you're just busy... whenever you'll have the time to continue with the porch will be the right time.
Hugs
Birgit
What I've enjoyed the most about this entire post Jodi, is your Ingenuity in building a functional and PRETTY little power room under the stairs in such a clever way that it appears that it has Always been there! In fact the entire cottage layout is ingenious! You have a fully functioning kitchen, dining area, living room, FIREPLACE, POWDER ROOM, staircase, bedroom with a seating area, and a 3 piece en-suite, with it all Brilliantly laid out and all USEABLE: no wonder the girls are doing the Wave!
ReplyDeleteI think that living in this cottage would make you feel RE-freshed and RE-newed every morning, regardless of external weather conditions. The soothing colours you've used, coupled with the Skillful mix of HAPPY PATTERNS makes your Beach Cottage a preferred meeting place for everyone in the immediate vicinity- not the least because of your second WC.
REALLY BEAUTIFUL WORK Jodi! ❤️
Thanks Elizabeth! 💗 One of the goals when I was planning for this project was to have a little cottage that Kairi could actually live in. It is always a challenge in these kits to try to fit in everything we need in real life and still have the space to display them in our real homes. It feels great to have been able to include all the ideas I wanted to explore and to know you like the results! I really enjoy finding solutions to challenges, and in this project, I never ran out of them! 😉
DeleteMuy ingenioso. Hay que ver el rendimiento que has sacado a ese pequeño espacio. Me encanta.
ReplyDelete¡Gracias Isabel! ¡Se siente como una verdadera victoria!
DeleteThis has been a wonderful journey to follow. Once I have finished my other projects. My new year just might be the start of my beach house. I have ideas. Your ideas have been been impressing. Your work is so thoughtful and cannot wait for a new project.
ReplyDeleteThanks Stephanie! There's nothing more fun than working toward your ideas! Have fun planning your beach house project - I hope you get to get started on it, soon!
Delete