
When last I left you I was finishing up all of the prep work and marking of the kit pieces while it was still in dry fit. I am happy to report that since then great progress has been made!
I pulled the kit apart, wallpapered the walls while they were flat, and then got them put back together! With glue this time!

Somewhere in the midst of all the marking, I also made a lighting plan. In this build I will be using a combination of traditional 12 volt dollhouse lights and 12 volt LED "can" lights from Even Designs. I had to decide where the fixtures would go and how I was going to run them. Since this kit has pre-milled clapboard siding in the MDF walls, any wiring going through the outside walls would have to be carefully planned and concealed in a clever and realistic way. Because of this, I decided to utilize mostly ceiling fixtures. For the first floor ceiling lights, I would run the wiring via channels in the floor, exiting the bathroom wall in one bundle. The second floor ceiling lights would come out of the roof, be hidden under the shingles, run down the same side of the house as all of the other wires and be bundled into one downspout or some such subterfuge.
I marked on the second floor/first floor ceiling where I wanted "can" lights and where fixtures would go, drilled holes and then used a fantastic new tool to make the channels. This is a 1/4" wide chisel I purchased from Amazon for around $8.00. I used a metal ruler to mark the outside of each 1/4" wide channel, then used the chisel to cut the channel in the MDF. It simply slides between the lines and peels up about 1/16" depth at a time. What a dream! I highly recommend this tool and this method! I can't say yet how well it will work on plywood, but I am betting it is a lot better than my old method of chipping it out slowly with a screwdriver!


I used 5mm "can" lights and mounting clips to give the lights a clean look when mounted in the ceiling - four in the first floor ceiling and three imbedded into the roof support beam upstairs. I am hoping this will add nice supplemental lighting to the traditional 12 volt dollhouse fixtures.


The bulbs are a little long and weirdly rounded, but you can file them down pretty far as long as you don't get too close to the actual bulb imbedded in the plastic. I liked the opaque quality left by the sanding process, too. The bulb on the left has been sanded down and seated into the mounting clip. The one on the right is how they come. Below the light on the left is the actual "can" light installed in the ceiling. Once filed down, they seat nicely into the 3/8" floor, leaving only the wire's end which can be bent down and recessed into the channel on the floor.


Again because of the milled clapboard on the porch walls, I decided to install three can lights in the porch ceiling instead of adding a traditional porch light on the wall. You can see I have installed the porch railings, posts and supports so I might as well get to that part of the story!

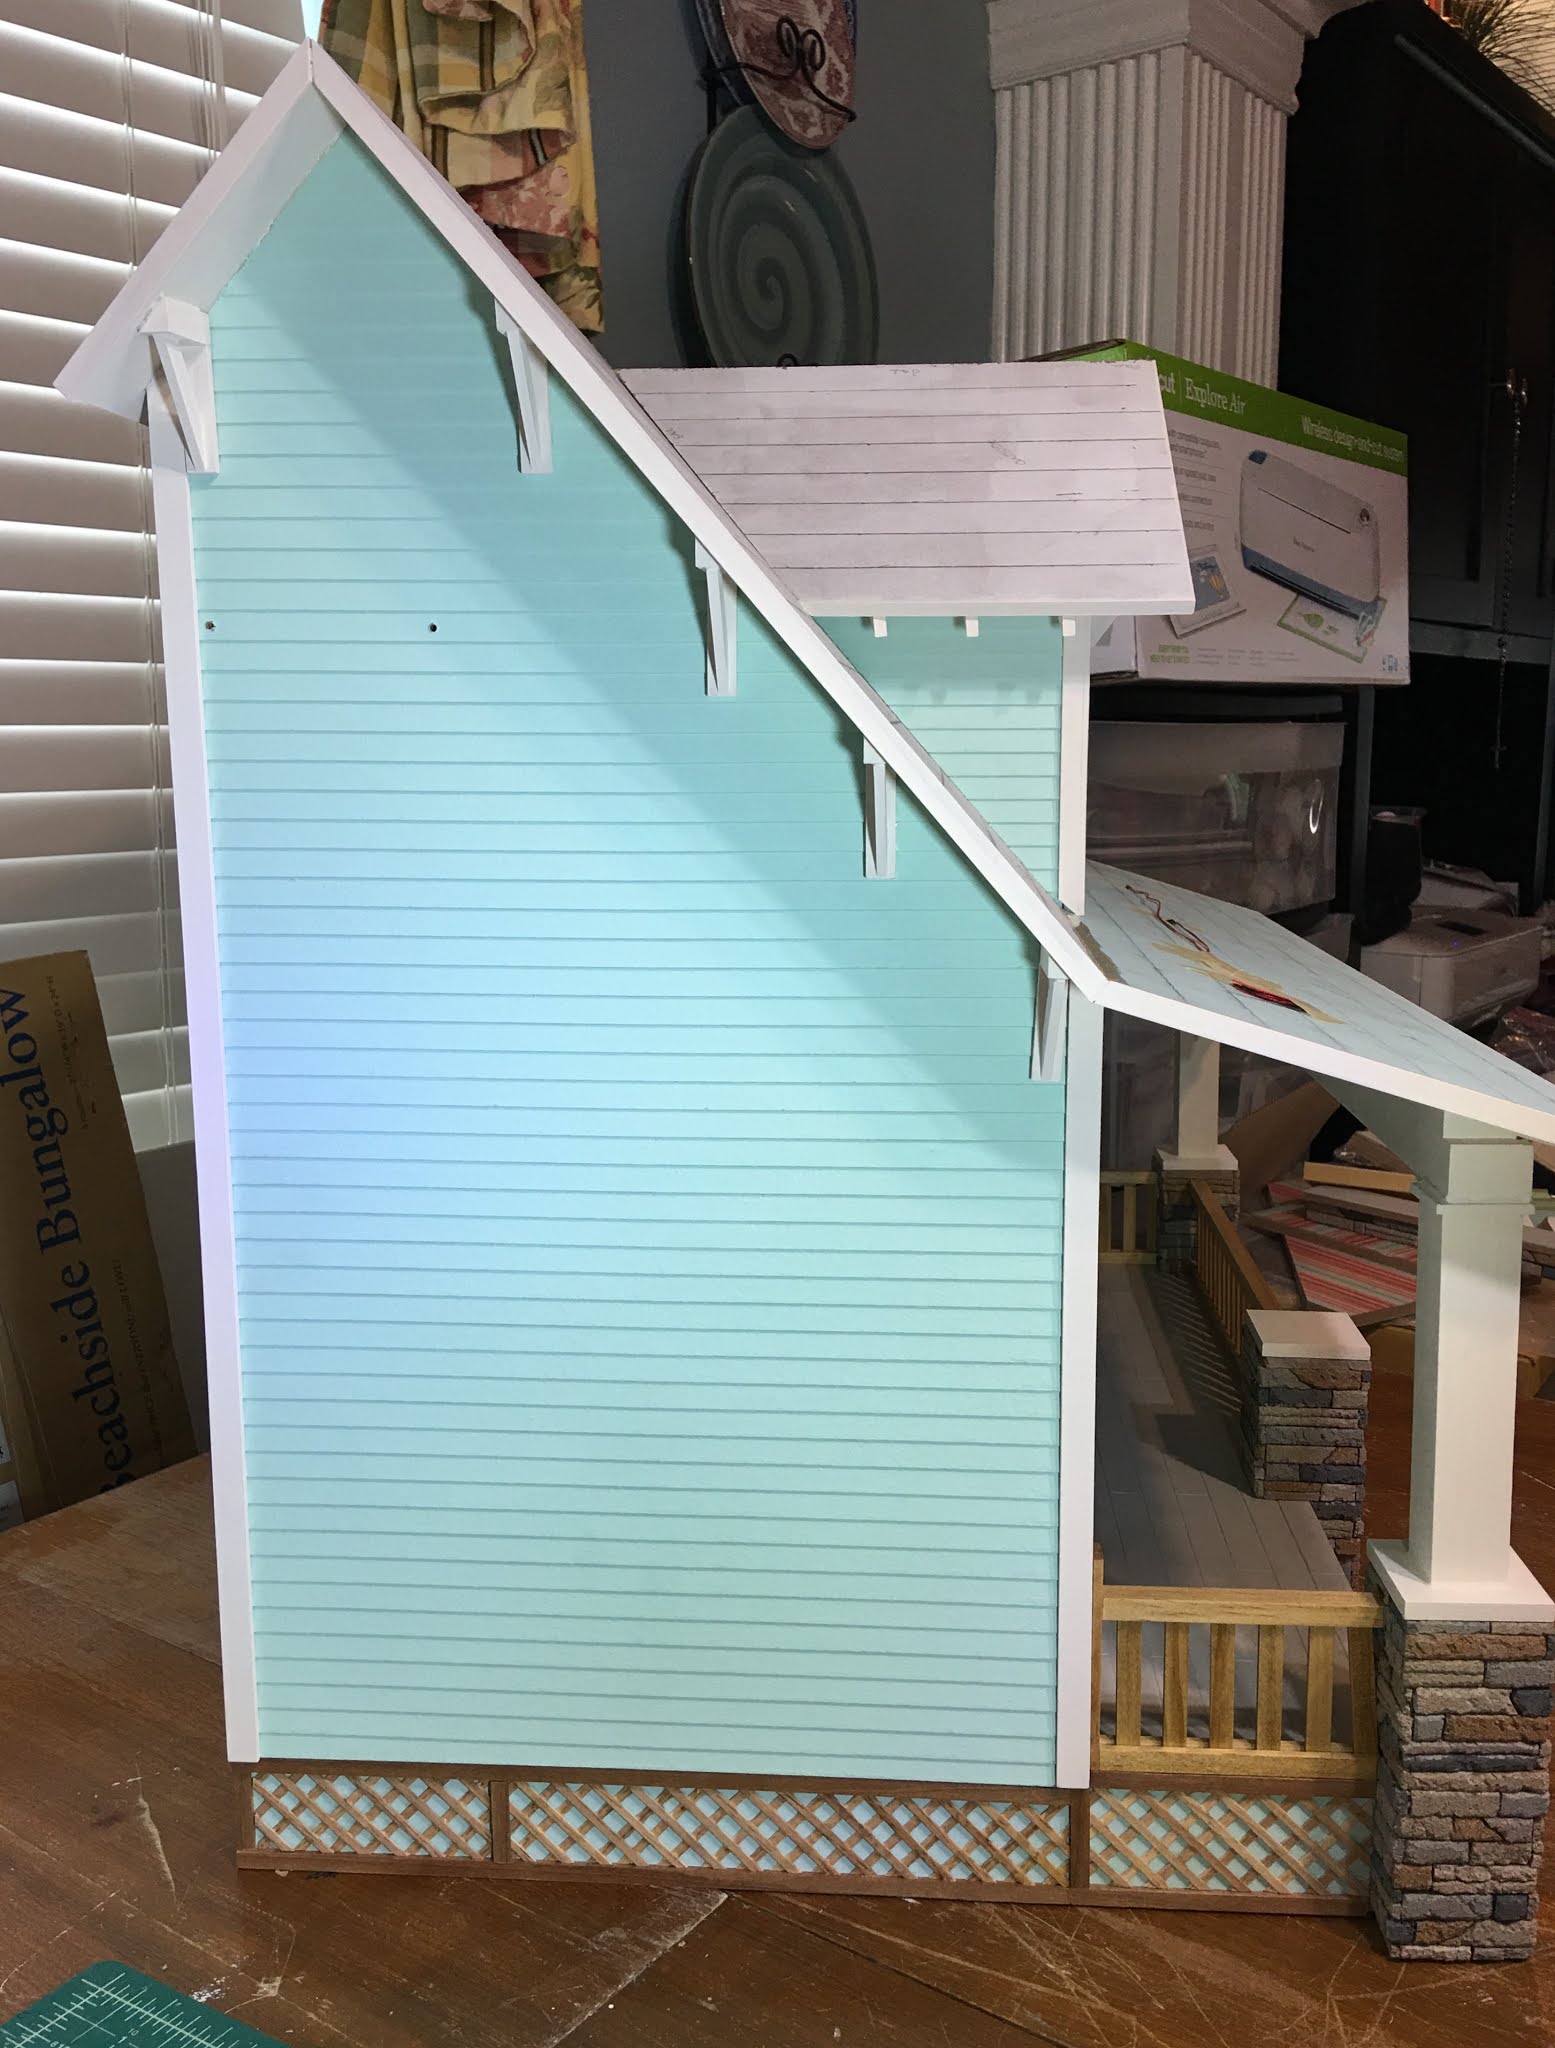
Because of the order in which the kit goes together, I had to go back to following the instructions. Side walls and floors, front wall, attach the foundation and then install all of the porch elements. Before you can add the second floor ceiling you must first install all of the porch pieces because each supports the next. You may also have noticed that I changed the porch floor color from blue to gray.


Here are where the porch "can" lights are with the porch ceiling installed.

I kept going with the outside assembly, and before I knew it I had the dormer and dormer roof installed!

And then window frames, rafter tails and trims! Once the painting and sanding were done, it all went pretty quick!

 |
| You can see the holes where the bathroom sconce wires will exit. This is where all the wiring will be bundled and hidden. |
Before I knew it my mini time was up for the week! And I never did get back inside to begin the interior trim pieces and walls. But I sure am loving how cute this kit is, and I'm excited at the prospect of all the fun interior things to come!

I hope to share more of the interior progress with walls, trims, doors and lighting next week, though mini time may be scarce. There's another family gathering this weekend, one of two birthday parties we'll be hosting here in July. Talk about making up for lost Covid time!
I hope you are all beginning to see light at the end of your Covid tunnels, too, and are planning gatherings again! Until then, make minis my friends!
xo xo,
Jodi
Life does get in the way of mini work, doesn't it? Though I do find that taking those breaks to do other things refreshes my enthusiasm. I am particularly interested in your "can" lighting because that's how I want to light the kitchen and now I am inspired to maybe light the porch too. I had not thought of that. I always learn so much from you. The house is adorable and coming together so nicely.
ReplyDeleteThanks Ann! I am so glad that you are finding helpful things in my build that you can use in yours! Lighting schemes are always a challenge and when you settle on a plan it feels so good! Can't wait to see how you solve your puzzles!
DeleteIt's so cheerful and pretty looking.
ReplyDeleteI can't wait to see it with all the lights on.
Thanks Sheila! Me too! Just testing them a few at a time does not have the same magic effect!
DeleteWhat an adorable house and even more with all your nice touches and superb ideas! I am loving the exterior and can´t way to see your ideas for the interior, that´s always the best part! Keep enjoying your mini time and your family time! Have a great summer dear Jodi.
ReplyDeleteThanks Alex! I am having a lot more fun with this house than I had hoped for! Now if I can just carve out more time, lol!
DeleteYou did a great job of hiding the lights' cables. The already beautiful house will be stunning with the lights on.
ReplyDeleteHugs, Drora
Thanks Drora! I hope the effect turns out the way I am aiming for!
DeleteMe gusta mucho como has colocado la iluminación y la manera de encastrar y ocultarlas que has hecho! El ensamblaje de la casa se ve fantástico y todos los colores armonizan entre sí,siempre tienes fantásticas ideas de decoración, por lo que estoy deseando ver la manera en que la hagas habitable Jodi!
ReplyDeleteEspero que disfrutes de las reuniones familiares y que paséis un buen verano!
Besos.
Delete¡Gracias Pilar! ¡He querido usar esta pila particular de papeles para álbumes de recortes durante años y estoy muy feliz de finalmente tener la oportunidad! Es diferente del diseño "normal", ¡pero eso es parte de la diversión! ¡Me alegro de que estés aquí para deleitarlo conmigo!
This is such an attractive little kit and you are taking it from attractive to spectacular, as usual. I absolutely love the cheeriness of the wallpaper choices. Any person mini or RL, couldn't help but be happy every day with such a happy atmosphere. Beautiful and masterfully executed. - Big hugs - Marilyn D.
ReplyDeleteThanks Marilyn! It is such a fun kit with simple but fun details! And it is like a vanilla cookie - top it and decorate it any way you like! I have loved this Mint Julep stack for a long time and actually thought I'd end up using it for my Lynnfield kit. I'm so glad now to be using it in this one! It's the perfect sized project to decorate and play with!
DeleteWow, you make it look like it all went together so quickly! But I know there was a lot of work in that painting and finishing. Love it, so cute. And enjoy your parties! It will be so great to be with all your loved ones.
ReplyDeleteThanks Shannon! I feel like I am working at a snails pace with the world opening and family gatherings back on again. But I am having fun and not getting too stuck in the details, leaving myself open to however it turns out and that makes it fun!
DeleteWow! Thanks for the helpful demonstration of how you approach your wiring, I’ll bet it will look lovely. That is such a cute kit and I love the way it looks so far. Enjoy your family time!
ReplyDeleteThanks Sherrill! It seems like each project brings it's own challenges so you never get too comfortable with a wiring plan. I am really liking these fun, bold colors much more than I was worried that I would!
DeleteHi Jodi! This house is really coming along quickly! I Love how the upstairs paper is the same pattern as the shower tiles... it will feel like the shower was built into the corner of an already papered room! And what a pattern!!! Wow! Flower POW-er is happening here! Cheerful and energetic and happy is the vibe! It is refreshing that this "Beach House" is not just a blue and white seashell theme... (I have Nothing against that decor theme.... love it in fact....!) but this is so original... more tropical and festive!
ReplyDeleteAs for the lighting.... you have mastered those led can lights! And the useful combination of light sources is something to consider nowadays as so much is changing in the lighting world! (My projects are all so old fashioned.... can lights are not a "thing" yet! LOL!) I am really looking forward to seeing it with the lights on!
Meanwhile, have a fantastic birthday celebration! Yay! And Congratulations to whoever is the B-day celebrant! :):):)
Thanks Betsy! Exactly! That is exactly why I abandoned the blue, teal, red palette - it is nice but already done so often that it is hard to be unique any more. This paper imparts the happy excitement I feel at the prospect of staying near the beach, and if there are only just vague beach references in the décor I am good with that!
DeleteYes! It is an Easy Button to be able to use the "can" lights in more contemporary projects. Sometimes the few traditional 12 volt dollhouse light fixtures we can fit into a room just aren't enough so the supplemental lighting solves the issue. In older era projects, the lack of light supports the theme so that is helpful, too!
Ande, our 32 year old has the first birthday of the month on July 14, so we had his party last weekend. It is funny that he was born on Bastille Day, as we just found out from our 23 and Me DNA results that we are descendants of Louis XVI and Marie Antoinette. Hopefully all our stories end better than theirs did! Natasha, our 34 year old, has her birthday on July 22nd, though we don't get to celebrate with her until the 31st. In addition to them, our family is full of July birthdays and anniversaries, and today is actually the 36th anniversary of the day Russ and I met and fell in love! So much to be grateful for!
OMW, you are steaming ahead at a fantastic rate! I love everything you've done so far.
ReplyDeleteThanks Megan! I just can't tell you how painful it is to be on a roll and then to have to stop to divert my attention to more important things! If only I could stop time for a few hours every evening! Russ is working away for the next couple weeks, though, so I will have a chance to really dive in. Fingers crossed!
DeleteOh what a wonderful post! ;O) But it contained some things you would never ever hear from me... like for example "and before I knew it I had (XY) installed" or "it all went pretty quick"... *LOL*
ReplyDeleteI really enjoyed to see how this beautiful kit is coming together. The colourful papers create such a cheerful, bright and happy atmosphere - who would not be happy when entering such a house. And it was very interesting to see how you made the light cans, not only perfect to bring light into it but they also add to the modern and friendly atmosphere. And how I loved to see the house growing together in what seemed at least in this post a wink of an eye! As I said before, this would never happen to me - but I love to see it happen at your place! Have fun and enjoy your birthday celebrations... and remember the tissue box! ;O)
Hugs
Birgit
Ha ha! I know what it is like to have time always slipping through your fingers! But I imagine you are like Russ and have so many interests and hobbies that it seems like each one gets only a fraction of your time. I, on the other hand, am pretty focused on minis with my free time, so my chunks of attention are able to be more focused. But that also means that you are well rounded while I am a One Hit Wonder, lol! In any case, I hope you find all the time you need to fill up your soul with every kind of soul food you enjoy!
DeleteGlad you like the cheerful papers, too! I will be sure to have the tissue handy when we celebrate Tasha's birthday on the 31st!
Estupendo como has resuelto todo el cableado de la luces. Es algo que hay que tener previsto con mucha antelación para poder ocultarlo. El exterior está quedando fenomenal
ReplyDelete¡Gracias Isabel! Sí, descubrir qué luces y dónde es un gran desafío y ¡se siente tan bien haberlo resuelto! ¡Me alegra que te guste el progreso!
DeletePor suerte, siempre encuentras solución para cualquier inconveniente, y además te queda genial.
ReplyDeleteLa casa está cada vez más bonita.
¡Gracias Eloisa! ¡Donde hay voluntad hay un camino! ¡Todavía tengo que decidir cómo ocultar los cables que salen, pero tengo la esperanza de encontrar una gran solución cuando mis pies estén en el fuego!
DeleteA charming and unique house with original wallpapers. The lights are great.
ReplyDeleteThanks Faby! There is a Facebook group dedicated to this kit and the ideas over there are as varied as you can imagine! It's a fun kit!
DeleteHi Jodi,
ReplyDeleteThe house is common along nicely! I love the treatment of the bathroom with the shower in the last post.
Seeing you work with electrics in a dollshouse is always inspiring. I am hesitant to add electricity although I want to use electric lighting in my house. So seeing you do this step by step is a great help! Thank you.
Huibrecht
Thanks Hubrecht! It has been a lot of fun taking artistic liberties on this project! I am glad to know you like the creativity!
DeleteIt would be a tough decision to add electric to your house because of the time period. I guess you could have strategically placed and hidden spotlights so that you could show the house as a museum home at a later date? Tough decision!
Avanzas muy rápido con este proyecto y cada avance es maravilloso,
ReplyDeleteSe vislumbra un resultado muy colorido.
Un saludo
¡Gracias Marian! ¡A mí también me encanta el color! ¡Podría vivir feliz en esta casa si pudiera encontrar una manera de encogerme a 5-1 / 2 "!
Delete