

Here's where I had left off on Virgil's cottage before turning my attention to Vera's. With all of the major structural changes completed, and with the priming done, I was looking forward to starting the interior and exterior wall finishes. It's the exact same layout of Vera's cottage, only mirrored.
 |
| Virgil's Cottage - Pop Outs and Dormers Added |
Because new grooves had to be cut into the base for mirroring, and because a new lower groove was added to each side wall (in order to lower the second floor for more head room), the old grooves had to be filled in. Strips of 1/8" x 3/8" basswood were almost a perfect fit. A little glue and a tap or two with a hammer worked like a charm!
Like Vera's cottage, I used papers from the Oopsy Daisy wallpaper line for Virgil, too - only I went with blue patterns for him. I just love a good gingham and this blue one is adorable! It conveys a relaxed and casual home while the paisley paper seems fit for a gentleman. It elevates the cottage just enough without being fussy. So far, I haven't decided to use the daisy borders in either cottage, but I am keeping the option open. It might work well incorporated onto the furnishings, somehow.

I used a combination of basswood and moldings cut by hand, and mat board cut with the Cricut Maker for the trims on the interior and the exterior. I love the way it all came together, just a little country home to comfortably house a simple country mouse.


I have such a hard time trusting my instincts when it comes to blue paint. I love blue, but it is the one hue that I change my mind on the most. One minute I love how a particular shade is reading, the next I wonder what on Earth I was thinking! That is why I made up the swatch board, hoping it would provide me with some certainty. It didn't stop me from feeling uneasy about my choices all the way through the trim work. I kept telling Russ that I was feeling uneasy about the dark stripes and may have to repaint every detail again. It wasn't until I had all of the paper up, trims on, exterior cladding on and the structure in a test fit that I decided that I really liked the look. Phew!
 |
| Primed and all but one floor groove filled in. |
Like Vera's cottage, I used papers from the Oopsy Daisy wallpaper line for Virgil, too - only I went with blue patterns for him. I just love a good gingham and this blue one is adorable! It conveys a relaxed and casual home while the paisley paper seems fit for a gentleman. It elevates the cottage just enough without being fussy. So far, I haven't decided to use the daisy borders in either cottage, but I am keeping the option open. It might work well incorporated onto the furnishings, somehow.

I used a combination of basswood and moldings cut by hand, and mat board cut with the Cricut Maker for the trims on the interior and the exterior. I love the way it all came together, just a little country home to comfortably house a simple country mouse.

I can't finish the trim around the fireplace wall until I get the fireplace finished. I was able to design and cut a unique version for each cottage using Inkscape and the Maker. I hope to have a tutorial in an upcoming post with svg files to share.


I have such a hard time trusting my instincts when it comes to blue paint. I love blue, but it is the one hue that I change my mind on the most. One minute I love how a particular shade is reading, the next I wonder what on Earth I was thinking! That is why I made up the swatch board, hoping it would provide me with some certainty. It didn't stop me from feeling uneasy about my choices all the way through the trim work. I kept telling Russ that I was feeling uneasy about the dark stripes and may have to repaint every detail again. It wasn't until I had all of the paper up, trims on, exterior cladding on and the structure in a test fit that I decided that I really liked the look. Phew!
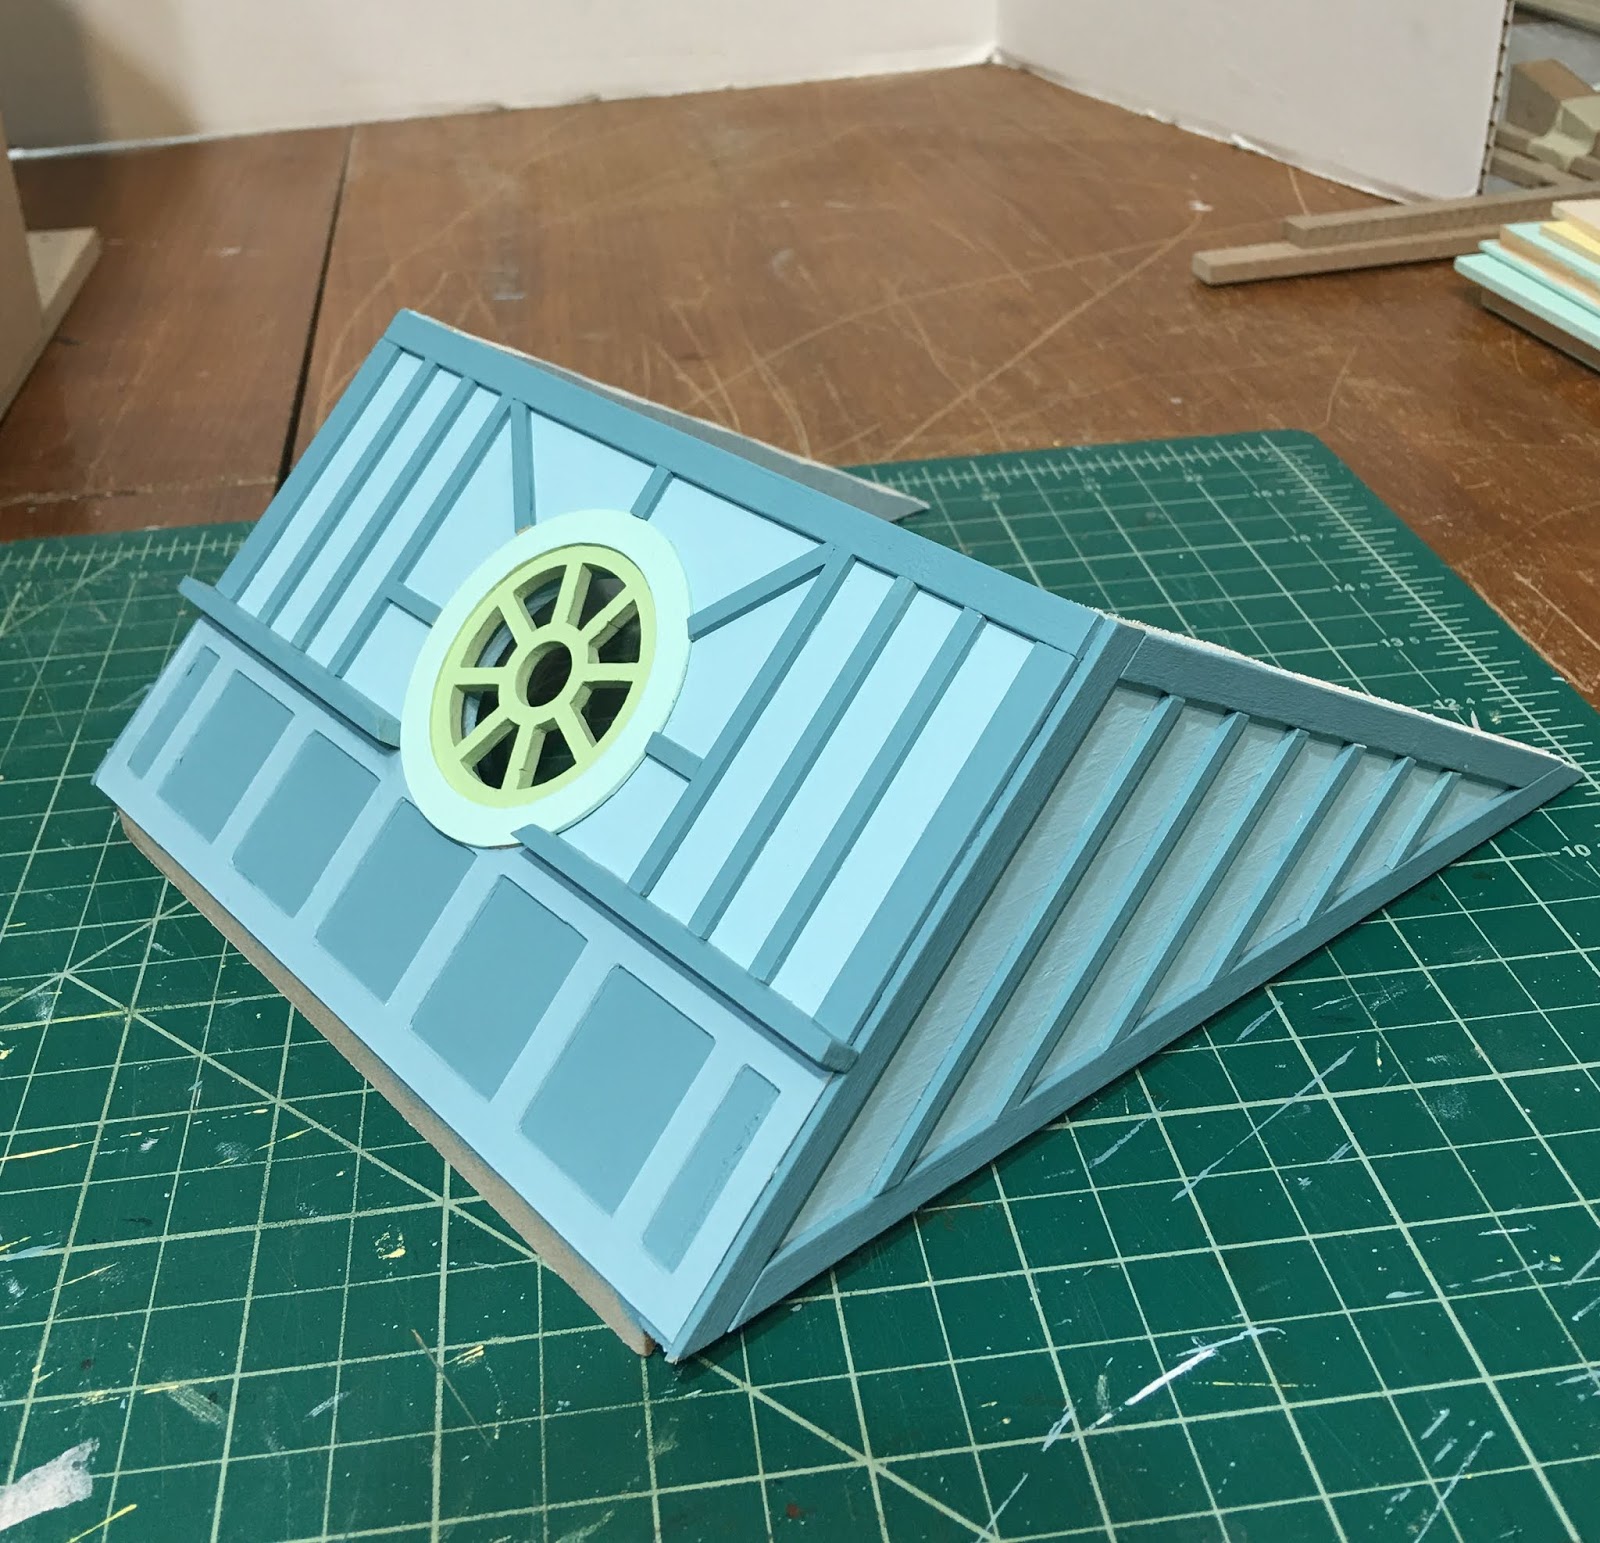
Here are the pop outs, inside and out. What do you think? The cottage now reminds me of striped pajamas, and to me, that is perfect for a gentle country mouse. I love it!


The next task, and one which I was very much looking forward to after all of that trim work, was the wood flooring. Like Vera's cottage, I used Houseworks Southern Pine flooring. But this time, I stained them in Early American instead of Cherry. It's a little bit warmer and richer, but not too dark for the airy sky blue walls. I used Quick Grip adhesive and was able to position the seams in the back where they will mostly be hidden under the kitchen unit.

 |
| Final fit after trimming and glue. |
 |
| Second Floor Before Stain |
And with stain and several layers of Polyurethane.


And the exterior in test fit. As planned with Vera's cottage, I will likely use clapboard siding on the main body. But that's a few steps ahead yet. And this fitting does not include the porch roofs. They'll be one of the final steps.


Now, both Vera and Virgil's cottages are up to the same point in their construction. They are both very happy with the progress and are starting to share ideas with me about the type of furnishings and decor they'd like me to make for them. They sure sound excited!


The next phase will be the electricity, and I'm thinking I'll work on both cottages at the same time. I envision eight to twelve round wire fixtures in each cottage. The wires will be running under the foundation, out the walls, out the roof and meeting at a hub under the house. That means very soon I will have to make decisions about the type of foundation materials I will use. Brick? Rock? Concrete? I just need to make some mock ups and get them on the cottages before I decide. I also have yet to run channels and paper the ceilings. Lots of fun tasks to come and l hope they all go smoothly! But then, we all know how wiring goes, right?!? :O)
Hope your projects are progressing nicely, and I hope to be back soon with more to share on the cottages!
xo xo,
Jodi


