My first plan was to create a patterned tile floor in Design Space and use the Cricut to cut it. I was going to use chipboard in two thicknesses, a thinner one for the "grout" lines and the thicker for the actual tiles. I was planning to paint the tiles but did not know at that point whether or not I would actually grout the tiles in the traditional way, or just suggest grout with an offsetting color. But first, I had to design and cut the floor.
I found a tile design online that I thought would be nice for the small corner powder room and was also in keeping with the old time style of the building. It is made up of honeycomb shaped tiles, so I found a similar clipart pattern online and imported it into Design Space. The grout lines of the image looked to be about the right thickness and proportion.
 |
| Powder Room Tile Inspiration |
 |
| Honeycomb clipart |

My first cutting attempt on .37 mm chipboard told me I'd have to rethink my plan. It takes so many passes with the knife blade to cut through the chipboard. Having the tiles so close together to create a 1/16" grout line causes a mess of delamination of the cardboard after only a few passes.

Back to the drawing board. What if I used a much thinner material that only required one or two passes, like kraft board? Would there be enough of a height difference from grout to tile to look authentic enough? I just happened to have an almost new pack of Cricut Kraft Board in a sample pack which contained 30 sheets of white, black and natural. This seemed worthy of a try, especially the prospect that with black grout and white tiles, I may not have to paint anything at all!.


Laying the tiles was like doing a fun puzzle. Because of the grout lines, each tile fit perfectly into place


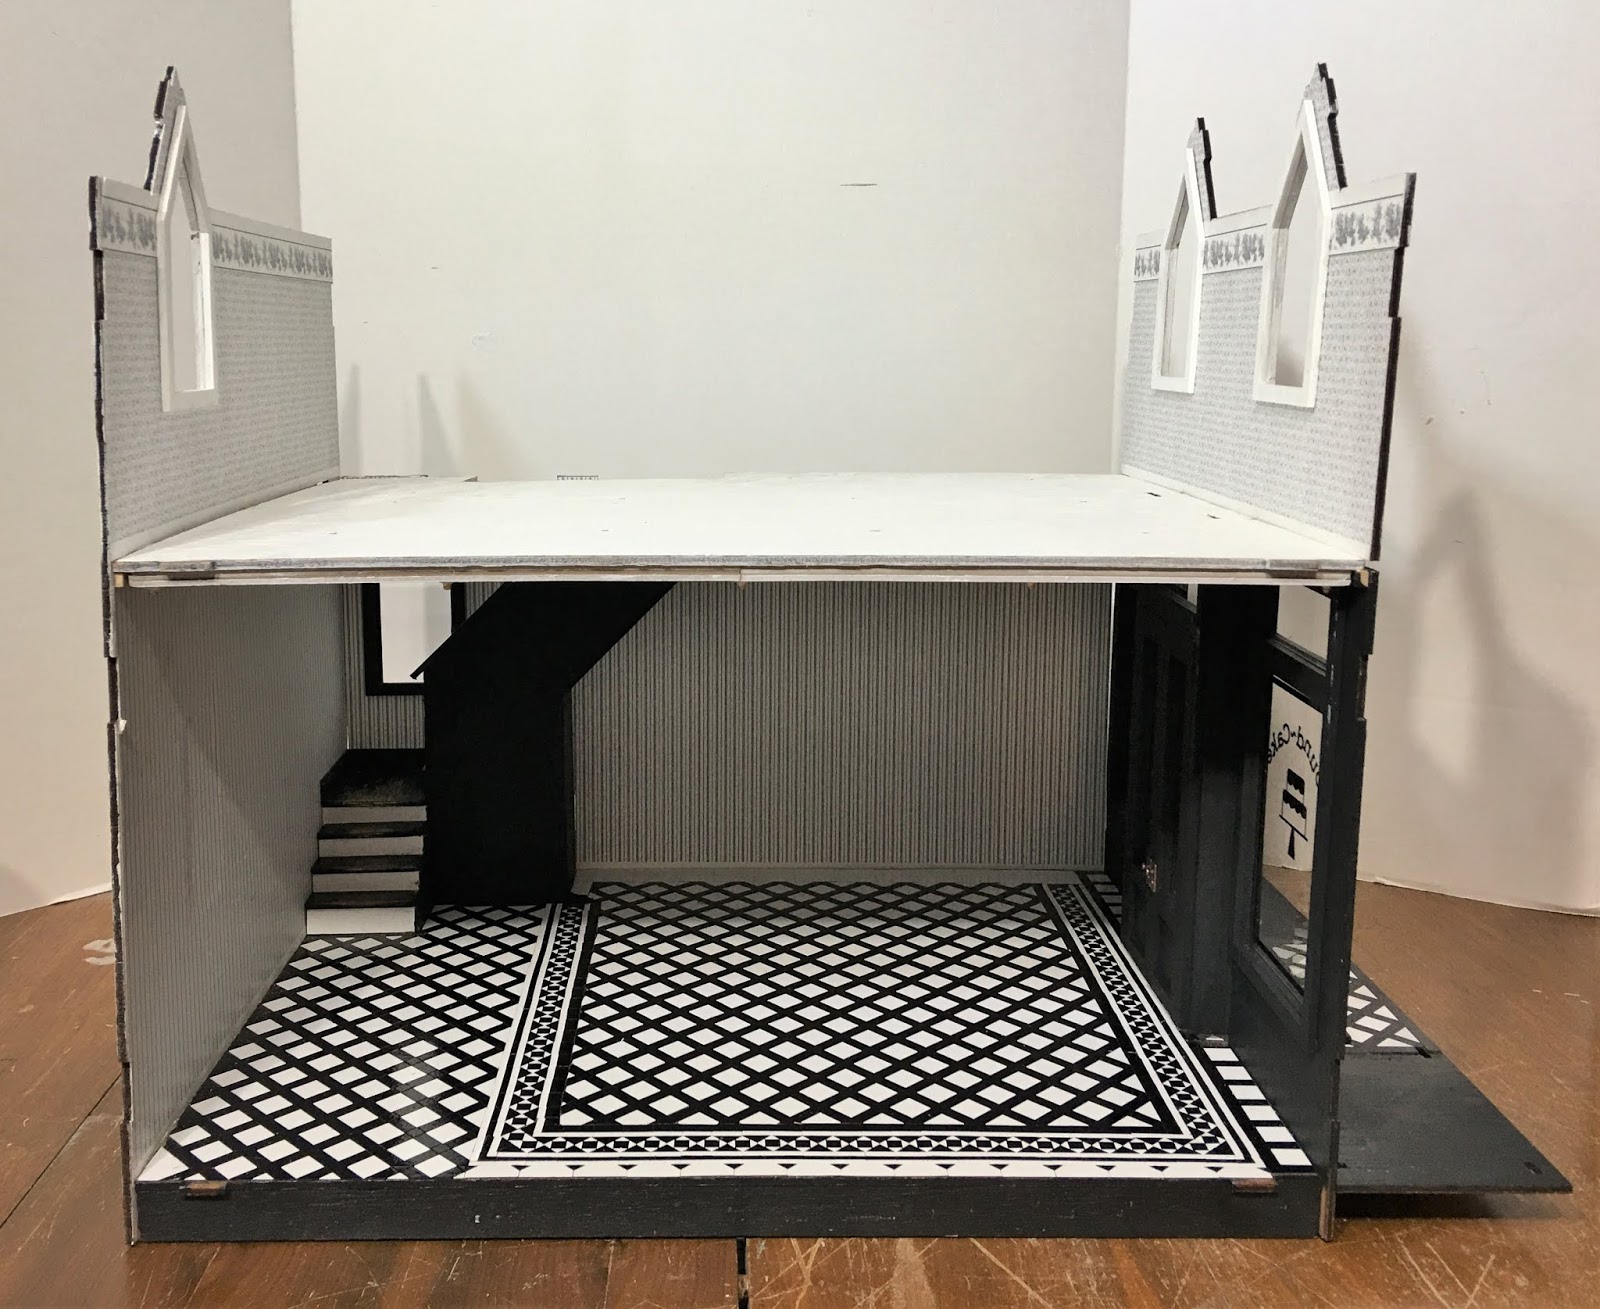
Here's the floor sitting in it's place on the subfloor. To give you an idea of the size of the powder room, with square walls it would be 5" x 7". The tiles are 1/2".


For the Oven/Baking side, it is 15" deep so I had to create an additional narrow strip section and join them after cutting. I made extra whole white tiles to help camouflage the join in the back, but will use some type of threshold in the open doorway between the two sides of the kitchen where these tile pieces join.

I created the tiles in Design Space the same way as for the powder room, only this time I used a square diamond pattern and made the tiles 1" square. I again left the grout as a single layer, the white tiles double stacked, then printed 1/4" x 1/4" square black tiles to apply in all of the corners.

Here are how the floors look just laying on top of the subfloor. Where you see wood now are where the walls are planned. I will do some experimenting with shiny finishes for the tile floors on scrap tiles before I commit to applying anything to the real floors. Better safe than sorry, especially after all of the work to make them happen!
But first, while my daughter and I spend a long weekend celebrating my mom's 70th birthday with her in Arizona, these pieces will be under boards and weights to make them stay good and flat!
See you next week!
xo xo,
Jodi