When last I left you, I was figuring out how to make an armature out of metal wire for the Camellia tree. The wire, purchased on Amazon, came in a set of varying gauges. This was because I really wasn't sure until I actually played with it how big a diameter I should use and how long I should make it. I settled on a mixture of three strands each of the 1 mm, 1.5 mm and 2 mm wire. I made each length 36", essentially doubling the length of the 18" area I needed the tree to cover. Then, following Luke Towan's instruction video, I folded the length in half leaving a twist at the middle for roots. I had to size my measurements up from Luke's, naturally, because I am not working in HO train scale. To keep the roots in the pot, I positioned them in the pot and then added layer after layer of hot glue until it was completely affixed and stable. It really made a nice work stand!

I decided to try using Woodland Scenics Latex Rubber to coat the wire tree armature, because Luke's video said it remained flexible once dry and painted. I had a lot of areas to conform the tree to, so having some flexibility was crucial. The link I provided is the eBay seller where I purchased the product, though it is widely available and probably much cheaper if you're willing to brave traffic or wait a while for shipping. I had mine in two business days. I found the latex rubber as easy as thick paint to apply and the odor not too bad. I applied three good coats and let them dry thoroughly in between. It dries semi-opaque and semi-clear with just a slight yellow tone.


Applying paint to the dried latex rubber was much easier than I expected and it adhered well. I used everyday acrylic craft paint to give an undertone in a color called Honeycomb. Then, I applied a few washes of Raw Sienna so that it settled into the cracks and gave nice definition. I added a couple coats of the Raw Sienna floated in satin glazing medium for a little depth, then sealed the entire tree in Ultra Matte Mod Podge. I wanted the sealer to remain flexible, as well.


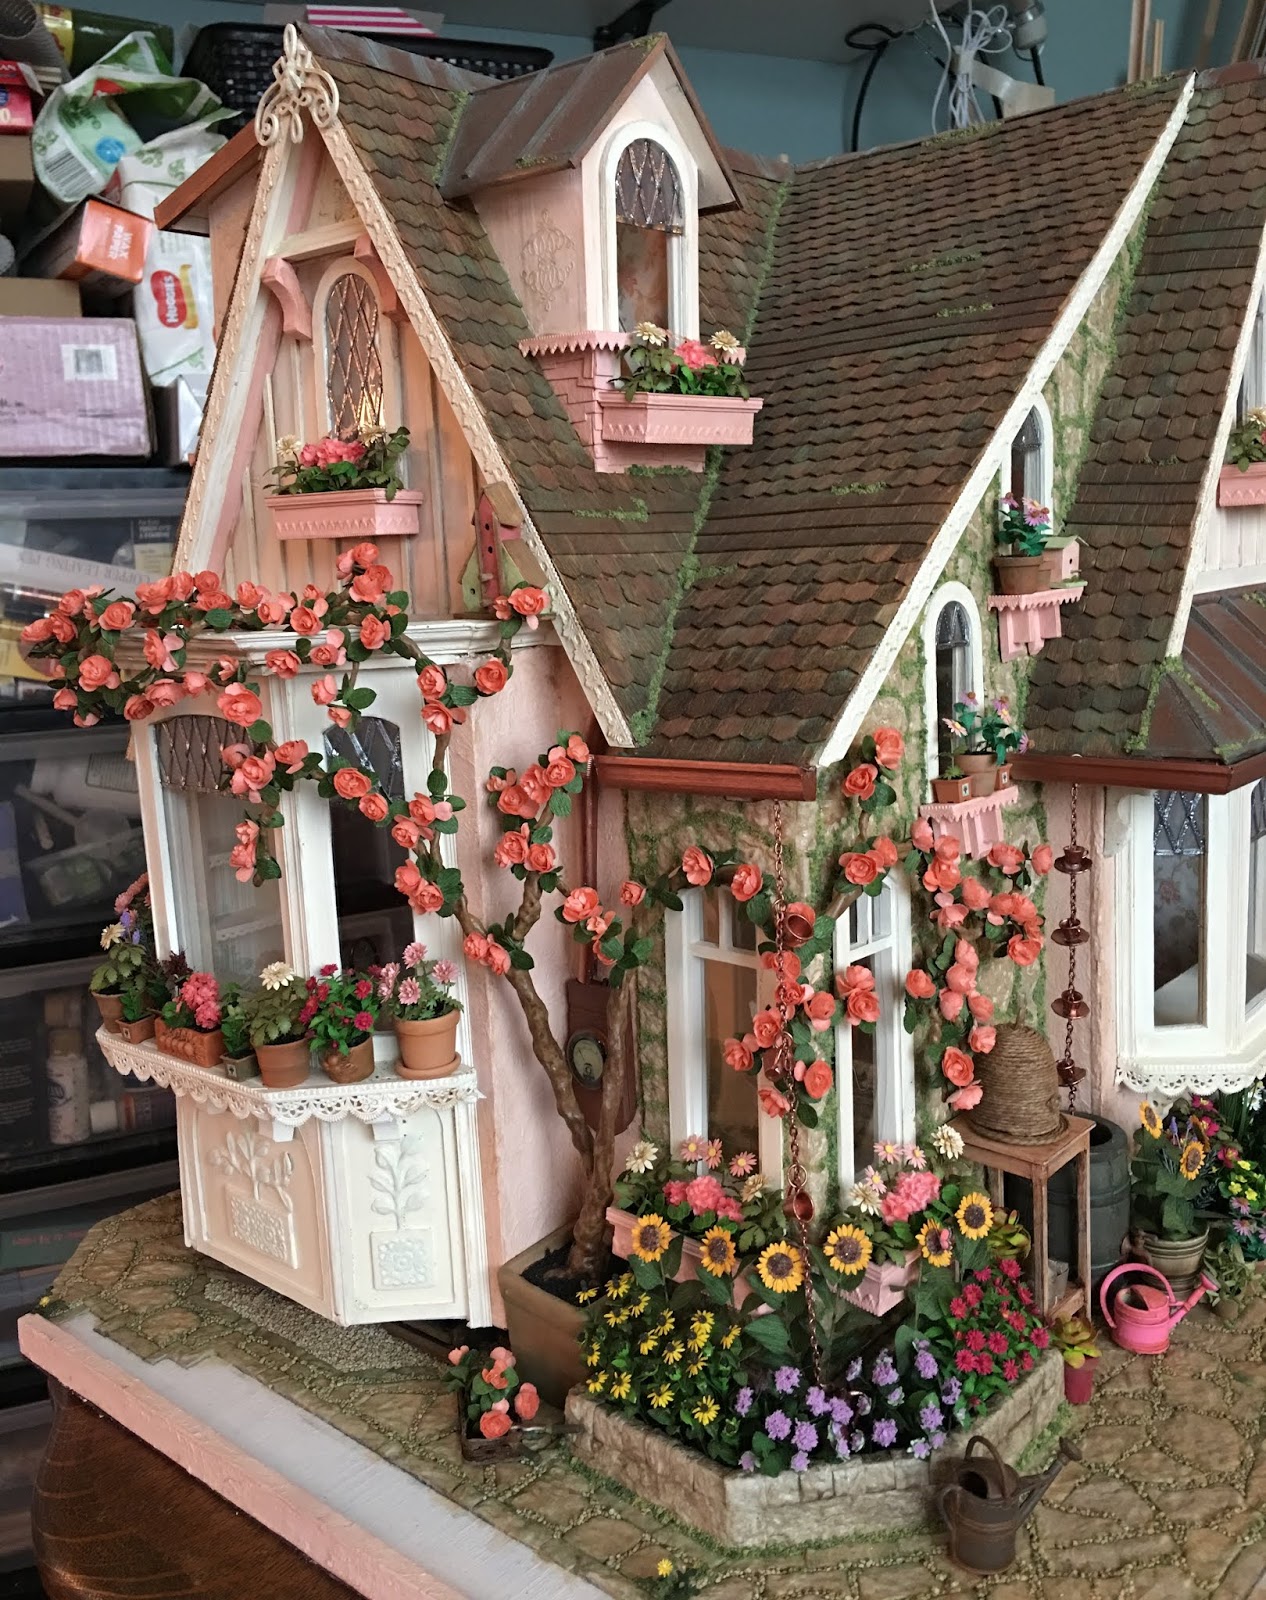
I put the tree back in place and bent it to shape again before beginning to apply the Camellia flowers. To apply them to the tree, I wrapped the wire ends around the tree so that I could later adjust them if and as needed.

Out of the one-hundred-forty-four stems, I reserved nine to make up a vase for inside. I also saved five to place into a picking basket. After I felt the tree was sufficiently covered, I still had fourteen left. So how many Camellias does it take to cover a tree? Exactly one-hundred-sixteen! :O)
And how many leaves did it take? Let's just say that I have four of the eleven sheets left!
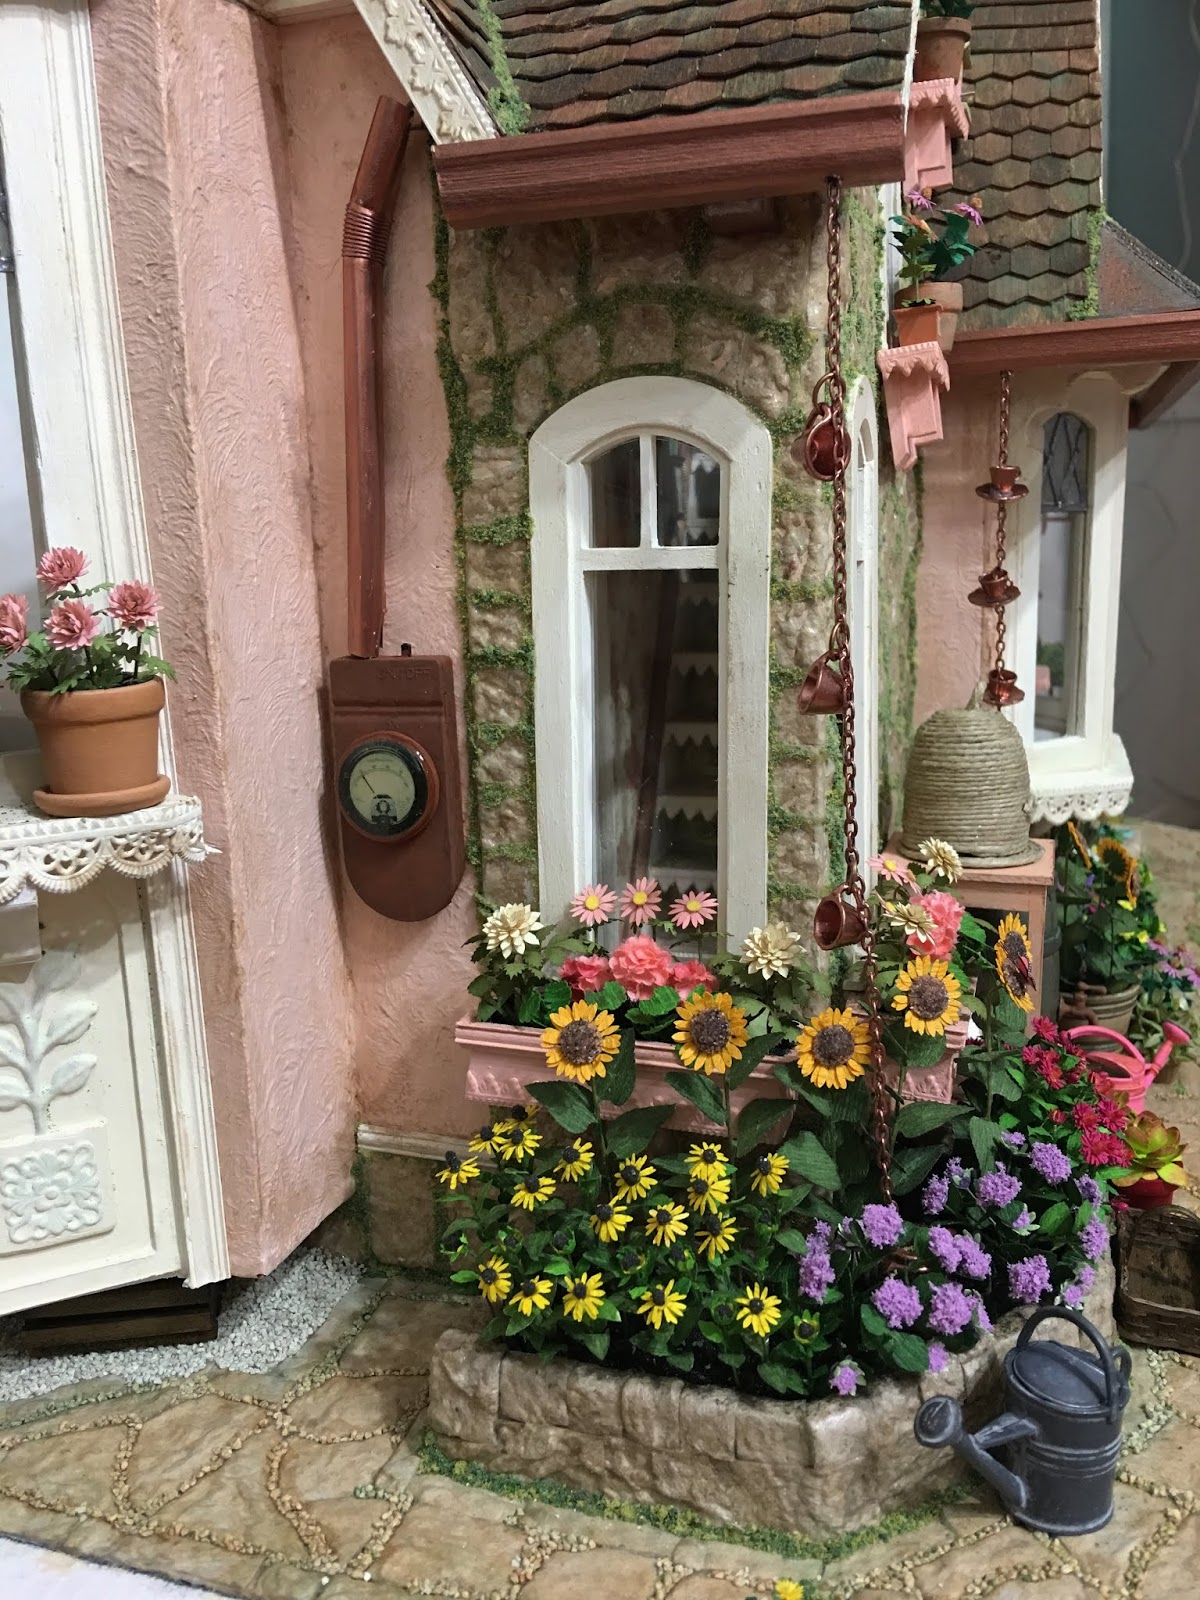
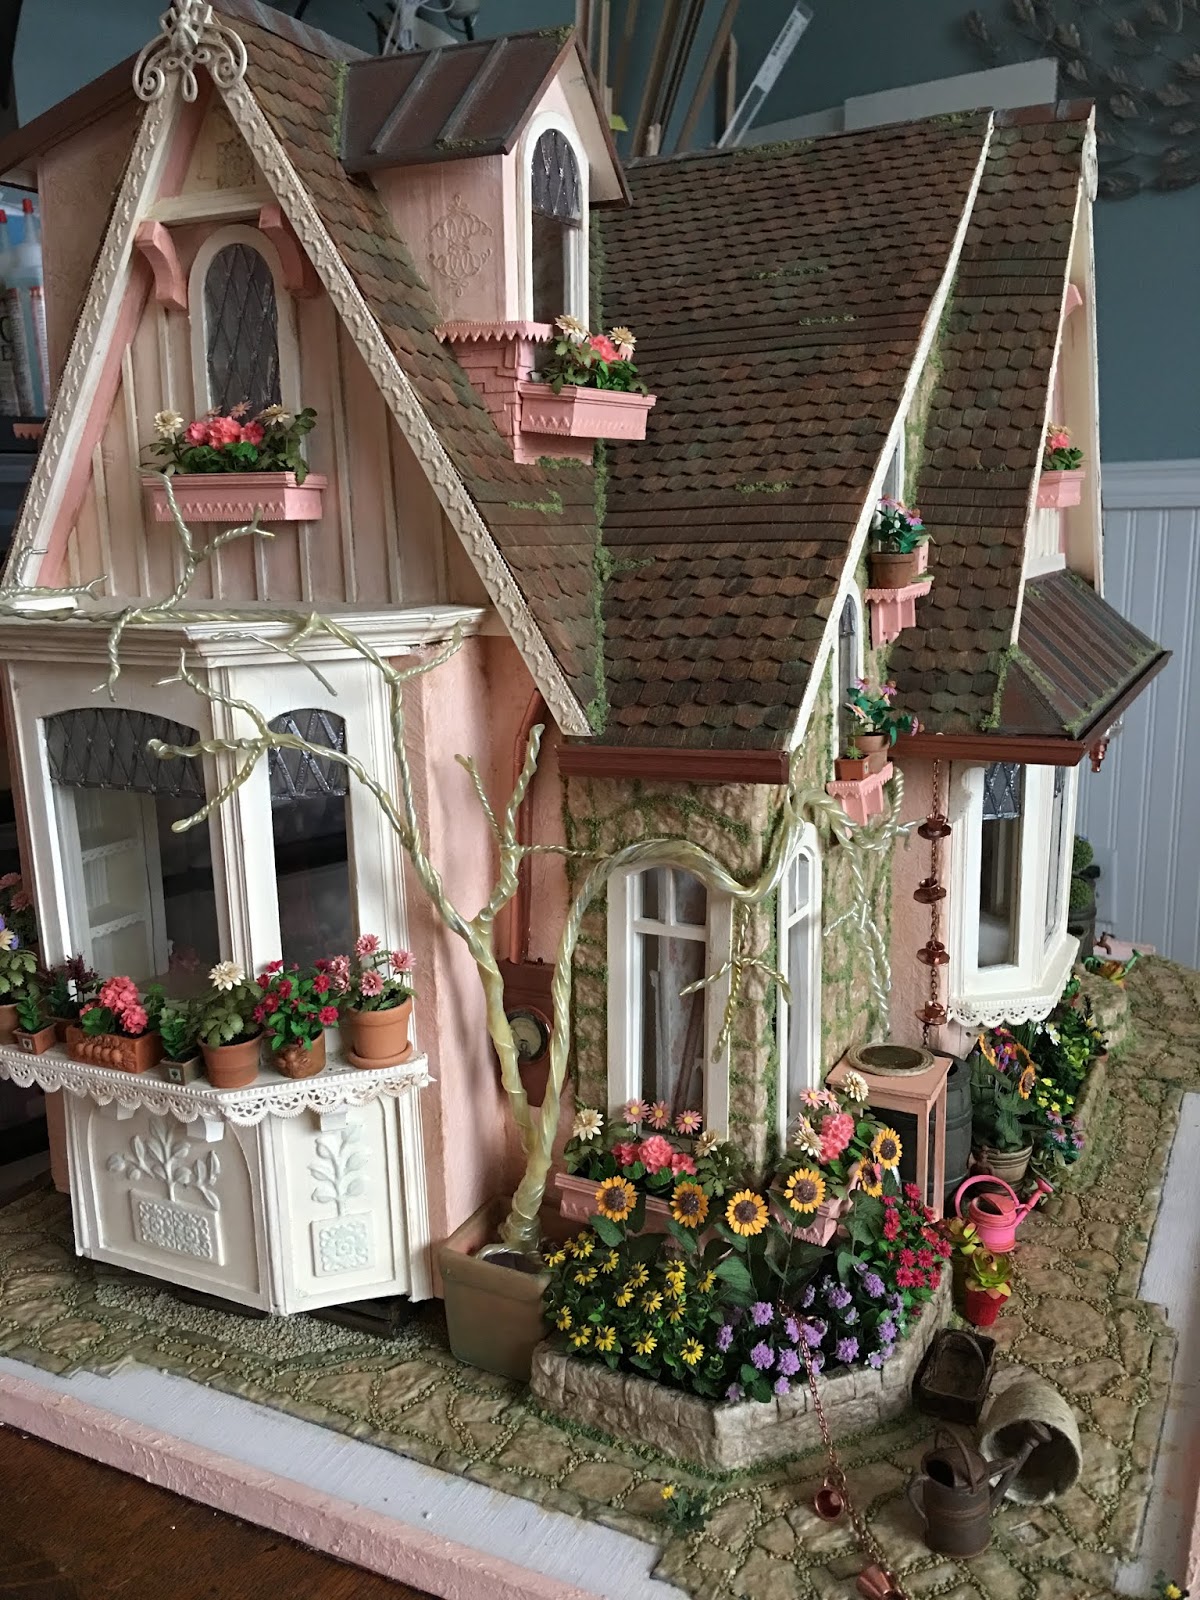
And once the leaves and blooms were on, I filled the pot with some white glue and "dirt", then fit the tree in place. I am not sure what season my garden is in, or what is supposed to bloom when, but in my make believe world, it makes perfect sense. And the latex rubber was definitely the way to go! My branches bent and conformed with ease and with no sign of stress.


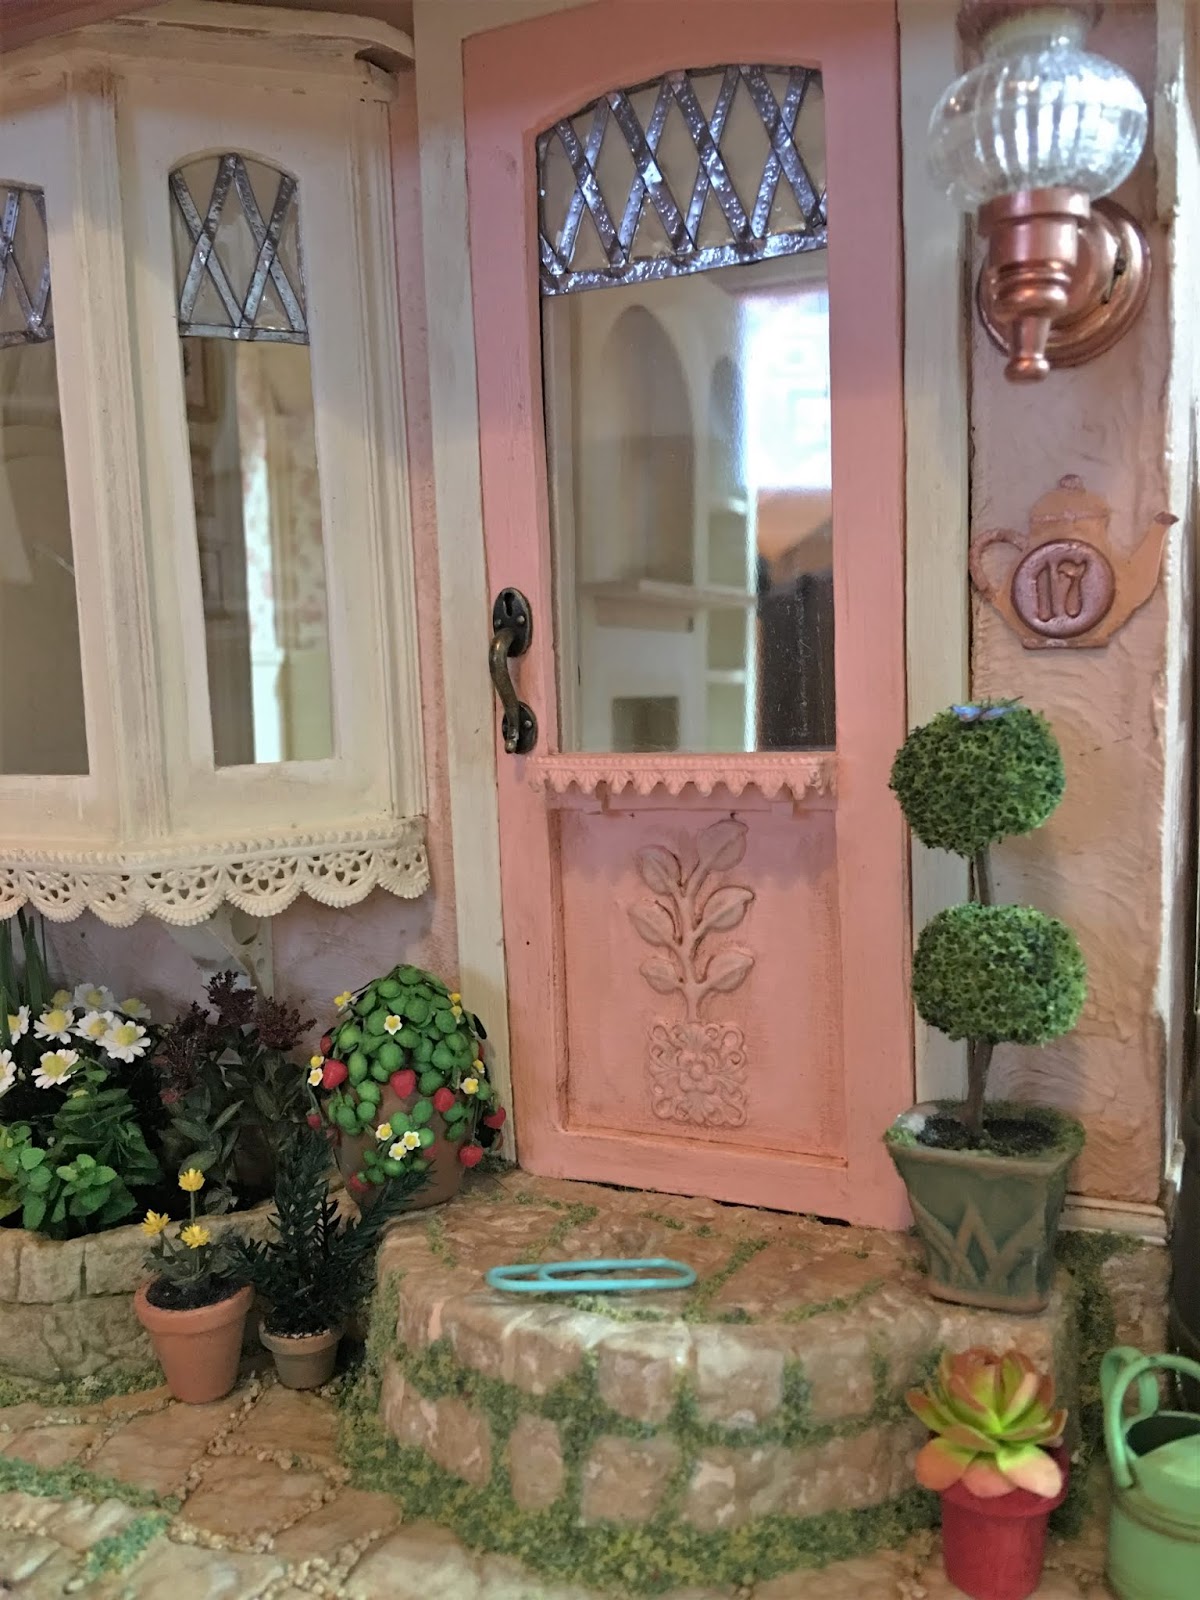
I tried to stay productive while waiting for the mail, then later, waiting for substances to dry. I had an Ascot Water Heater kit from Phoenix Models to put together, so that's what I did while Russ was watching football. It was fiddly, and had to be put together in several stages. With drying time in between, there was lots of two part epoxy mixing required. I also had to look at a lot of online photos of real Ascot gas water heaters because I found the instructions a little sparse. Eventually, I figured it out. I made it look old using Elizabeth's excellent glass paint aging technique.

I also needed a gas meter. Clever Elizabeth made one from a dollar store lip gloss container, but as I hate to go STORE shopping, I had to look through my junk drawers. I came up with an old QuickBooks card reader. The size and shape were just right, so after pulling the green card slot part off, it was the perfect starting point.

I had some hollow plastic (Wilson) lollipop sticks which bent pretty easily after holding them over a candle flame for a few seconds. There's a bit of a learning curve in terms of how long to hold it over the flame and how much pressure to use to bend it, but I was satisfied with my results. For the regulator (the round thing), I used a spacer bead, a pot metal wheel and a corsage pin. I also used spacer beads as fittings where the pipes connect to the meter, wall and to the ground. For the spigots (emergency shut off valve?), I used more spacer beads and nails. I drilled holes into the pipes so that they would sit and seat correctly. I used the epoxy to adhere these parts. For the meter display panel and to cover over the QuickBooks embossing on the meter body, I had leftover frame matting cut from my Cricut.

After I had all of the parts glued together, I sprayed it with flat gray spray primer. It was really cold in the garage, so I just sat with the paint can between my thighs until it was nice and warm. Then I quickly sprayed and brought the paint board into the house to dry. I found a photo of an old gas meter face plate and resized it to fit my frame. I glued it to the front of the painted (and dry) meter, then filled in the "glass" with Glossy Accents. Once that was dry, I aged with washes of Burnt Sienna and Cocoa Bean.


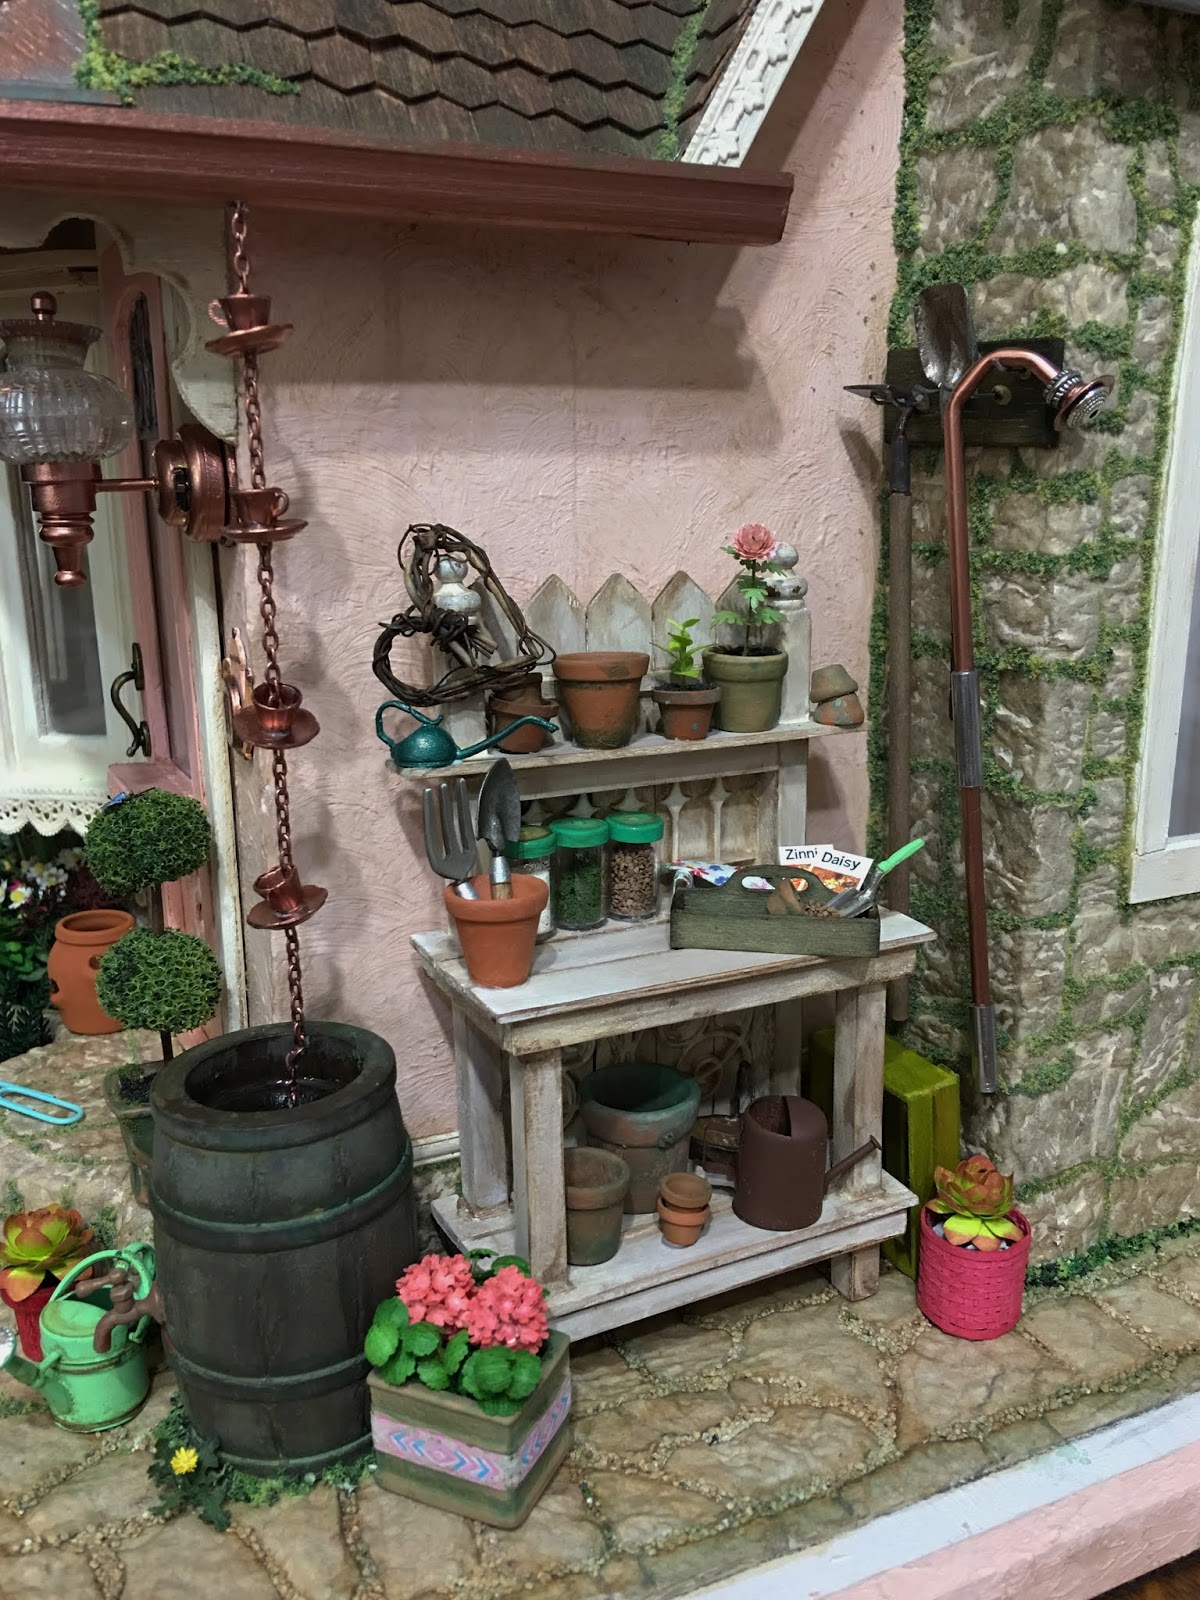
And while waiting for all of that to set and dry, I made some birdhouses...


And finally, before I go, I want to share something with you. Often the people in our lives don't get miniatures. They don't understand how and why these tiny things become so precious and special to us. I have come to believe that you either get it and develop a passion, or you don't. And what happens to all of those precious things when we pass on? If you're lucky, you have friends in life to share the passion with and can pass them on there. But if not, your family might just see all you've carefully created and collected as a burden that they must bear when you're gone. But if you're really lucky, a family member will know just where to find the perfect person to pass on and protect that legacy. Keli was asked and graciously accepted that responsibility, and has made sure that things once treasured still are. If you haven't read or don't remember about Charlene's Legacy, you must read Keli's posts. Keli has passed many things on, and just recently, I received the honor of some of those gifts.
 |
| Delicate bird cage with tiny bird, Faberge egg with Cardinal, tiny glass slipper, lady figurine and embroidery pillow. |
 |
| Gorgeous 20 piece china dinner set. |
I'm so grateful that through technology, I have all of you to share the joy and passion for miniatures with! I truly treasure each of you, and am so happy you are here!
xo xo,
Jodi