First up is the tea blend planter. Last week I had determined that I was going to have to come up with reasonable versions of the real life plants using the supplies and skills available to me. Let's face it - I do not posses the talents of Ilona or Betsy when it comes to plant and flower making, so please set your expectations accordingly. :O)
You saw my version of Chamomile, and in addition to that I made eight other common plants/flowers used for making tea blends.

I had SDK kits for the Peppermint and Spearmint...

And used Polka Dot plant leaves from SDK to make the Lemon Balm.

 |
| Real Life Lemon Balm Plant |


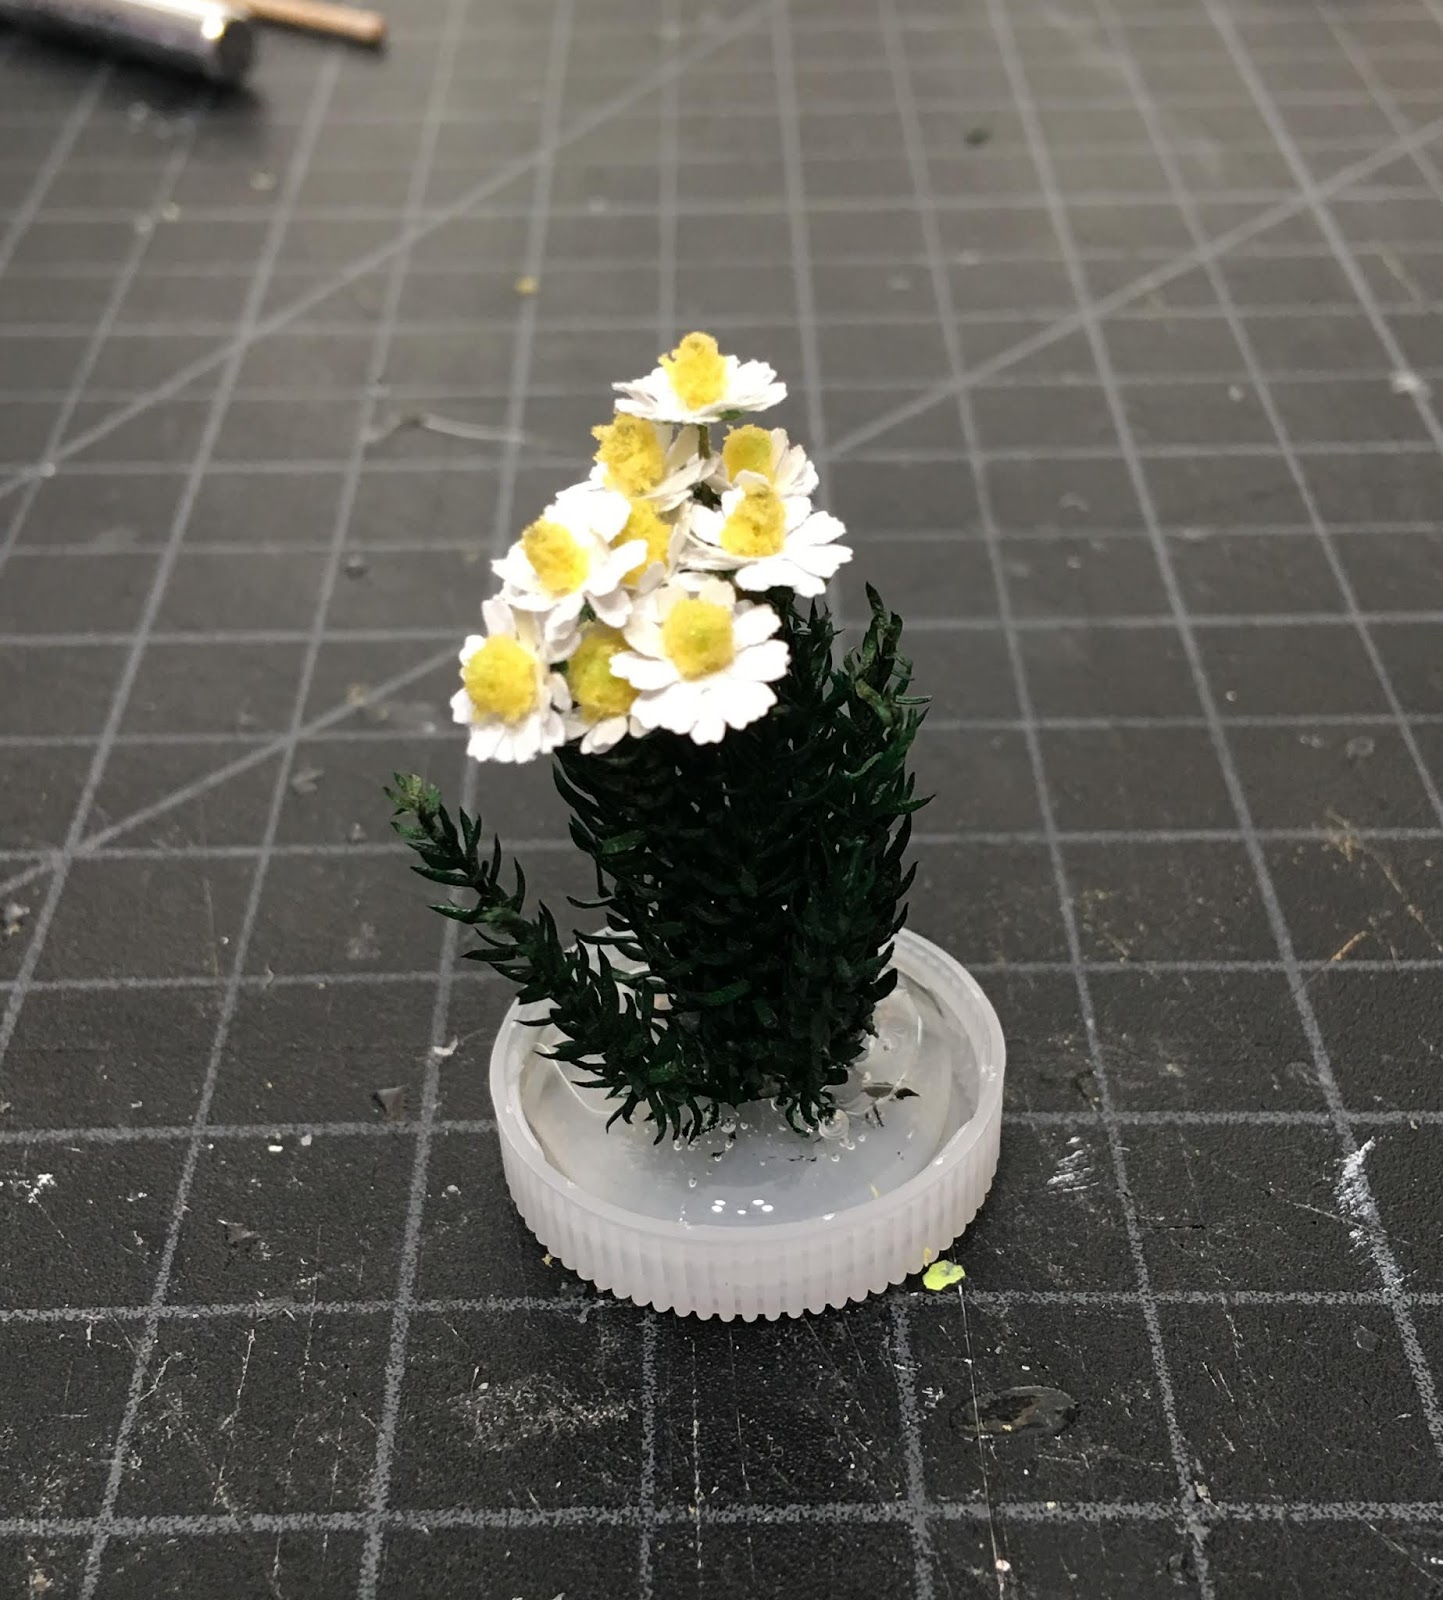
For the Bee Balm, I could have spent days to achieve a replica...
 |
| Bee Balm Flower |

Instead, I painted parts from an old fir tree in my stash, added petals and calyx from punches, and SDK Dogwood leaves. Close enough, though if I was making a single pot I would have tried harder. :O)


Rugosa roses produce great hips for tea, but don't look a lot like traditional roses. For these, I used a Wild Rose kit by Bonnie Lavish. They have a single petal rather than five to seven layers of petals, and a yellow center.
 |
| Rugosa Roses |
 |
| St. John's Wart |
The Lemongrass was the easiest one to make, as it is just tips from some silk flower grass I had in a drawer. You could also use painted masking tape, folded over wire to make each blade.
Here's where it sits in the garden...

I made Cosmos from kits by Moonflower Mini Garden on Etsy. These will get planted randomly where needed. I have Sweet Pea kits from this vendor, too, but they look really complicated and time consuming, so I won't make them for the cottage unless I need to.

The majority of time was spent making sixty-six roses from Bonnie Lavish kits. I had six kits, some petals in white paper, some pink, and three different green colored leaf papers that I had to make look very similar. I played with ProMarkers for the petals, and alcohol ink colors for the leaves to bring them into the same color range.

The roses were going to cover the arbor, so first I had to come up with the structure. I used wood from an old Darice wreath I had stashed away to create the rose trees. The idea is that a tree will be planted on each side of the arbor and grow together to cover it.


Here it is from all angles. I think sixty-six gave just enough coverage without completely hiding the arbor. The trunks won't get planted until it's time for permanent installation onto the landscape base.


And here's a little peek with the cottage...


I have another week before I have to switch my free time back to final touches on the house and guest room. Russ was sick (poor guy!) one weekend, then had to make priority Jeep repairs during two more weekends, so my work was ahead and waiting for him. This week, I hope to start planting some planters and filling some pots. There's gutters and watering systems to do, too, so this garden will likely continue through fall.
One final note for the week. In early summer, I was contacted by the editor of Dolls House & Miniature Scene, a UK dolls house magazine, and asked if they could feature my blog in October. Of course I was honored to be considered and said yes, please! The Sweet Christmas Cottage will also make an appearance in the December issue.

I was sent a copy, and really enjoyed it. It's large, full of photos and tutorials, and really upbeat. They do a great job with it, so if you haven't yet had the pleasure, you can check it out here.

xo xo,
Jodi