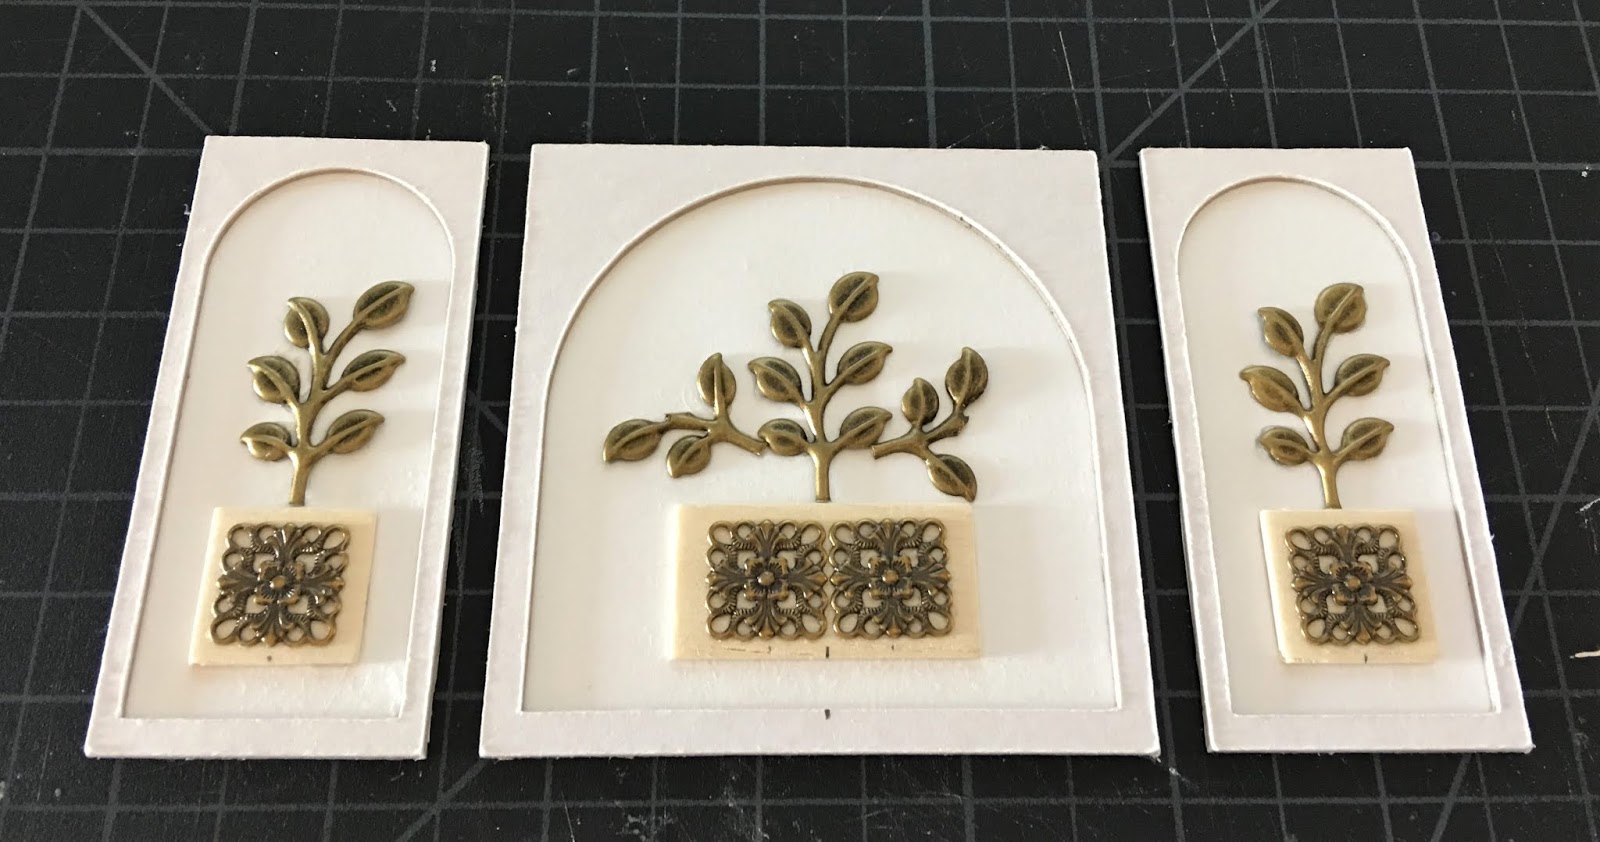
|
| First bedroom in mid-chaos! |
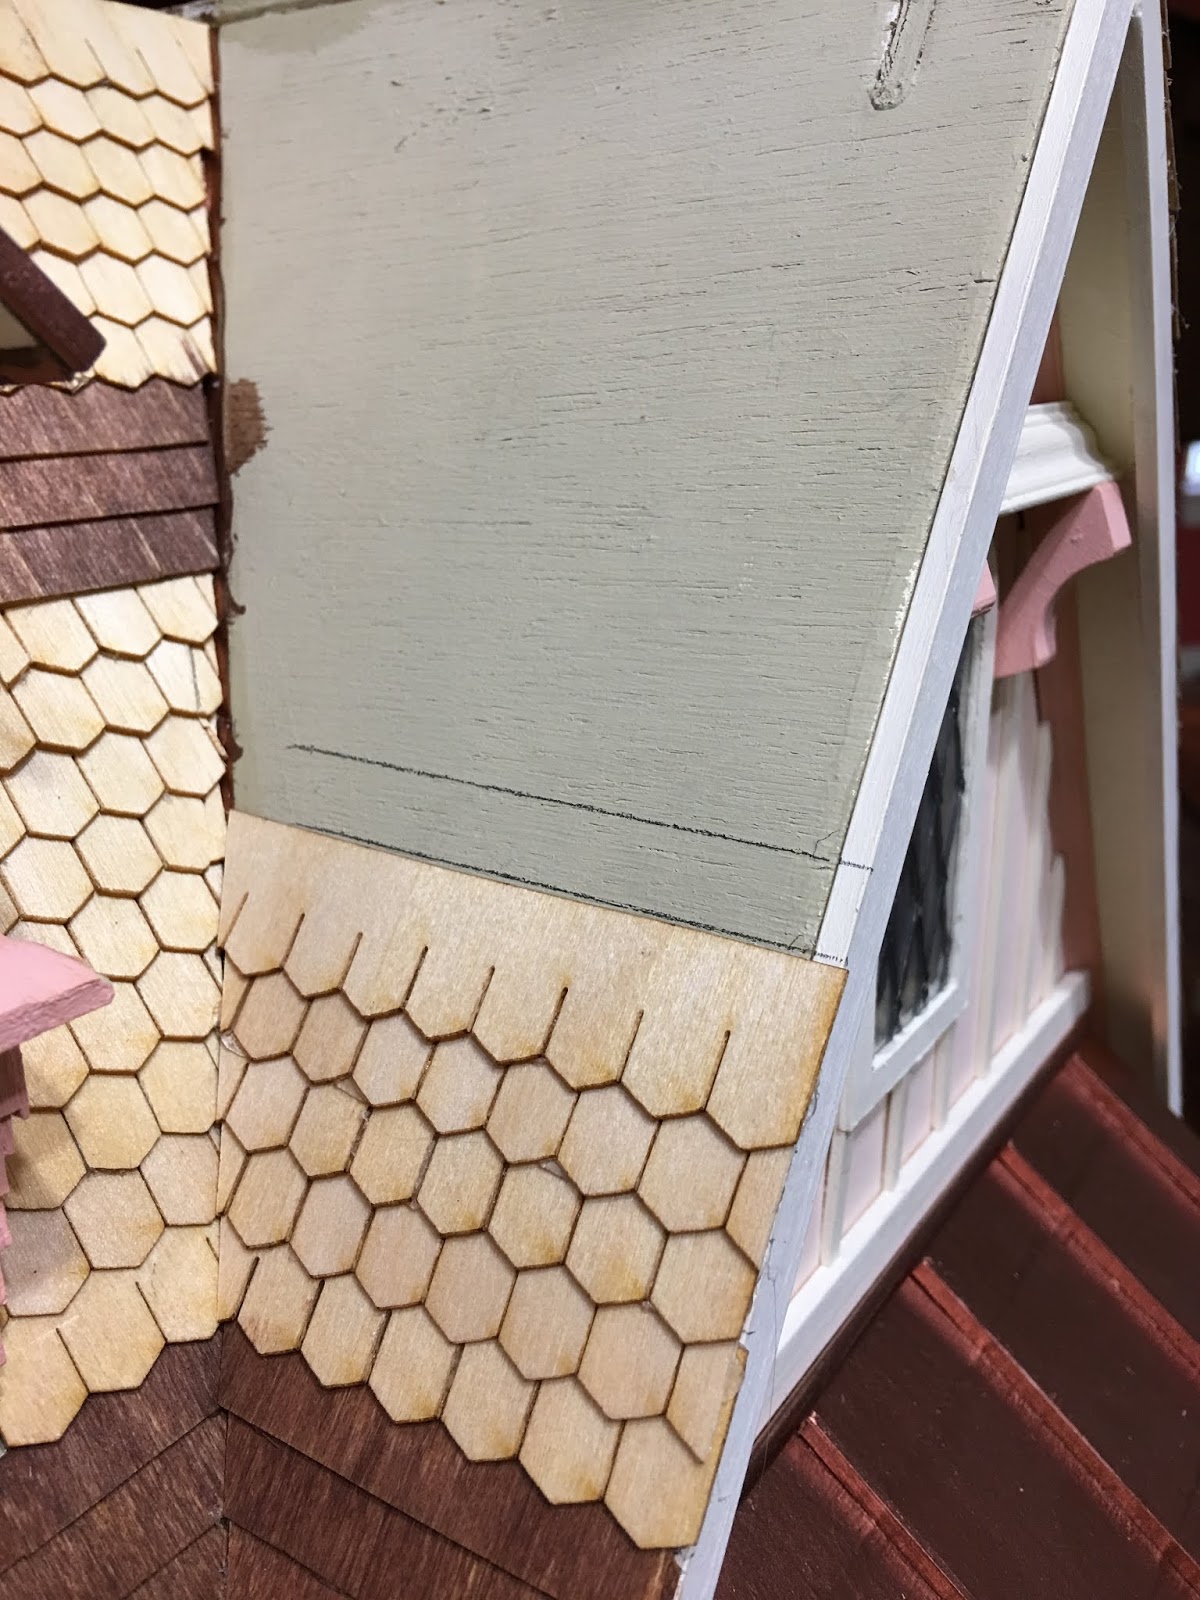
The next step on the cottage to-do list was the roof shingles. I chose to go with Greenleaf half scale speed shingles, because they are faster and seem more in scale on a small structure. Though getting them applied seemed anything but speedy! I thought the hex shaped variety was fitting for a tea loving resident, because they look just like honeycomb!


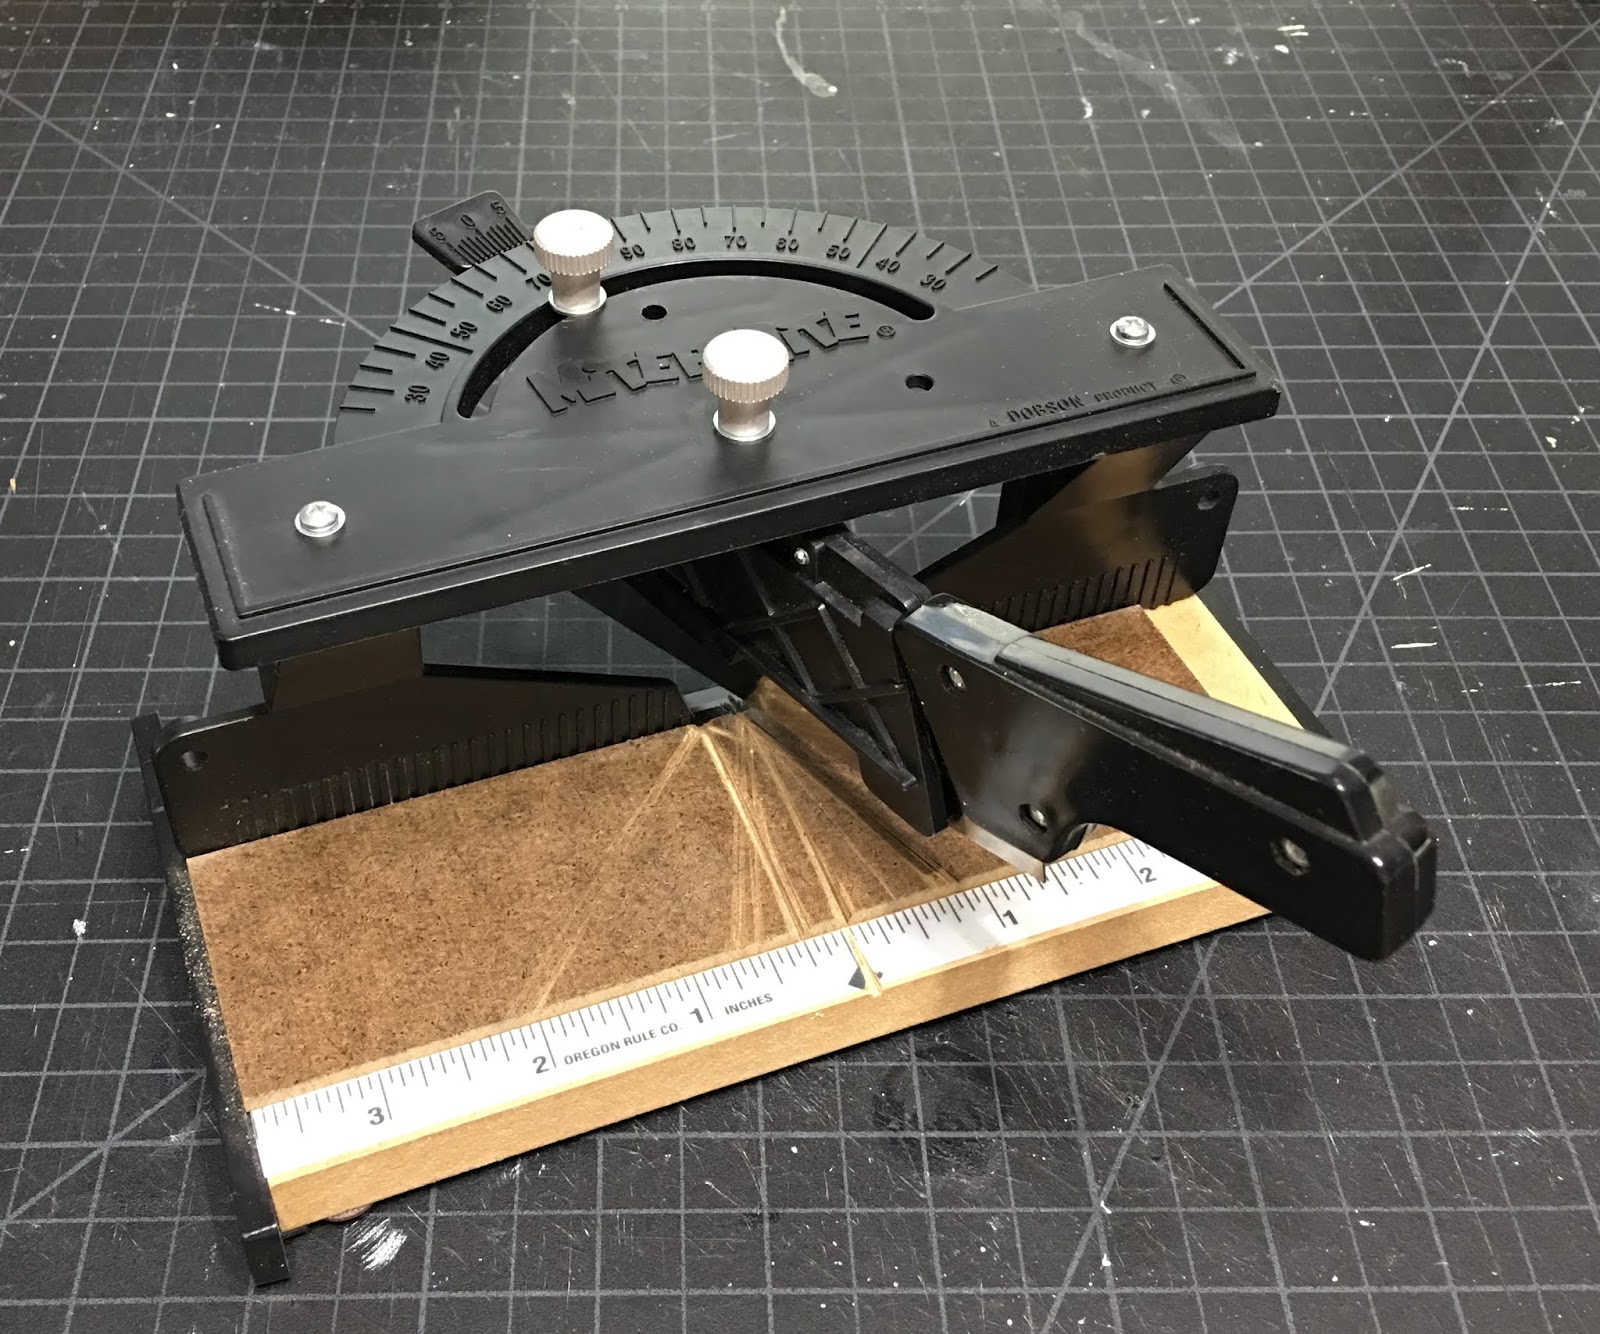
There were many interesting angles to contend with, so I employed the use of a paper template. Remind me to make templates of the roof sections before I attach them next time, would you? Anyway, I'd draw the line for the top of the next row of speed shingles...
Transfer the mark to the paper template...

Draw a line across the template using the square...

Line up the speed shingle strip and position the ruler at the angle...

Then cut. It worked beautifully ALMOST every time! :O)

Every chance I got between coats of paint or scrubbing or reorganizing the linen closet or tupperware cupboard, I added a few rows...


And eventually, in spite of a few setbacks and mistakes, I was finished!!!

I used Minwax stain markers, Provincial and Cherry, to stain the shingles.


And eventually, I finished that, too. I'll likely keep adding additional coats until I get the depth I'm after, because the shingles seem to drink it up and lighten a bit after they dry.


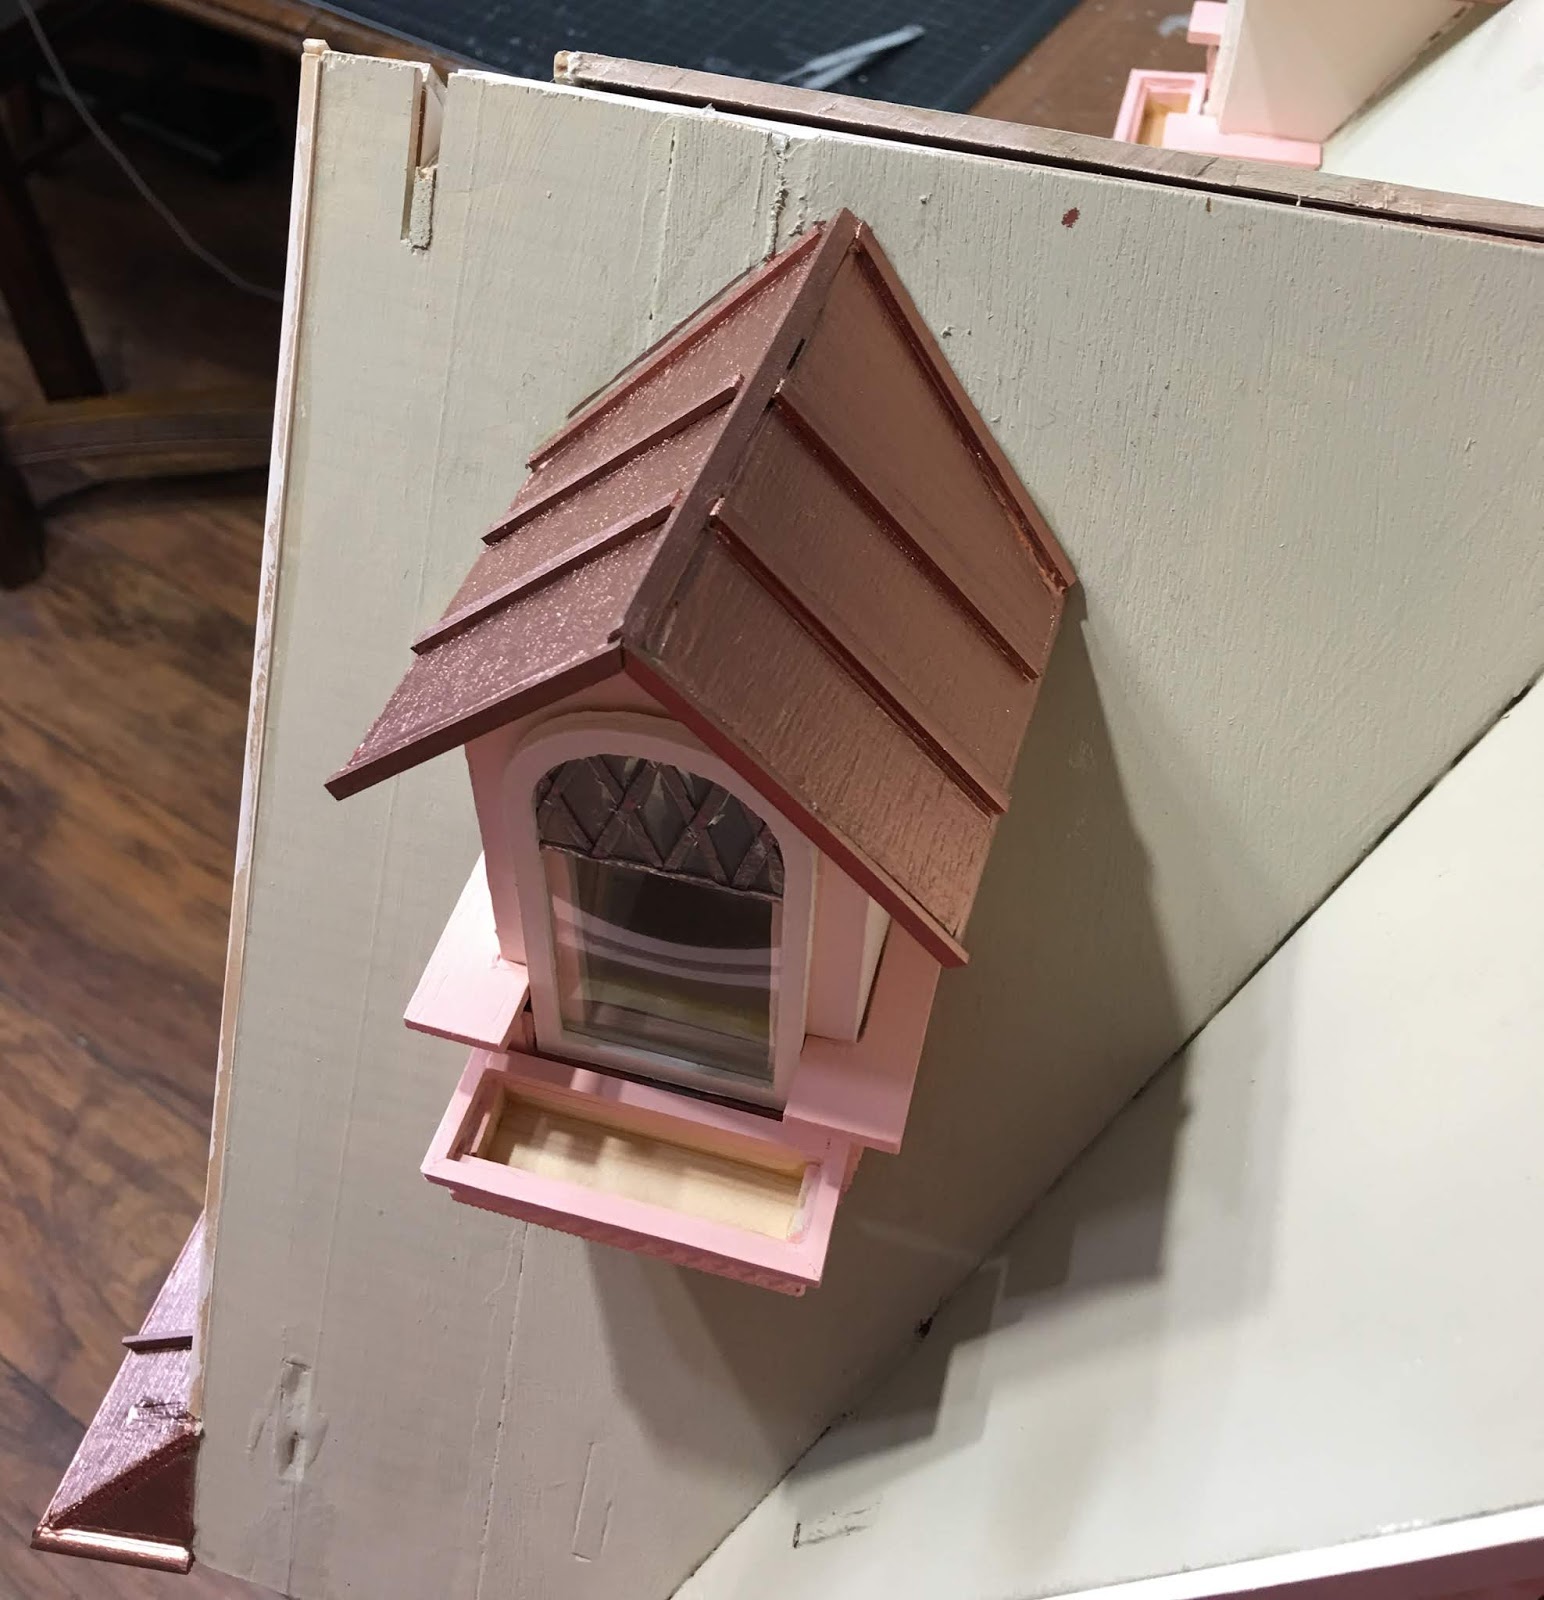
Now the question was: How to cap the roof and tie in the back shed dormer to the shingled roof? I wonder how many of life's mysteries have been solved over a bowl of cereal? Mine was solved using a cereal box.
 |
| Two roof ridges and one shed dormer meet. |
I measured how far down I wanted the roof cap to cover the shingles, doubled that (to cover each side) then added another quarter inch just for good measure. Then I cut a strip for the long main roof ridge and one for the shorter front roof ridge. Then I folded them in half lengthwise and creased 'em good with my bone folder.


I gave them a good dry fit and made cuts and adjustments for where the two ridges met and for the variance in angle caused by the gable and shed dormer. I also made notches for where the small dormer roofs met the ridge cap. I noticed that a lot of copper roofs have a strip of copper that is welded on top of where two pieces meet, so I cut 1/8" strips to provide this detail. Then everything got a first coat of copper leafing marker.


I used hot melt glue to attach it to the roof for instant grab and the ability to quickly mold it to the shape of the roof. It came out mostly good.

Using the cereal box cardboard again, I continued the strips from the ridge cap onto the shed dormer.


Everything's going to need several more coats and touch-ups, but I am happy that the roofing questions are answered, and the shingling is (mostly) done!


Russ will start the flooring install on the human sized rooms this weekend, then the ball is back in my court. More painting, more cleaning, more organizing, and loads of fun decor type stuff to make for one guest room. I'll share photos of that stuff as it gets more interesting.
Enjoy your last couple weeks of August, and I hope to see you again real soon!
xo xo,
Jodi