Search My Blog!

Use the Search box below to find keywords that you're looking for quickly and easily!

Search Feature

Thursday, November 2, 2017

Sweet Christmas Cottage Progress Report

While I can't say this post will contain any good eye candy, there will be some cookies! Paperclay cookies, that is! And while it's been a very busy couple weeks, I have made slow progress on the Sweet Christmas Cottage nonetheless.


I wanted to make an easy access panel for the wiring, so decided a removable chimney seemed like a good solution. It was challenging to make something to not only hide the exposed wires, but also accommodate the shape of the structure. I had wires coming out from a lot of places.


I began by making a frame to enclose most of the wires, leaving out the junction splice and the wires from the radio. If I add a speaker to the radio, I'll need this area open to attach the iPod to later on.


I wanted a fantasy sort of feel, so I cut strips of cardboard to create a curved edge.


Then I traced the structure onto some cardboard from a cereal box.


Then covered it in gesso. The gesso caused a bit of warping, but I think the finish mortar/frosting will make it work in my favor.


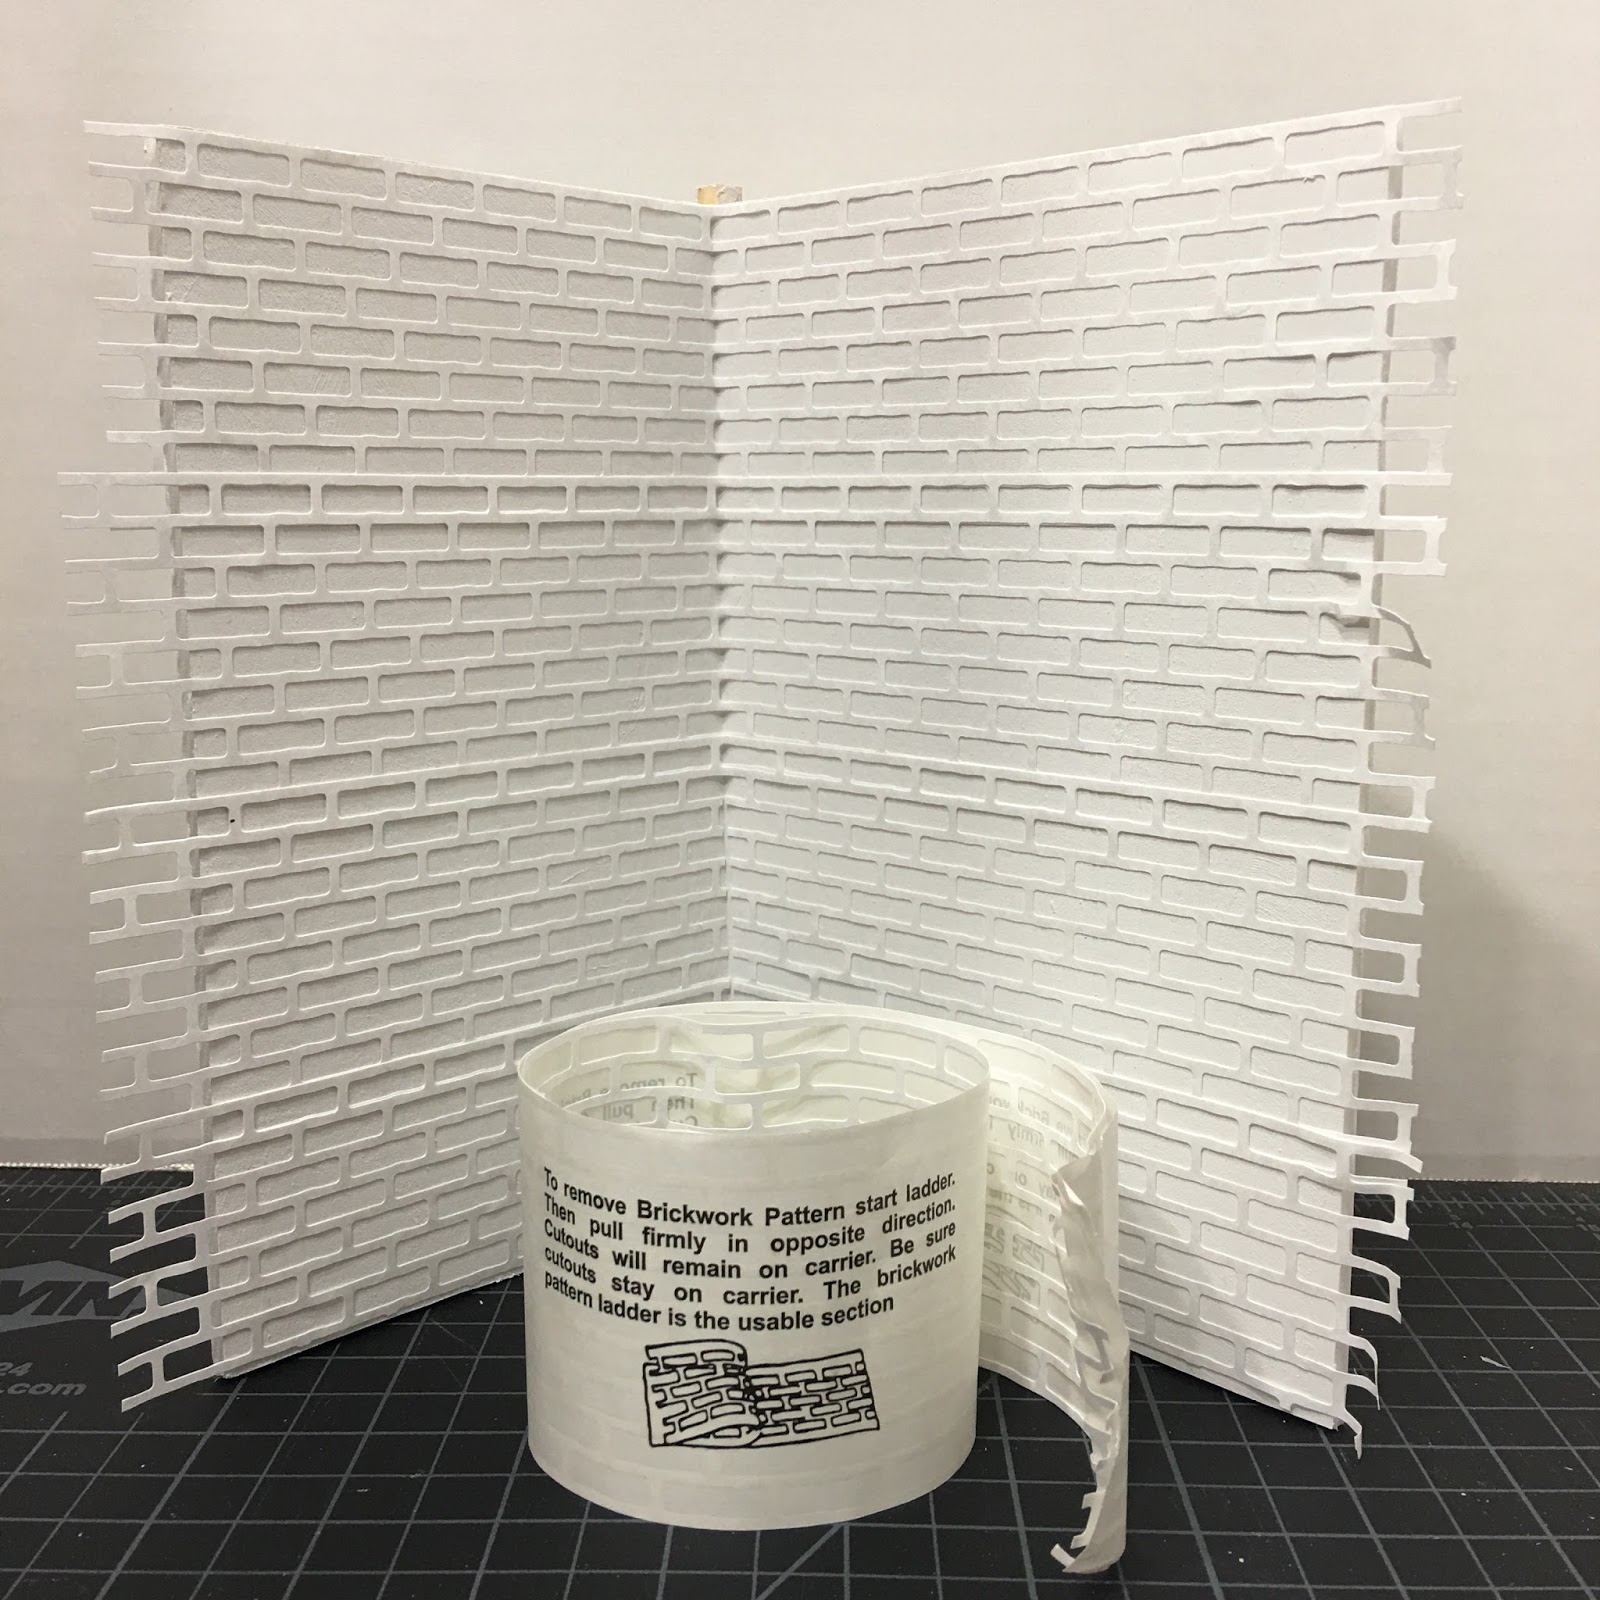
This is my first time working with Creative Paperclay, so I had fun experimenting with different cutters and push molds.


It was just like making real gingerbread cookies, really. Just roll, cut out, and glue.


I used wood shaped hearts to fill in gaps, and in general just had fun. The base will be painted gingerbread, have "frosting" piped in as mortar, then I'll add candies and such where needed.


I added some porch roof extensions, then gave the roof an undercoating before starting on the cookie roof.


I am using these fondant cutters to cut the paperclay into roof tiles. It's a slow go, but I think I am really going to like the effect when it's all finished with frosting, glitter, candies and tons of gingerbread house goodness! :O)


The lower roof and porch roof are finished up, the back roofs started, and the large front roof in progress. The plywood base will arrive tomorrow, so I can get that attached and begin the cookie texture on the walls.


 Much left to do, and with all of the holiday tasks like cleaning and Christmas shopping competing for time, it is sure to be a race to the finish. It is so much fun, though, and I am so grateful when I can find the time to play!

Hope you're all finding play time, to!

xo xo,

Jodi

Tuesday, October 17, 2017

Inspiration Project Ta-Done!

I've had so much fun with this little inspiration project and all the little details that went into it, and I am so excited to share something that I have actually finished with you!

Just to refresh, here was the original photo posted on Instagram that got the creativity monster invigorated...


And here is my finished interpretation...


This is where I left you in my initial post about the project...


And now a little bit about how the accessories came to be...


You may remember that I dug through my stash and came up with these for the basics. And turned them into these...


For the handled urn, I gave it a white wash and a sanding. I made the wire form in the planter using floral wire bent and twisted into shape, and beat it up with some rusty paint. It's a lot easier for me to make things look old and broken than new & perfect! The plant material is plastic stuff from Hobby Lobby, and maidenhair fern shredded to bits then glued in.


The little rusty basket was made from bending wires back and forth to form a zig zag coil. Then I used another piece of wire to gather it in the center and crimp it. Then I took a 3/4" rounded paintbrush handle and formed the loops around it, creating the bowl for the pot. I wound another piece of wire around the handle again to form a coil for the base, then glued it all together. The pot just sits down inside. Not so much a perfect match for the inspiration photo, but a close representation. :o)


The terracotta pot got a white wash and sanding. I rusted up a Tim Holtz flower and attached a twisted wire to secure it into the pot. It's topped off with more Maidenhair fern.


More pots and saucers, and a tiny succulent made from one of Nancy's wonderful kits.


The leaves are so much fun to color and blend!


Rusty tips just like the basket!


I made the green onions in last spring's veggie tutorial for American Miniaturists. I know the inspiration photo uses tulips, but root bulbs are root bulbs, right?


I did my best to mimic the shape of the cutting board, drawing it onto a piece of 1/16" basswood scrap. Then sanded... and sanded, until I was happy. An undercoating of brown, sanded and then whitewashed lightly gave it an old and well used finish.


If it were left up to me, I'd have filled this table to the brim. This is why it is good to copy from a REAL designer - you know when to say when!


I made the pillar candle using some bead caps, a spacer bead and Veranda Spindle. I created a tutorial page here if you'd like to make one of your own. Let me tell you, it couldn't be easier or more fun!


The under table box is a decorative match box, given a coat of whitewash to soften the colors.


The window, desk and chair were treated to a brown wash, a sanding, a white wash, a sanding and then a coat of clear wax. I could have/should have finished the chair a little better to disguise the kit pieces, but I didn't. :oP


And a few more photos just 'cause I took 'em...


And now, I have to go apologize to the Sweet Christmas Cottage for my indiscretion. I hope it will forgive me, though I have decided to make these quick and simple passion projects a regular affair...

To fulfilling our passions! At least the innocent ones!

xo xo,
Jodi

Thursday, October 12, 2017

Inspirational Time Out

I was really looking forward to starting the outside of the Sweet Christmas Cottage last weekend, so I began to start on the chimney. Better to get that and the electrical camouflage taken care of before figuring out where the gingerbread texture should go. I got some of the chimney structure cut & glued, then suddenly began to feel like I did as a teenager while doing math homework: board. Can you believe that?!? Board working on a dollhouse?!? Well, I was...

So, while I sat there waiting for glue to dry, I spaced out for a while. Then I picked up my phone and started looking through Instagram. That's when inspiration hit me, and I ditched the chimney for more a exciting project. Let's just call this one an interlude.


Here's the inspiration photo posted by lev_vackert, whom I follow. Amazing interior design, styling and photography. Check it out. Anyway, I wanted to try to recreate this scene using stuff I could find and tweak from my own stash. So here is what I did...


I gathered up some supplies and materials from my stash that I thought could work...

Leftover Magic Brik mix and tape, scrap veneer and plywood.

HOM Queen Anne Table Kit, Chair Kit, Laser Cut Window.

Miscellaneous Mini Supplies 
I made a simple two sided display using the plywood for the base and foam core for the walls. I didn't cut the foam core's paper covering through on the inside so that I could use a 1/4" x 1/4" piece of basswood for a corner support.


I coated the foam core with gesso to seal it and create "grout" for the bricks.


Then applied the brick sticker and brick material, Amazingly, it was still a perfect consistency after being stored in that RubberMaid container for over a year!


While the brick dried, I turned my attention to cutting flooring strips for the floor from 1/32" wood veneer.


It was really hard to see the exact floor pattern in the inspiration photo, so I had to make a guess. It looks to me as though there is a section, almost covered by what I think might be a piece of floor cloth, that looks like an old cellar door. So that's what I went with.

A tip here on getting a good meeting of the miters. Using double sided tape, I taped down my cellar door frame, letting the corners overlap. Then I cut where the corners met diagonally so that the remaining miters met up in a nice way.


I darkened all of the veneer strip edges and the floor under surface with a Promarker before gluing down with QuickGrip contact cement. It is stinky, but with wood this thin it is the only thing that won't make the wood curl.


Once the floor was laid out, I added some nail holes, scratches, dings and faux wood grain to try to simulate the floor in the photo. At this point the brick was also dry!


Then I added trim to the floor and wall edges...


To finish the walls, I painted the brick and trim in warm white. The original photo has a cooler white, but I like warmer better. I also mixed up some Folkart clear wax and antiquing wax to get a not too dark floor finish. I want to play around with the floor finish a bit more, 'cause I think I can do better.


I put together the chair kit, then began to see what I could come up with for the desk. The finished kit style and height was all wrong, so I "borrowed" some of the pieces to form the base for my own design. I eliminated the real drawer and cut my own for a more simple look. I cut and sanded chopsticks for super simple legs.


This is where I left things this evening. We'll see if inspiration strikes again over the weekend. If I can finish this one up, I'll have a nice bookend for my shelves, and a new mini scene to boot!

Hope you're finding inspiration for new and ongoing minis, too!

xo xo,
Jodi