This is not my first time ever entering the infamous
HBS Creatin' Contest - I actually entered the
20th Creatin' Contest. That's the one with the
Charming Cottage Kit -
Nancy Enge won with her phenomenal
Sea House Pavillion! I was making dollhouse lamps for my parents for Christmas that year, so I only started the kit in November and entered just as a last minute "why not" kind of thing. I won a $5.00 gift certificate, and my mom LOVED her dollhouse lamp, so it was great all the way around!
I wasn't going to enter this year, either. Let's face it - there are so many amazingly talented miniaturists out there that competing just isn't my thing. What did appeal to me was being part of the community of blogger friends who are working on this project simultaneously and sharing the experience! That part is so exciting to me, I truly love how unique and supportive our community is and I really wanted to be a part of it! I also
finally joined
Instagram, so it will be double the fun following everyone and seeing their great ideas! #hbscreatincontest2016
When the kit was first revealed I thought it was cute and a great size for those of us that have to watch how much space a project takes up in our homes. But, I couldn't come up with any ideas that lit my fire. Until I remembered a project that has been in the works in my mind since 2012. Once I thought about how I could bash the kit to fit the needs for my idea, I was off and running! I ordered two kits in April, and have been waiting excitedly to get started!
I've been collecting minis and materials for this project for about two years now. Each time I was shopping or came up with another idea for it I would add little extras on to my orders. I just kept adding things into a box, then it became a drawer, then it became two drawers!
The theme is an adaptation on the classic children's book The Three Little Pigs. I remembered reading this and many stories to my kids when they were little and thinking how many of these books had wonderful art but very dark narratives. What's with wolves trying to eat pigs, children and poor grandmothers? And why are these themes in children's books? Who knows, but I love it when the good guys win, so I am highlighting the ending of The Three Little Pigs in my miniature scene. My working title is: The Three Little Pigs: REVENGE!
I hope to capture a certain cartoon-ish art style with the project. Wikipedia says:
A cartoon is a form of two-dimensional illustrated visual art. While the specific definition has changed over time, modern usage refers to a typically non-realistic or semi-realistic drawing or painting intended for satire, caricature, or humor, or to the artistic style of such works.
Well, we are going three dimensional here, but I hope to evoke the satire and humor part. The most important part of my theme will of course be the little piggies. It took hours of searching for just the right characters, but when I saw the 5" Maxwell bobble heads I knew they would be perfect. I just plan to cut off the Geico base and dress them each in their own unique personalities.
Suddenly it was time to begin working on the kit. I knew I was going to have some major alterations ahead of me, so I just put fear aside and jumped right in. I needed to combine two kits in order to have the room I needed for the things I have planned. I also wanted to use different windows and door, so adjustments had to be made to the walls and floor. I did a dry fit, traced where openings needed to be enlarged or closed all together and where the base needed to be shortened. I didn't want to go more than 30" wide for the project as a whole.
 |
| Replacement door and windows |
 |
| Mock up - opening will now be what was the side |
 |
| Marking where front porch will be cut down. |
Once I had each of the pieces marked out, it was time for the scary part - cutting things with big tools! Yikes! It doesn't matter how many times I do this, I still get nervous! The rip saw was the perfect saw to cut both floor pieces. They were going to be straight cuts and having the guard on the saw is great for making sure that they are straight!
 |
| Rip saw with guide for cutting the floors |
Once I had the pieces cut it was time to join them. One of these days I am going to learn how to cut slots for biscuits and properly join wood together. But not today... I used wood glue and lots of blue tape and pressure to join the floors together, letting it dry thoroughly before moving it at all!
 |
| Both floor pieces glued and taped |
Because I knew there would be a lot of stress on the one glue joint, I decided to go ahead and attach the plywood base at this very early construction stage. My hubs cut out a 15" x 30" piece of plywood on his table saw.
 |
| Glued floors next to plywood base |
 |
| Gorilla Glue applied to plywood |
 |
| Joined bases fit to plywood |
 |
| Base and plywood weighted down to dry overnight |
Now that the floor was under control, it was time to tackle the walls. For these, I had to break out the scroll saw. I needed to make larger window openings for the two back walls. On the panel that will be the front door I needed to close up the original window opening (precious wall space needed), fill in the giant opening for a much smaller door, and add a support piece above the new door/window and one below the window. On the other end wall, I needed to enlarge the original window opening and enclose the giant opening for the kit's original door. I also needed to remove the majority of the front wall, so that just a side and bottom frame remained. This meant very careful cutting on the walls, and then using the pieces that I cut away to fill in the areas that needed filling.
 |
| Hard to see lines to be cut |
 |
| Completed piles of newly reconfigured walls |
Once the pieces were cut, I needed to glue in and spackle the areas where holes in the walls were being filled in. I didn't get photos of this process - sorry! I was trying to watch TV at the same time with the hubs and sneak work in so that he didn't feel abandoned! ;O) Here are the walls after gluing, spackling and sanding.
Finally it was time to glue walls to the floor and base. I usually like to do a bit of finish work on the walls of a dollhouse kit before I assemble because it is easier than reaching in with my big hands. This time, though, since I will be doing a lot of brick work, I needed the walls and floor to be attached first so that where corners and floors meet walls look right. I dry fit everything again to make sure it was nice and square. I have to say that this is a well made kit and would be extremely simple for anyone to put together as originally intended. I then added wood glue to the pieces and taped everything up tight to dry.
 |
| Glued and taped! Yeah! |
While I waited for the walls and floor to set, I started painting the doors and windows. I like to use spray paint on them because I like the finish it gives much better, and there is much less sanding to do. This photo represents four coats, so far. I'll probably get two more in today and then let them dry overnight. Tomorrow, I'll get the other side.
Meanwhile, I have some decisions to make about brick. I have several options - I have been colecting brick options for a while now. I just need to decide what will go where and in what logical order I need to start. My window of opportunity for mini time is closing, so I need to take advantage while I can. Work will ramp up soon and I'll have no way to get out of my responsibilities. :O(
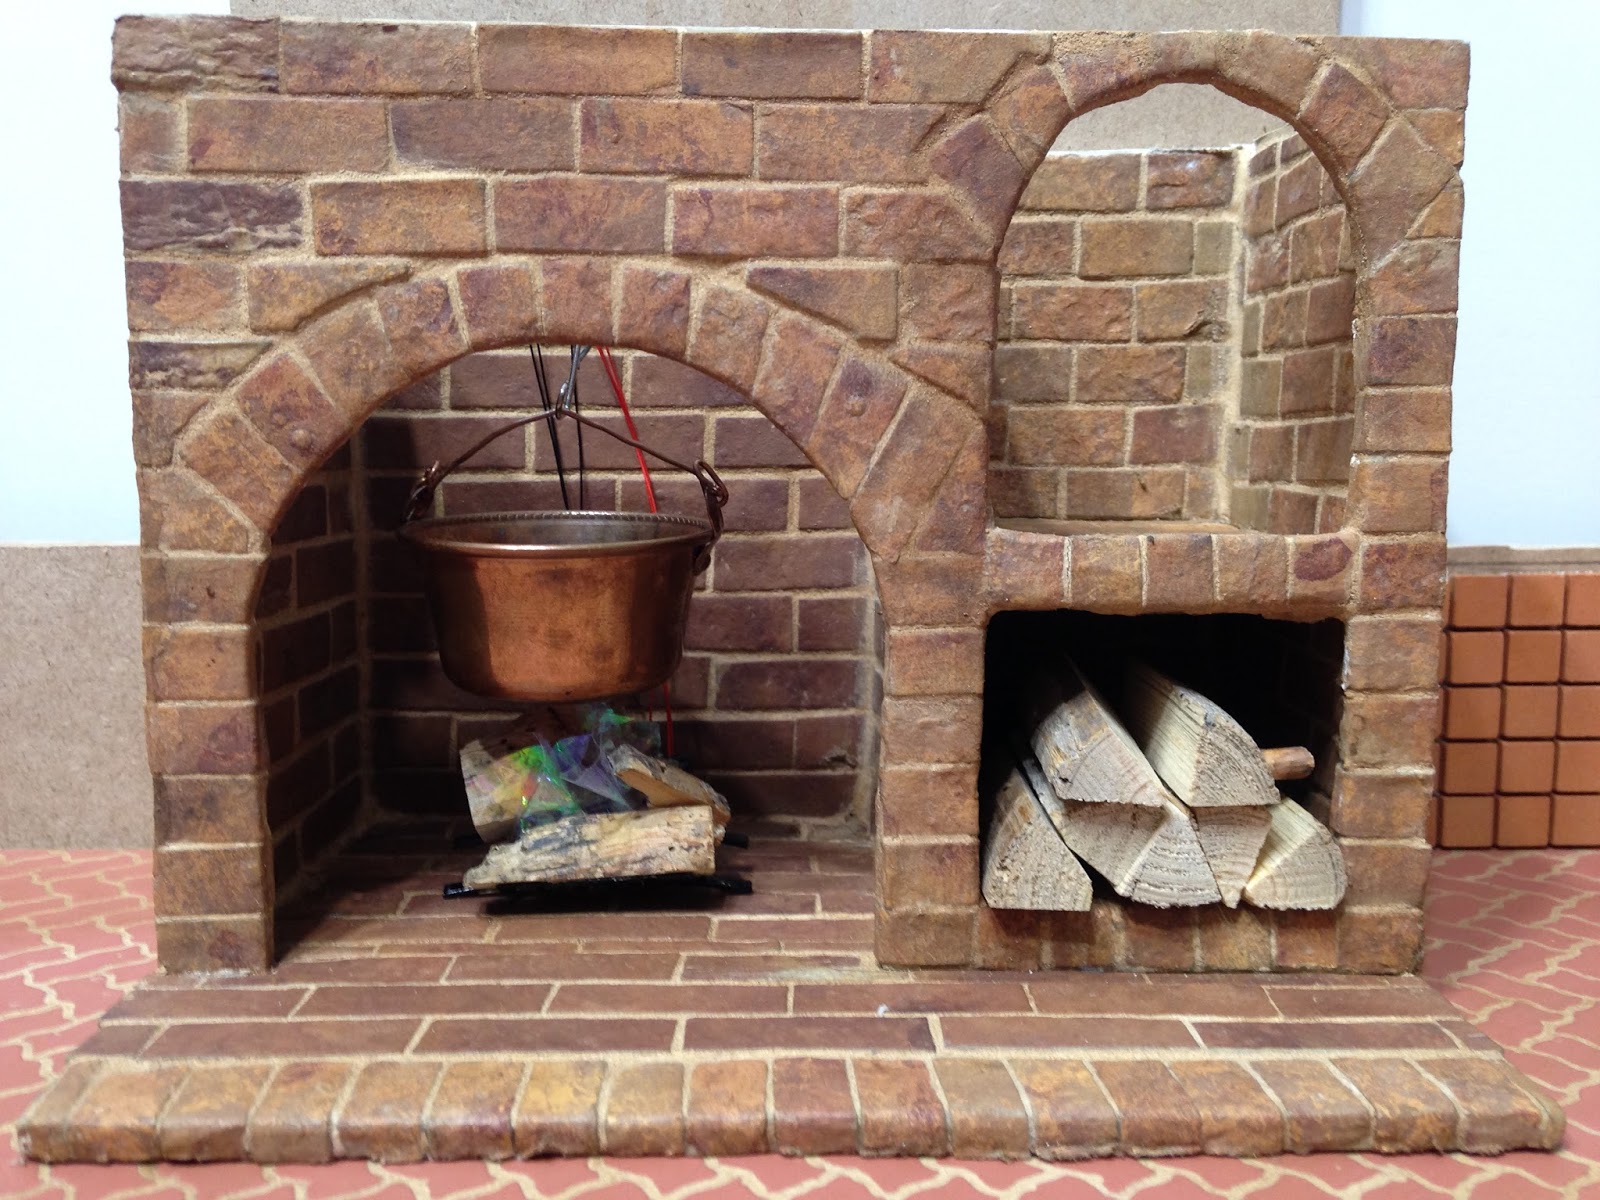
I have some exciting surprises planned - all of the lighting will be attached to the roofing
and outside! There are lots of roof and beam modifications yet ahead of me, so I'll keep the scroll saw and some bravery handy!
If you are also participating in this years contest, please leave a comment! Especially if you are blogging about it or posting on your Facebook page! I'd love to add you to my blog roll and see what amazing ideas everyone is working on! I just can't get enough!
Mini On My Friends!
Jodi