|
| Packaging and sticker roll |
 |
| Magic Slat |
 |
| Magic Brik |
 |
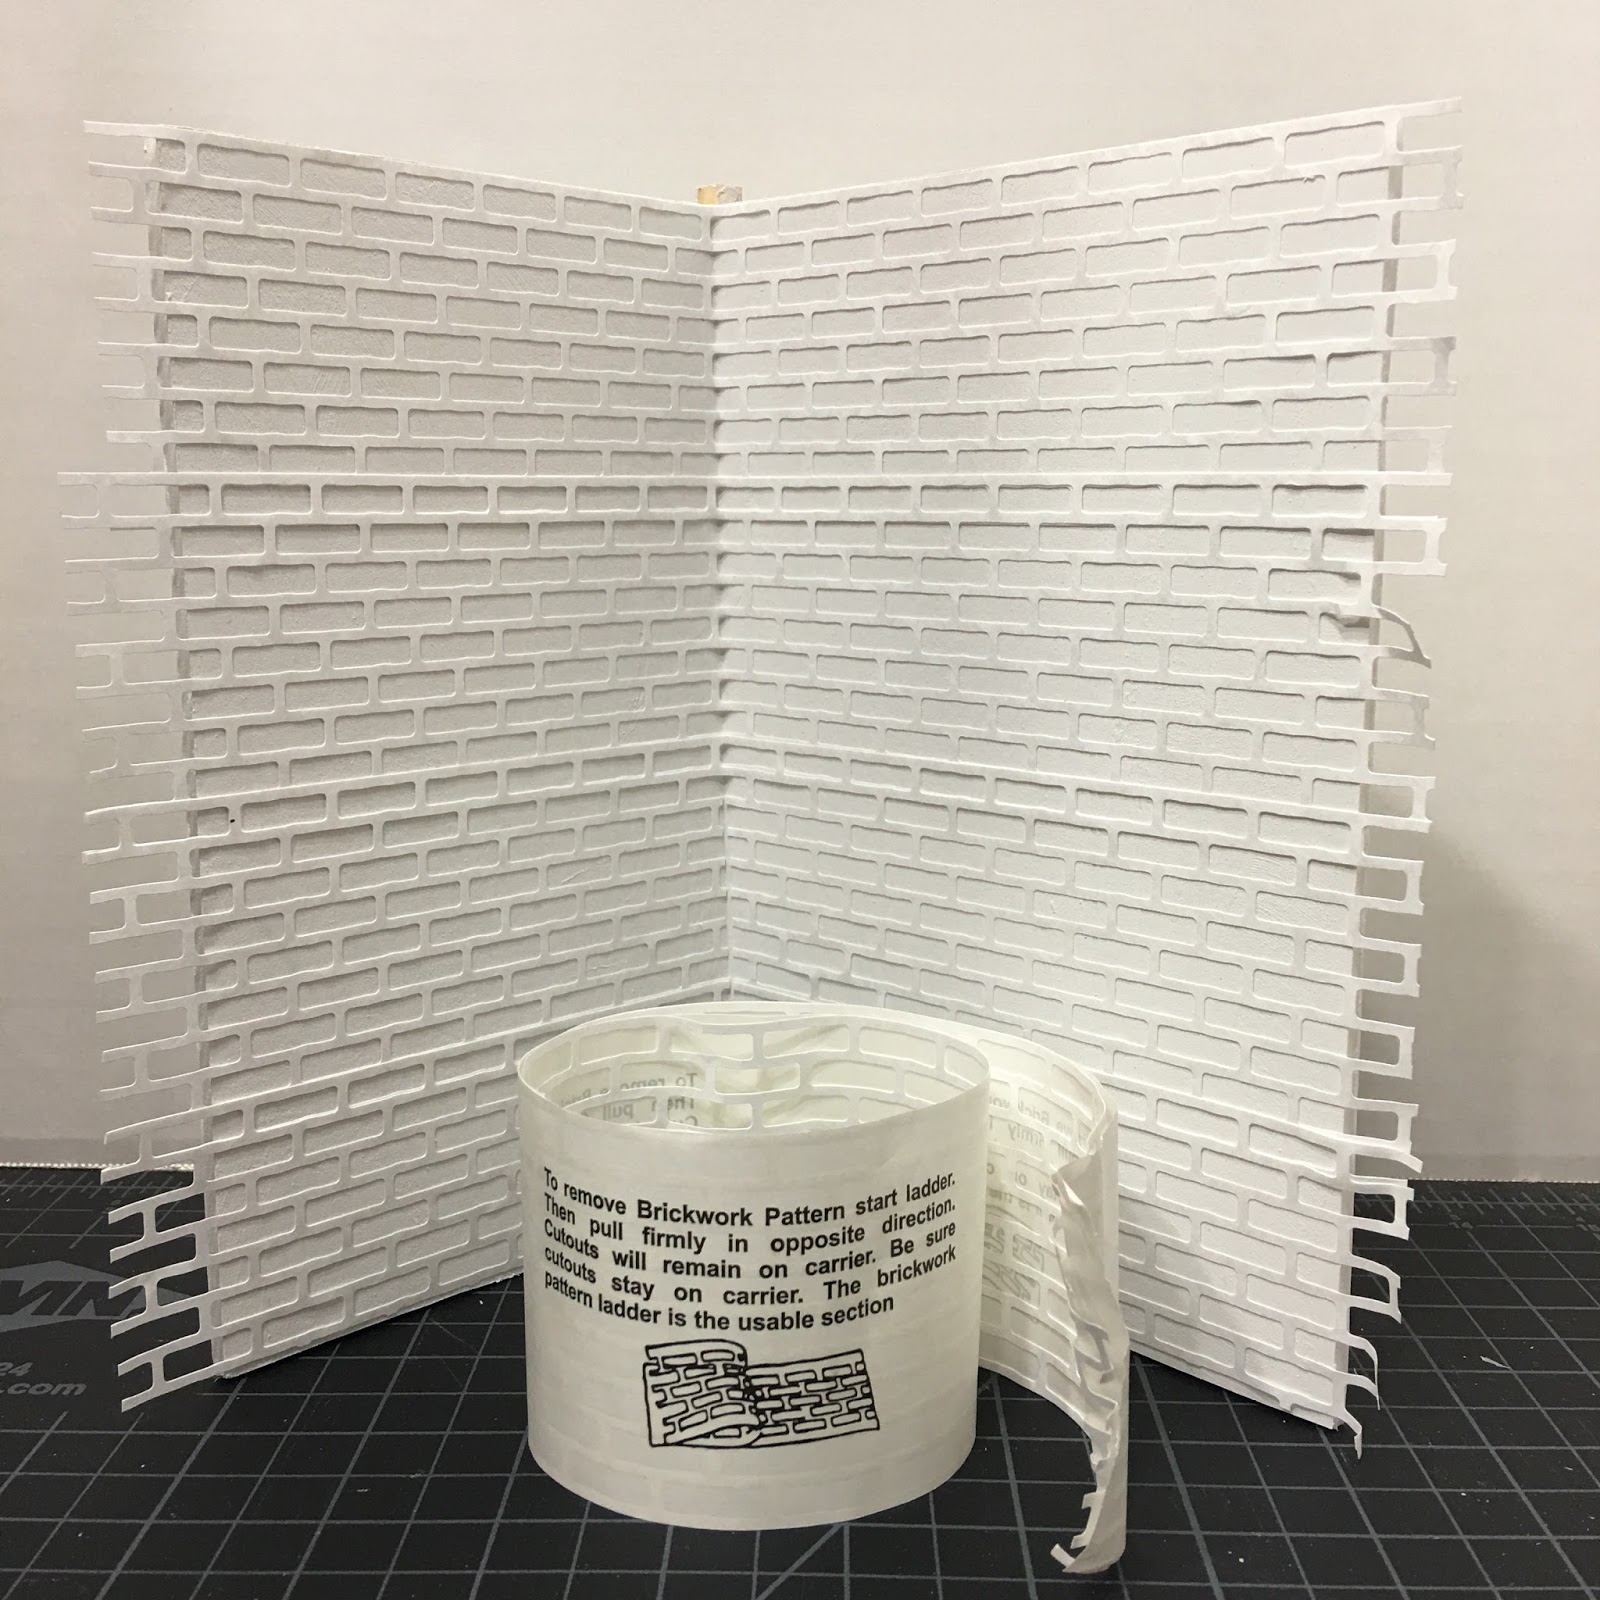
| Magic Ston |
 I tried out the stone paper from HBS in this project. It's okay in this setting because there is so much else going on you hardly notice it. I added color wash to varied stones to give it more life. I will probably not order it again, unless I am going for an animated or cartoon looking vibe.
 Last spring I finally had occasion to try the egg carton method. I was really surprised at how much I loved the results! It was very easy, and completely customizable!
 Basically, you cut or tear pieces from an egg carton, (to-go drink containers and anything that is a recycled formed paper item will work) into the shape you're trying to achieve. . You tacky glue them to the surface you're covering. You can dry brush, use artists chalk, or color wash with acrylic paint. Seal them well with matte sealer and let dry overnight. Next day, grout with real tile grout or your own mini mortar mix. Otterine has a real tutorial. It's a great one!
One product I hadn't tried yet was the Andi-Mini Fieldstone. I saw them in the HBS catalog and thought they could be fun! They are made from high density casting plaster, and are a solid color throughout. Apparently, this is so when you cut them they still look like authentic stone. I ordered a couple bags of the Brown Fieldstone and some Andi-Mini mortar to try out on the barn.
 The body of the barn is a darker blue with some grey undertones. The stain I used throughout and will use on the roof shingles is a honey oak color. The grout is grey. The combination of those colors makes me a little nervous, but we can only move forward and see what we see and learn what we learn!
I'll pop back in on this post and update how the progress is going. It will be interesting to see how these stones look when glued over top of milled clapboard siding.
Wish me luck!
UPDATE
When I had rocked up to the front door area, I had to stop and make the deck. Otherwise I'd have no idea what to cover and what to leave. I finished constructing the deck, and finished installing the rocks. A coat of satin varnish was added. The fieldstone comes alive with the varnish! I'm loving them!


All I have left with the fieldstone is to grout, and then install the trim cap. I'll update again when finished.
UPDATE to the UPDATE...
I tackled the grout today! It was a messy job, but I kind of like messy projects!
I decided as I was going to sleep the other night that I should put the grout into a container that would allow me to squirt the grout in between the rocks and there fore control the mess a little better. I found an almost empty honey container, so that's what I employed for the job.
 The directions on the mortar jar said that you could add water to get the right consistency. It looked good to me, so I scooped all of the grout from the container into the newly cleaned empty honey jar, then set to work. Don't get me wrong, it
was still messy, but it was definitely a more controlled mess.
I found that once I squeezed the grout in between the rocks, the best tool for getting it squished in was my finger. I'd do an area, the wipe down the rocks with a damp sponge.
 The grout went on a pretty dark grey color. I left the grout to dry, and by the time we'd finished dinner it had dried to a very light grey. In fact, I'm not sure if it was the terrible night time lighting in my dining room, but it almost seemed to perfectly match the blue on the clapboard.
 At that point I took a kitchen wash cloth and really gave all of the rocks another good wiping down. It seemed like the rocks had dulled a bit from the grout residue.
Still looking dulled, I added another coat of satin varnish to both the rocks and the grout. That seemed to deepen the nice variegated color in the rocks again, and made the grout a deeper grey.
The clean-up was great! The mortar dries like sand, so I just brushed off my work surface and ran the vacuum. The sponge and wash cloth came clean right away, too!
 So, all in all I would say I enjoyed the product. I have about half of one bag left, and enough mortar to use them in some future project. Would I spend the $15 again for each bag? Humph. Probably not. I think I could have had really decent results with egg cartons and real life grout (I still have tons left over from tiling my laundry room). Better to spend the money on something I can't do myself. I would rate the project as an intermediate skill level kind of thing.