Search My Blog!

Use the Search box below to find keywords that you're looking for quickly and easily!

Search Feature

Thursday, March 18, 2021

Tasha's Kitchen - Now We're Cooking With Gas!

This week in Tasha's Kitchen the focus was on the tile backsplash, crown molding for the cabinets, window trim and making a gas cooktop. 


Although I had purchased an Elf Miniatures Gas Hob Stove Top Kit, I looked online for inspiration. I was thinking it might be a fun endeavor to try to make one instead. This was my inspiration photo...

Easy right? Well, maybe not easy, but if you have a 3D printer, thanks to a generous Mother's Day gift from the very daughter you are making this kitchen for, it's a heck of a lot more feasible. So, I started in TinkerCad, working up a design that could eventually look close to my inspiration photo. I made a six burner model and included separate components such as the gas burners, the grates, a frame to house them in and some teeny control knobs.


I brought the file into my slicer program and adjusted the settings to the ones that seem to work best in such a small scale.


Time to print! It took about 2-1/2 hours, but everything went perfectly the first time!  If you are wondering about the red PLA, that is what came with my printer and I am trying to use it all up. The white PLA that I have on hand is not as good a product (seems to clog the nozzle A LOT), so I ordered a better brand in black. I am waiting for it's arrival now. Once I am sure it is better stuff, I'll order it in white and gray, too, so I have a nice variety of base colors to choose from. Apparently, it also comes in a stone and a wood finish, too! 

Now the big test! How did it work in the space? Amazing!


To make the base, I used a 2" x 3" piece of 1/16" basswood then glued a 3/16" trim piece on the front. I covered that with craft aluminum, bending it around the front so that it looks like a solid stainless steel cooktop.

I had originally painted the 3D printed parts with regular acrylic paint. I was not very happy with the finish, so the next day I printed a new set of parts and this time painted with a Posca Paint Marker. It came out much smoother and actually looks like cast iron!

First Try Using Acrylic Paint

Second Try Using Posca Paint Marker
But then I thought... Could I design an all inclusive cooktop? One that could be set between two  countertops, on top of the countertop, or on top of an oven unit? I set to work again, this time creating a tray that all of the components would sit into.

And then I printed them two more times until I got all of the little adjustments right. Each time it took nearly four hours to print.


The hourglass symbol on the left shows elapsed printing time.
The one on the right tells you how much longer you have to go.
I threw a big pot into the design, too, just for fun. It's the thing
in the very back in the photo on the right.

When it was finished, I set about painting the parts with the Posca markers, then sealed them with a matte spray sealer.


The tray piece will be lined with aluminum, so only the edges get painted.

I cut a piece of aluminum for the front panel with enough extra to bend around the front and a piece to lay inside the tray. I used Aleene's The Ultimate Glue to adhere the aluminum to the PLA.

Once the adhesive had a good grip, I scored the aluminum and gently bent it over the edge.


I applied the adhesive to the back of a piece of aluminum for the tray and to the bottom of the tray itself. After a few minutes I joined them together. 


To attach all of the other components, I used 5 Minute Epoxy.


To make sure the gas burners would be aligned correctly, I set the grates in place...


I marked the center with a Sharpie and then removed the grates.


I placed a small dot of epoxy on the mark and then set the burner down gently, making sure they were positioned evenly.


I placed a small amount of epoxy on the bottom of each of the four legs of each grate and set them into place. The legs hold the grates up at just the right height above the gas flame (theoretically).

I measured, marked and applied the epoxy for the control knobs next.


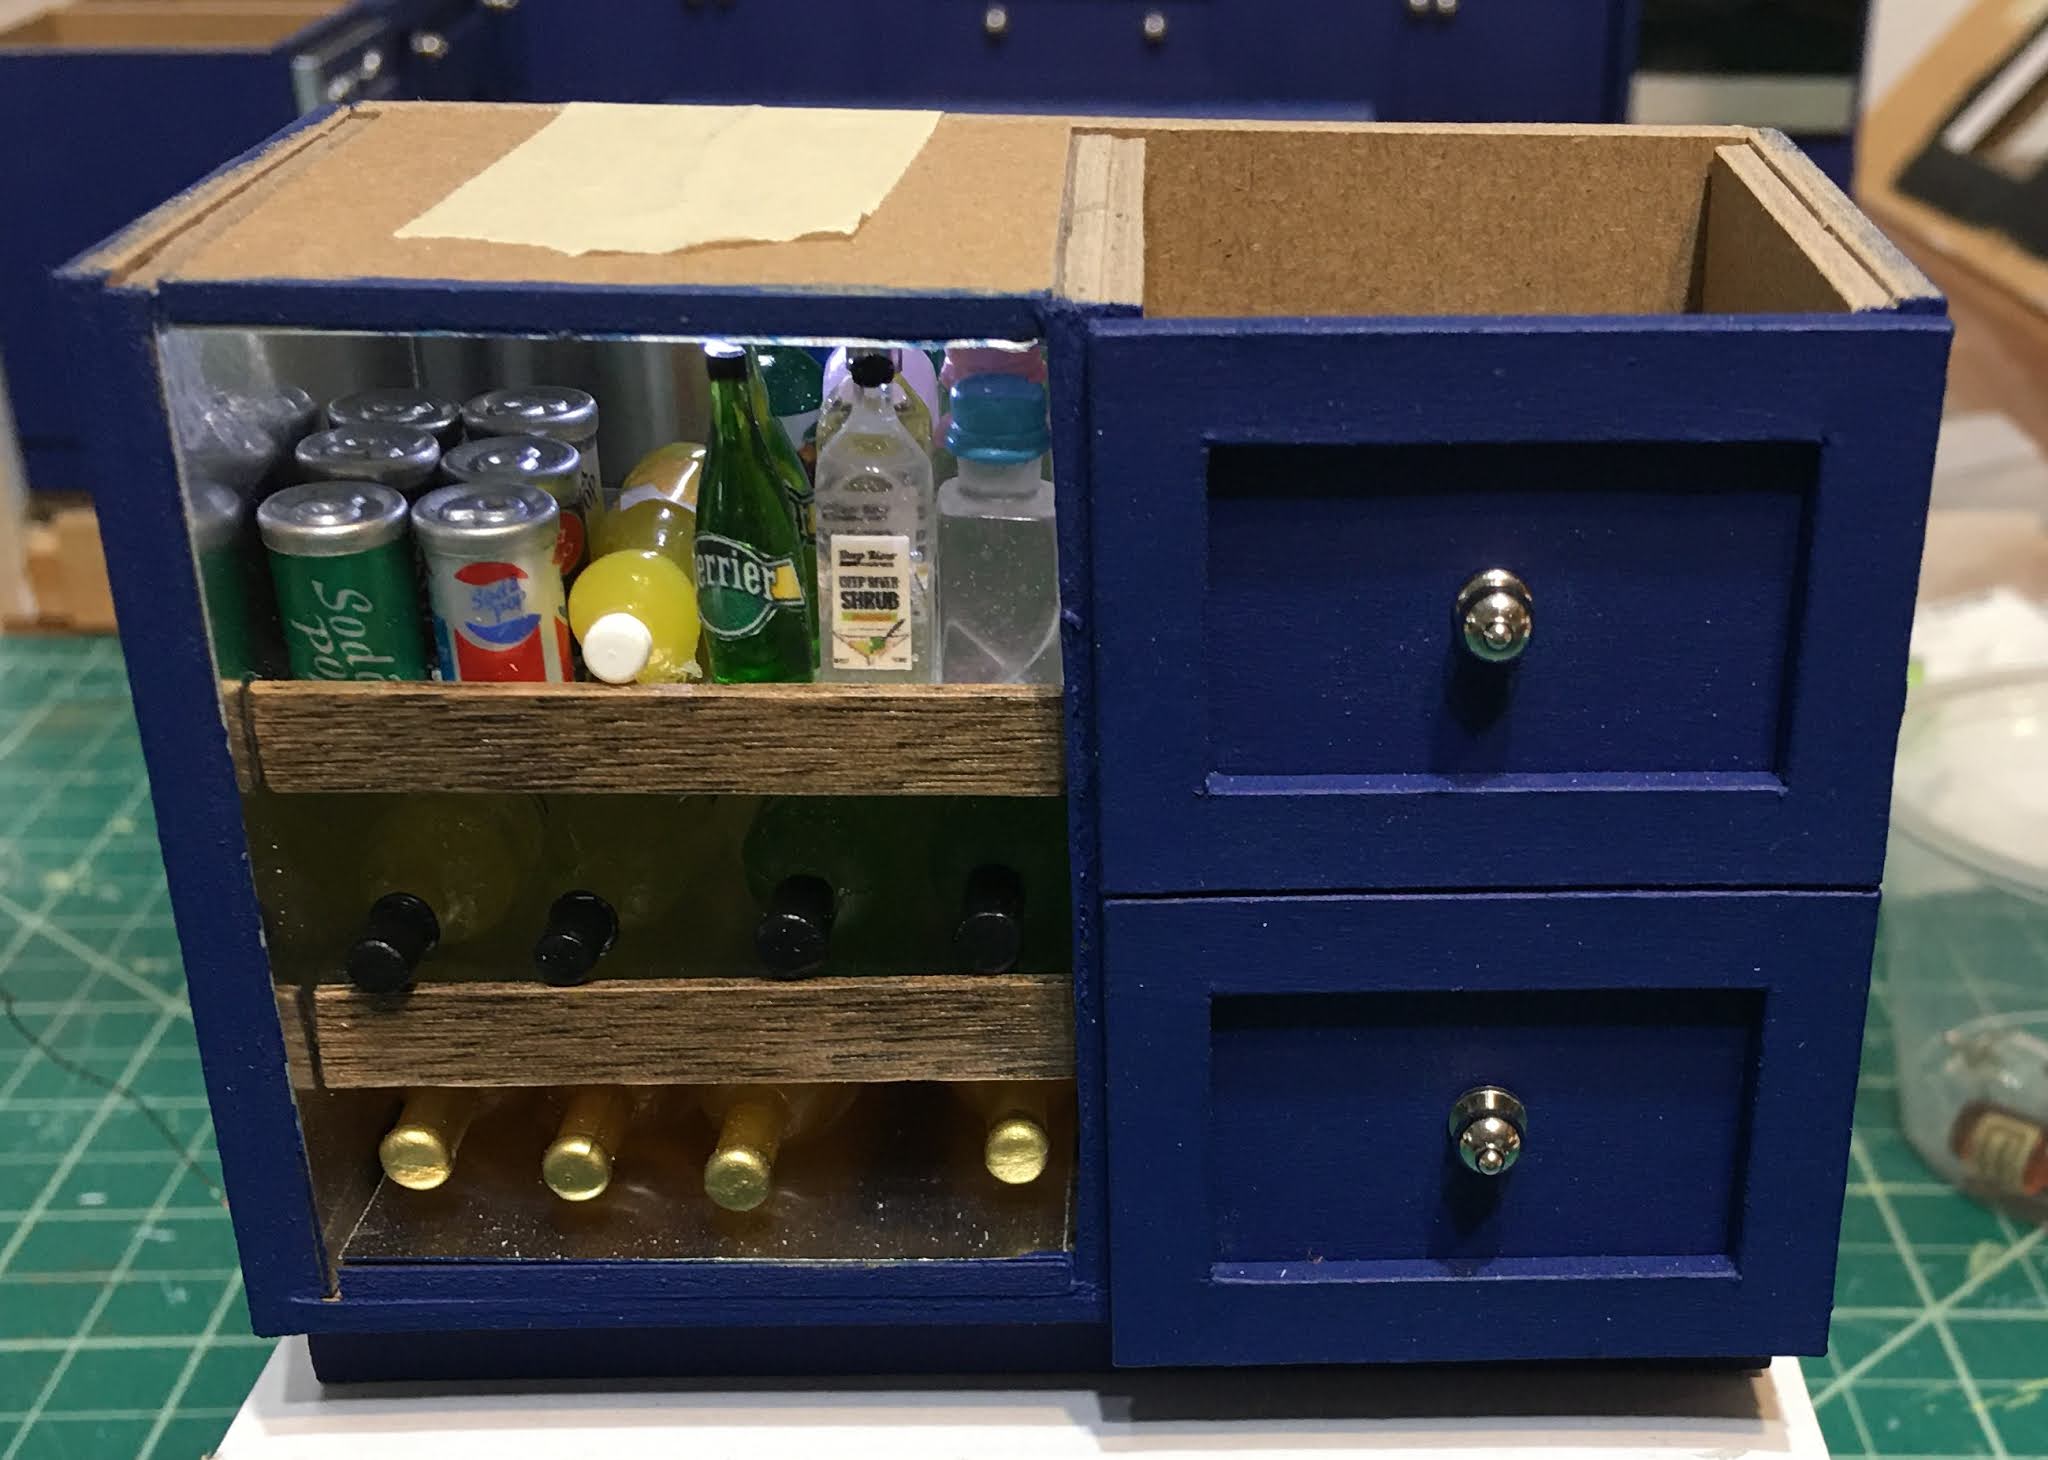
Ta-da! A gas cooktop! In the photos below I have just set it on top of the mini fridge unit to give you an idea what it looks like on the top of a countertop.


Here you see the first built in version with the basswood base (right) and the new 'all inclusive' countertop version (left) side by side.  The great news is that the second model can be utilized whichever way your project calls for. I'd call my endeavor to create a gas cooktop a rewarding success! What do you think?

If you are interested in obtaining a gas cooktop for your project, either assembled or in kit form, Click Here.

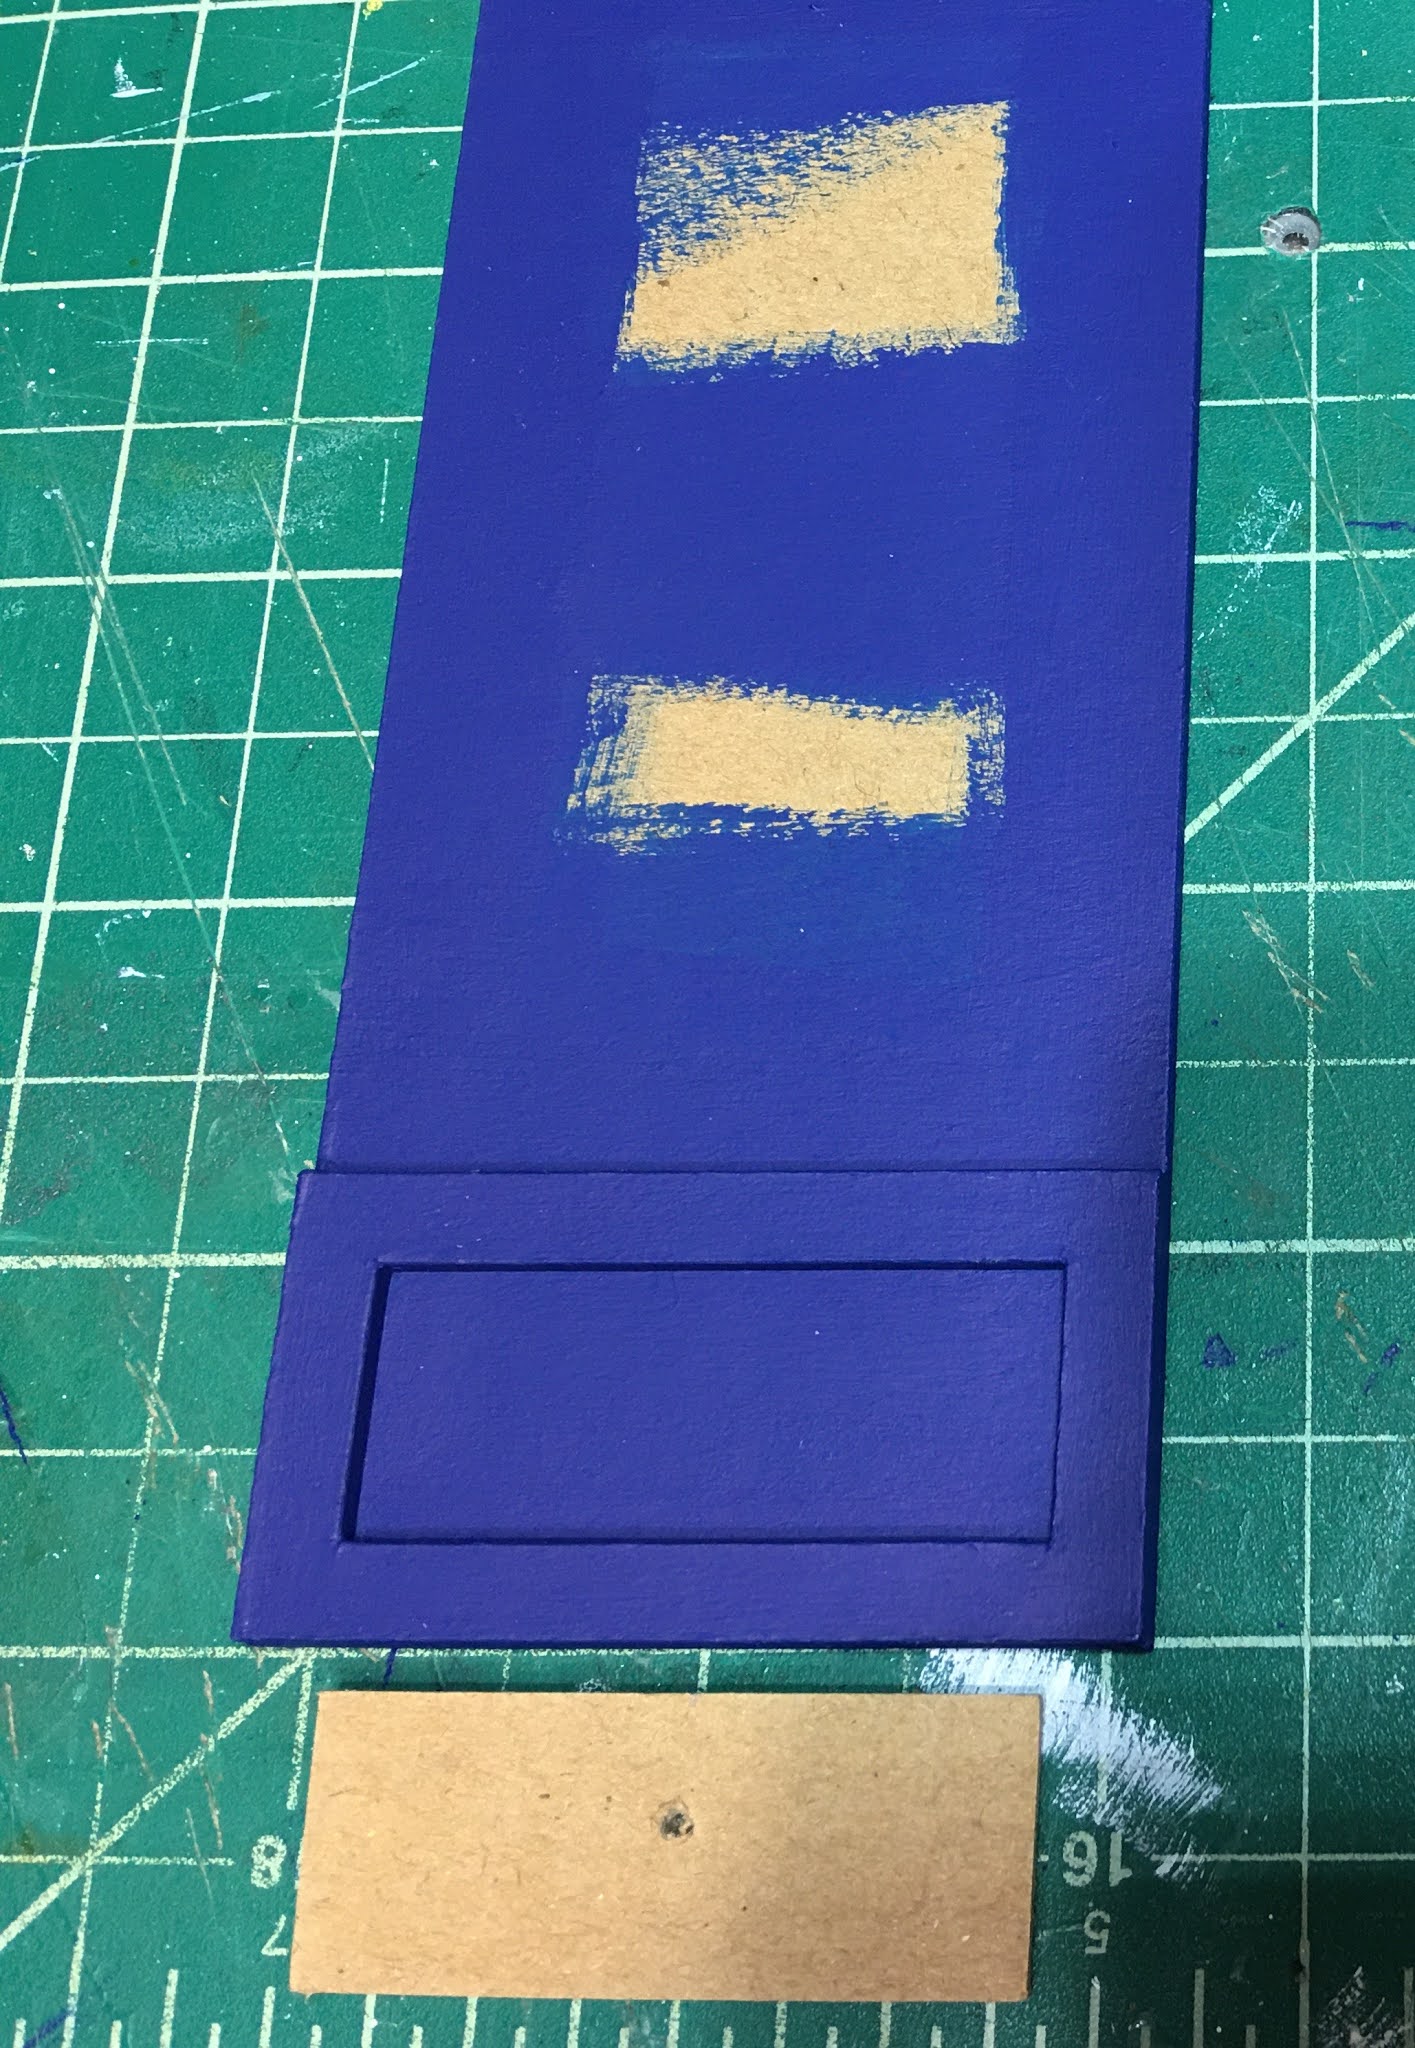
In the meantime, while the cooktop components were printing, I kept busy on the backsplash. I mentioned in last week's post that I was using the same MDF brick sheet that I had used in the New Orleans kitchen (and bathroom). It comes as a 5" x 9" sheet and has the brick pattern etched into it. I was only able to source the Streets Ahead brand from a dealer in the UK this time. I was a little surprised to see that the bricks were a little bit larger than the Houseworks brand that I got last time. They were still going to work fine, as there is a lot of variation in real life tile sizes.


I did have to use a metal file to scribe some of the vertical grout lines. In a lot of places, they did not go all of the way through from horizontal grout line to grout line. This may have looked fine on an actual exterior brick application, but I wanted more definition since they were supposed to end up looking like subway tiles.

Here I have done the bottom four rows. The upper rows show the defect.

I only had to cut the sheets down by 1/8" to fit the wall space on both walls. I painted them with white acrylic paint, sanding any brush lines smooth after each coat had dried. After a final dry fit, I was able to cut out the window opening in the sink side piece with my jigsaw.


I added trim to the edges of the tile sheets and around the top of the window opening to make an even surface for the window trim. I checked the final fit with the cabinet in place. All good! Now I could finish painting and sand one last time.


Ready for the high gloss coating!

I sprayed a couple heavy coats of Krylon Triple Thick and then let the panels dry for several days before attempting to install them. I did not want to ruin all of my dedicated work by getting a fingerprint in the finish! It's hard to capture the sheen, but they are very shiny and smooth just like porcelain tiles. The best thing about using this type of tile with this method is: NO GROUT! Yippee! Who else loathes having to grout due to a disastrously bad past experience? 🙋‍♀️

While the tile panels were curing (and while I was waiting for the cooktop parts to finish), I worked on crown molding for the upper cabinets and the wet bar. It's amazing how such a little detail can add so much style to the look of a cabinet!

And then finally, it was time to install the tile panels!


And then the china cabinet cupboard and window trim.


Just for Marilyn D. and Sherrill, a better view out the kitchen window. Cherry blossoms are just around the corner, and they are so much nicer a view than a bunch of paintbrushes! 

Please look past the rough and unpainted sashes. That part of the construction is still in the queue!


Next week, I hope to bring the kitchen into mini house code compliance by adding an extractor fan, attaching the right wall, and maybe even raising the roof! A lofty bunch of goals, I know, but this kitchen is practically building itself!

Have a wonderful week, my friends, and Happy Spring! For those of you in the other hemisphere, I hope you are just as excited to welcome a nice, cool fall!

xo xo,

Jodi

Thursday, March 11, 2021

Tasha's Kitchen - Expanding My Horizions

The next group of tasks for Tasha's kitchen included several things that were new to me and some that it seems are just a regular part of every build. I started by getting all of the hardware put onto the cabinets. To make certain they were as perfect as possible, I employed my tried and true method: making a jig.

For the cupboard doors, I took a piece of scrap wood which is the same width as the shaker frame - 1/4". I drilled a hole the distance from the top that I wanted the knobs to be placed and made sure it was centered.

Cabinet Handle Jig

Then by placing the jig flush at the top of each cupboard door, I could use my pilot hole punch to mark the door where the hole needed to be drilled.


Nearly perfect every time! I really like these knobs from Elf Miniatures. They are really heavy, have a lovely ball detail on the end and since they are quality metal, they are very shiny!


For the drawers, I had jigs at the ready. They were the inside cut outs from the Cricut cut cabinets. I just had to measure where I wanted the handles and then make the pilot holes in the chipboard. Some of the drawers have one knob and others have two depending on the width. There are more photos with the knobs later in the post.


The rendering below demonstrates many hardware configurations both for upper and lower cabinets. Pretty much anything goes. You are free to be creative and do what you like best when placing your handles.


The next task was to add lighting to a few of the cabinets - the ones with "glass" doors. I'm using Evan Designs LED products exclusively in this room box, including the transformer. This is a first for me because though I have used LEDs in the past, they are usually sprinkled among traditional 12 volt lights. I wanted all of the bulbs to last as long for Tasha as possible. For the cabinets, I am using the pico sized lights. I didn't want to use warm white LEDs because I'd like to achieve a more modern vibe with this project. The yellowish hue that the warm white lights give off works great for other settings, but here I wanted just bright white. I found that the cool lights were reading a bit too lavender. 

Cool White Pico Bulb

Double Oven Cabinet

Wet Bar Upper Cabinet

To mitigate the color and tone down the brightness a bit, I combined a 50/50 mix of white acrylic paint and Mod Podge to apply lightly over the bulb. It worked beautifully! It's subtle, ambient light with no more purple hue!

Double Oven Cabinet

In order to finish the "glass" front cabinets, I had to fill them with their display items. Luckily, I had a bunch of blue and white kitchen stuff left over from the New Orleans kitchen. I am saving the more contemporary and everyday kitchen items for future open shelving. I thought it would be nice for Tasha to have the "family heirloom" type pieces in the china cabinet. None of us gets to escape the stuff our family forces on us, whether we want it or not, lol! I hope she doesn't mind a little homage to the past with "grandma's china" in her modern kitchen.


Because this will be her first dollhouse as an adult, I didn't want to overwhelm Tasha with a bunch of items that come loose and have to be set up again and again. For this reason, I am limiting the loose miniatures to things she can easily change out seasonally or when she's in the mood to create a cooking scene to photograph alongside her real life culinary creations. She posts a lot of her delicious looking meal photos on Facebook and Instagram. She did not get her cooking talent from me!

Once the cabinet items were glued in ( hopefully forever due to the combination of Fast Grab Tacky and Gorilla Super Glue) I affixed the doors. They will not open. Then I installed the double oven appliance front kits and the dishwasher front kit from Elf Miniatures. It's beginning to look like a kitchen that I think Tasha will be excited about!


Time to start on the wet bar. I made an upper and lower unit using the Maker, with part of the lower unit dedicated to a wine chiller. I had not planned for a chiller last fall, but became excited about it when Tasha mentioned how great having one would be. Luckily, I just happened to have sheets of aluminum in my stash so I could make one. This will be my first wine chiller.


I cut the aluminum to line the inside of the box and the bottoms of the "pull out" drawers. I made walnut rails for the fronts to tie in with the walnut stained wine rack in the upper unit. Last weekend's bottle making spree gave me all I needed to fill up the chiller and the upper cabinets. I added some glassware, a little lighting, and viola!


Here it is in the kitchen. The upper cabinet will be mounted on the wall, the same height as the other tall cabinets. Between the top and bottom cabinets will be a subway tile backsplash and the same white counters.


Oh! That reminds me! You don't know about the counters yet! There's still so much more to tell! Sorry for the long winded post AGAIN!

Let's touch on the backsplash quickly... I am using the same type of brick patterned MDF stuff that I used in the New Orleans kitchen. You can see that here. Why? because it looks good and it's easy. There is a bit of prep work to make it look nice, but I'll go more in depth on that in my next post. I'm mentioning this because you will see it in the photo below being tested out with the contertops.


The countertops are made from a sheet of white Lucite and will look a lot like real life solid surface countertops. It's fairly easy to cut if you have a mini table saw with a guide edge, or a really helpful husband with nice tools. Cutting them to width and length is easy enough, but what if you need to make a rectangle hole in the middle for an undermounted sink?  This was going to be another first for me, too. After watching a few videos on how they do this for 1:1 scale sinks, I adapted it for miniatures using the tools I have. Here's what I did.

If the cling film that is supposed to protect the surface of the Lucite is compromised, cover with masking tape before you cut it to the length and width you need. This will keep it from getting scratched.


Measure precisely and carefully exactly where you need your rectangle to be. Check and double check important things like remembering to account for the thickness of your backsplash, the overhang on the front of your cabinets, the width and depth of your sink and any recess allowance. Make sure you have enough room for the faucet to mount behind the sink while still leaving knuckle room to your backsplash. If you have a Cricut, take these measurements and transfer them into Design Space to make a template. Cut and overlay the template securing with more masking tape. If you are working by hand carefully mark your measurements on top of the masking tape.


Using an Xacto knife, carefully cut away the masking tape from your rectangle to expose the surface.

Using a Laminate Cutter score each of the four sides of the rectangle 20 times. 

Note: This material is 1/8" thick so you have to be really dedicated and patient if you plan to cut it all the way through by hand. Or, just do what I did - finish the cut with your scroll saw.


Using your rotary tool, drill two or three connecting holes into your rectangle, slightly away from the corner. Make it large enough to pass your scroll saw blade through.


Disconnect your scroll saw blade and reinstall it after you have passed the blade through your access hole.


Using the scored lines as your guidelines, cut the rectangle, then remove/reinstall the blade once again.


And that's how you cut a hole in the middle of something! Not too shabby for my first time! The material is sand-able, so you can perfect the edge once the major cutting is completed.

Now for the sink. I had purchased an Elf Miniatures Underslung Sink Kit that comes with a monobloc tap. I found it to be a good size for a second sink, such as one for washing vegetables or in a wet bar, or in a compact kitchen. But, for a real working kitchen, it's a little small and very shallow (1/2" deep or 6" in real life). So instead of using the kit, I took my experimental 3D printed sink, which was wider and deeper (the equivalent of 9" in real life), and cut aluminum panels to glue to the inside. You'll need to use contact cement for the aluminum to adhere to anything. I used Aleene's The Ultimate glue


For the faucet, to make the monobloc tap look a little more gourmet~kitchen~y, I took a silver earring back, a small spacer bead and a spring from a ball point pen to beef it up. I recommend using 5 minute epoxy for this, as most other adhesives will fail over time. Where the base goes into the countertop, I added a silver washer. It's the same as the one I used for the sink drain, 1/4" round with a 1/16" hole.


During my next "Mini Time Opportunity", I'll begin to fabricate some kind of stovetop using components from the Elf Gas Hob Top Kit that I have on hand or I'll see about using my 3D printer to make one. It's been so much fun getting to try new challenges and to learn a few things this week, I'll try to keep the momentum going! 


Thanks for making it to the end of another long post with me! I hope you are inspired to try new challenges and to make good things better, too! 

xo xo,
Jodi

P.S. I finally dusted off the 3D printer to have a try at a gas cooktop. I posted a sneak peek on Instagram with a mention that details would be here for this post. I got carried away trying to make improvements and have printed six attempts now! The design is getting a little better each time. I do have the one for Tasha's kitchen completed, but wanted to present the whole process in one post in the hope that it would be helpful for anyone trying to make a gas cooktop. Please forgive my misleading you - I will have the goods in next week's post!