Search My Blog!

Use the Search box below to find keywords that you're looking for quickly and easily!

Search Feature

Wednesday, August 21, 2024

Fe Fi Faux Fun

These days it seems to take me twice as long to accomplish half as much. Probably because I have less than half as much mini time as I used to. Sadly, this means I just don't have the time to engage with your encouraging comments (though it fills my heart to read them 💗). I have little time to enjoy your blog posts or post as often to mine. đŸ˜„ Please forgive me, bear with me, and I promise - one day things will be back they way they were once again. That's enough with my lamenting. Let's just enjoy some progress, shall we?

As soon as I got the chance I continued with the trailer's tiny bathroom, applying wallpaper and a "Formica" countertop to the lower half of the curved front wall. I also took the opportunity to add a TP roll holder and a couple towel bars while I could still get my hands in to hold things while glue set. Like typical trailers, there's only room enough for small folks to move in here.

Bathroom Bird's Eye


A cozy place to poop.


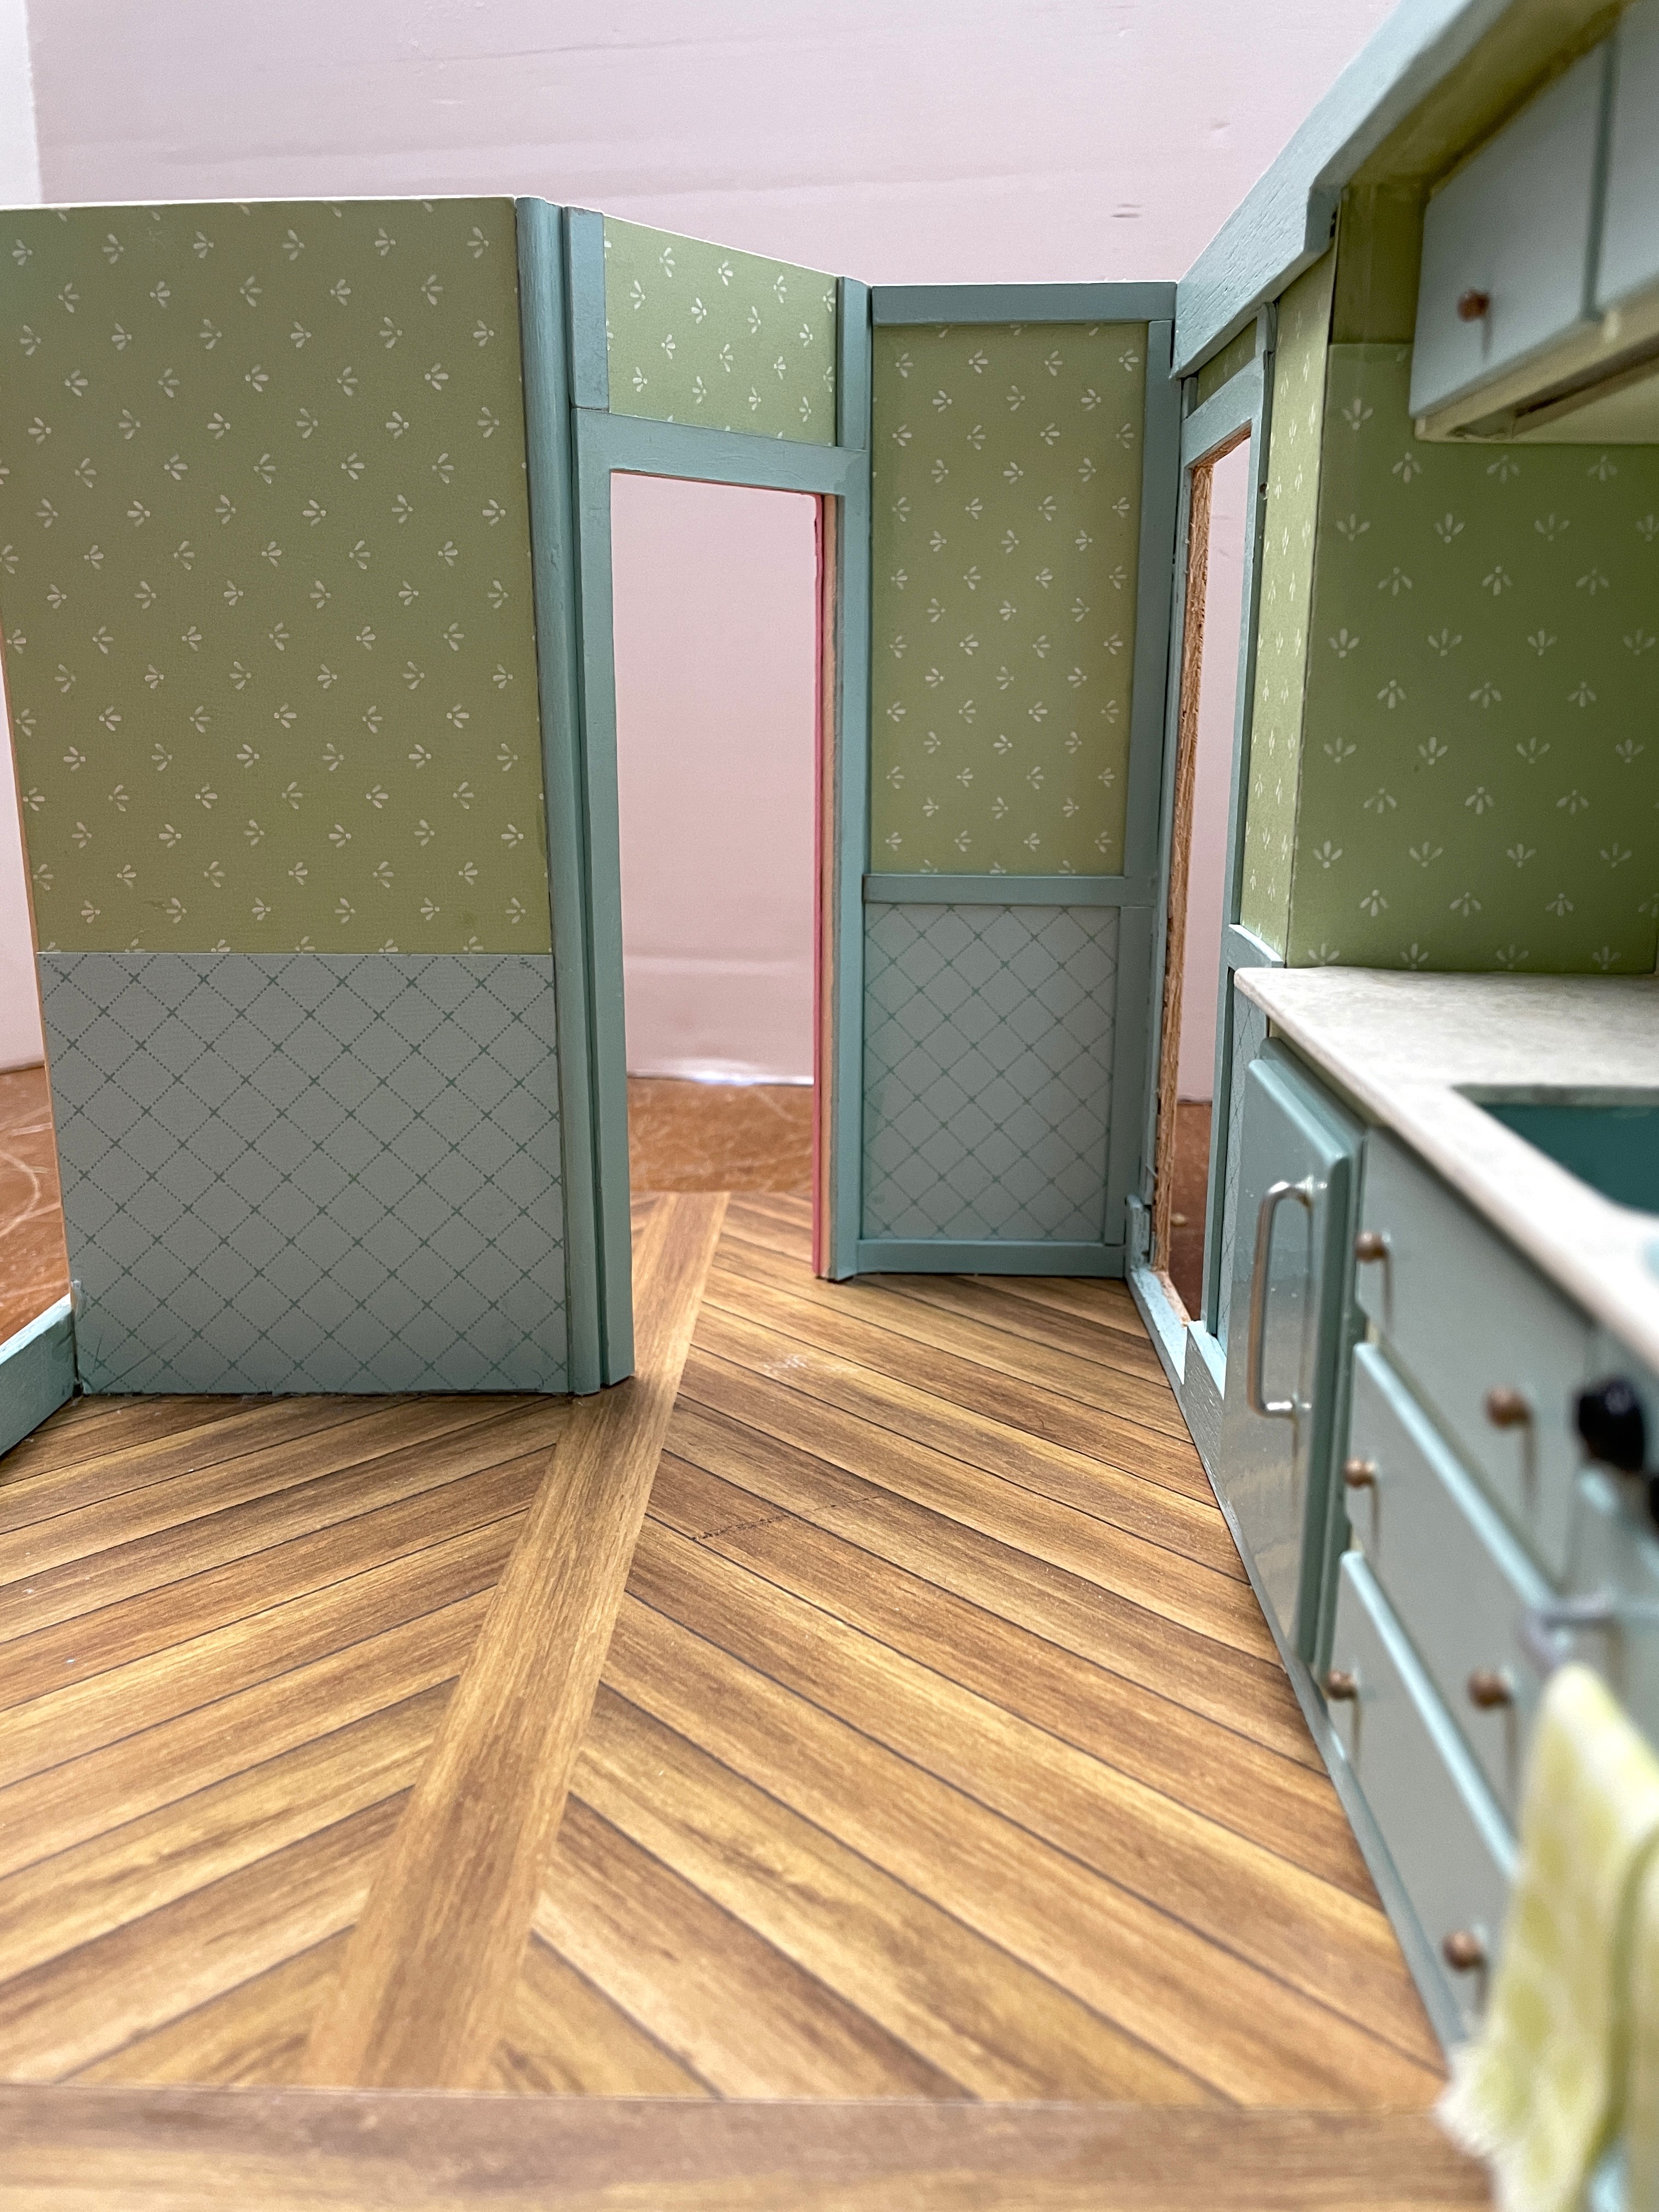
I installed the banquet in the main cabin - here's a look from the front door and one looking into the bedroom..


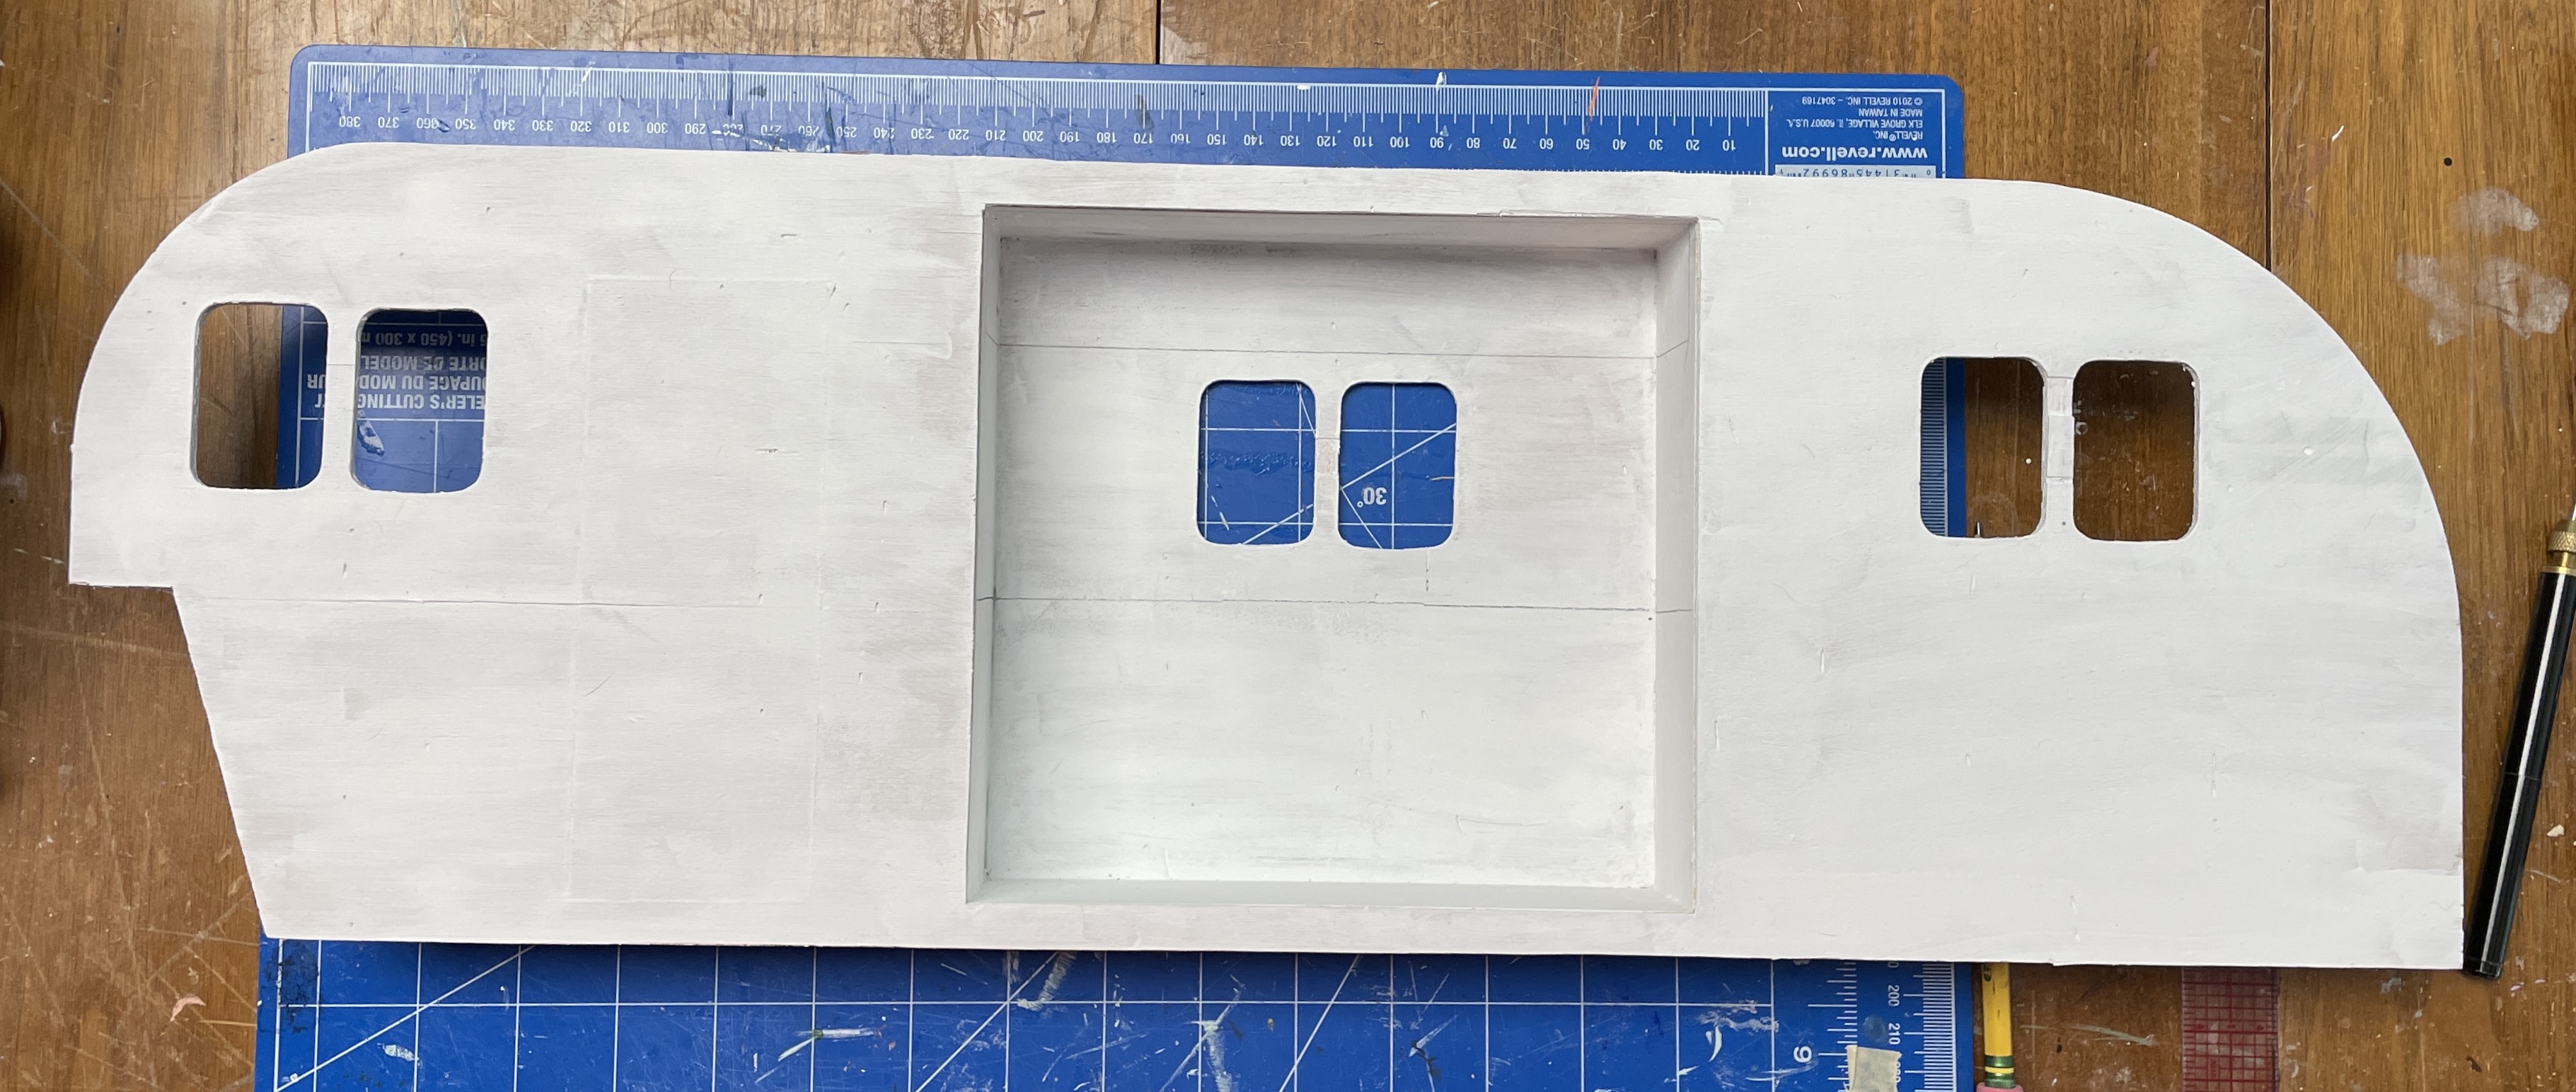
When deciding on the finishes for the countertops in the bedroom, I wanted to bring in a bit of a wood element to tie in with the floor. Like so many vintage trailers from this era, what better homage could I pay than with a faux wood finish? That's when I set out to attempt a faux wood look on chipboard.

Painted faux wood on chipboard.


Here is a tutorial with the steps and products I used to achieve the faux wood look.

Vintage Faux Wood Finish

I wanted to tie the trailer's wood vibe into every room, so set about making a magazine holder, shelves, a letter holder, mirror/coat hangers, chair and banquet table all in Design Space. As always I used chipboard for everything except the dowel for the table base and the tiny 1/16' x 1/8" shelf slats.


 I applied the same faux wood technique to everything.


The magazine holder adorns the bathroom. Before cell phones, having a variety of interesting bathroom reading was essential!


Mirrors always help to make a small space feel roomier and I guess that's why so many vintage trailers had them. Mine also have handy hanging pegs because there is no such thing as too many storage options!

Bedroom

Entry Way

The storage hutch needed a little wood trim, too.

A handy mail and letter holder. Remember those?

The banquet table

These shelves are going to hold fresh herb pots. How will they get sunlight, you ask?
Stay tuned and you'll see!

If you followed my Beachside Bungalow project then you may remember Roxanne (read to the blog post's post script to learn more). Her dream has always been to live a sustainable life, growing her own food, selling produce and flowers at the local farmer's market and enjoying a very simple life. The travel trailer is a big part of her dream and I am so happy to finally be working on it for her. In light of that she has been working with me in the background so I can make sure everything is a perfect fit both literally and stylistically. I am thrilled to report that she is thrilled!


Her wardrobe needs some serious attention. Anybody know where to get Heidi Ott sized overalls and garden boots? I think I have a cute sun hat around here someplace!

One more thing before I sign off... I Haven't discussed the lighting plan with you yet, but the trailer will definitely have lighting. For the bedroom, I installed puck lights in the cupboard above the bed cubby. To tie into the wood element here I cut trim circles from wood printed scrapbook paper. Roxanne appreciates the attention to details that only she will see.


Hopefully I'll be back in a couple weeks with progress that makes the trailer seem more livable.

Take care, my friends!

xo xo,
Jodi

Thursday, August 8, 2024

Tardy Traveler

If there's anyone still coming by here, HELLO! I know, I know. It's been a long time and it seems as though I'd fallen off the face of the Earth. Nothing quite that dramatic, though many unexpected life changes left me not feeling much like making minis. I haven't got the heart to talk about all of it today, so I'll just keep this post about a new mini project that I started a few weeks ago...


A trailer?!? I know. When I last posted I was still working on the treehouse. What can I say? The long hiatus caused me to lose my inspiration for it. Seasoned miniaturists know that if you want to have fun with minis, you have to follow your inspiration. No matter how many unfinished projects you have giving you the evil eye. So yes... as the photos above suggest, I got down the dusty Travel Trailer Kit. It seemed bite sized enough to encourage me gently into my mini groove again.


As ever, I'm unable to leave well enough alone. Straight away I was cutting holes into the walls. Actually, all I did was make the concession window opening a bit longer in order to add a "slide out" feature. Gotta maximize the space, especially in a dinky travel trailer! Mine won't actually slide in and out, it just looks as though it can. I boxed in the cut out wall by adding 2" deep walls/floor/ceiling with 1/8" basswood sheet.

Added 2" deep side walls, floor and ceiling.

Affixed to the trailer.

The exterior looks a little more interesting, too!

The "slide out" was the perfect place to install a compact but cute kitchenette. Just enough space for a stove/oven, microwave, sink, mini fridge and a small bit of counter space.

Cabinets courtesy of chipboard cut with the Cricut Maker.

Finally! A use for all those leftover 3D printed knobs and burners!


The kitchenette installed in the "slide out".

With the kitchenette, dining table/seating and storage assigned to the "main cabin", all the trailer needed to be livable on the road was a bedroom and bathroom on either end. I cut a floor template out of graph paper in order to have a better visual and get the measurements just right. With those rooms figured out I could add the rest of the wallpapers.


I used scrapbook paper with a wood pattern to cover the trailer's floor piece. I was so careful to install the center of the design in the middle of the drawers in the kitchen. Then when I glued it to the wall I somehow managed to glue the trailer floor in the wrong direction! now it's off center. Out of practice, I guess. I am going to work hard to ignore my mistake so that it won't bother me, much.


Time to make the interior walls. To be able to have a decent sized bathroom I made the wall jog enough to fit a sink and shower on one side and a trailer sized toilet on the other.

Walls are 1/8" basswood.


Bird's eye view.

Bedroom

Bathroom

All the pretty wallpapers added...


The advantage to making all the furniture is that I can make it to fit exactly to my space. Everything below was designed and cut with the Cricut Maker using chipboard. 


Even the toilet is made from chipboard. It is 19 layers of 2 mm chipboard in graduating sizes, glued one on top of the other. I sanded the seams then filled in the really noticeable areas with joint compound. Then a final sanding and a couple coats of craft paint brushed on. It needs a final sanding and a good spray coat of Krylon Triple Thick. Then, being in the back of the viewing area, it will pass for a trailer toilet.


Peek-a-boo toilet, shower and a peek into the bathroom cabinet.

Built in cabinets and drawers make trailer living a little easier.

Banquet cushions and table coming soon...

Bird's eye view.

Progress!

Thanks for coming by in spite of my unexplained absence. I have missed you and being so inspired by your projects. I hope to catch up on blog posts and to keep making progress on the trailer as I have time.

xo xo,

Jodi