Our Willowcrest adventure continues, my friends, and this time it's all about stairs. Predominantly, the second floor stairs that lead to the third floor. Following the kit's instructions, the stairs are placed between the bathroom and the bedroom. Many folks who've blogged about the kit dislike the back wall of the stairs because it obstructs the view into the dollhouse and feels obtrusive. I could not agree more! So what to do about it? The solution, naturally, is to move the stairs. WHERE is the obvious conundrum. The hallway on the second floor is tiny, so it doesn't leave a lot of options. Unless you are willing to start moving walls around, which I totally am!
Okay, it feels like I need to set the scene here a little bit. Please indulge this wordy paragraph...
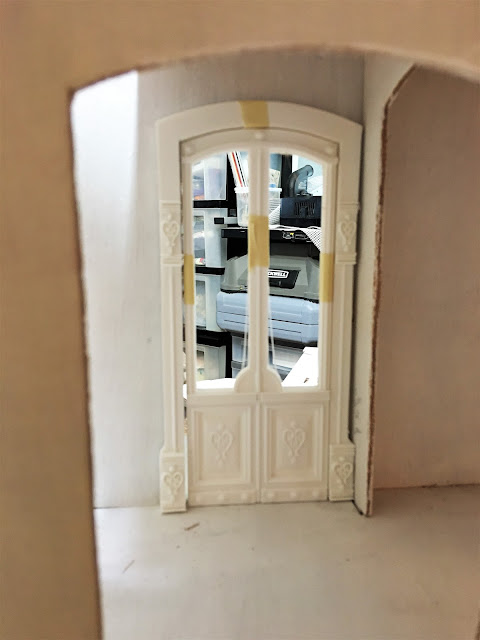
It might seem like there should be other priorities before I start thinking about stairs. Such as gluing the front wall to the center wall and to the foundation (like I said I would in my last post). And you are right. But... for the sake of efficiency, I thought I should have the 3D printer working while I was working. Teamwork, right?!? In that case, I had to figure out what 3D printed pieces I needed next: the upstairs bathroom/bedroom doors. But before I could make them I had to know their dimensions. And to know dimensions, I had to know where my walls were going to be. That meant I had to figure out exactly where the stairs would go. Chicken and egg conundrum every time! So, I sat and stared at the dollhouse, while still in dry fit, hoping it would pity me and just give up the answer. You know what?!? It did! Just for kicks, I stuck the first floor's stair assembly in the second floor hallway to see what would happen. Guess what? It was a perfect fit!!! I think my angels are feeding me ideas! And, not surprisingly, those ideas lead me down a rabbit hole...
 |
| First floor stair assembly placed in the second floor hallway |
 |
| Closer view. They take up nearly all the space! |
Since the stairs almost fit there, I had a solid plan to work with. I would reproduce the first floor stairs for the second floor with a minimal tweak: it would turn only once and then go straight up onto the third floor. Also, the ceiling height of the first floor is 9-3/8", the second floor is only 7-3/4. So this staircase needed less stairs. There was still one slight problem, though: Not enough floor space between the first floor landing to where the second floor stairs started.
 |
| Goodbye double door bedroom entry. |
How would it look? How much room would that still leave the bedroom? The only way to answer these questions was to put some eyes on them. I got out my red pencil and ruler and marked out an idea. The stair wall would jog into the bedroom 2-1/4" x 6-1/8", then jut back out for the doorway.
I kept going with the idea, drawing out the new walls in red pencil. The benefits of the configuration below are:
a) The original bathroom layout won't lose much space
b) the angled doorways will make a more interesting view into the hallway
c) it will still leave plenty of functional bedroom space
d) it opens up the back of the house
The stair opening on the third floor will be only slightly farther into the room and to the right. I'll just have to adjust the access hole. I will also have to cut new walls, but I might have just enough material if I use the original bedroom/bathroom wall and the offcut (you'll see this later) from the bathroom wall. If I'm short, I can use illustration art boards and double them up if need be.
 |
| 4 Days?!? |
 |
| Staircase pieces flattened in Tinkercad |
 |
| Staircase pieces after importing them into Design Space. The purple rectangles are the risers, to be cut from cardstock rather than chipboard, hence, the different color. |
 |
| With rails temporarily attached. I had to recreate the longer rail myself, cutting out and spacing the arches, so I did the best I could. |
 |
| Side by side comparison with the kit's stairs. The chipboard will take a lot less refining than the wood. |
 |
| Wall Before |
 |
| Only a portion of the wall is left but it's an important piece for structural support since it is part of the first floor's kitchen wall/foundation. |


