These days it seems to take me twice as long to accomplish half as much. Probably because I have less than half as much mini time as I used to. Sadly, this means I just don't have the time to engage with your encouraging comments (though it fills my heart to read them 💗). I have little time to enjoy your blog posts or post as often to mine. 😥 Please forgive me, bear with me, and I promise - one day things will be back they way they were once again. That's enough with my lamenting. Let's just enjoy some progress, shall we?
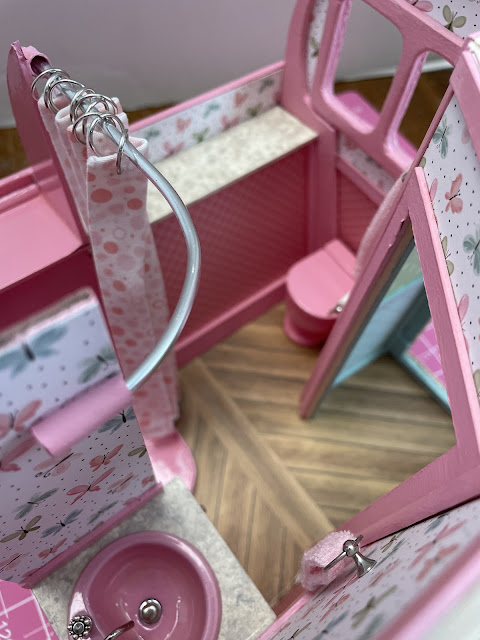
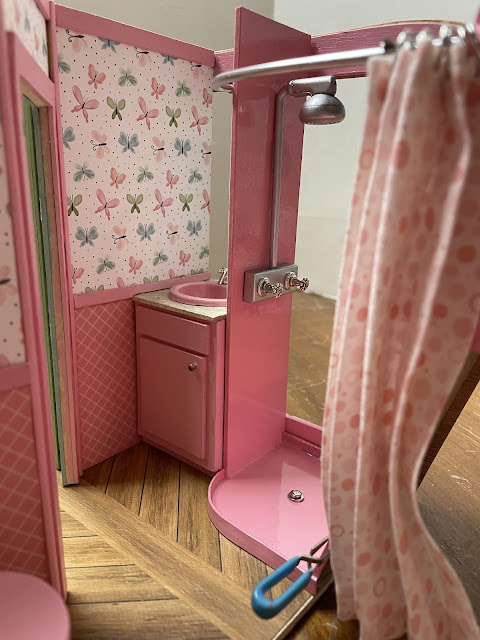
As soon as I got the chance I continued with the trailer's tiny bathroom, applying wallpaper and a "Formica" countertop to the lower half of the curved front wall. I also took the opportunity to add a TP roll holder and a couple towel bars while I could still get my hands in to hold things while glue set. Like typical trailers, there's only room enough for small folks to move in here.
 |
| Bathroom Bird's Eye |
 |
| A cozy place to poop. |
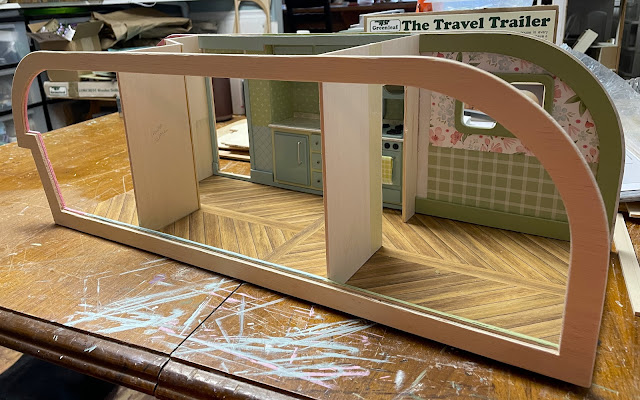
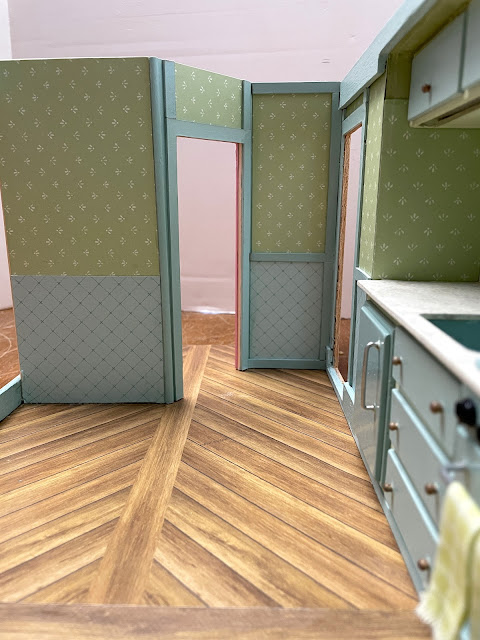
I installed the banquet in the main cabin - here's a look from the front door and one looking into the bedroom..
When deciding on the finishes for the countertops in the bedroom, I wanted to bring in a bit of a wood element to tie in with the floor. Like so many vintage trailers from this era, what better homage could I pay than with a faux wood finish? That's when I set out to attempt a faux wood look on chipboard.
 |
| Painted faux wood on chipboard. |
Here is a tutorial with the steps and products I used to achieve the faux wood look.
I wanted to tie the trailer's wood vibe into every room, so set about making a magazine holder, shelves, a letter holder, mirror/coat hangers, chair and banquet table all in Design Space. As always I used chipboard for everything except the dowel for the table base and the tiny 1/16' x 1/8" shelf slats.
I applied the same faux wood technique to everything.
The magazine holder adorns the bathroom. Before cell phones, having a variety of interesting bathroom reading was essential!
Mirrors always help to make a small space feel roomier and I guess that's why so many vintage trailers had them. Mine also have handy hanging pegs because there is no such thing as too many storage options!
 |
| Bedroom |
 |
| Entry Way |
 |
| The storage hutch needed a little wood trim, too. |
 |
| A handy mail and letter holder. Remember those? |
 |
| The banquet table |
 |
| These shelves are going to hold fresh herb pots. How will they get sunlight, you ask? Stay tuned and you'll see! |
If you followed my Beachside Bungalow project then you may remember Roxanne (read to the blog post's post script to learn more). Her dream has always been to live a sustainable life, growing her own food, selling produce and flowers at the local farmer's market and enjoying a very simple life. The travel trailer is a big part of her dream and I am so happy to finally be working on it for her. In light of that she has been working with me in the background so I can make sure everything is a perfect fit both literally and stylistically. I am thrilled to report that she is thrilled!
Her wardrobe needs some serious attention. Anybody know where to get Heidi Ott sized overalls and garden boots? I think I have a cute sun hat around here someplace!
One more thing before I sign off... I Haven't discussed the lighting plan with you yet, but the trailer will definitely have lighting. For the bedroom, I installed puck lights in the cupboard above the bed cubby. To tie into the wood element here I cut trim circles from wood printed scrapbook paper. Roxanne appreciates the attention to details that only she will see.

