Search My Blog!

Use the Search box below to find keywords that you're looking for quickly and easily!

Search Feature

Showing posts sorted by date for query egg carton. Sort by relevance Show all posts

Thursday, April 9, 2026

Long Range Dreams And Sudden Inspirations

Greetings fellow creators! I am back again and it seems as if I'm on a posting streak! It feels so amazing to be dedicating so much time to the Greenhouse and Potting Shed project, or any minis for that matter! I have much to share so let's get started...


When last we left off I was putting the final details on the greenhouse roof. There was a point in its construction that I went away from the instructions and had to engineer some improvements. You see, the original assembly had no bracing at the bottom of the "glass" panels which made the structure extremely flimsy. It was literally being held together with very little glue. The weight of itself worked against itself whenever I'd lift it off the the walls. No Bueno!!! 


So, I beefed it up by adding support pieces at the bottom of each "glass" pane that braced themselves against each of the vertical styles. And, I added support where the two roof halves met at the apex. Here, I glued a long wooden dowel down the center so that the weight was carried by more than just a narrow glue seam where the two angles met. Much stronger! Also, rather than using the two small triangle kit pieces of "glass" designated for the gable end, I cut one solid piece which removed some flexibility and tied the gable to the roof sides much more strongly. And finally, I cut an additional spreader for the roof so that each vertical style tied into one - the kit only had four but there are five "trusses" including the end. The effort really paid off because the roof is totally solid now and I'll feel safe putting it off and on as many times as I need to without worry. I have a sneaking suspicion that this roof is why you don't see many of these completed kits on the internet. It was extremely difficult!


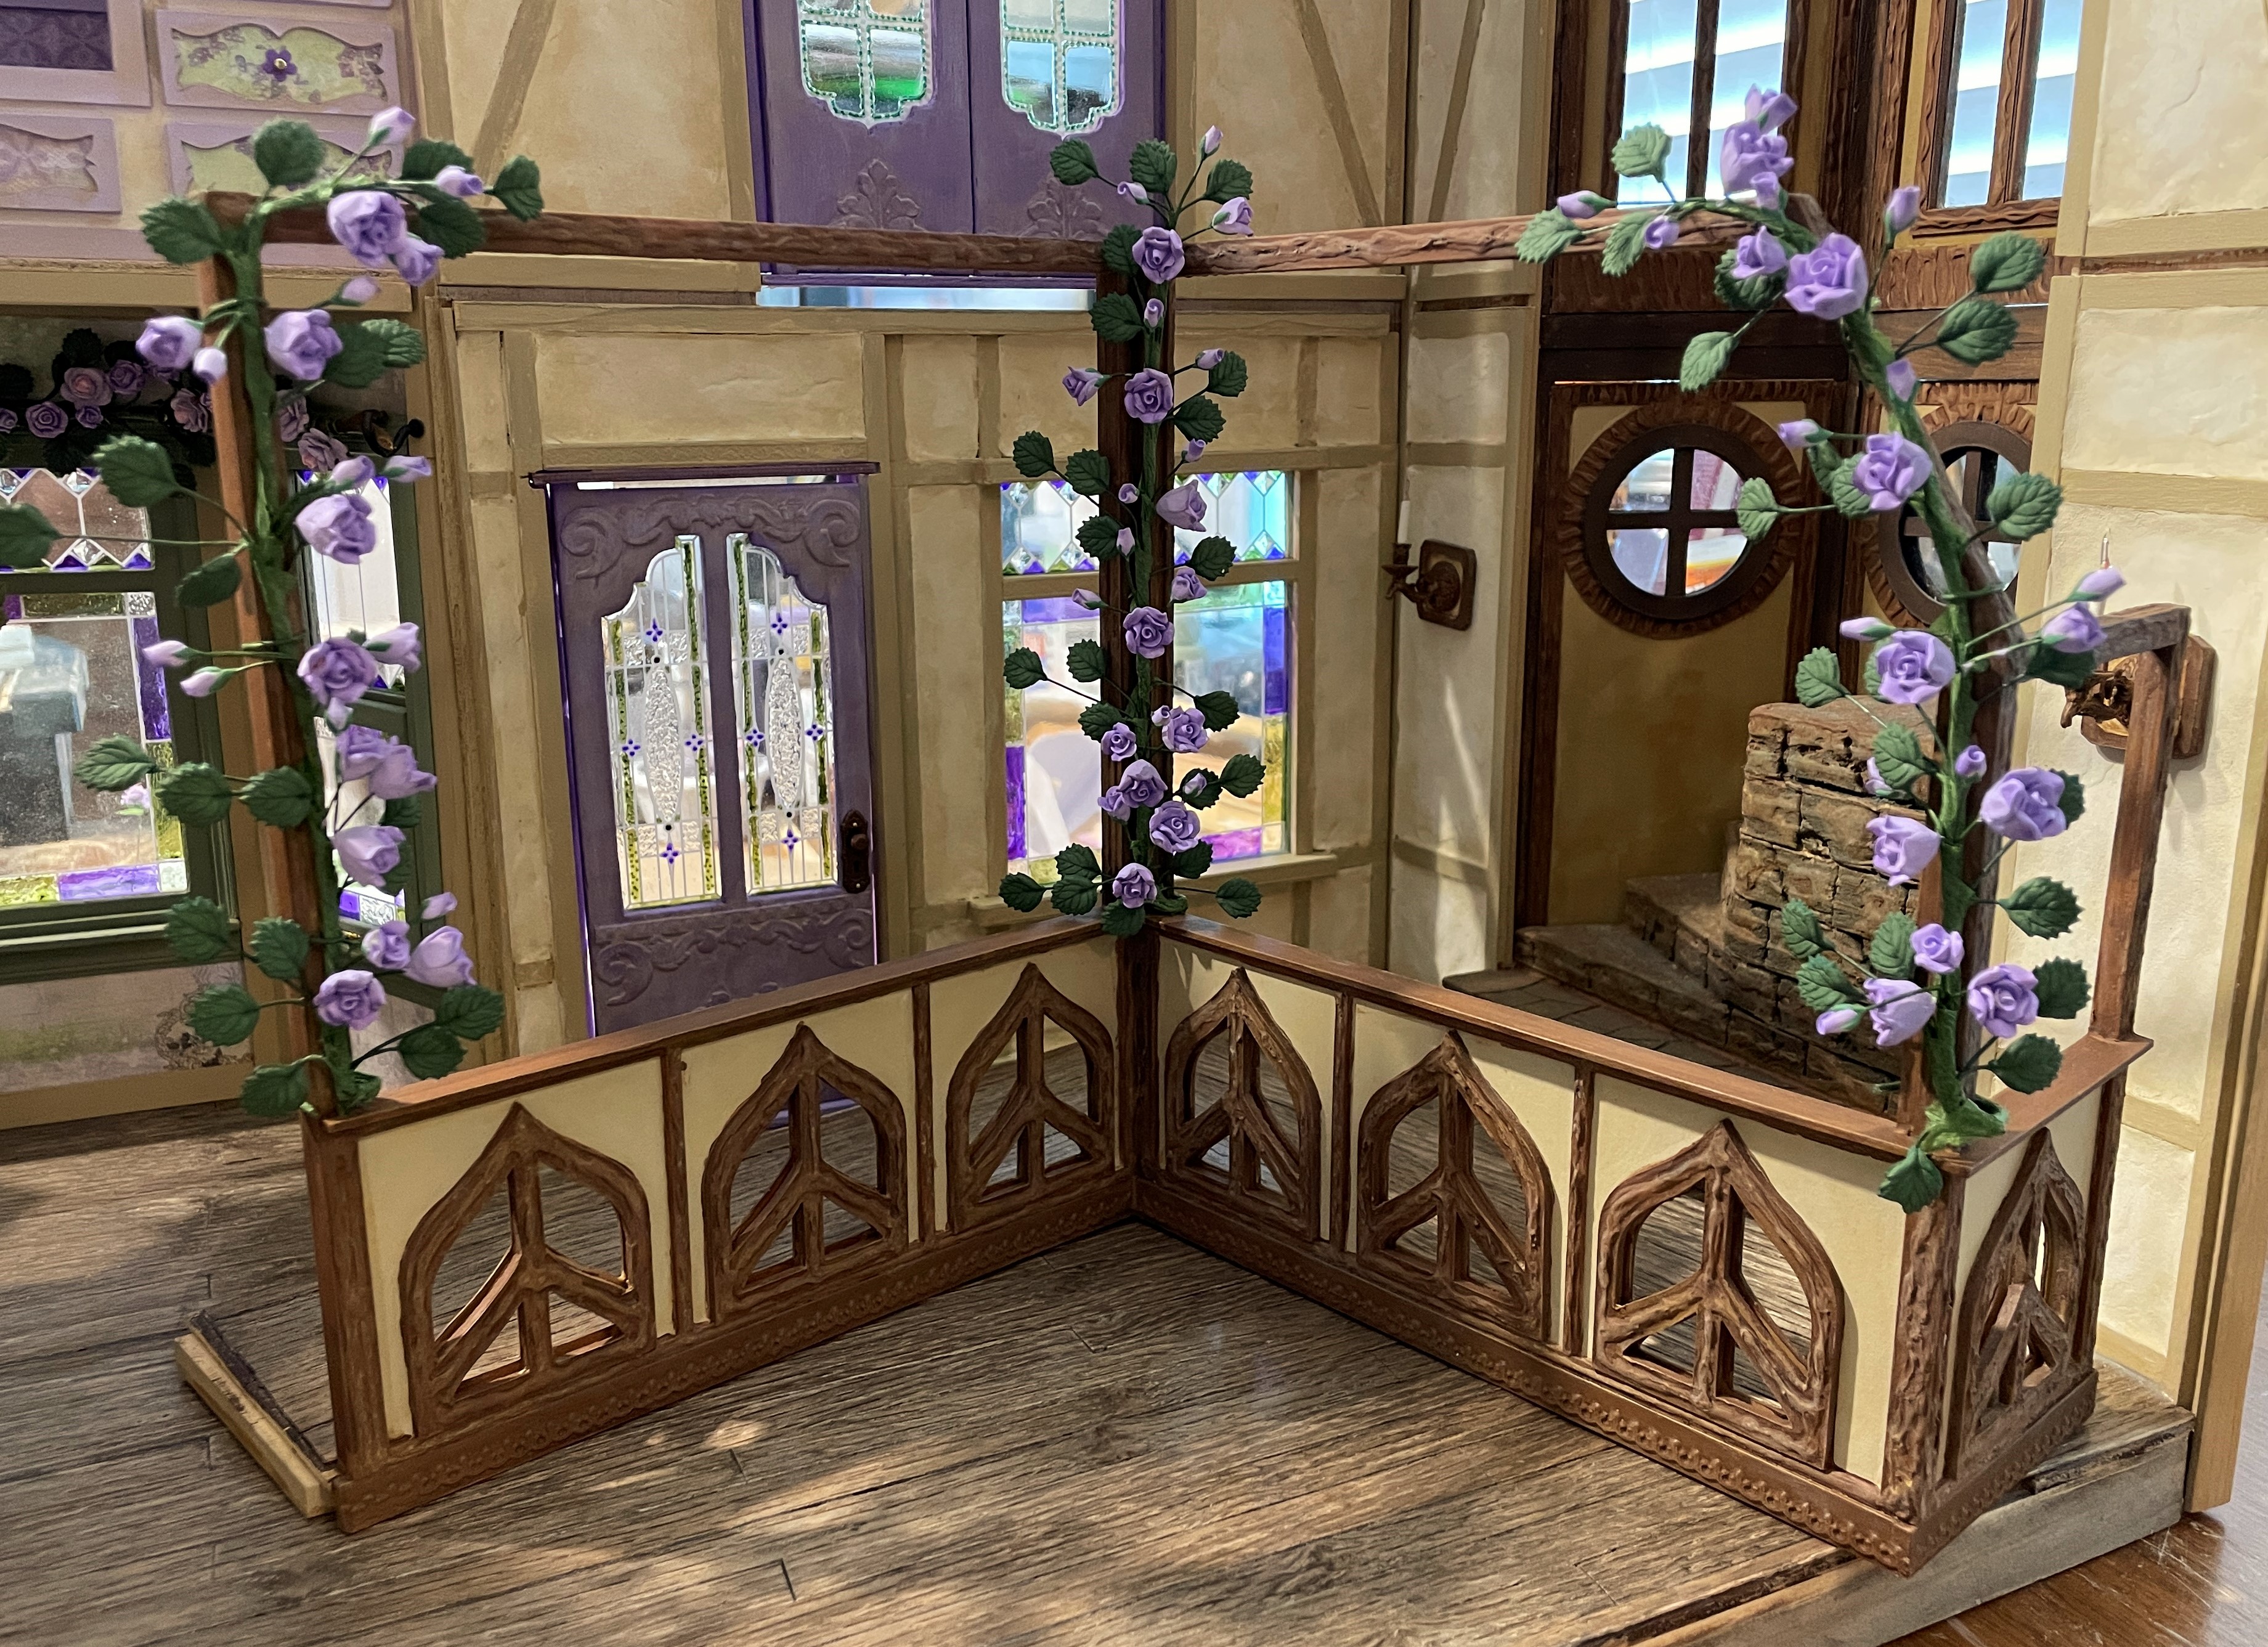
The next challenge was completely self inflicted. You see, I want to be able to remove one of the greenhouse's side walls because I plan to set up a lot of scenes in there. I not only want the ease of loading and removing minis, I want to take photos that look like they are being taken from inside the greenhouse. Because the kit was not made to be constructed that way. I had to engineer a way to make the walls sturdy. Its going to need to stand up to regular roof and wall removals. I added 1/4" x 1/4" beams and affixed them to the potting shed wall where both long greenhouse walls meet it. I also added more bracing to the end wall where the removable wall will butt into it. Adding all this sturdiness also allows me to have the removable wall off but still keep the roof on!


Before I could go farther with the removable wall, I had to get a handle on where some of my hardscape elements were going to go. I looked online for some inspiration and found many real life gardens with elements I wanted to try to incorporate. The first choice was what kind of path I wanted, I settled on something with a bit of whimsy - flagstone pavers made out of egg carton that would wind its way around flower and shrub groupings.

To allow for some depth in my planting beds, I made my egg carton
triple thick by gluing three layers together.


To color my pavers, I used my tried and true kitchen sponge/water/glazing medium/two tone acrylic paint method to give them life. Man was I having fun!!!

Inspiration photo and products used


I underpainted a moss green around the pavers.


Then I used Woodland Scenics Underbrush in light green as moss/clover/weeds between the rocks. I put down Tacky glue where I wanted the greenery, compressed the foamy stuff into the glue, let dry overnight, then rubbed my finger over everything to remove any loose stuff.


Another inspiration photo had a little wooden bridge over a dry creek. How charming! Using a scrap piece of chipboard, some Woodsies Craft Sticks, and a zip tie for "metal" straps, I made a simple bridge.


For the "dry creek", I used Scene A Rama rock and gravel mix. I like that it has various sized rocks to emulate the different sized rock you find in a creek.


The last task to complete before I could justify starting on the actual flower and shrub making was to address how the removable wall would sit firmly in place when I wanted the greenhouse enclosed. For this, I grabbed some of my leftover bricks from the potting shed floor. I wrapped the bottom of the wall in masking tape, set it in place, then glued a row of bricks onto the landscape board. Once they were dry, I painted them a gray that should just fade into the background (if they aren't covered by landscaping).


The wall fits tightly and will stay in place even if the structure is jarred in any way. Hooray! I love it when a long pondered plan finally comes together!!! This greenhouse dream began for me in June of 2023!


And that, my friends, is where I had to stop for the week. Just a few more chores and I can start on the pretty stuff! Yippee!!!

Hope each of you are working toward long term dreams or sudden inspiration! Whatever makes you happy!!!

xo xo,

Jodi

Thursday, April 27, 2023

Fastidious Floral Fairytale Fireplace

I got a little sidetracked and engrossed on something which was completely unplanned for the fairytale treehouse, and it took all week. Surprise! Surprise! 😜


I had intended to work on getting the balcony assembly installed. In fact, I earnestly started that goal by attaching the flowering vines to the balcony posts. 

Repainted vines from last post.

Flower vines wired to balcony before filler flowers were added.

I even filled in empty areas with supplemental mulberry roses and buds. All was going well...

After mulberry roses filled in.

Until I put it in place for a dry fit. Then I began to ponder whether I needed more vines adorning the panels or if there was enough going on on the posts. What about the structural beams holding the balcony up from the first floor? Maybe just green vines there? Yeah, but despite it being two weeks since I ordered them from the Etsy shop, they hadn't even shipped yet. So, I put that decision aside and carried on with the dry fit instead. 

Dry fit with wall and floor/ceiling to decide placement of fireplace.

I had questions about how the girls' fireplace wall would tie in to the balcony. I had always intended to have a railed portion so that you could look down into the great room, but on which side? The balcony or the back of the treehouse? The wall, being a couple inches short, would need to slide one way or the other. In order to know for sure, I had to look at the actual wall, floor and ceiling in place - not just imagine it. Once I saw it in place, my ideas for the fireplace began to bombard my brain. From past experience I know to seize this kind of creative momentum, lest my ideas float right on out into the nethersphere, never to return. So, the balcony got put aside once again until my vine order and solid ideas for it are at hand.


As per my M.O., I designed the structural pieces of the fireplace in Design Space and cut them with the Cricut Maker. Straight cuts? Cheap chipboard? Yes, please! I covered the kit's wall with scrap paper leftover from the girl's cubbies. Because the kit wall is only 1/8" thick, to give a more realistic chimney feeling, I also made a chimney breast, covering it with another scrap. The fireplace itself has a top, a hearth, a back, double layered front, and sides. To the inside, I added egg carton bricks in a herringbone pattern, just for fun. To detail the fireplace, I had a few packs of resin column fronts with an artichoke frieze. They were the perfect size to flank the firebox. Dresden appliques adorn the front, edges and sides.


While the fireplace assembly was drying, I worked on the fire basket. I made a log holder with firedogs out of kraft card. 

No need to point out anything salacious about the firedogs. Believe me - Russ already has. 🙄 

Resizing things down to 1/12th scale doesn't always translate well.

Double layer firedogs, log basket, bracing.

Layers glued to create thickness and detail.

Bent, assembled and painted.

It's always a perfect fit when you make it custom, lol!

For the fire, I placed a half water bottle cap (it's translucent so the light comes through) under the fire basket/log holder and placed a red LED chip light inside. Like the Log Fire With Glowing Embers tutorial, I surrounded it with glowing "ash". I used hot glue to make Sharpie colored orange/yellow translucent flames to go between the wood logs, but it didn't work out as swell as I'd hoped. I need more practice and patience. At least one of the glue strips worked as intended - it almost appears to be flames due to the other three chip lights under the logs.


At this stage I had the fireplace assembled to the wall, toned down with washes, aged with washes, added trims, put the fire logs in place, added sconces and of course - installed a mirror. But it still wasn't nearly finished yet!


It had to be adorned with flowers. A swag above the mirror, a swag on the mantle and then a vase with buds just popping. The carousel horse is pot metal painted with gold to tie in the mirror frame. Accessories will likely evolve later as I switch my concentration from structure to accessories.

Testing the lights.

With the room lights off.

And at the same time, there were also flower vine valences created for the girls' cubby windows. Fairytales are full of flowers, especially fairytale treehouses!

Alice's Bed Cubby

Goldie's Bed Cubby

But fireplaces need other things, too. Not just pretty things, but useful things. I wanted to make a fireplace screen for the girls and I was fairly certain I could find something to make them from this hoard of mine. Sure enough, I had a set of six half scale chipboard gothic windows from Alpha Stamps


I applied Fast Grab Tacky Glue neatly to the back of three of the windows, then placed them on top of some very thin acetate from Cricut Chipboard packaging. Once set, I carefully cut around the edges. Then, to solidify the panes, I filled in the windows with Crystal Clear Gallery Glass.


Once the Gallery Glass was clear and dry, I glued the other three windows on, sandwiching the acetate between them. Then I wrapped them in 1/8" kraft card strips to smooth out the edges.


I painted the frames with a Krylon Gold Leafing Pen, then filled the other side of the glass with more Gallery Glass.


I added some purple and green polka dots with the Sakura Glaze Pens. To attach the window panels together at the correct angle (so they'd fit on the hearth), I sliced 1/8" quarter round in half, making it 45 degrees instead of 90 degrees. Then I glued each half to either side of the center window. When that was dry, I attached each side window. Sorry Betsy - hinges and chipboard do not good bedfellows make. 😊


I also painted a set of fireplace tools and added a basket of logs. The fireplace wall is ready now to help me make my railing side decision.


And it is ready to install into the girl's room.

After flooring, of course!


Unfortunately, my real life house could really use some fastidious focusing. See ya in a couple weeks!

xo xo,

Jodi


P.S.A. On Blogger Issues:

Sometime in mid 2022 the comments I leave for others on their blog posts were mysteriously disappearing, even days after they had been posted - I saw them post! After many searches, I finally found a thread that confirms that I am not (crazy) the only one this is happening to, and a reason for the mystery. Apparently, if your comment disappears from someone's blog, it has to do with their spam filter within the Comments section of their blog. So, it is ultimately up to the blog owner to resolve - nothing you can do.

If you receive comments saying this is happening on your blog, go to your blog dashboard and click on the Comments page. You may see the comment there which has been spontaneously marked as "Spam" for unknown reasons. You can manually approve the comment.


If you don't see the comment, click the question mark symbol at the top right of the page to tell Blogger about the problem. Apparently, they will reset your spam filter which eliminates the problem, at least for a while.


Some others have reported the cause as security settings on specific browsers or a need to clear your cache. Because I have also been unable to backup my blog content since last summer (stalls out and does not save), as well, I suspect that as things are broken in Blogger, they are just no longer being repaired. I hope it is not the case, but I recommend you look into Google Takeout to protect your work. I have mine scheduled to automatically export quarterly and they send my backup files to my email. If ever Blogger ends or starts to charge for hosting, at least we'll have our archives to decide what to do with them.