The Latin word "opus" means "A work", so it is fitting then that the tile flooring pattern I decided to use for the great room of the Beachside Bungalow is called the Opus Roman pattern. It was certainly work to learn it and to lay it, but in the end, feels like a real work of art! This week I'll show you how I got here and share the pattern cheat sheet I made to make this work a little easier.
I began by making floor patterns for every room in the house. It is a lot easier to work on a template outside of the house as opposed to reaching into a small, tight space all while trying to see. This is especially true when I am laying any type of flooring that is a one piece at a time procedure, such as tile or herringbone floors. As you can imagine, it is much more involved than laying one large sheet of wood or paper flooring.
Here's a simple tutorial on how to make a paper pattern for your floor with nice photos.
Because I'll be laying tiles, I transferred my patterns onto matboard and then cut them out. This provides a strong but thin substrate for tile work.
You may have to tape several sheets together, depending on the size of your room. I used masking tape to connect enough sheets to fit the size of my pattern. Once taped, I turned it so the tape was on the back, then cut my pattern from the mat board sheets.
 |
| Make sure to check the fit and adjust before you go farther. |
 |
| Sheets are taped together on the bottom. |
For the actual tiles, I like to use Illustration Art Board. These are nice for painted tiles as they are meant to get wet. The combined thickness of the mat board and the art board is 3/16", which should work well in any dollhouse project.
To achieve the natural stone look for the tiles, I used acrylic craft paint, glazing medium, a piece of kitchen sponge and water.
I painted a base layer of ivory white...
Then wet the sponge, removed excess water, dipped it in paint, dipped it in glaze, then began to pounce and blend until I liked the look.
This was my inspiration photo. I was close, but still needed a little something.
I added a couple more colors and more pouncing...
 |
| Right side before the extra colors, Left side after. |
 |
| That should be more interesting! |
The Opus Roman pattern consists of four different sizes. I created a cheat sheet with all of the details:
Now it was time to cut the tiles. I like to lay my
transparent ruler on top of the art board, lining up the measurement on the right edge, then pushing my straight edge up to it for cutting. To cut, make sure your Xacto blade is perfectly straight up and down, then make several light passes. This works great if you're right handed. If you're a leftie, just reverse it. This method gets me the straightest edge I can achieve when cutting by hand, though it's still never perfect. With this tough art board, you'll need to sharpen or change out your blade often.
I wasn't sure how tight I'd be able to get the grout lines, so I painted my edges, just in case.
After a little practice without the glue, I began laying the pattern. Once I felt like I had the idea, I brought out the glue. I still wasn't sure about the grout lines, so I painted them, just in case.
After a good bit of time working (and while listening to works by Mark Twain on audiobook), I was getting a feel for it. It was actually fun and relaxing!
In spite of my great efforts to make straight cuts and lay the tiles perfectly, I still had a few gaps that were more than I could stand. Instead of attempting to grout with spackle, I opted to try my
Plastic Wood wood filler instead. The Natural already has a warm tone, and is much less messy. If you look closely you can see where I filled in some cracks.
To help the Plastic Wood blend in better once dry, I applied a wash using one of the tile colors. I brushed a bit on the discolored area, let it soak in a moment, then wiped away the excess. It was a success!
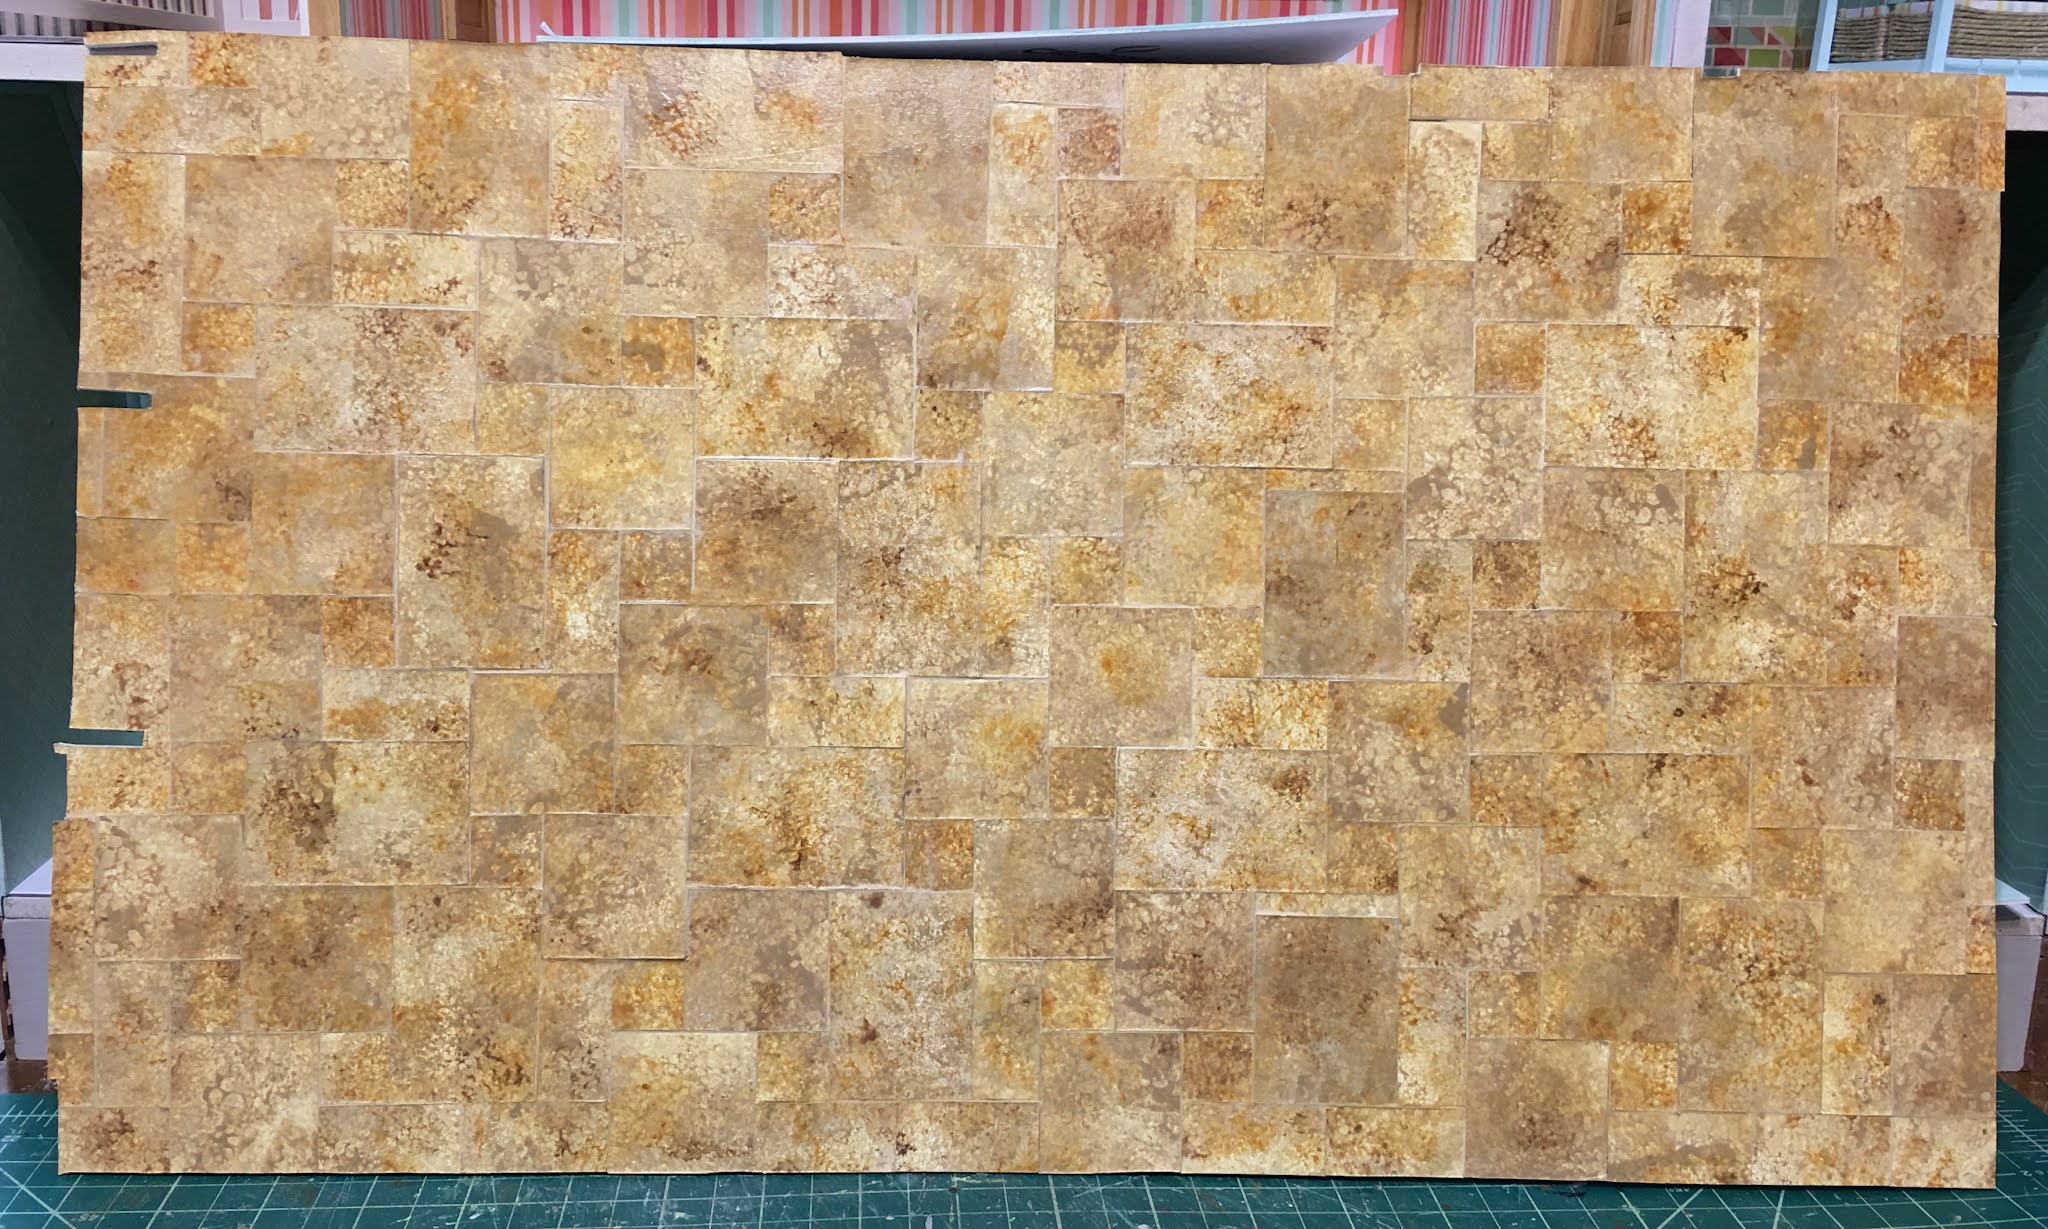
Once finished I gave it a few coats of satin spray varnish.
And here is the finished Opus Roman tiled floor!
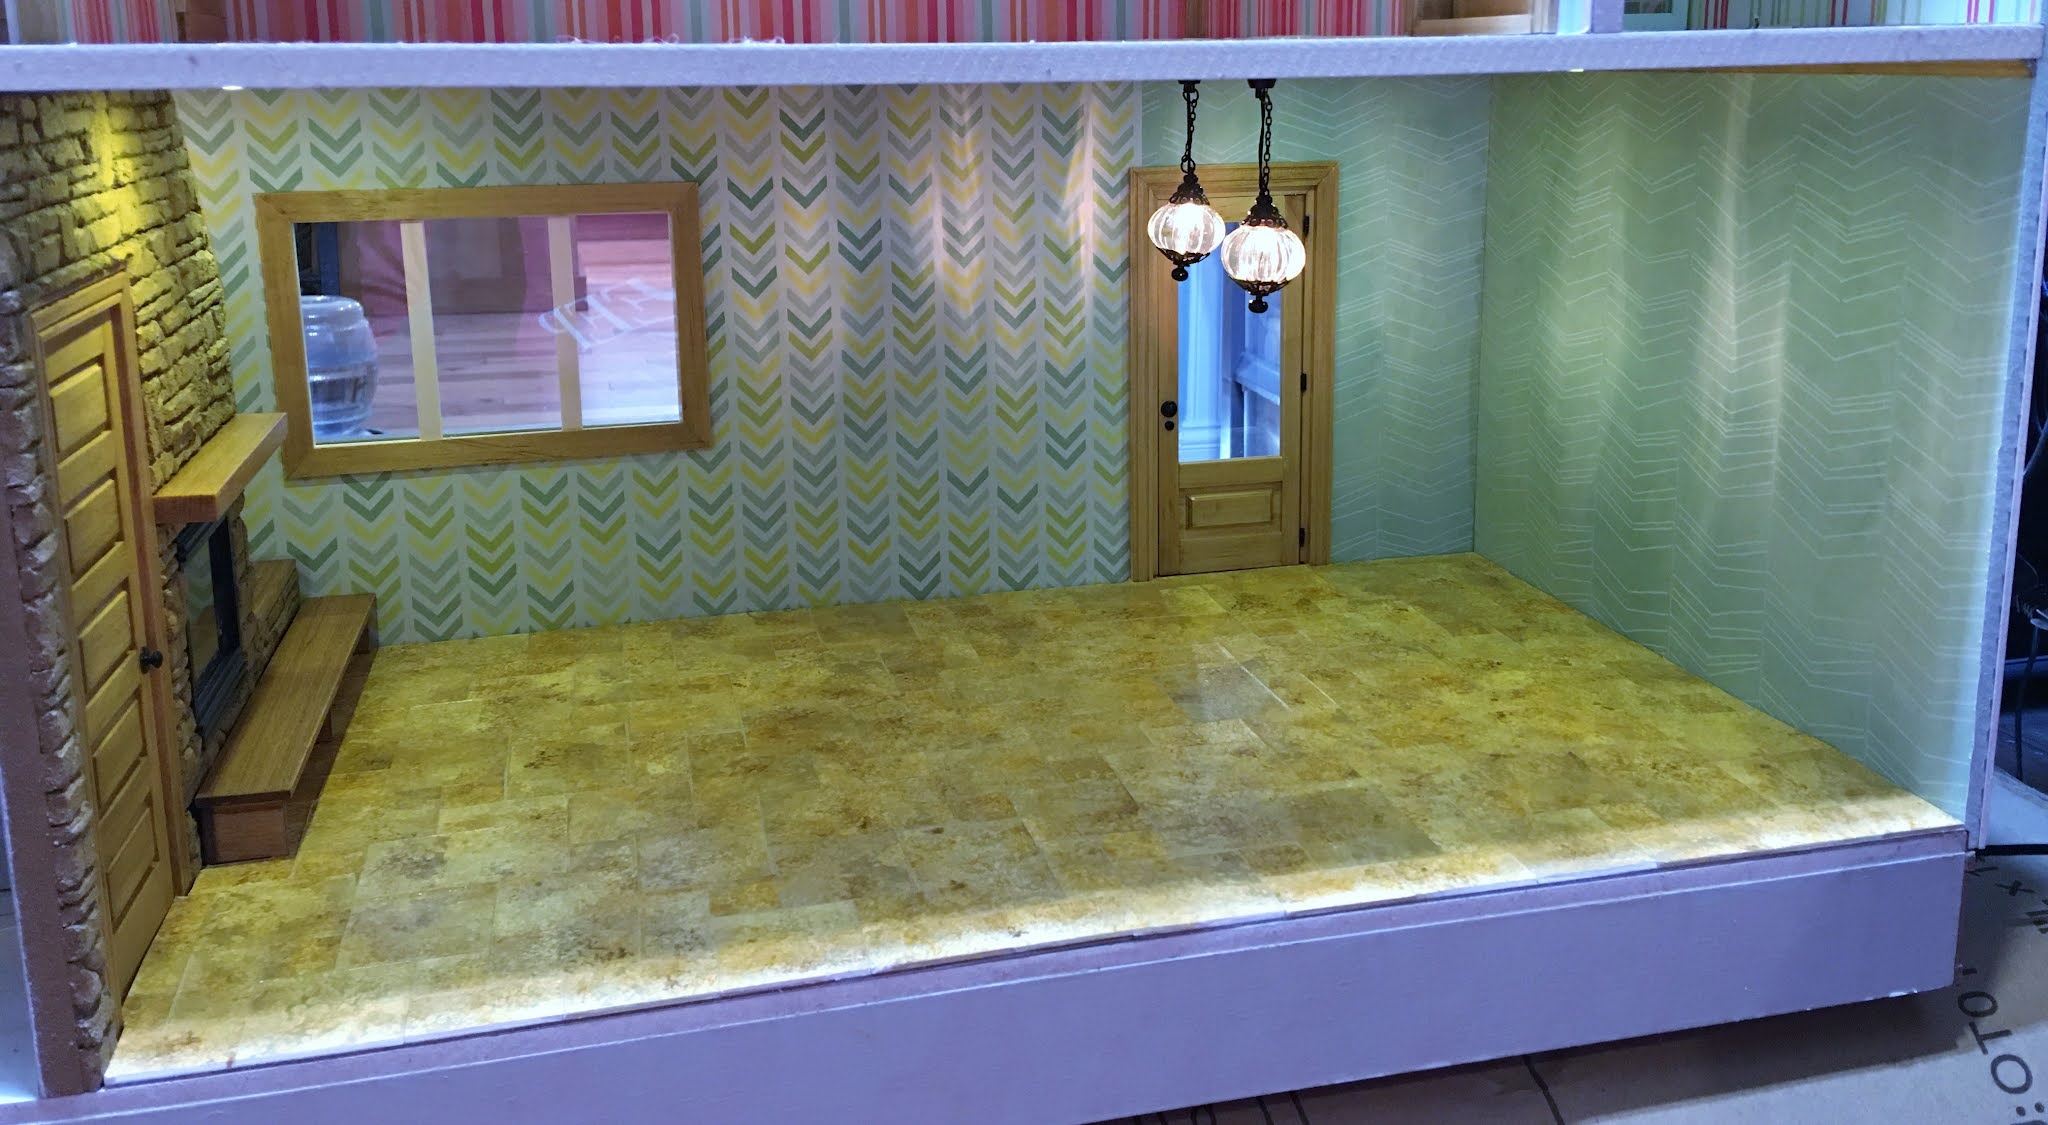
And installed in the great room. I think once all of the kitchen cabinets and island, sofa and area rug go in it will look great!
I hope you get the opportunity to try these fun and different Opus patterned tiles for yourself!
xo xo,
Jodi


This floor is just gorgerous. I use to do a lot of ministures back in the 80s and early 90s. Am just now getting back into it and bringing my husband along. I can't wait to show him how we are going to do the floors in the kitchen and bathroom - doing a house in 1920 style with a touch of Victorian decor. Thank you so much for this great tutorial.
ReplyDeleteThanks Marti! I'm so happy that you find the tutorial helpful! Lots of us mini nuts had to take a break at some point to focus on our families and jobs etc. I am glad you are finding your way back to your passion and sharing it with your husband! The second time is usually even more fun! Best of luck with your projects and thanks so much for your nice comments!
Delete