
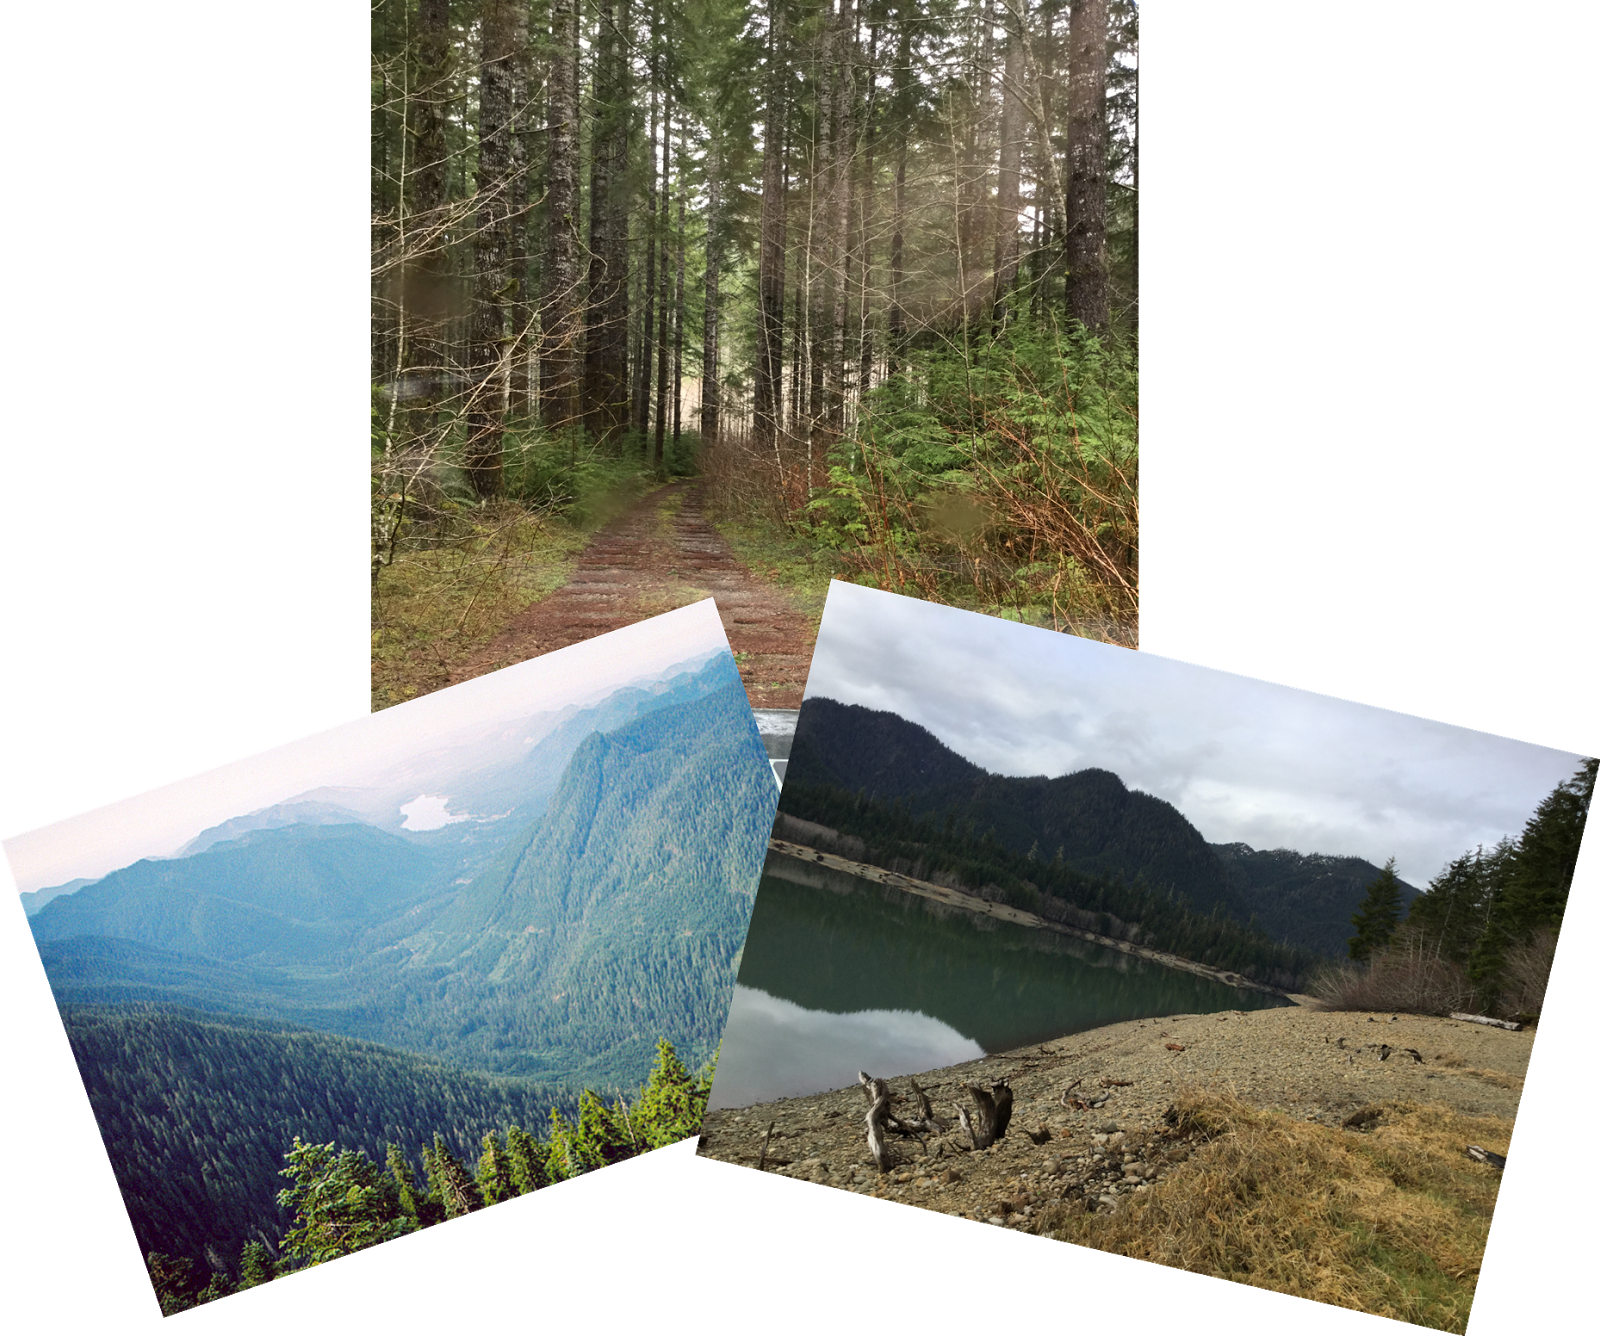
Last weekend, we decided to try a new area a little closer to the coast. Sure there'd be rain, but that's not a game ender. There's less snow near the coast! We often like to find a secluded camp spot to spend an afternoon reading, listing to spooky podcasts, daydreaming and taking little naps. Olympic National Forest turned out to be a wonderful little adventure. We will definitely visit the area again, as it was wild, woody, and very beautiful!

After a really lovely weekend, I was ready to roll up my sleeves and get to work on Alki Point. When I last posted, I was waiting for the spackle to dry so I could see if that solved my "heavy roof texture" problem. As luck (the good kind finally) would have it, it worked out perfectly! I painted several coats of black on the roof surface and the skylight frames and I am pleased with how they turned out.

I measured, cut and sanded the interior frames, then set to work gluing and painting them.


I wanted the windows to be pretty sturdy, so rather than using the stuff that came with the kit, I ordered a Lexan sheet from Amazon. I traced the frames and used the special plastic cutting tool to cut the out. I taped my stainless steel ruler to the surface to make sure it did not slip while I scored it.


I glued the lexan to the frames, then the frames to the roof, then added the mullions last so that they would line up with the ones that were already a part of the roof.

I had a challenge when I added the caulk to the seems. The tube arrived with no cap, and that didn't worry me. I could cope with that. The problem arose when squeezing the tube to apply the caulk to the seems. The end of the caulk tube was apparently not sealed well, so all of the caulk was coming out of the end of the tube making a giant mess! There's always a challenge with minis, right? We are nothing if not resilient, so I cut off the bad end and used several layers of packaging tape to re-seal the end. Ta-Da!

Now, here's where it's handy to have a husband with a garage full of


I wanted recessed LED lighting, but wanted to find a solution where they did not cost over $10 each. Enter eBay, and mini LED lighting from Hong Kong. $11.99 for 10 bulbs, 10 sockets with wires, and 10 clips (which I did not use on this project but may in future ones), free shipping and I had them in less than two weeks. One negative... I ordered WARM, and I got 5 warm and 5 cool. To make them warm if they are cool, you can add some orange or yellow Gallery Glass paint to the tip.

Here's what they look like in the ceiling with the rings. I'll get the "all lit up" photos once I connect all of the wiring and tidy that up.

Speaking of tidying up... I need to make rooftop vents and run conduit to conceal the wires on the roof. That will be the next To Do, then I can finally get back to The Siding Experiment!


Yay for helpful husbands! The house is looking great.
ReplyDeleteThanks Keli! I looked at the side view last night and got really excited! I think I finally settled on how to finish the outside!
Deleteshame that the lights can't be sent to UK :(
ReplyDeleteYou have done a great job on that project, interesting to see your ongoing process
No UK delivery? That's disappointing! There were several other sellers on eBay, and I have seen the model railroad versions of the LED's well below the dollhouse priced ones, so I am sure you can find a good deal with a little poking around...
DeleteThe little grommety things are perfect! You're not behind in mini knowledge, I didn't think of this either!This is coming along fantastic!
ReplyDeleteThanks Debra! I am really looking forward to getting it finished up so that I can look at it on the shelf across from my desk! Then, my play area needs a good reorganization and cleaning, and then, I can crack open the Village Kit!
DeleteBeautiful photos of the forest! The roof fix worked, hurray for black paint! The windows and lights are looking good!
ReplyDeleteThanks Shelley! I am so anxious to get to the next stage, but I have sooooo much to do in my real life right now! I just wanna play!
DeleteThose washers worked out perfectly. I to buy a lot of my LED's from Ebay. It's nice to know that they make the socket kind. A good source for tiny 3V LED's is in the floral department at JoAnn's. Love Alki Point!
ReplyDeleteGreat tip, Cyd! I love to try new stuff, so I see some Joannr's exploring in my near future!
DeleteHello Jodi,
ReplyDeleteIt looks fantastic! I am so glad you were able to save the roof. I love the lighting!
Big hug
Giac
Thanks Giac! I am so hoping to get some time to continue on Alki Point towards the end of the week. The Superbowl party is here Sunday, so I am going to have to work on all of my To Do's very quickly!
Delete