If you've stopped by to see what I am up to recently, you know that I wanted to try something completely new with the Alki Point project; making 3D printed items for the majority of the interior design. I have most of them in my hands, but now what do I do?
I needed to decide what I wanted the finishes to look like, and then do a little execution research. What type of adhesive should I use to adhere them to my wooden dollhouse walls? How about gluing it to one another? What kind of paint should I use? Can they be sanded? Primed? Filled? Do they melt like foam does if spray painted?
Several hours of research later, I came away from the
Shapeways Forum on Post Production Techniques like most everything else I research. There is really no absolute. Try what works for you and then post your experience to the collective record in the forum. Okay, so I am going to experiment a little, and hope I don't ruin anything in the process.
I should point out that there are many, many different types of material available for you to have items printed in. Plastics, metals, precious metals, sandstone, ceramic, acrylic etc. I have only had them printed in three different materials so far:
~White, Strong & Flexible - Flexible, slightly gritty surface, bright white.
~White, Strong & Flexible Polished - Smoother finish, slightly glossy, bright white.
~Metallic Plastic - Grey with metallic specks, stiff and brittle.
So, until I am able to purchase things in other print materials, this post will pertain only to White, Strong & Flexible and White, Strong & Flexible Polished.

The forums pretty universally recommended that you wash all WS&F pieces thoroughly with soap and water. I filled up a Rubbermaid tray with hot, dish soapy water and used a washcloth to scrub each piece. After a good rinsing, I laid them on paper towels to dry.
The WS&F material is actually Nylon 12. It is pretty porous when not polished, so sealing it with a dip of Future wax or priming before painting was also recommended. I wanted to see how porous it would be un-primed as part of the experimenting.

I didn't have to buy any paint or sealer because I already had these on hand. The Krylon is supposed to be white paint and primer in one. The chrome metallic does not say to use on plastic. It says "for use on wood, metal and
more". I hoped the "
more" meant Nylon 12. I probably really need to varnish the metallic finish afterwords, so I'll give the gloss spray Mod Podge a try.
The white paint took four light coats to reach this point. I just coated each piece lightly, letting each coat dry for about 45 minutes in between. One of the tile walls was printed in WS&F Polished. I noticed a more uniform coat of paint, and it seemed to soak into the nylon less. My conclusion is to pay the extra few cents when possible, and have the piece polished. Feels and looks smoother, as well.

The metallic paint is certainly more apt to soak in. I painted at least five coats, also letting them dry thoroughly in between. When I would go out to the garage to check on them, you could see the nylon white coming through in some spots. Notice the piece of wood I am using - the chrome looks promising!
The high temperature today was 39 degrees, so it is cold, but the humidity is low. I had a space heater in the insulated garage, so it was probably somewhere in the 60's in the airspace around the paint. I am going to let all of the pieces dry overnight, then I'll varnish the chrome pieces.
My next post on Post Production of 3D Prints will be about what I find attempting to glue the shower tile walls to the wood bathroom walls.
Until then, I am going put on some bigfoot podcasts, measure the bathroom and kitchen and start making the cabinets!
If you are planning to buy and finish any 3D printed miniatures in the future, here are a couple of helpful tutorials from Shapeways on glues and paint:
The code for 20% Off + Free Shipping this weekend is BFDEALS.
***UPDATE***

After drying overnight, the chrome painted parts were dry and looking promising. The bathroom faucet seemed to have some debris or badly painted bumps, so I sanded it lightly with 0000 steel wool. The sanding took a good deal of the sheen off, and left it looking like it had received a coat of watered down black paint. I guess if you are going for the well used look, this might be just fine. Sorry I forgot to take that photo!

These are test pieces, so I decided to go all of the way with them just to see how good or bad the results would be. I added the sinks and toilet to the metallic pieces ans sprayed them with the Mod Podge gloss.

I DO NOT recommend this! It seemed to actually dull and crackle the chrome finish, and now the sinks and toilet look like they have debris in the finish. :0( Not sure if it is just the Mod Podge, or the reaction that the chrome paint would have with any aerosol varnish.
Back to the drawing board... With the new pieces, I am going to try wet sanding, priming, white spray acrylic for the sinks and toilet, and the chrome again for the fixtures. Maybe I'll try Triple Thick to add the shine. More updates to come...


 The forums pretty universally recommended that you wash all WS&F pieces thoroughly with soap and water. I filled up a Rubbermaid tray with hot, dish soapy water and used a washcloth to scrub each piece. After a good rinsing, I laid them on paper towels to dry.
 I didn't have to buy any paint or sealer because I already had these on hand. The Krylon is supposed to be white paint and primer in one. The chrome metallic does not say to use on plastic. It says "for use on wood, metal and more". I hoped the "more" meant Nylon 12. I probably really need to varnish the metallic finish afterwords, so I'll give the gloss spray Mod Podge a try.

 After drying overnight, the chrome painted parts were dry and looking promising. The bathroom faucet seemed to have some debris or badly painted bumps, so I sanded it lightly with 0000 steel wool. The sanding took a good deal of the sheen off, and left it looking like it had received a coat of watered down black paint. I guess if you are going for the well used look, this might be just fine. Sorry I forgot to take that photo!
 These are test pieces, so I decided to go all of the way with them just to see how good or bad the results would be. I added the sinks and toilet to the metallic pieces ans sprayed them with the Mod Podge gloss.
 I DO NOT recommend this! It seemed to actually dull and crackle the chrome finish, and now the sinks and toilet look like they have debris in the finish. :0( Not sure if it is just the Mod Podge, or the reaction that the chrome paint would have with any aerosol varnish.

 I know we are all busier than a one legged man at a butt kickin' contest, but I got my next Shapeways delivery today (man they ship fast!) and wanted to share!
 It's a tough bugger to open up - it's made of the same material that your items are getting printed in. In my case, White, Strong & Flexible I opened mine up with small wire cutters. My mind is still processing ideas for what I can do to recycle this sintershell. Basket? Dish rack?Shower caddy? Hmmm...


 My Miniature Madness Shapeways Store
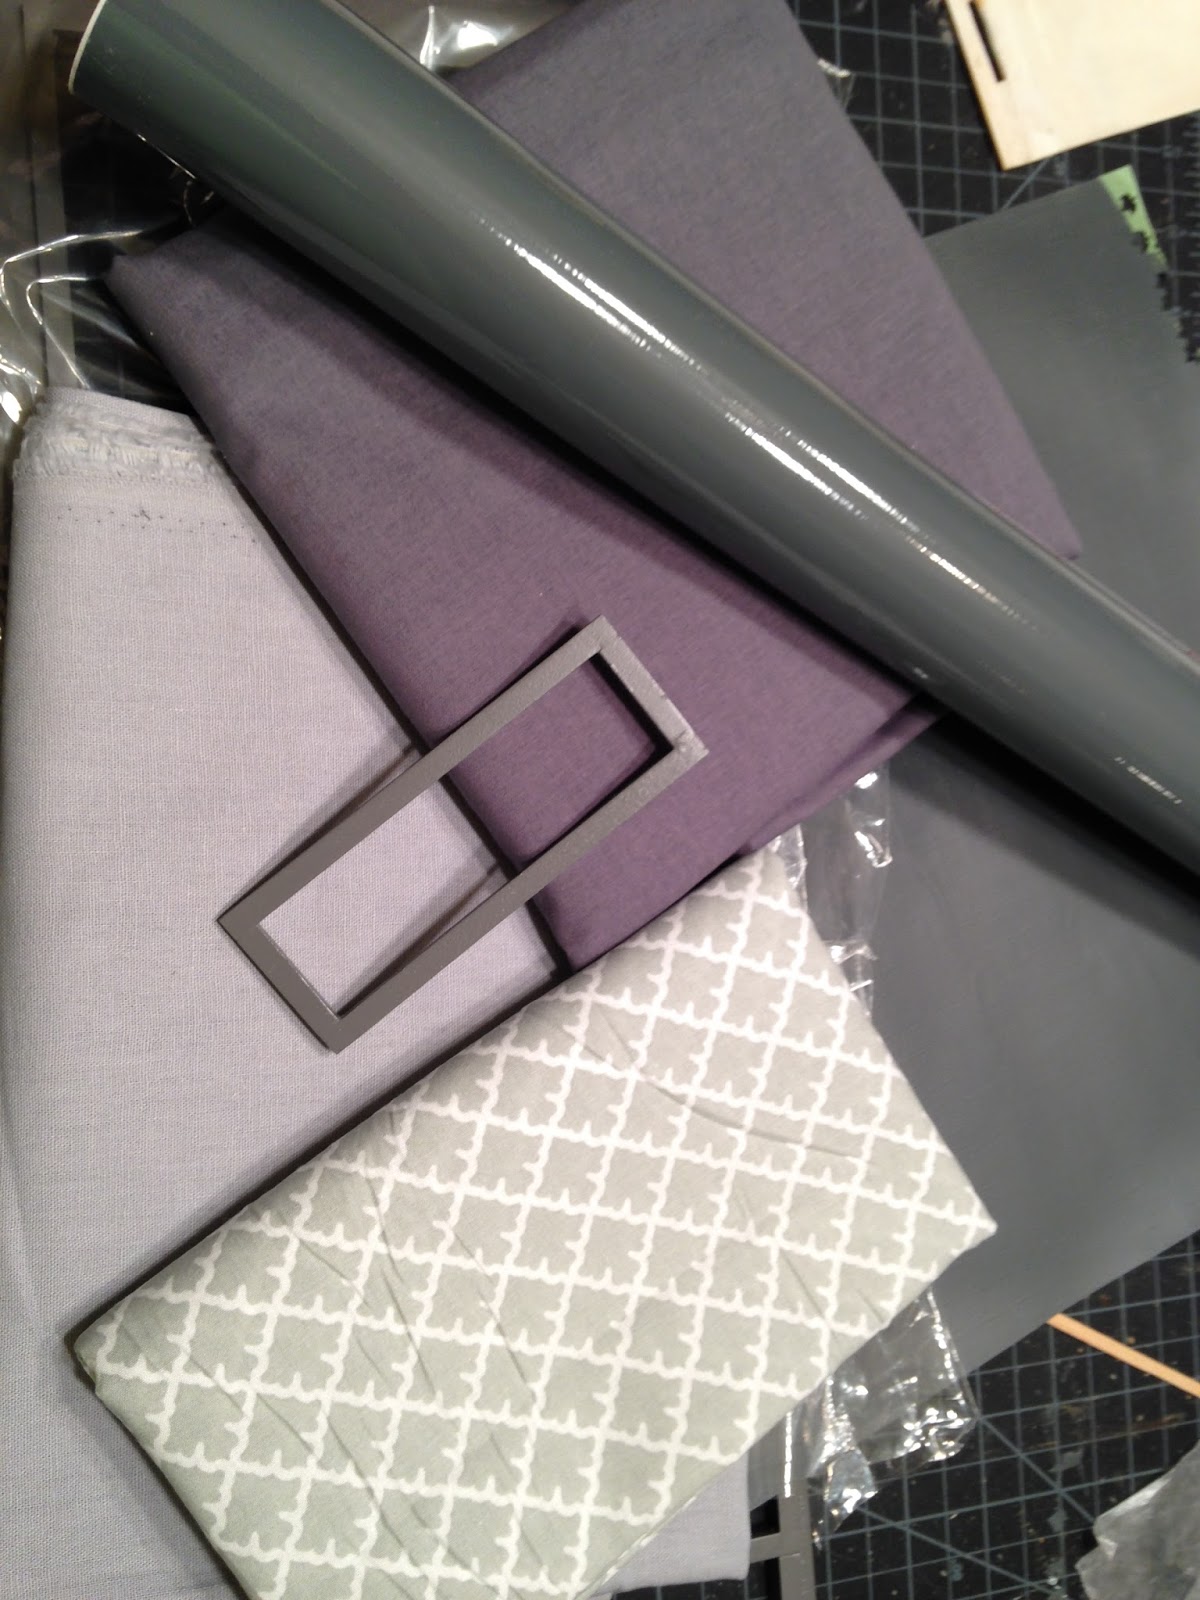
 I've gotten enough done on Alki Point to see it begin to take shape. Once I made the decision to order the textured white scrapbook paper for the wall covering, I kind of found my way again. It is 12" x 12", 80#. I love the texture, it went on easy, and painted up really nicely. Now I'll have a good supply for future projects!


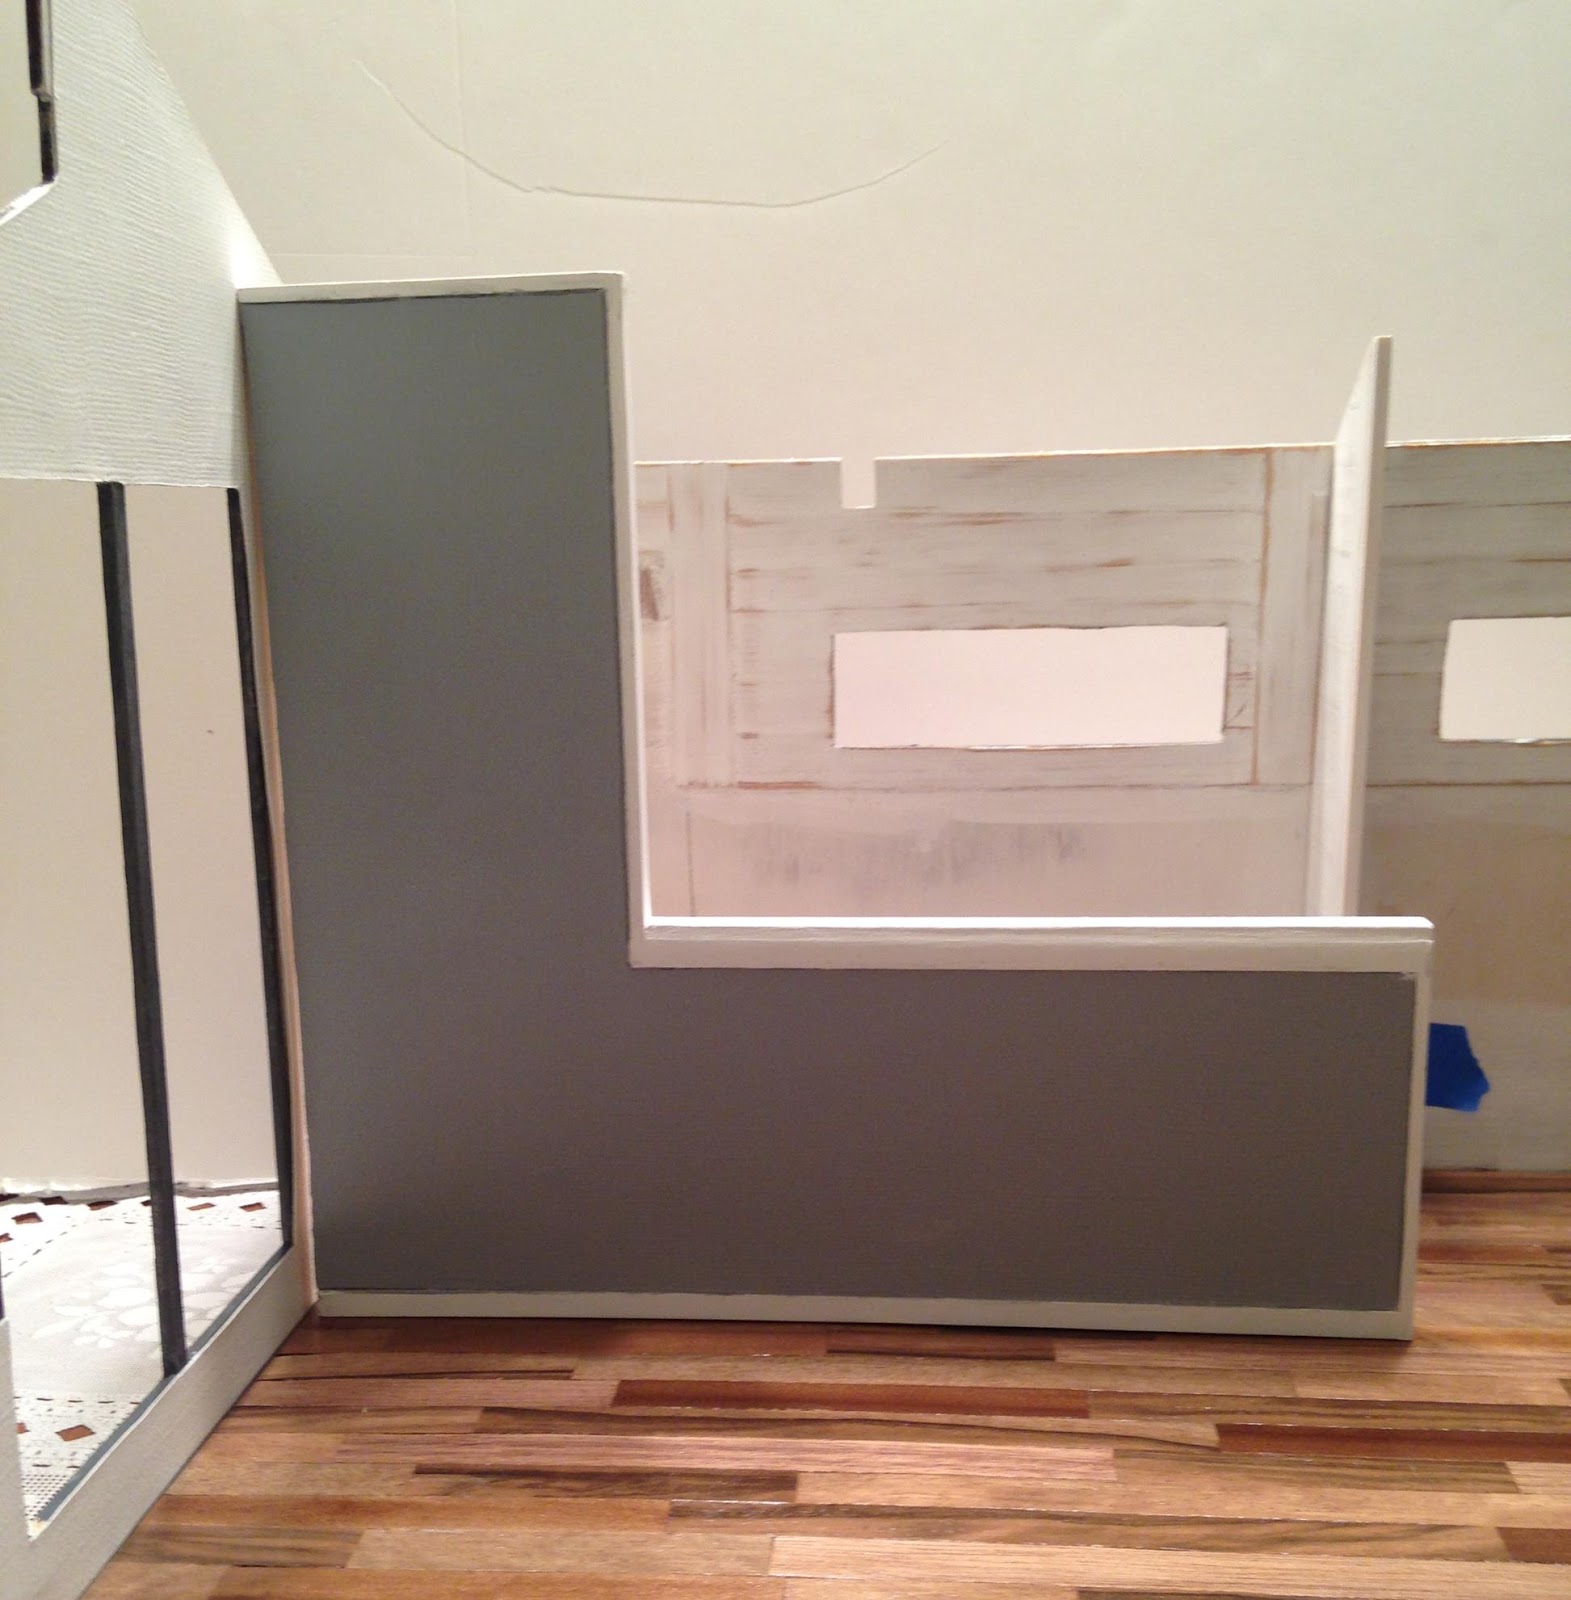

 This photo shows the bathroom side of the partial wall. I am still trying to decide whether to leave it as is, or add a piece of plexi as a see thru wall. I guess I'll know once I cut the plexi for the shower and see how that looks and installs. I'll be using two part epoy to adhere it to the White, Strong and Flexible tile wall and shower pan. That's what was suggested on the Shapeways forum, so I'll let you know how that turns out.
 I wanted some texture, and to mix the modern elements with a little shabby and reclaimed. I tried a little light grey acrylic wash, but the water was really raising too many hairs on the wood. I could sand them after, but I found that most of the color also sanded away.


 I could have just painted the walls, but not me! Nope! I wanted

 So, I spent HOURS on Etsy. Distraction was good. Then I went through my stash of leftover project parts and pieces and decided to put wooden strips on the upper half of the back wall. I started this after 10:00pm and did not go to bed until 1:00am. I like the texture, but am I going to stain it? Will it compete with the wood floor?

 I finished up the spray painting, and checked that the window frames still fit.