

Now that the front wall/roof piece has been installed, it's time to tale care of a little housekeeping. The mini kind, of course...
The barn kit came with 6 pre-cut window openings, you know, so the horses had places to look outside. I enlarged 2 of them; one for the french door in the bedroom that will eventually lead to the deck, and one for the slider door leading to outside Russ' shop. That leaves one in his shop and two where the staircase will go. I'll decide when I get to that point what to do with them. The final one is upstairs, where the staircase and kitchen meet.

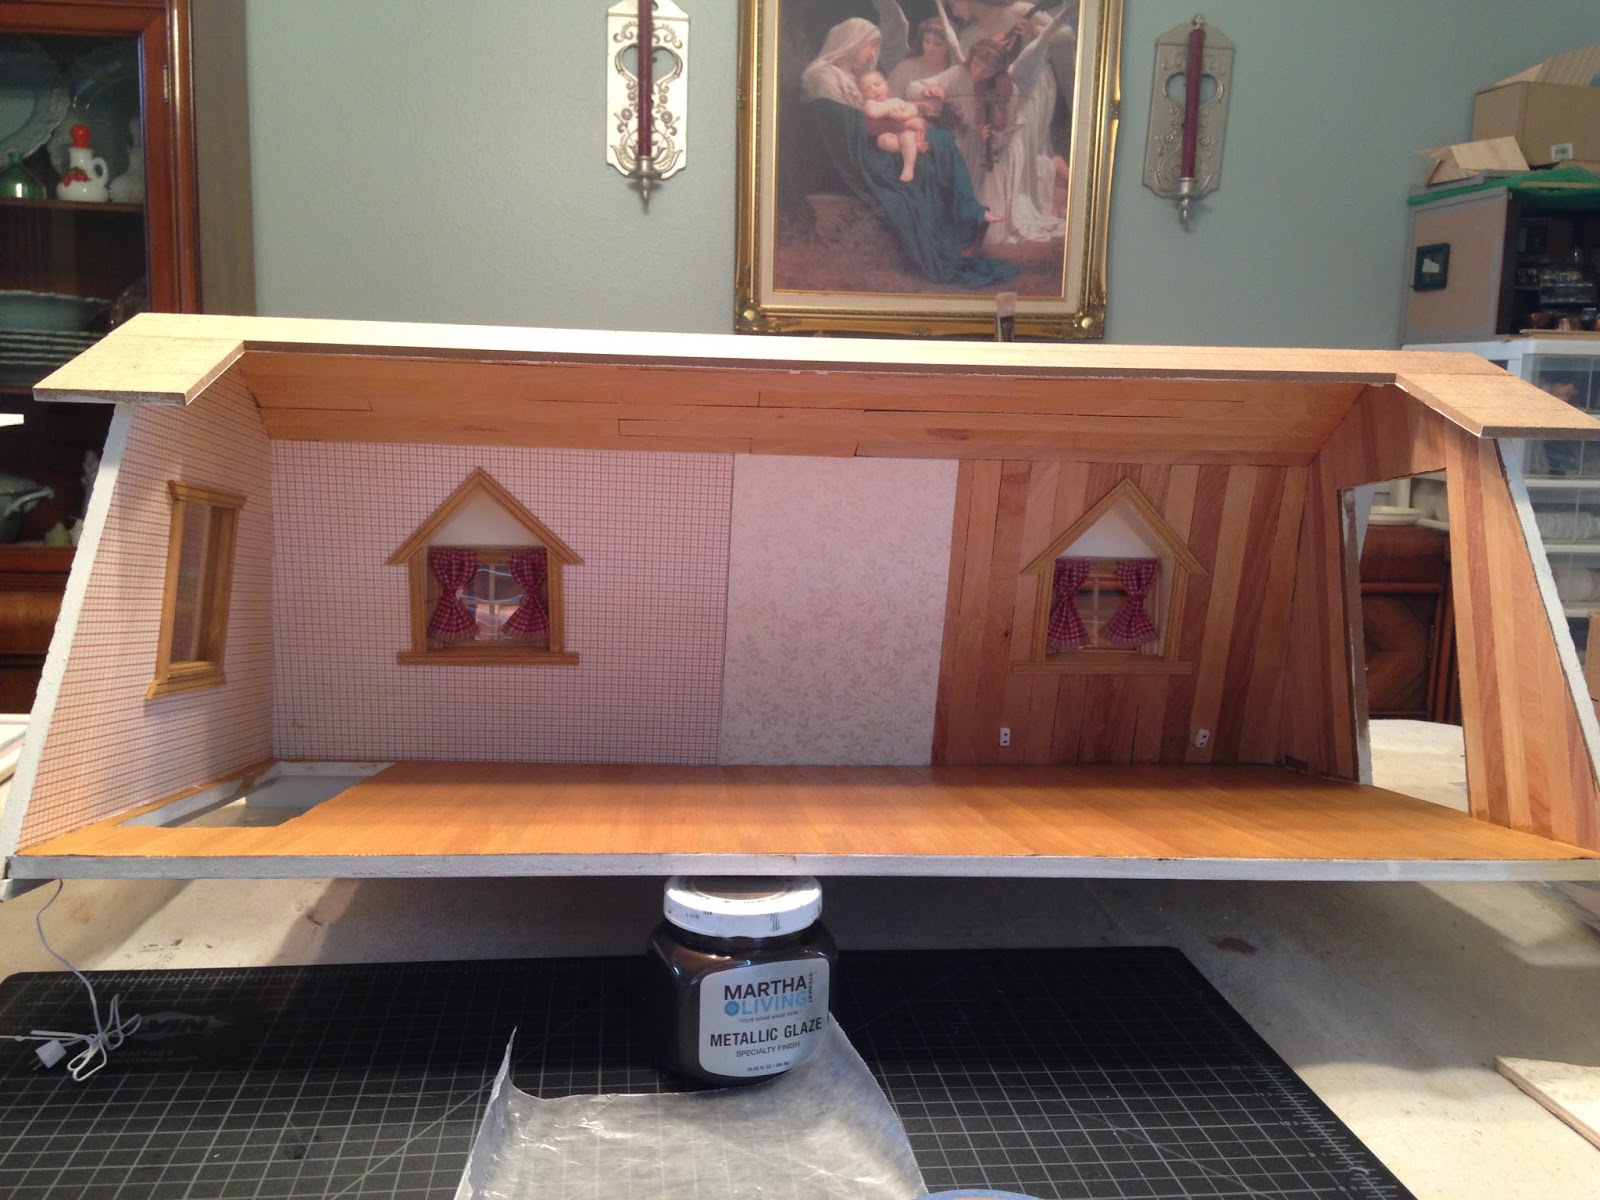
I decided to just trim it out on the inside and outside and make a plastic window for it. I like the way it turned out. The inside having one style and the outside with opposite trim.

 The next step was to connect the loft and the main floor electrical to make sure I had good connections from start to end of the tapewire runs. On the main floor, I installed a plug just above the floor, and on the loft under the staircase landing, I installed wires with a plug end. I also installed eyelets toward the top of the wall which the loft plug could also connect to. This way I have options when it comes to finishing and hiding the wiring.
After plugging the leadwire into the transformer, turning the power on, and poking the probe into several spots I had only one issue with a tapewire connection. Luckily, all I had to do was to replace the tiny brass brads with eyelets. This made a stronger connection, and then I had power all the way to the end of the run. Phew!

Next, I had to decide on a treatment for the ceiling. I settled on more thin wood veneer strips so that it would end up looking like an authentic barn roof. After the walls are installed I'll add some old looking beams to complete the look. In this photo the loft is upside down with boards and weights added to prevent the veneer from curling.
 After the ceiling strips had dried, it was time to stain the wood floor. I just used a Minwax light oak color. It really only needed one coat and came out very evenly. After I had let it dry for several hours, I came back and applied varnish to the ceiling, bedroom wood walls, and floor.

It's finally time to install the interior divider walls. I needed to to give everything a dry fit so I can address any issues at this point.

Before the bathroom walls go in, it's a great time to add the towel racks, mirror, TP holder etc. It's much easier now with the help of gravity to glue on a flat surface and not try to reach into a 5 inch space.

The towel bars were a little too narrow to hold the fluffy towels I have, so I've added a couple beads to extend it. I also wanted to glaze the mirror frame to match the other bathroom fixtures. The glaze takes a while to really dry and lose it's tackiness, so I'll probably start making the bedside lamps in the meantime.
Things should start to get pretty interesting now that finishing touches can be added. Check back soon for more updates!
No comments:
Post a Comment