As soon as I returned home, I got busy. I thought I'd better make a sample piece to fool with so I made one using left over scrap tiles and "grout". I tried both Krylon Triple Thick and Liquitex Satin spray varnish. I liked the coverage and sheen of the Liquitex satin better (not too shiny), but my nozzle, in spite of repeated attempts to clean it, kept clogging. The Krylon definitely took several heavy coats (due to the absorption from several layers of paper), but it looks very nicely finished. It took three heavy coats over three days to allow for thorough drying time. Sorry I can't seem to get a better photo of the sheen.
 |
| Sample Tile |
 |
| After Two Coats |
 |
| Restroom Tile Floor |


The instructions and I are having a disagreement. They want me to put the dormer roofs in place, leave them loose, and then glue the roof on. I am going to do it my way by attaching the dormer roofs and then adjusting the roof piece to pop on and off. Having the dormers glued on and leaving the roof removable will make fitting the interior walls, and all of the trim, a much easier (and hopefully more successful) job. Once the interior is finished, I can permanently attach the roof, filling in any gaps and tab slots. This will require several fittings, but I have enlisted the help of my handy husband because four eyes and four hands are always better than two!

The glue bottle is so that you can get a feel for the size of the second floor space in the kit. It feels rather large inside now, and I hope that once I add walls and appliances, it will still feel like ample space.

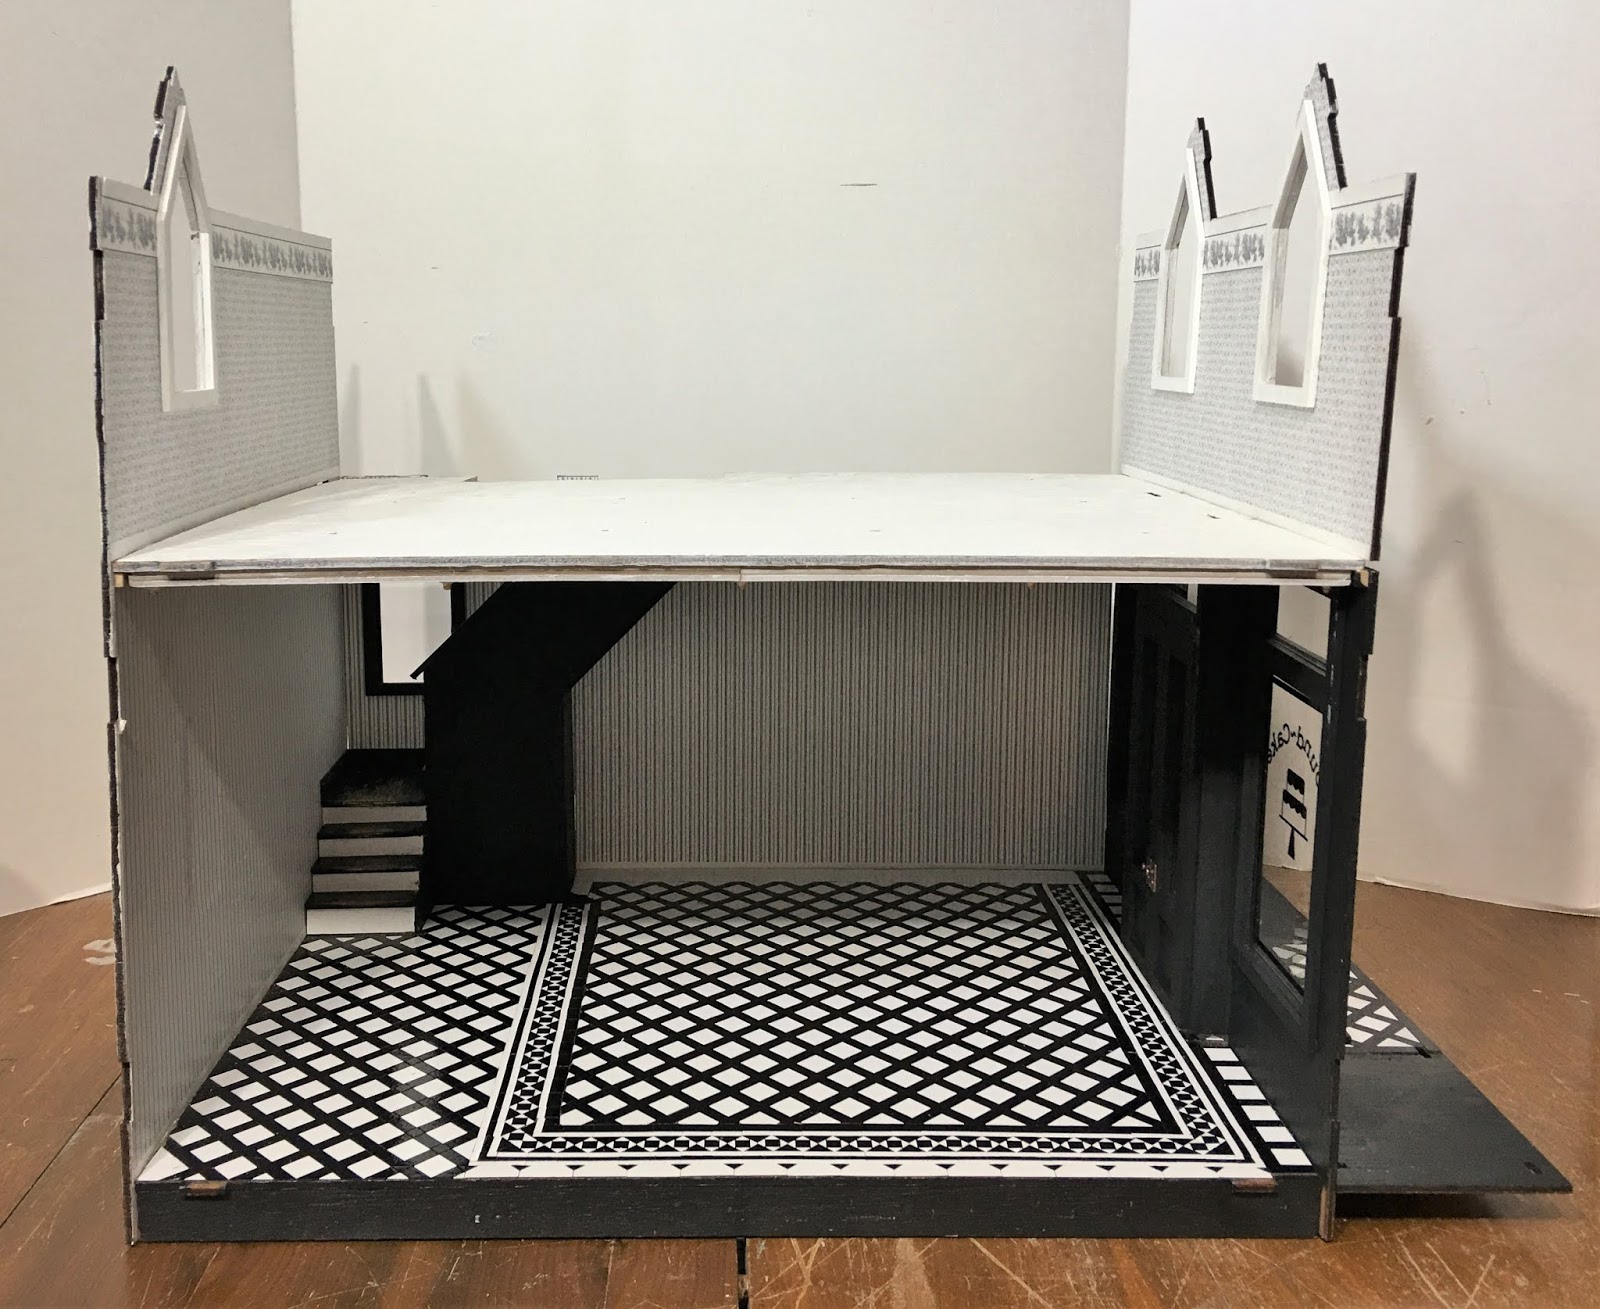
Here are all the tile floors, dried, trimmed and attached to the sub floor. Where you see wood is where the 3/16" foam core walls will be installed. In the bathroom and in the back of the sink side (left) of the kitchen (where the gaps are wider), I have left extra room. The kitchen side will likely have a built in cabinet to cover the extra gap and the bathroom will have a built in plumbing cabinet behind the toilet.

One thing of note here is that the restroom floor has a bit of a yellowish tone. This is the floor that has the Liquitex varnish applied. The Liquitex is not as clear as the Krylon, and luckily, in this bathroom, won't have a negative impact. But every product is right for a different circumstance. If I wanted a more aged looking floor, the Liquatex would be good. For a crystal clear finish, the Krylon is preferable.
Once the subfloor with tile was installed, I was able to add the slim side walls to the opening side of the structure.

For now, until I actually start on the exterior, I have painted the side walls licorice. It just makes everything look less rugged and helps me to visualize the finished facade. I have also added a 1/8" x 3/4" piece of trim between the floors and underpainted the dormer roofs. Eventually, I hope to make them faux lead metal roofs.

All of the roof support pieces have been added. Once the roof is on permanently, only the underside of these will be seen. My next steps will be to fit the roof and make adjustments until it pretty easily slips on and off. Then I can take accurate measurements and begin cutting and fitting the interior walls.


Another thing to note about the tile floors; I used a total of twelve sheets of Cricut Kraft Board to make the floors. For what I paid in material, including the shipping, the entire second floor cost less than $8.00 to make. Pretty economical, though you also have to consider that they were pretty labor intensive. This information may help some of you who are still sitting on the fence about buying a Cricut Maker. If you like coming up with your own creative solutions (which cost next to nothing), and you enjoy a little tedious work, the Maker may just be the tool for you.
And if you're wondering how mom's birthday was, I will only show this picture and tell you that what happens in Vegas stays in Vegas! ;O)

Arizona was wonderful, and it was just so great having time with some of my favorite people! As you can see, my mom, even at 70, is fun loving and loves to have fun!
Hopefully, back next week with more bakery progress!
xo xo,
Jodi